Apify MCP Server enables your Kuika application to retrieve LinkedIn and Instagram data via MCP (Model Context Protocol).
With this integration:
- Professional information from LinkedIn profiles,
- Organizational data from company pages,
- Profile and content data from Instagram accounts
can be retrieved in JSON format. It operates independently of LinkedIn's official API and provides a data source for AI agents.
Configuring Settings via the Configuration Manager
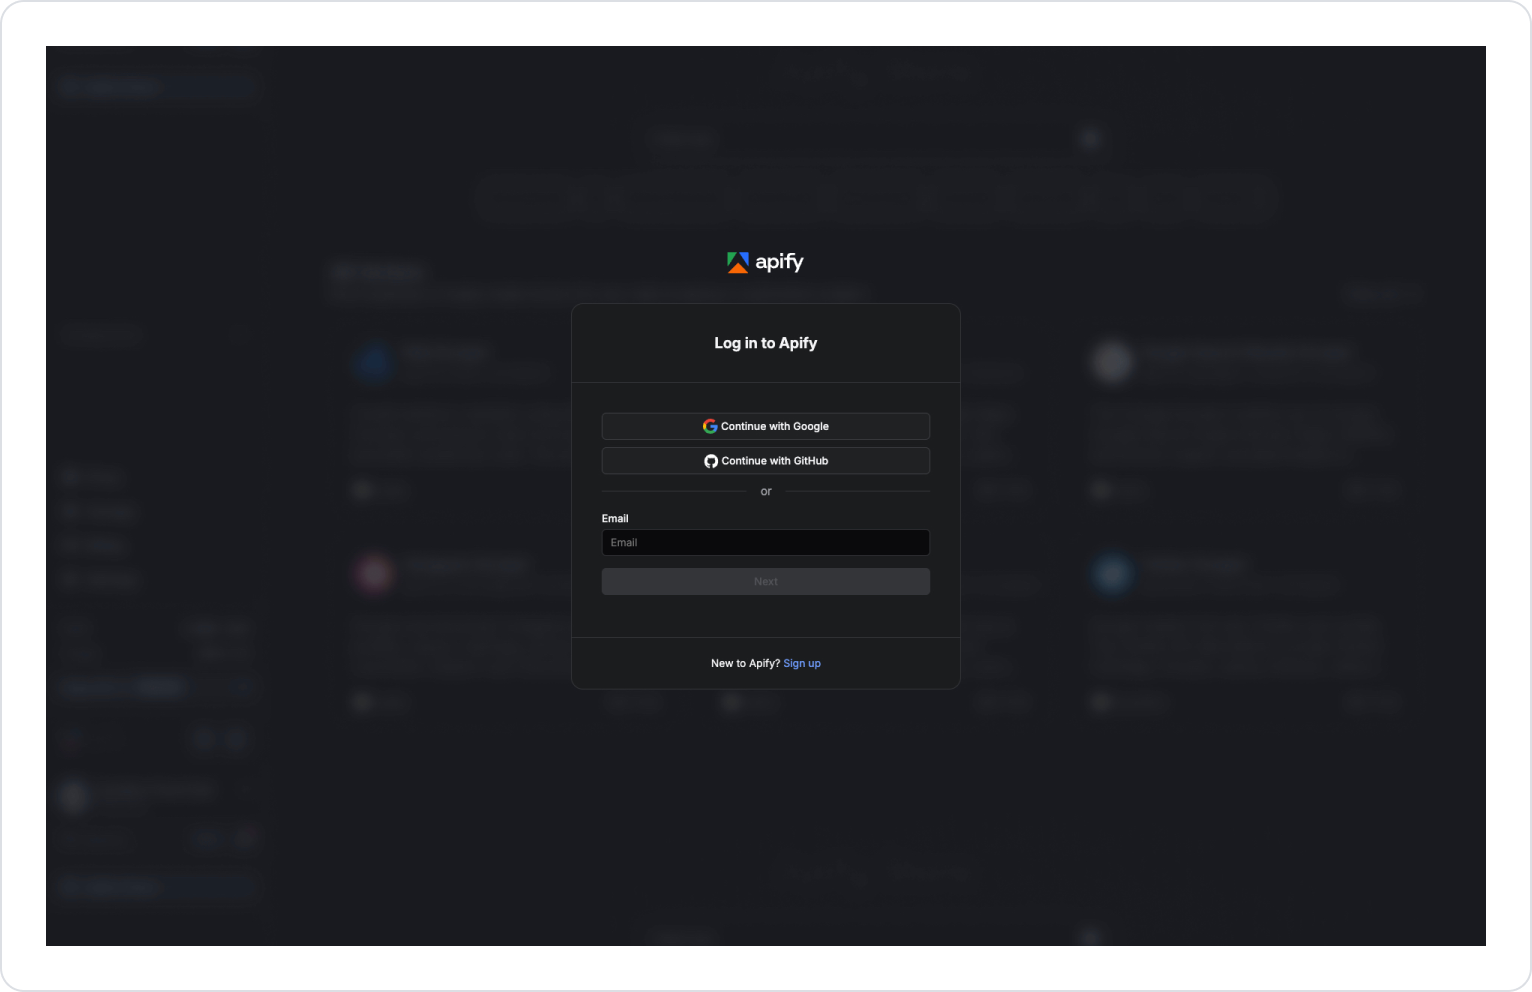
- Log in to the Kuika platform.
- Select the project you will be working on from the Apps screen.
- Go to Configuration Manager → App Settings tab.
- Click the ADD NEW option in the MCP → Apify section.
- In the window that opens:
- Name: A distinctive name to be given to the integration (e.g., ApifyLinkedInProd)
- API Key: The API key created via the Apify Console
- Click the Save button.
Creating an Apify API Key
Follow these steps to create an API Key:
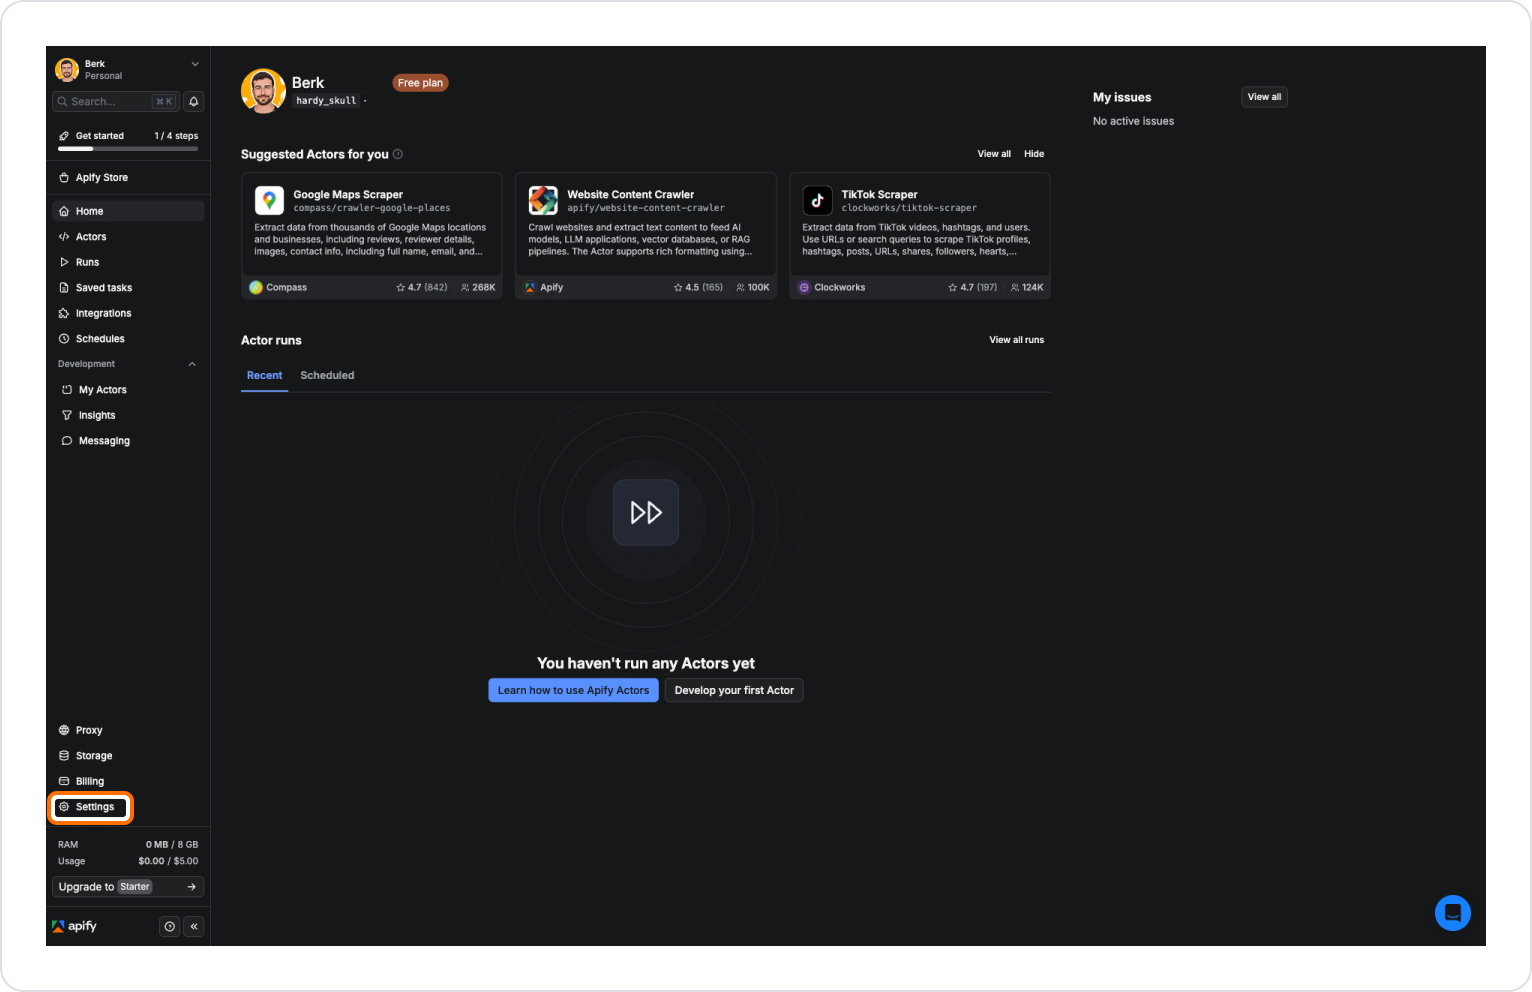
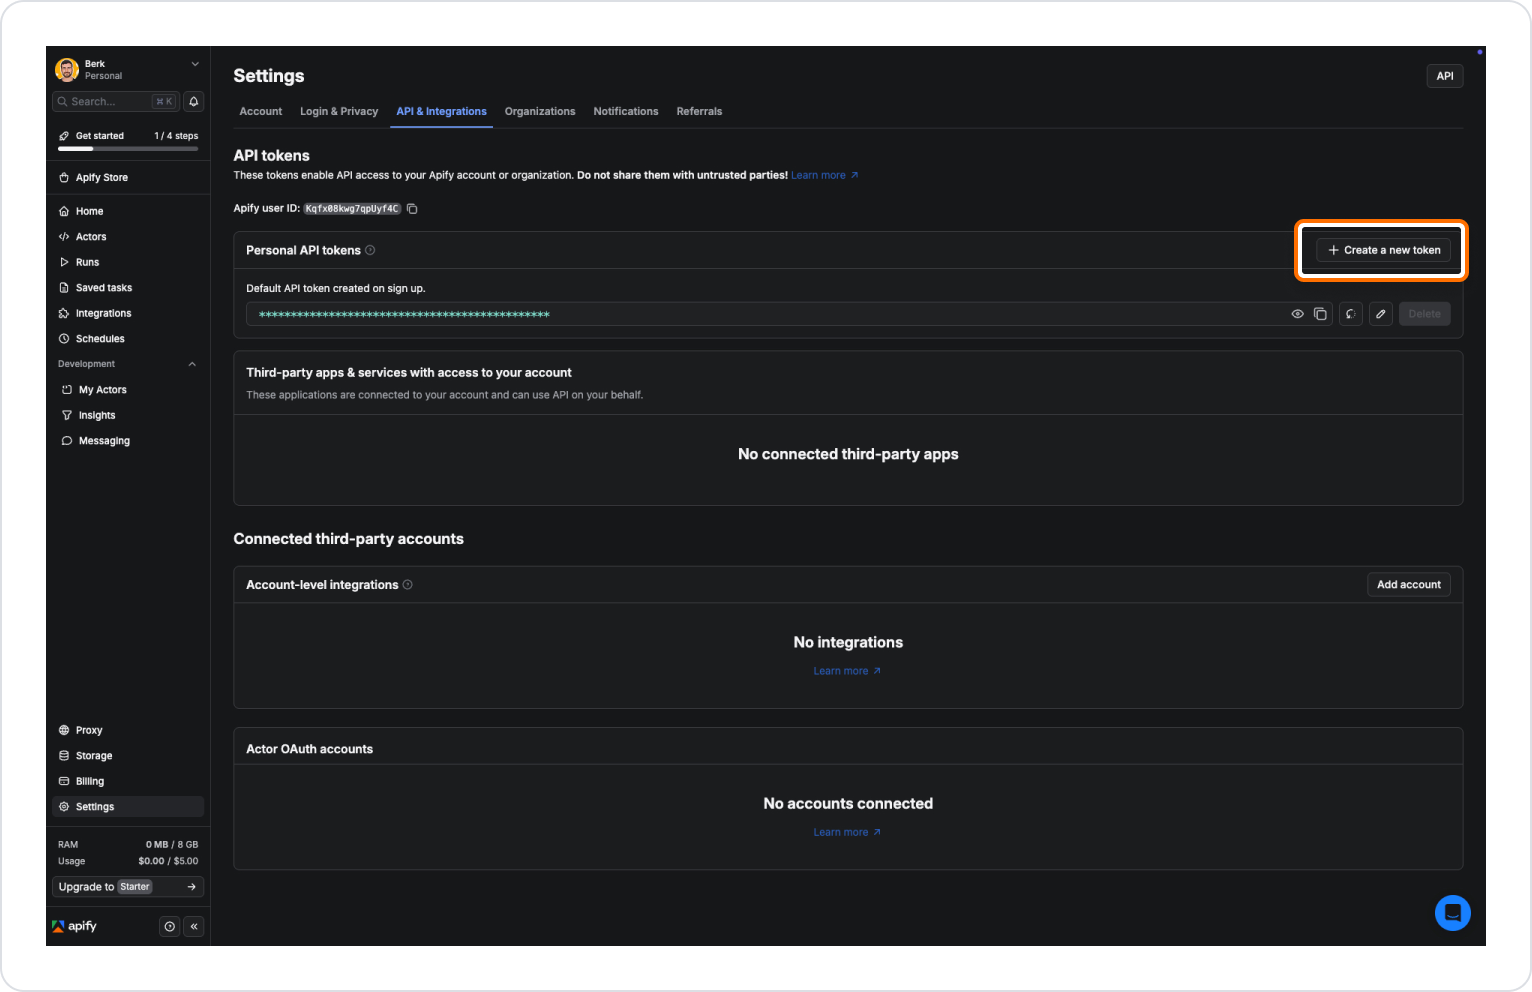
- After logging in, click on the Settings option in the left menu.
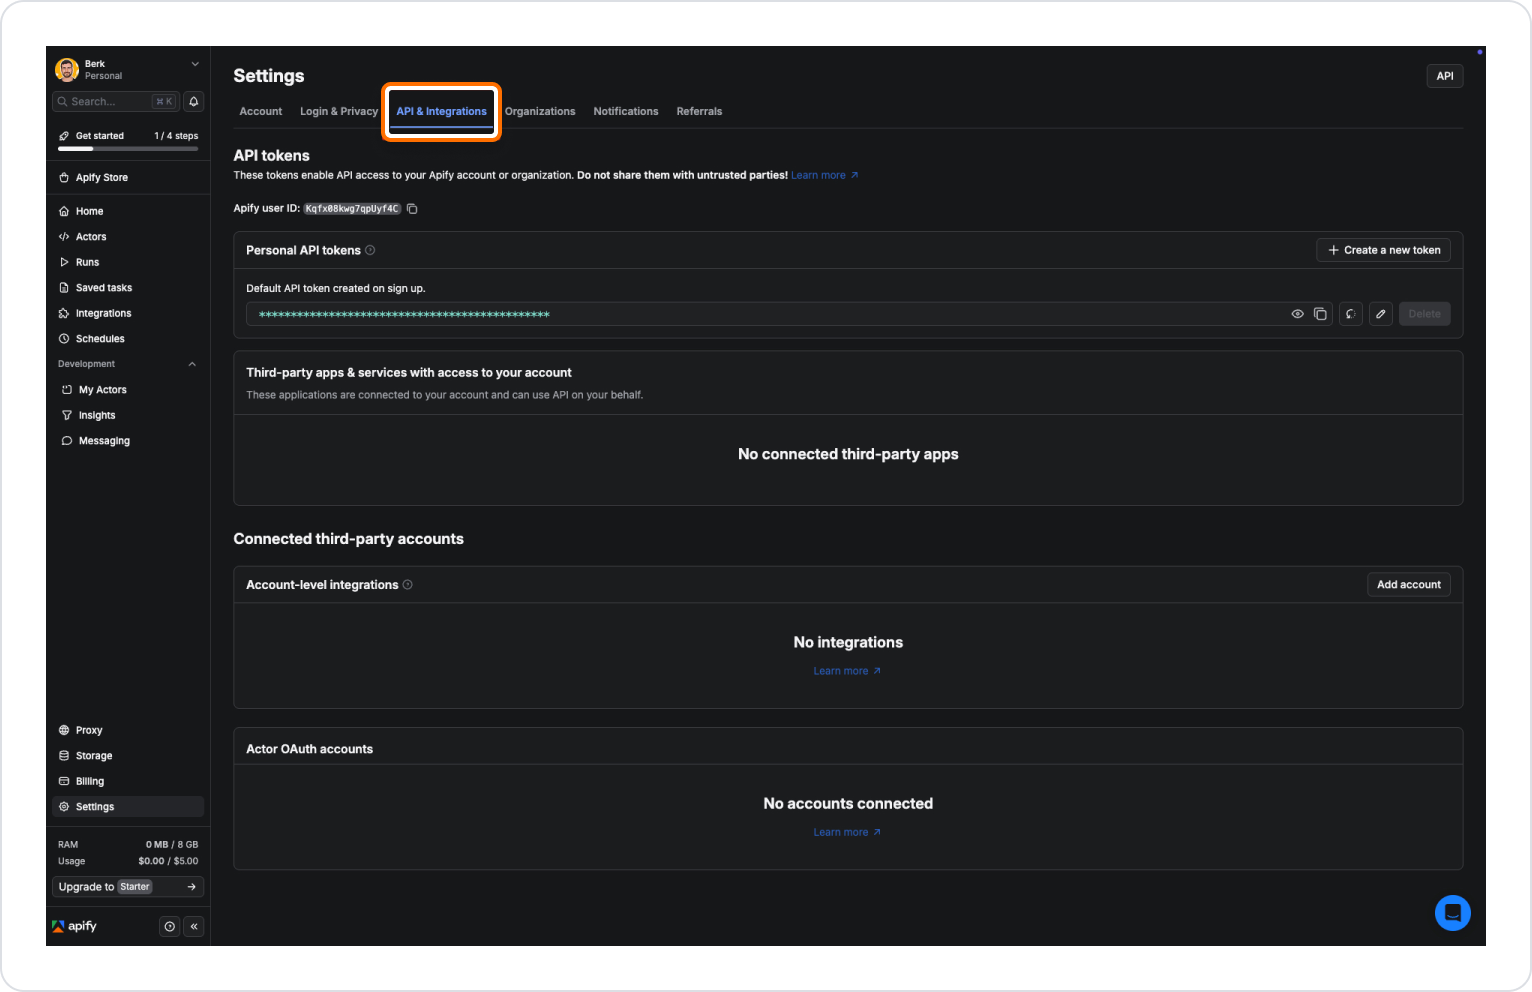
- Go to the API & Integrations section from the top tabs.
Here:
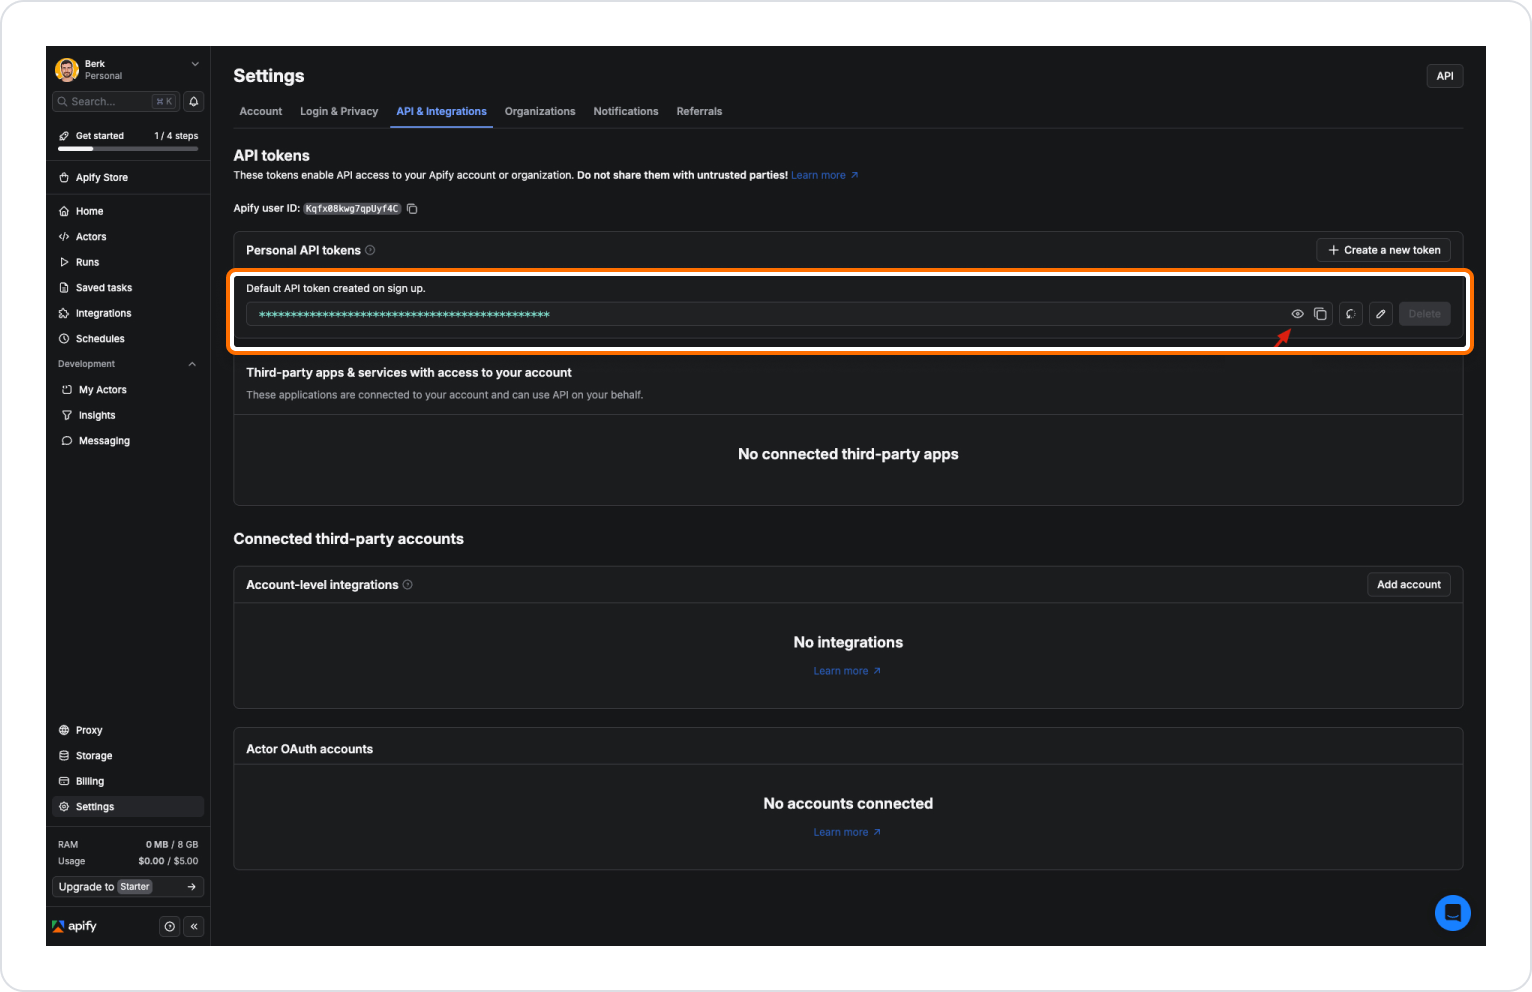
- There is an API Key created specifically for your profile.
- You can view the existing API key by clicking on the Show button.
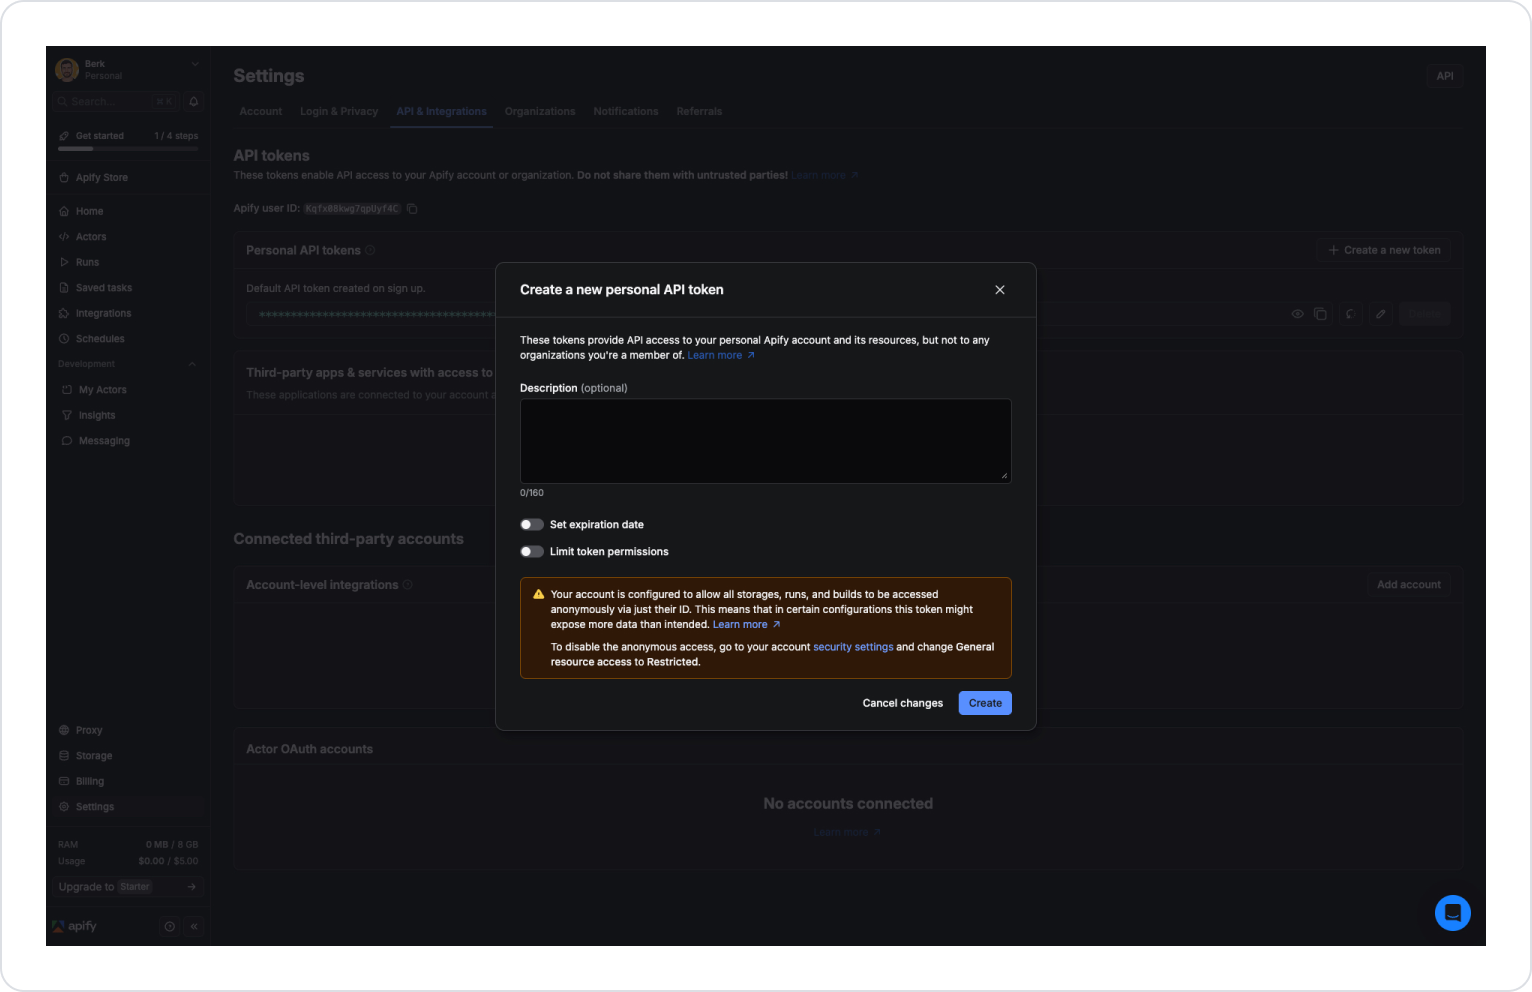
- Click the API Tokens → Personal API → Tokens Create a new token button.
- Enter a descriptive name for the token.
- Select and fill in the required permissions.
- Click the Create button.
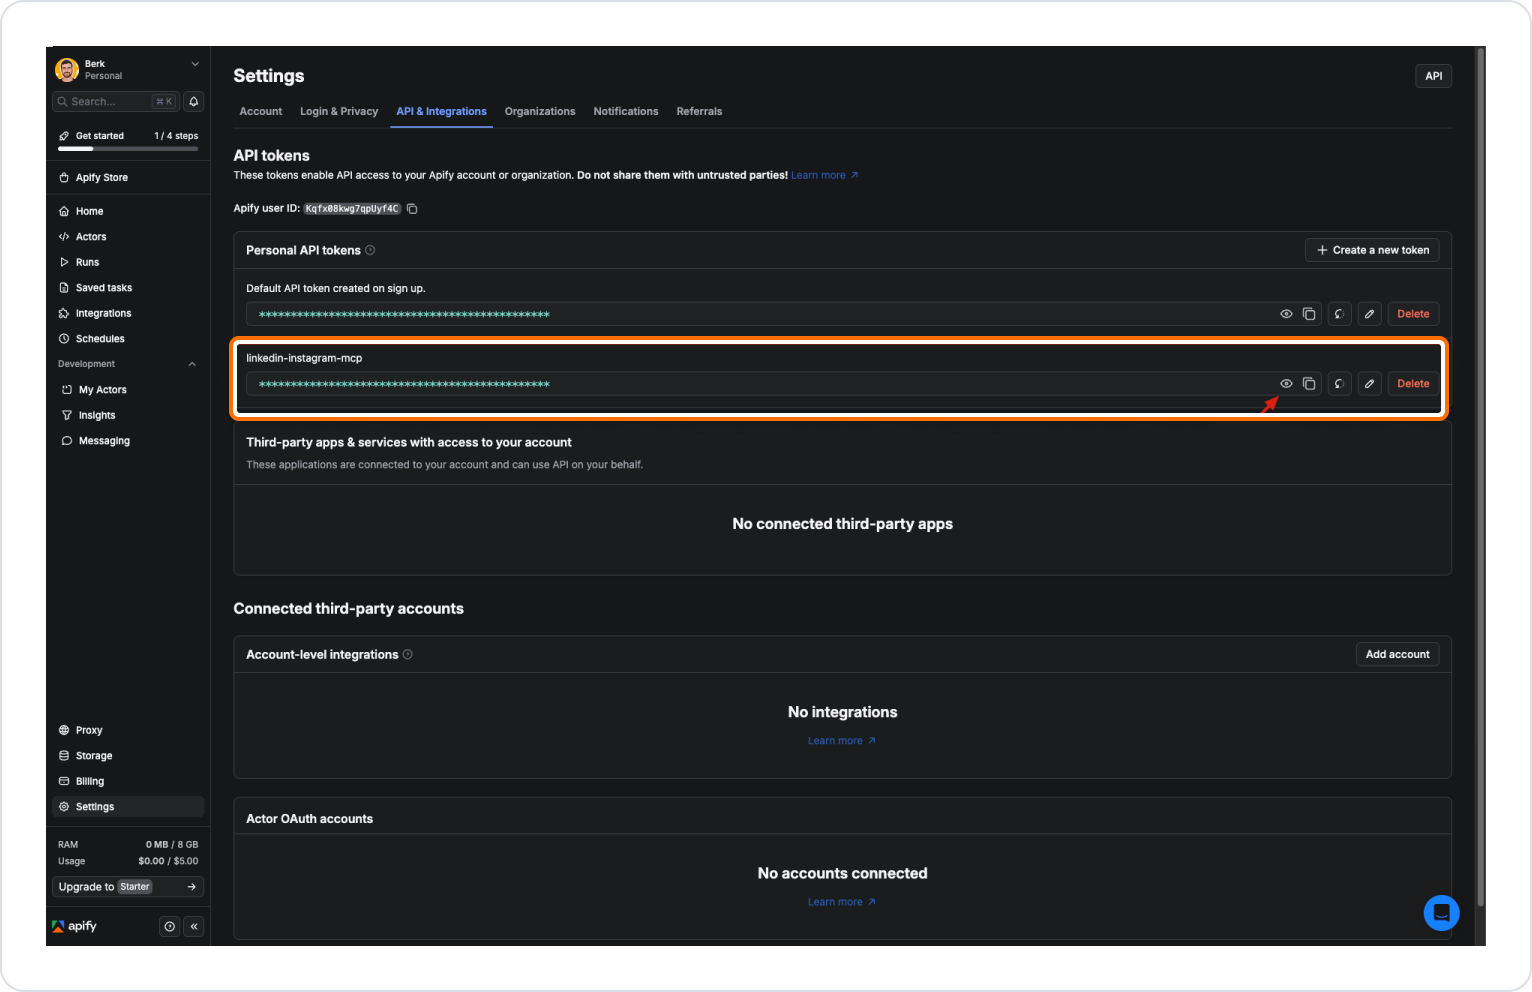
- The generated API Key will be displayed in the Personal API Tokens list.
Store the API Key in a secure location and do not share it with third parties.
Defining Apify Settings in Kuika
Paste the API Key you created into the:
- API Key field on the Configuration Manager → MCP → Apify → ADD NEW screen.
- After saving, this setting can be used by linking it to the settings parameter in the Apify Action in the project.