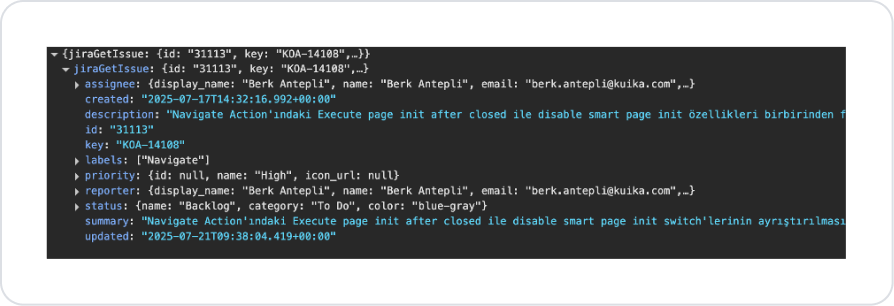
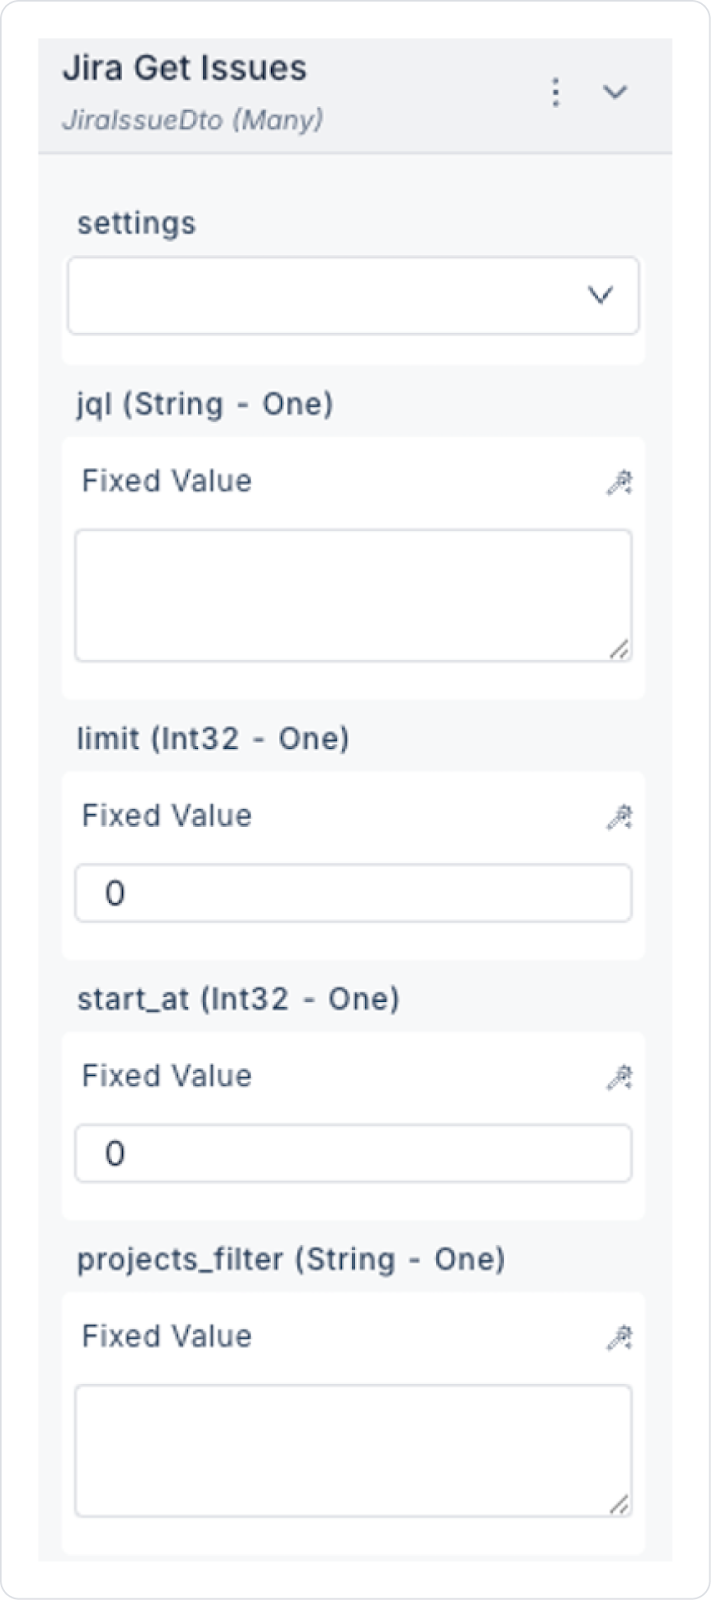
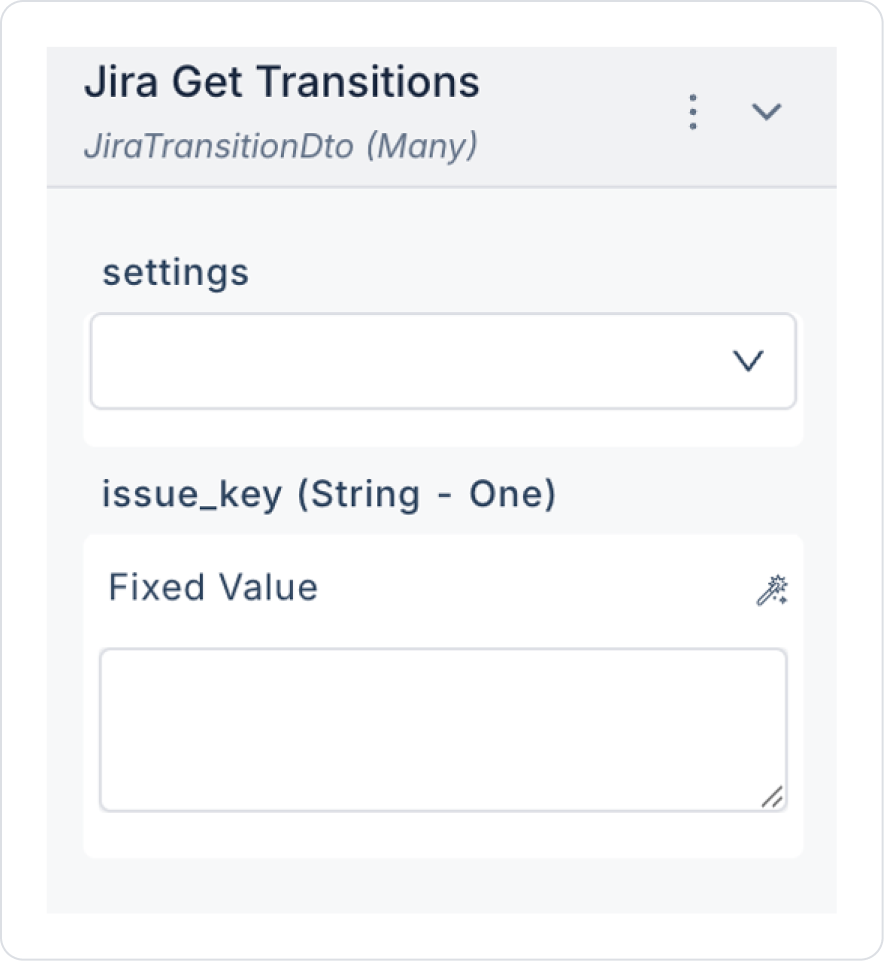
Jira MCP enables your Kuika application to interact directly with the Jira API. This allows issue management, user information, worklog, and project-based queries to be performed in a standardized manner via MCP.
Configuring Settings Through Config Manager
Log in to the Kuika platform.
Open the project you want to work on from the Apps screen.
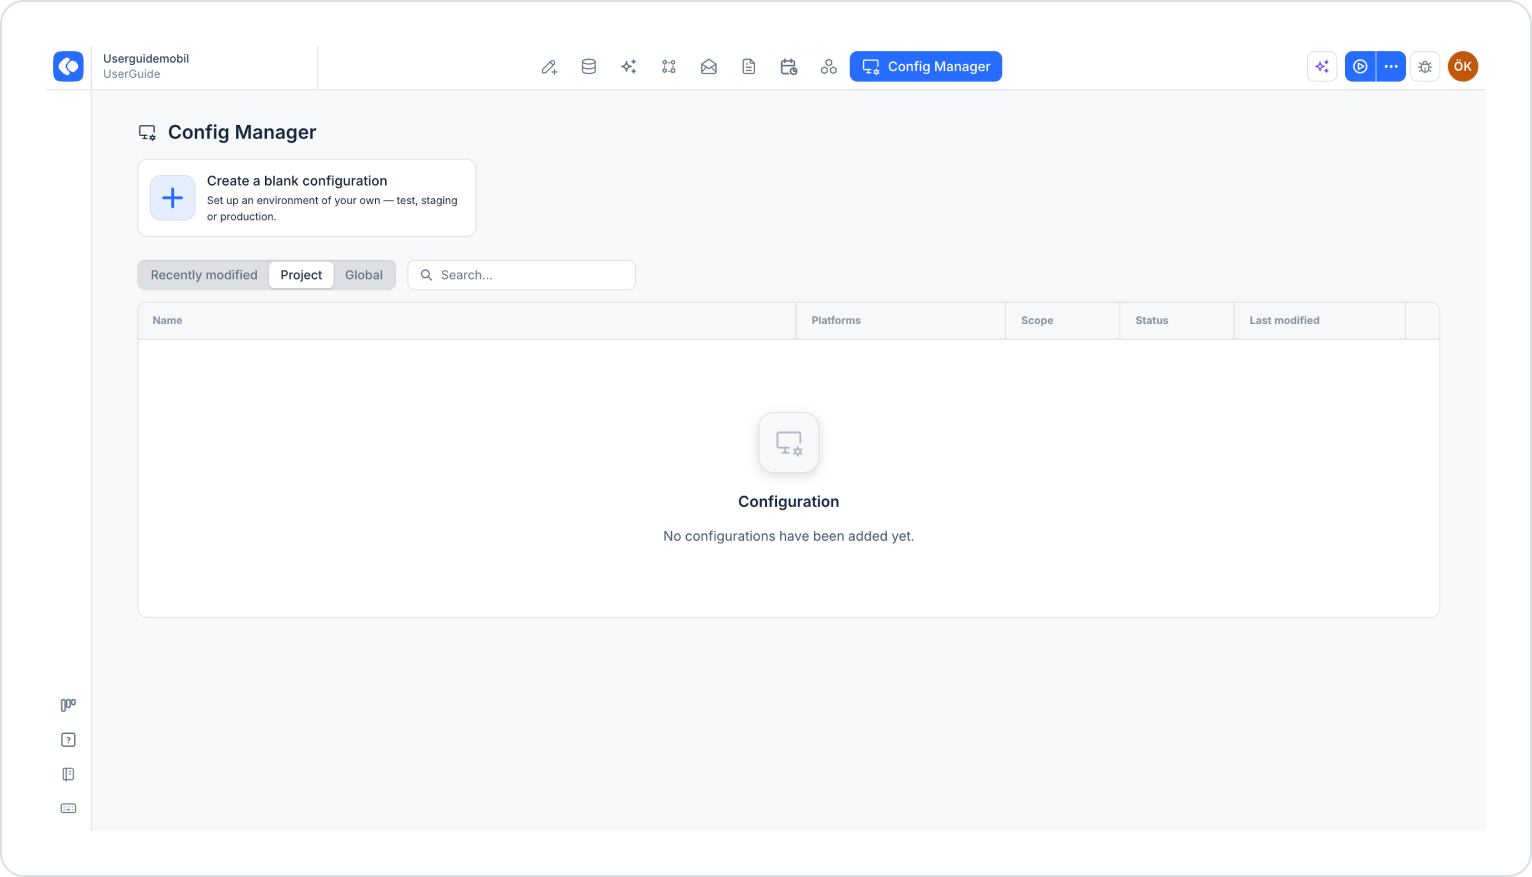
Click the Config Manager module in the top menu.
To edit an existing configuration, click its name in the list, or create a new configuration using the Create a blank configuration card.
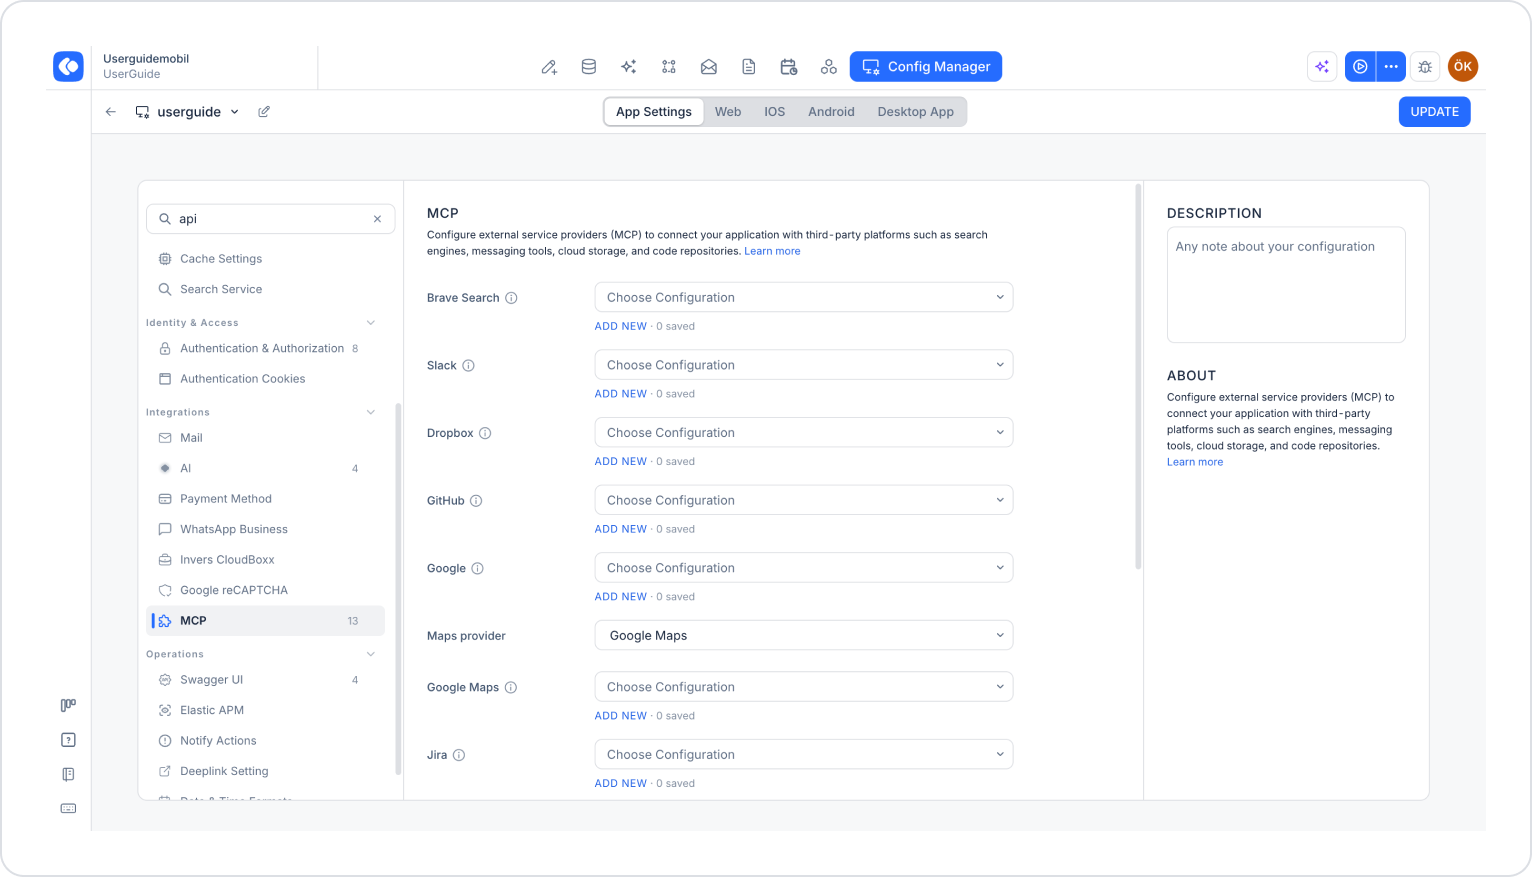
Make sure the App Settings tab is selected at the top of the configuration screen.
In the left menu, click the MCP option under the INTEGRATIONS heading.
Click the Add New link under the Jira section.
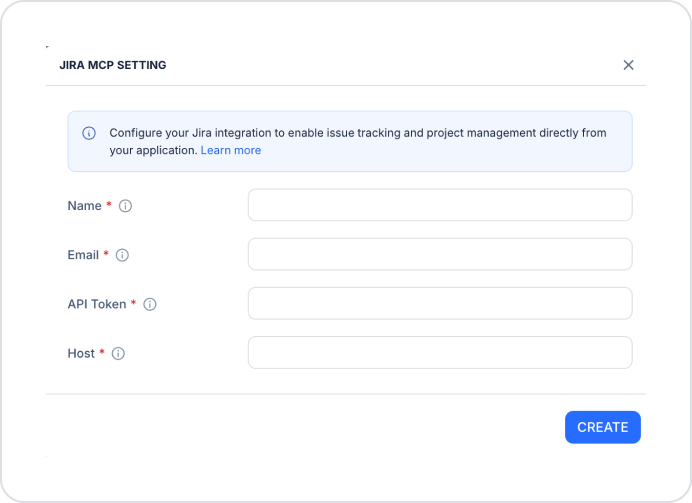
In the Jira MCP Setting window that opens, fill in the following fields (all fields are required):
Name: A unique name for the integration.
Email: The email address associated with your Jira (Atlassian) account.
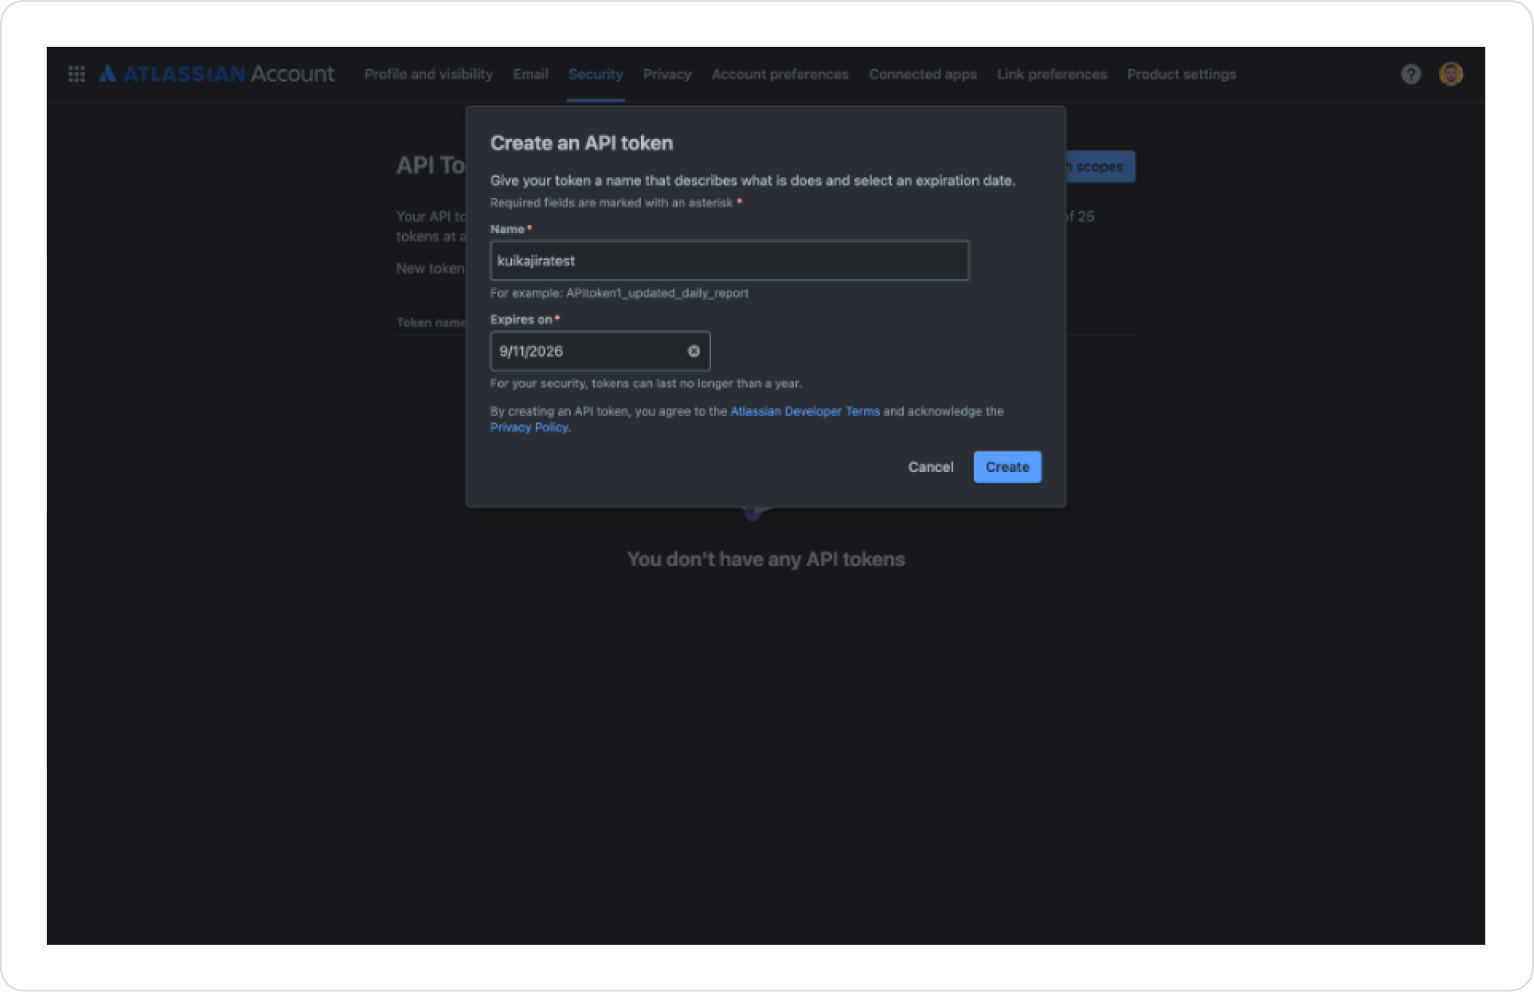
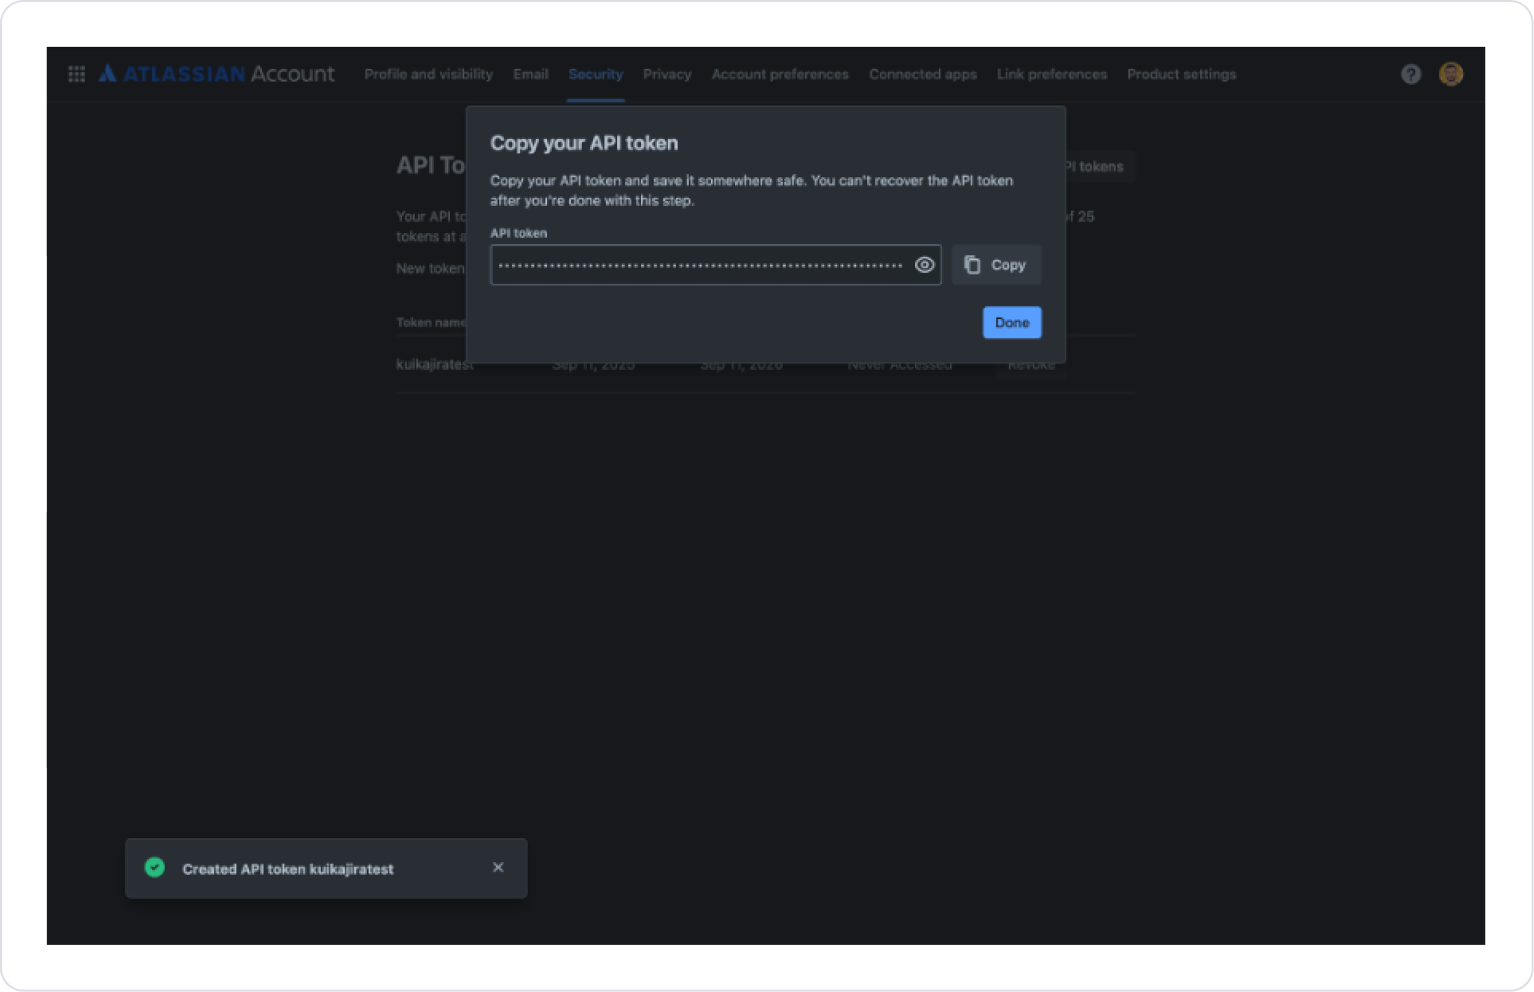
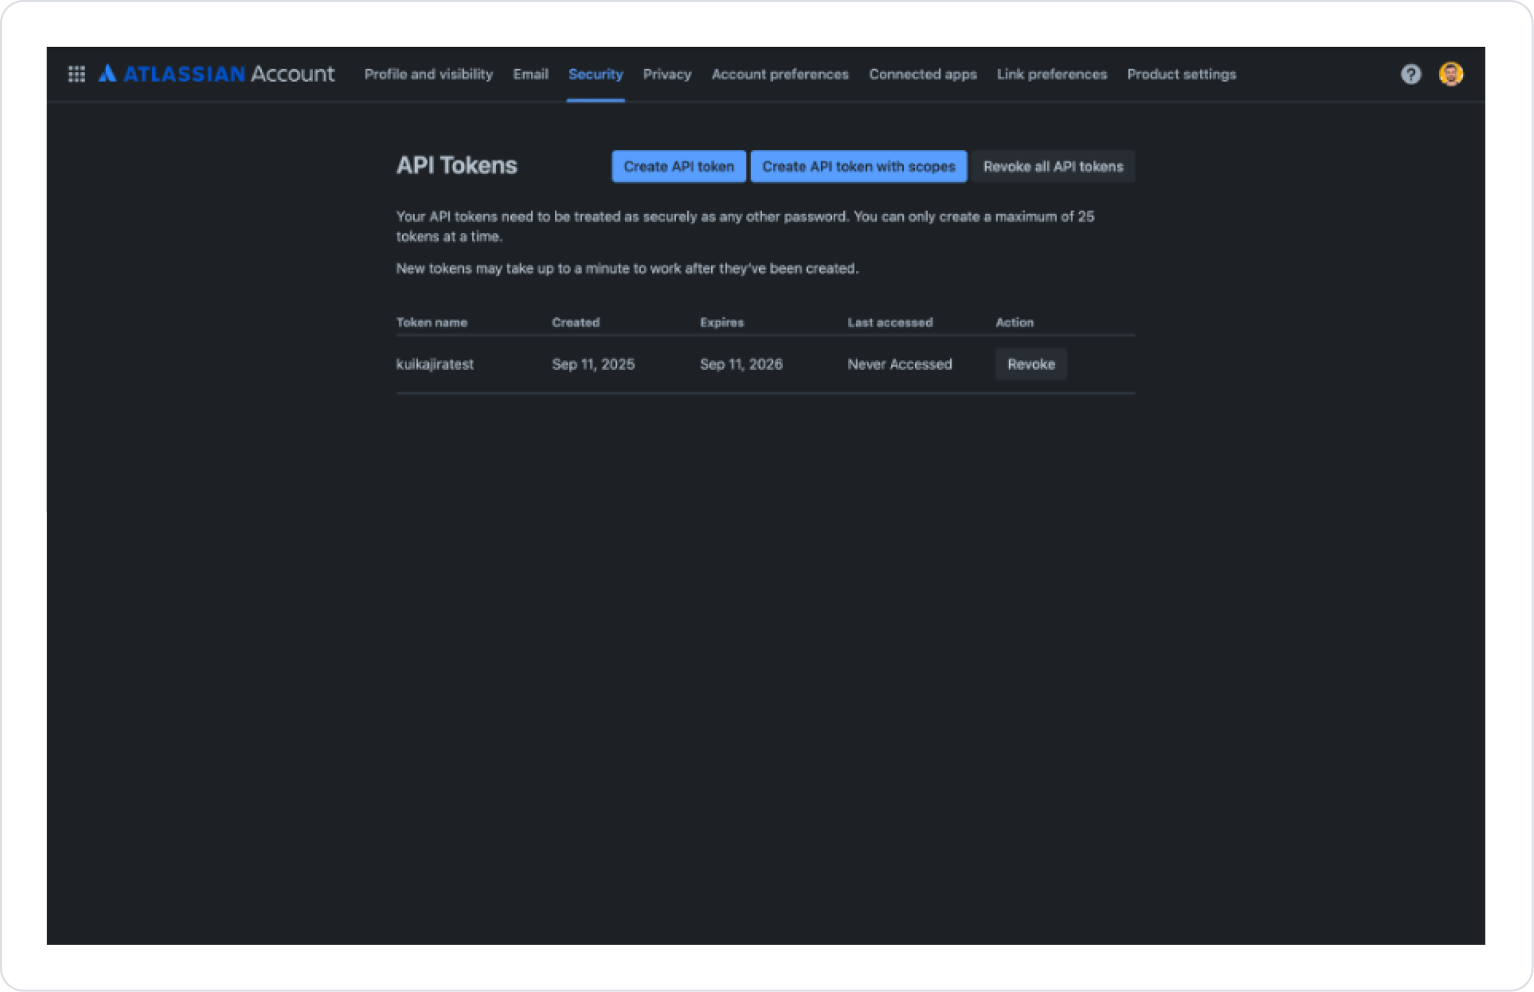
API Token: The API token you created through Atlassian. You can generate the token in your Atlassian account settings under Security > API tokens.
Host: Your Jira URL (e.g., https://your-domain.atlassian.net).
Click the Create button.
Select the configuration you created from the Jira dropdown menu.
Click the Save button in the upper-right corner to save your changes. (In an existing configuration, this button appears as Update.