You can define how date and time information will be displayed to users in your application through the Date & Time Format settings. These settings allow you to customize the date and time values in the user interface according to regional or application requirements.
How to configure?
Log in to the Kuika platform.
Open the project you want to work on from the Apps screen.
Click on the Configuration Manager module.
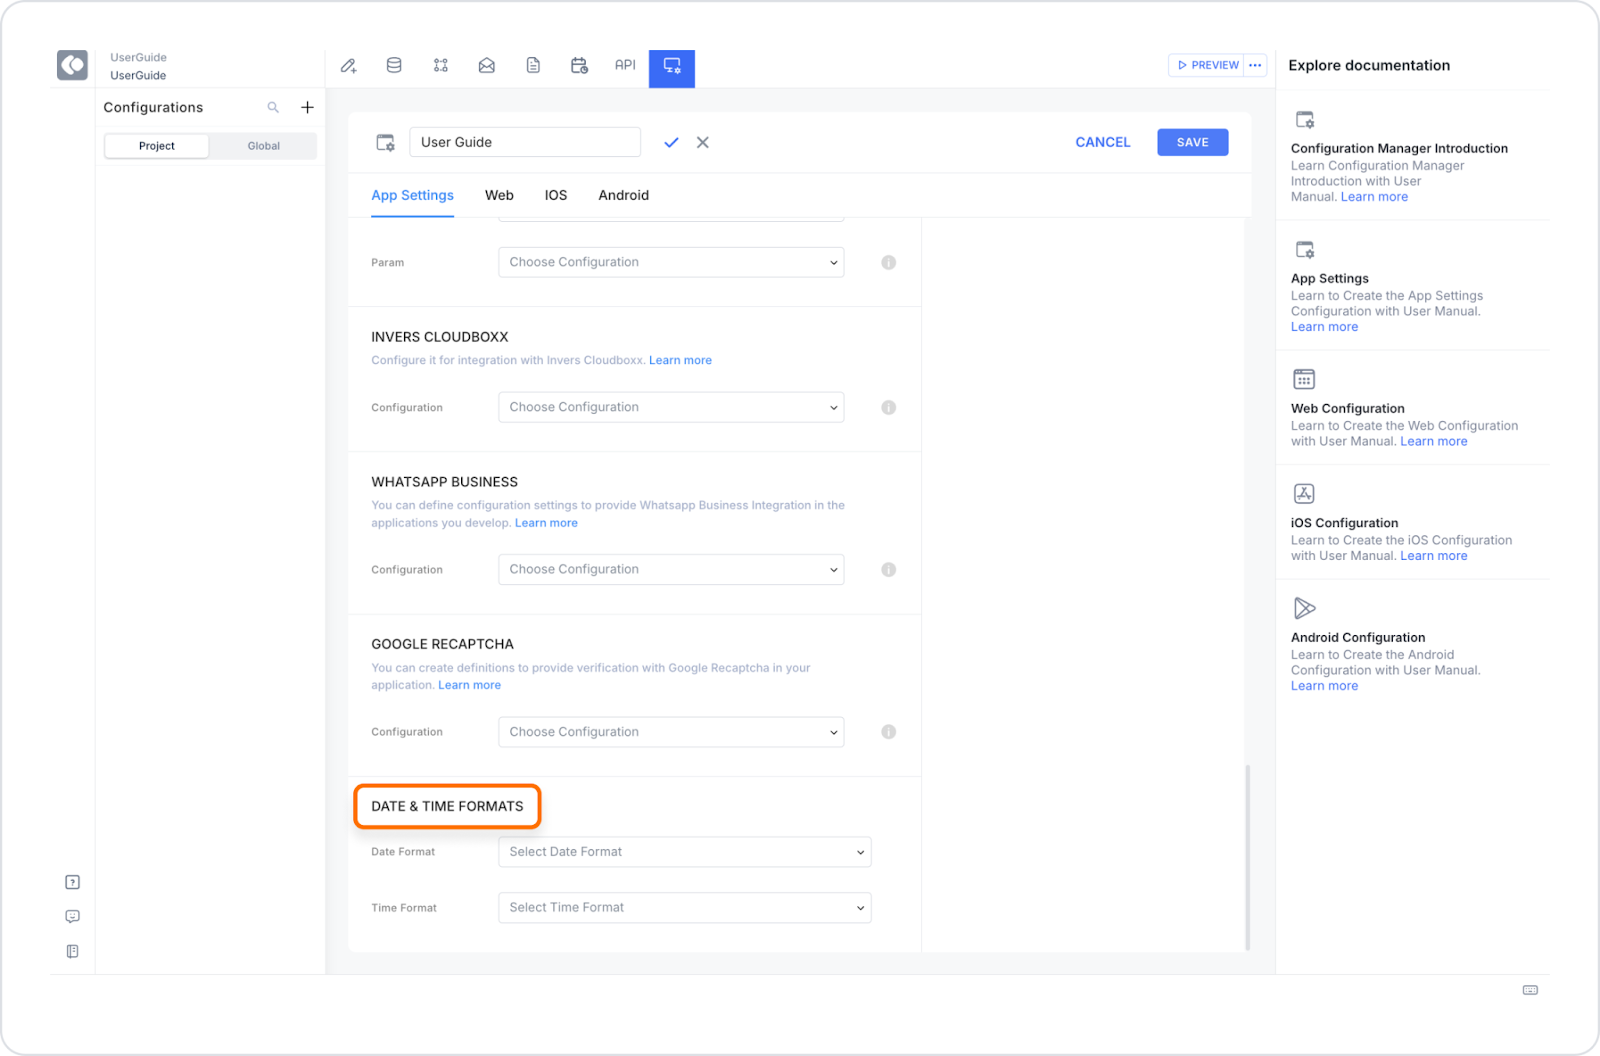
Go to the App Settings tab.
Find the Date & Time Format section at the bottom of the page.
Select the appropriate options in the Date Format and Time Format fields.
Available Date Formats
You can select one of the following date formats:
MM/DD/YYYY: Month, day, and year are displayed in that order (example: 07/09/2025).
YYYY/MM/DD: Year, month, and day are displayed in that order (example: 2025/07/09).
DD-MM-YYYY: Day, month, and year are displayed separated by a hyphen (example: 09-07-2025).
MM-DD-YYYY: Month, day, and year are displayed separated by a hyphen (example: 07-09-2025).
YYYY-MM-DD: Year, month, and day information are separated by a hyphen (example: 2025-07-09).
DD.MM.YYYY: Day, month, and year information are separated by a period (example: 09.07.2025).
MM.DD.YYYY: The month, day, and year are separated by periods (example: 07.09.2025).
YYYY.MM.DD: The year, month, and day are separated by periods (example: 2025.07.09).
These options define the visual order in which dates are displayed.
Available Time Formats
The following time formats are available for time display:
HH:MM: Hour and minute information is displayed in a 24-hour format (example: 14:30).
HH:MM:SS: Hours and minutes are displayed in a 24-hour format (example: 14:30:45).
HH:MM AM/PM: Hours and minutes are displayed in a 12-hour format with a distinction between AM and PM (example: 02:30 PM).
HH:MM:SS AM/PM: The hour, minute, and second information is displayed in a 12-hour format and the time zone is indicated with AM/PM (example: 02:30:45 AM).
The HH:MM and HH:MM:SS formats display in a 24-hour system. The AM/PM formats use the 12-hour system and indicate the time zone.
Save and Preview
After selecting the date and time formats, click the SAVE button in the upper right corner of the screen to save the settings. You can then use the Preview option to test how the settings appear in the application.