
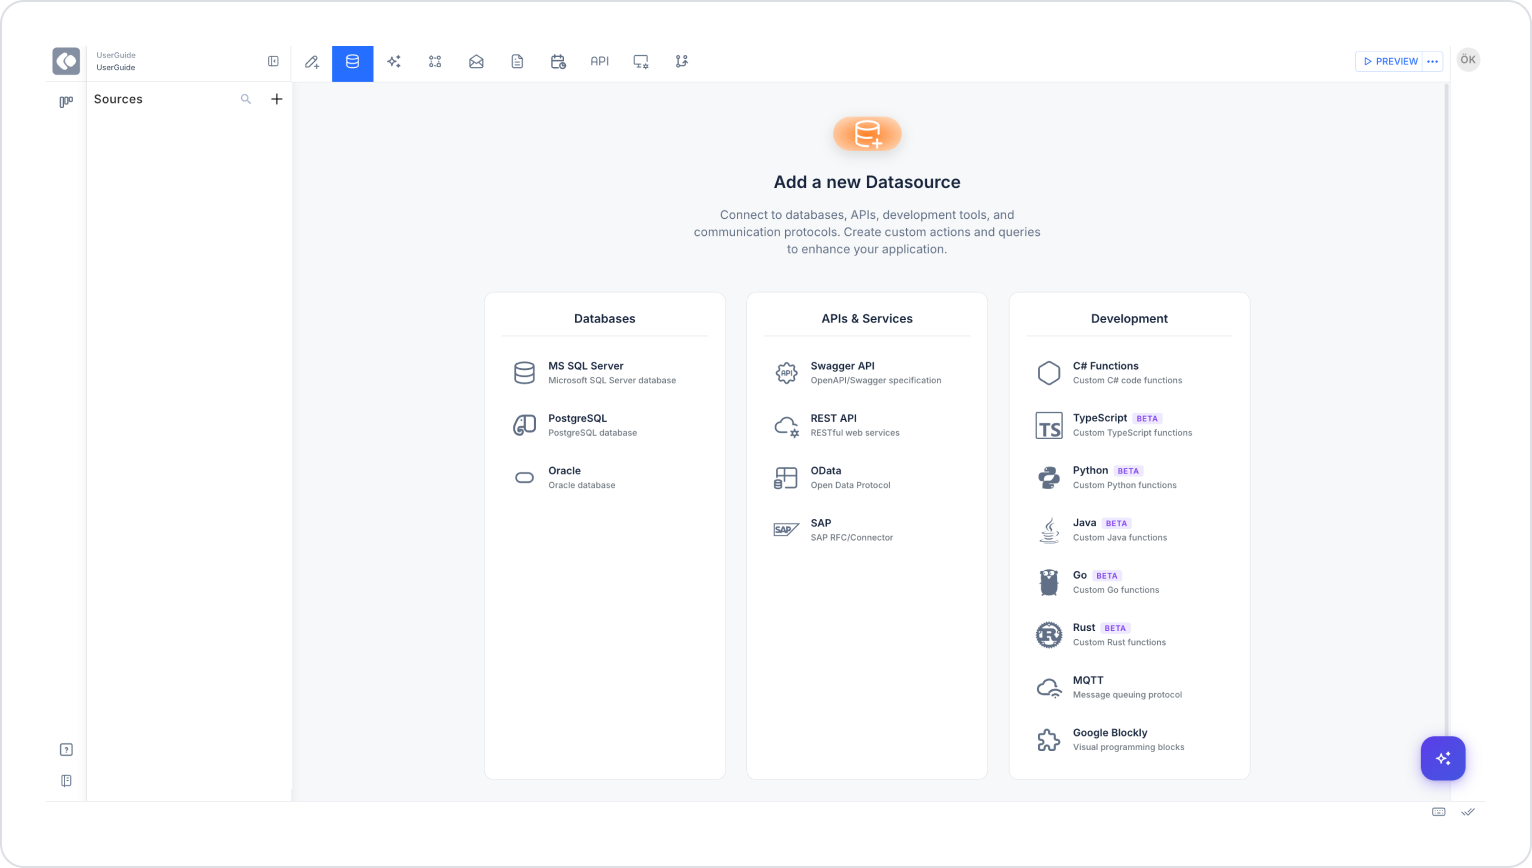
With Kuika, you can use various data sources while developing applications. Thanks to Kuika's technical features, you can establish data connections with sources such as MSSQL DB, Oracle, Swagger API, Rest API, C#, Python, Java, Go, Rust, Bluetooth and AI Actions.
Follow these steps to create a data source connection with artificial intelligence in the Datasources module:
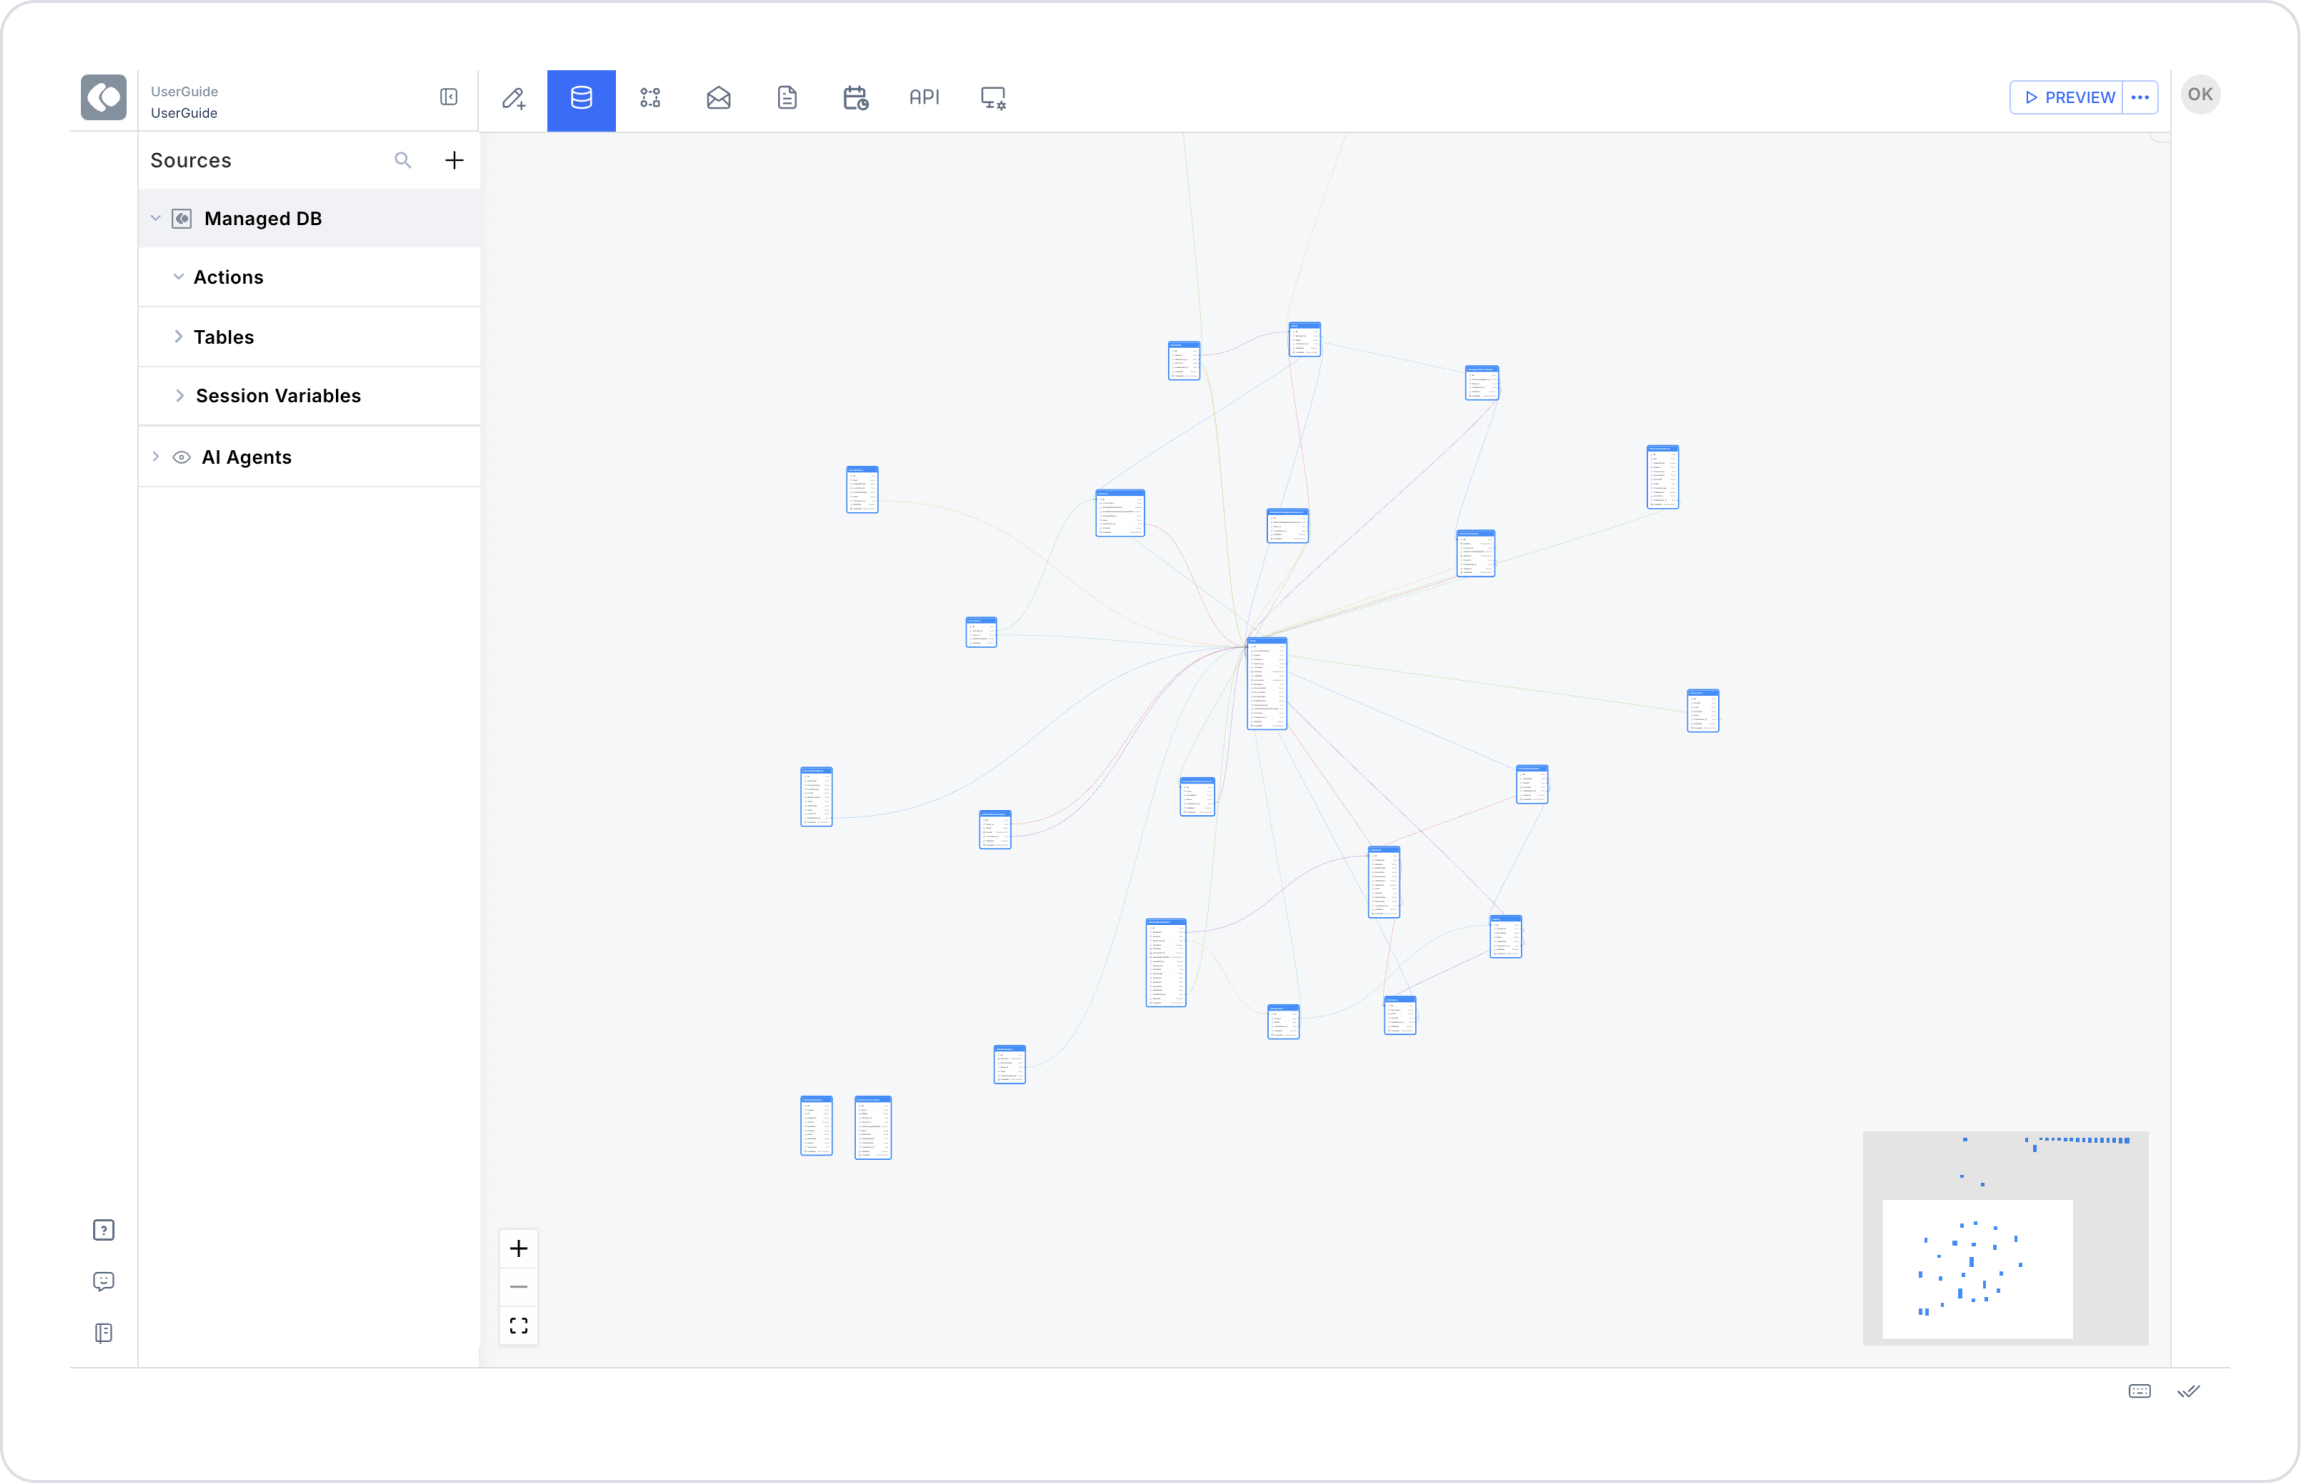
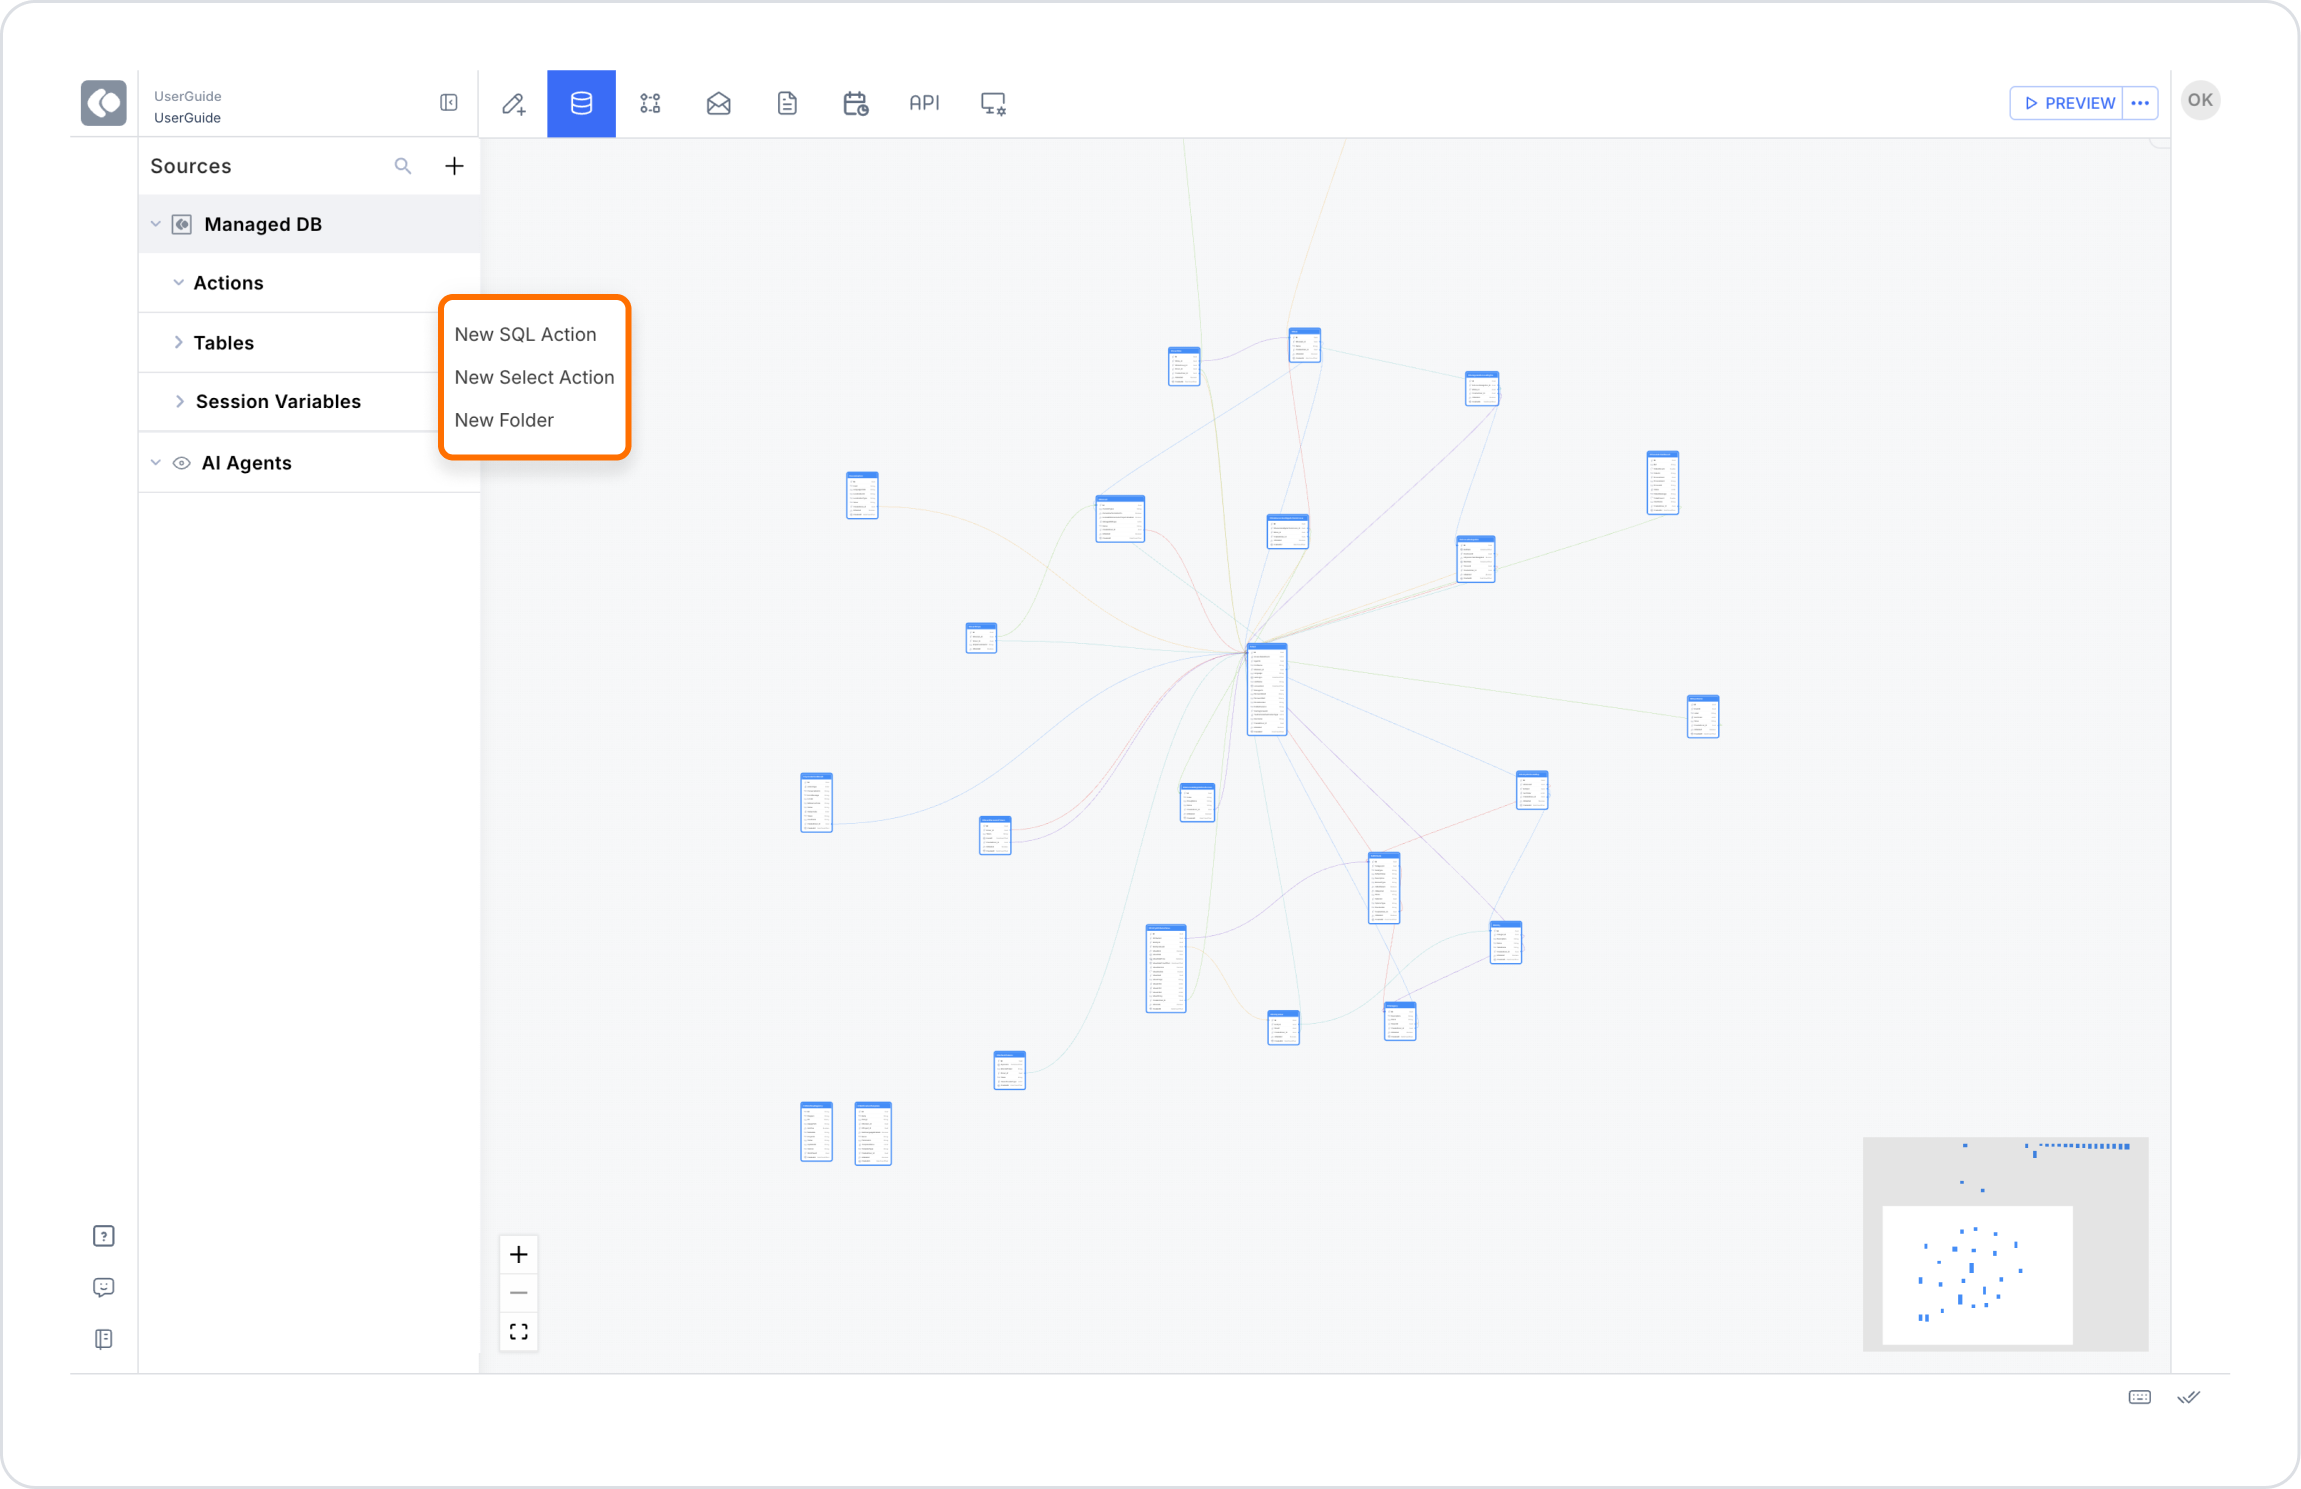


With Kuika you can quickly add a new table to the data source.

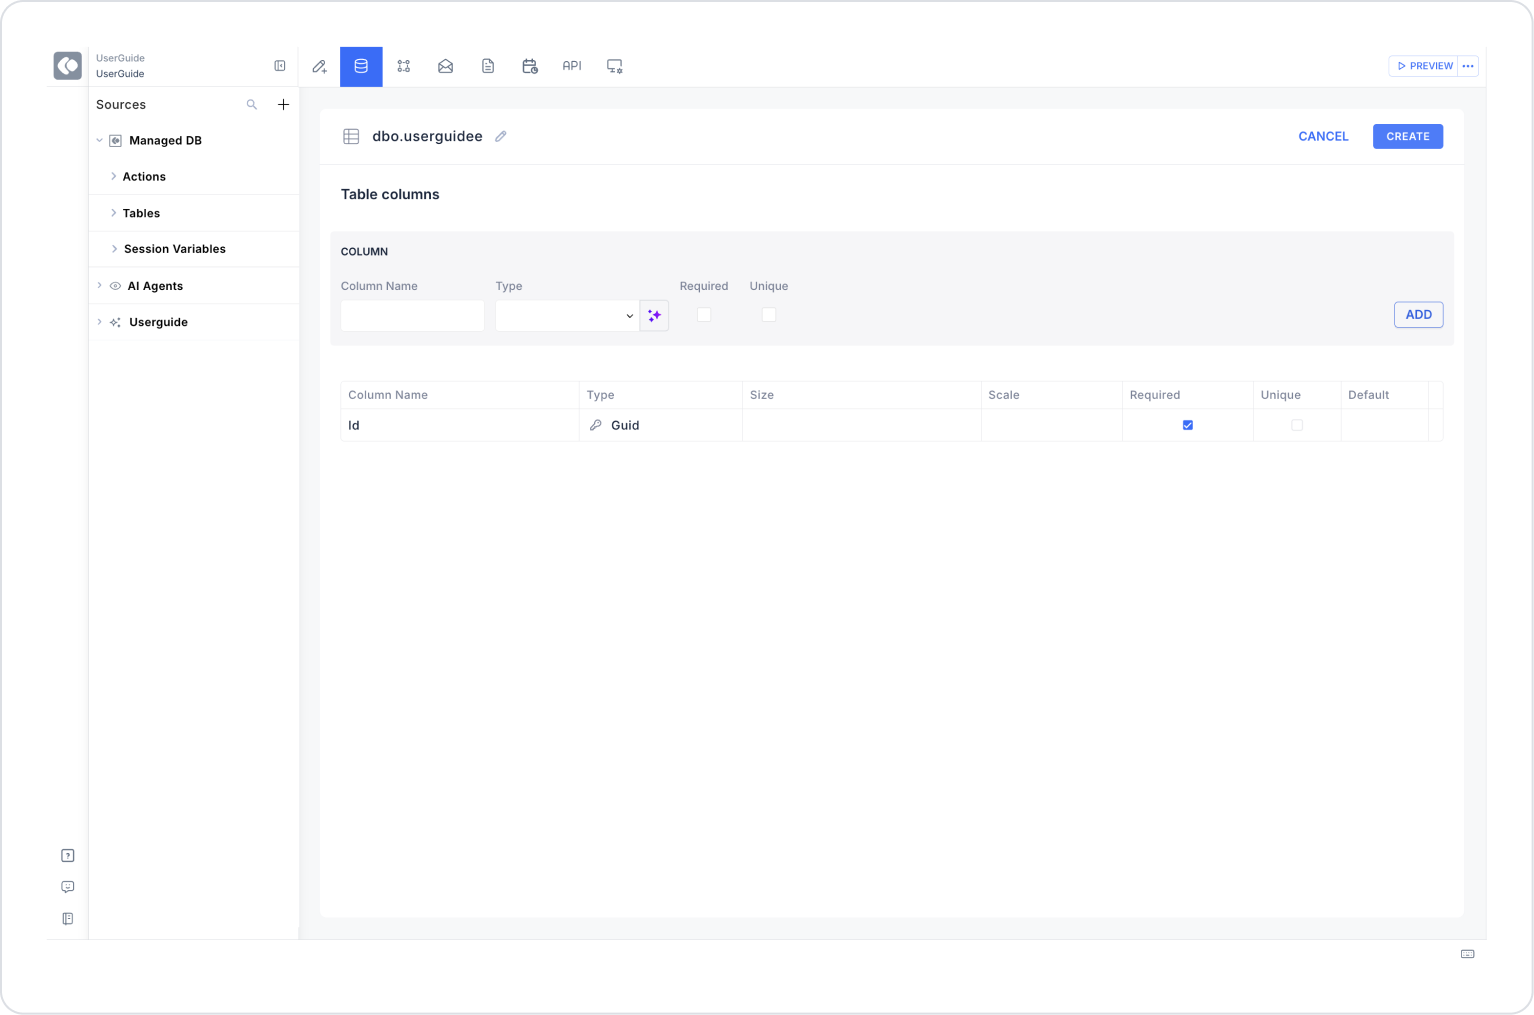
You can activate the Kuika AI button to use artificial intelligence suggestions.
Editing and Deleting a Table
At design time, you can view and edit a table’s data directly through the platform interface. This allows you to create test data, edit existing records, or import/export data without needing a separate database client.
Access: DataSource → ManagedDB → when you hover over any table, the Browse Data (table icon) and ellipsis menu icons appear.
System Tables: System tables such as KApplication and KUser open in read-only mode: "System table — view only. You can read rows here, but edits, imports, and exports are disabled.“ message appears, and the SAVE/DISCARD buttons become disabled.
Hiding Sensitive Columns: In tables containing sensitive data, such as KUser, columns like passwords are automatically hidden, and the ”X sensitive columns hidden" warning is displayed.
Adding and Editing Data
Save / Discard: Changes made activate the SAVE button; changes can be undone with DISCARD.
Undo / Redo: Changes can be undone or redone using the Cmd+Z (Undo) and Cmd+Shift+Z (Redo) shortcuts.
Generating Data with AI: Generate with AI Sample data rows can be generated using this button. The generated records first appear as draft inserts; they can be reviewed before saving and then saved to the database.
Show/Hide Columns: Using the Show / hide columns feature on the toolbar, you can hide or show specific columns; Show all and Reset widths options are available.
Column-Based Filtering: You can narrow down the data list by applying a filter to any column; the filter can be cleared using Clear filter.
Right-Click (Context Menu) Actions: Right-clicking a row displays the following options: Set [field] to null, Export selection, Clone row, Fill column from this row, Duplicate selected, Delete selected, Clear selection.
Export: Data can be exported in CSV, Excel (XLSX), SQL INSERT, SQL UPDATE, and SQL UPSERT (MERGE) formats.
Import: Data can be imported from CSV or Excel (.xlsx) files; Insert, Update existing, and Dry run modes are supported.
Preview SQL: Before saving, the SQL query corresponding to the changes made can be viewed as a preview (Preview SQL).
With Kuika, you can create new data sources using different data sources during the application development process.
With these steps you can manage your application's data connections by using the Kuika data sources module effectively.

