Message Queuing Telemetry Transport (MQTT) Adding a Data Source User Guide

Message Queuing Telemetry Transport (MQTT) Adding a Data Source User Guide

What is MQTT?

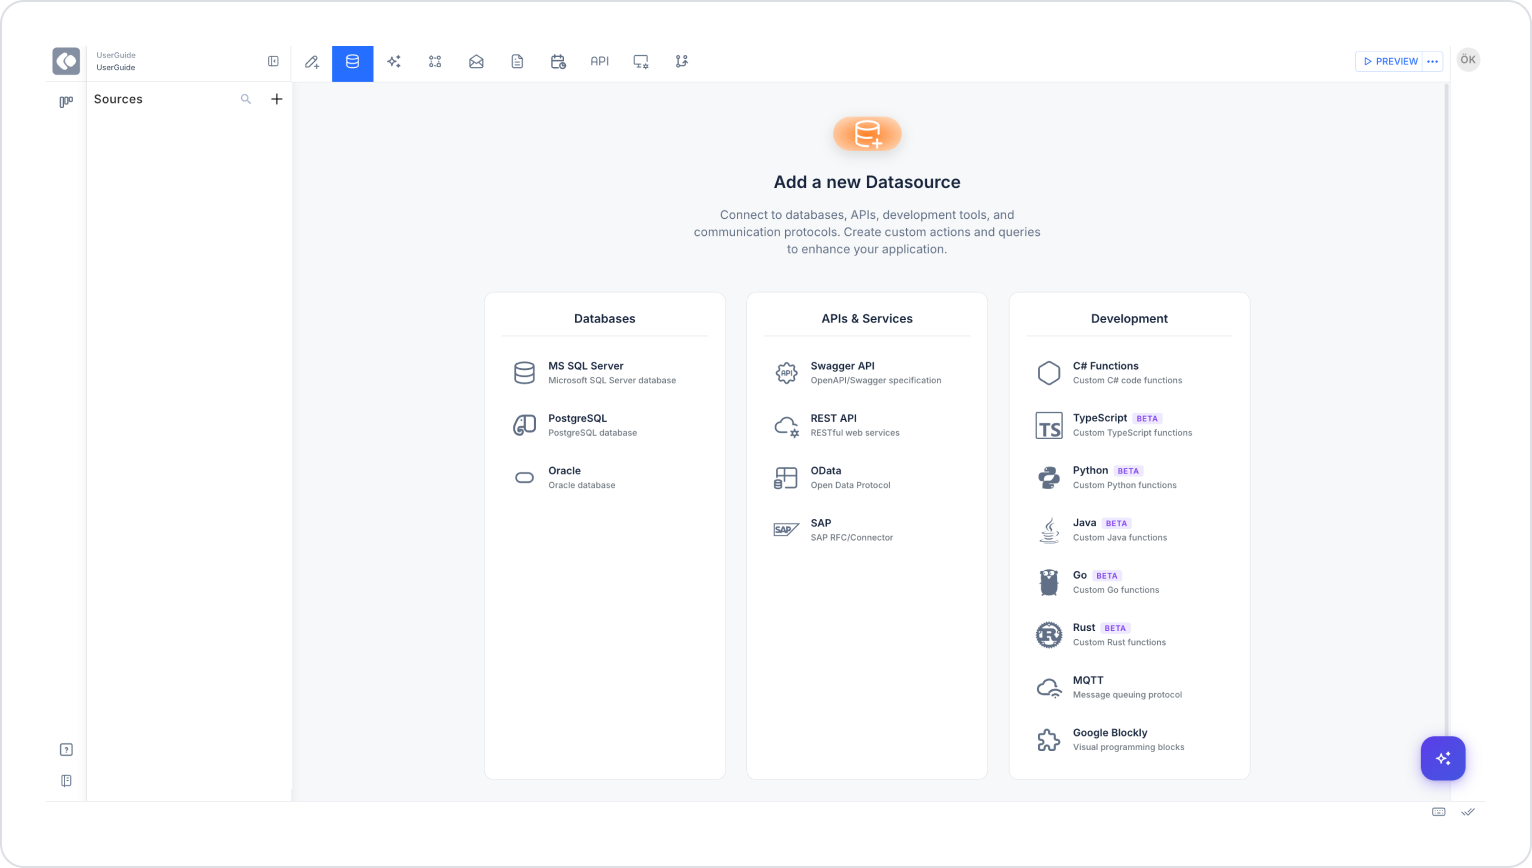
MQTT is one of the external communication protocols you can use on the Kuika platform. You can easily integrate your existing MQTT infrastructure into Kuika applications. MQTT is a protocol that stands out with its lightweight and low bandwidth requirement, especially ideal for IoT (Internet of Things) applications.

Using MQTT, you can ensure fast and reliable data flow between devices. This guide covers how to integrate MQTT, the process of creating a HiveMQ Cloud membership, configuring connection settings, and the steps required to send and receive messages over MQTT.

This training content consists of the following topics:

  1. Adding a data source connection to your app with MQTT
  2. Create a HiveMQ Cloud membership
  3. MQTT features
  4. Configure MQTT connection settings
  5. MQTT subscribe on page launch
  6. Binding MQTT publish to a button
Add a Data Source Connection to Your App with MQTT
  1. Log in to the Kuika platform and open the project you will work on from the Apps screen.
  2. Go to the Data Sources module. Here you can view existing data sources, actions and tables or add a new data source.
  1. To add a new data source:
    • Click the + icon next to the Sources heading.
    • Select MQTT as datasource type and enter a name.
    • Click the CREATE button to complete the process.
Create HiveMQ Cloud Membership

HiveMQ Cloud is an IoT platform that supports the MQTT protocol. Using the HiveMQ Console you can create an MQTT broker and connect your devices.

HiveMQ Cloud User Creation

  1. Go to HiveMQ Cloud Console.
  2. If you do not have an account, click the Sign Up button to register.
  3. If you have an account, login by clicking the Login button.

Create a New Cluster

  1. Go to the Clusters section and click Create Cluster.
  2. Specify a name for the cluster (for example, “MyFirstCluster”).
  3. Select the location of the cluster (for example, “Europe” or “North America”).
  4. Choose between free or paid plans.
  5. Create the cluster by clicking the CREATE button.

Connecting with Web Client

  1. Click on the Web Client tab in the left menu.
  2. Enter the connection information on the screen that opens :
    • Host: The connection URL given when you created the cluster (usually *.hivemq.cloud).
    • Port: 1883 (non-secure) or 8883 (SSL).
    • Client ID: Set a random ID.
    • Username & Password: Information you created in the HiveMQ Console.
  3. Click the Connect button.

After completing these steps, you can send (publish) or listen (subscribe) to a specific topic.

MQTT Features

Topic

In MQTT, topic allows filtering of messages. A hierarchical structure separated by a slash (/) is used.

Examples:

  • home/living_room/temperature → Temperature data for the living room.
  • vehicles/car/speed → Vehicle speed data.

Quality of Service (QoS)

The QoS level in MQTT determines the reliability of message delivery.

  1. QoS 0 (At Most Once) → The message is sent without waiting for confirmation. Available if data loss can be tolerated.
Only available if the transmitter and receiver are connected by cable.
  1. QoS 1 (At Least Once) → Message is transmitted at least once but can be repeated.
  2. QoS 2 (Exactly Once)Most reliable level, the message is delivered only once.

Retain

The Retain feature allows messages to be saved and forwarded to newly connected clients.

  • Example: If a temperature value was sent with retain, all newly connected clients can see this value.
  • To clear a retain message: Retain true should send an empty message.
Configure MQTT Connection Settings

After creating the MQTT data source, enter the connection information:

  • Use TLS : Increases security by encrypting the connection.
  • Protocol: WebSocket is used by default.
  • Port: 1883 (insecure) or 8883 (secure/TLS supported).
  • Host: MQTT broker address. (for example, mqtt.example.com)
  • Basepath: Required for WebSocket connections (for example, /mqtt).
  • Username & Password: Authentication credentials for the MQTT server.

Click the Test button to test the connection and then save the settings with the CREATE button.

Add MQTT Subscribe on Page Open

With Subscribe you can automatically subscribe to a specific topic.

  1. Go to the UI Design module.
  2. Click the ADD ACTION button in the Properties panel on the right side.
  1. Add Subscribe action.
    • Example Topic: “kuika/test”
    • The user can see incoming messages to the specified topic.

You can add extra actions:

  • To show incoming messages: Use the Notify action.
  • To show messages in a text input field: Add the Set Value Of action.
Binding MQTT Publish to a Button
  1. Add a Button from the Elements section in the left panel.
  2. Bind the Publish action to this button.
  3. Specify the relevant topic to send a message.
    • Example Topic: “user/guide”
    • All users subscribed to this topic will receive the message.

This training content will accelerate your process of setting up MQTT connections on the Kuika platform, exchanging messages and integrating your applications with MQTT.

Other Related Content

No items found.

Glossary

No items found.

Alt Başlıklar