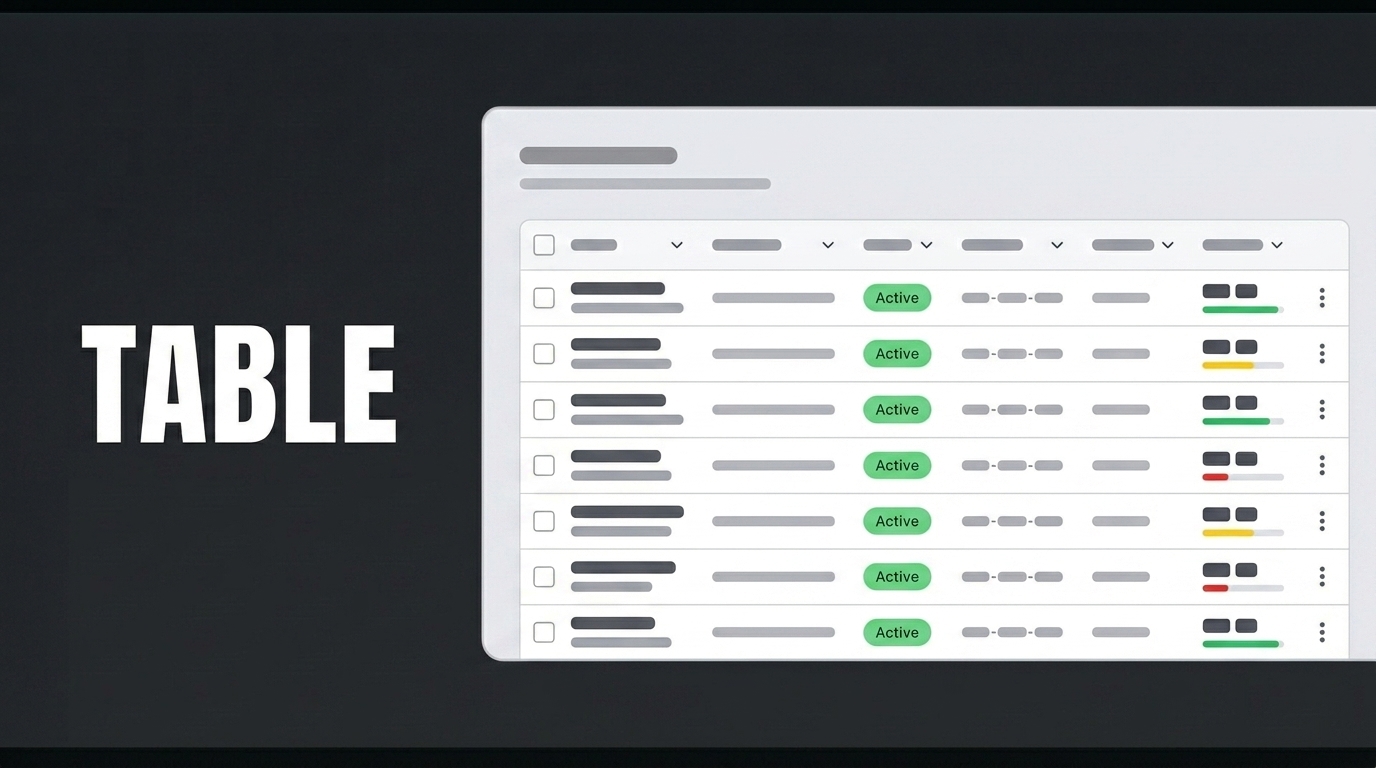
The table element allows you to view your invoice data in a structured, row- and column-based format with advanced features such as searching, filtering, sorting, and exporting to Excel.
It allows data to be displayed in a structured and easy-to-understand table format within applications. With this element, users can review, compare, and manage data using rows and columns.
In this video, we’ll explore an example of how to use this element using the Invoice List scenario. First, create the table structure on the screen. Next, create an action named “InsertInvoices” from the “New SQL Action” section and ensure the correct schema name is added by prefixing the table name with “dbo.”. Test and save it. Perform the same steps for the “GetInvoices” action.
Switch to the UI Design module. First, connect the ‘GetInvoices’ action to the “Initial Action” that will retrieve the data using the “Add Action” section. Next, drag the “Table” element onto the page and select “White Background” from the “Style” field under “Styling.” With the “Table” element selected, press the up arrow key to move the “Title” field at the bottom to the top row. Leave the column name field in the ‘Title’ field blank. Click the “Table Column” field within the table and follow the “Styling,” “Layout,” and “Align” steps to center both the vertical and horizontal alignment. Drag and drop the Image element into the Table Column. In the Styling section, set the Width and Height to 32 px. In the Style section, select “Fully Rounded_Border.” Click the other Title field and enter “No.” Add five more columns from the TableDefaultColumn. In the Title fields, enter “Date,” “Recipient,” “Status,” “Amount,” and “Current,” respectively. In the Properties panel, define the “GetInvoices” action in the DataSource field. Enable the “Global Search” setting to enhance your table’s capabilities. Enable the “ShouldSearchOnChange” property. Similarly, enable the “Sorter,” “Filtering,” “Column Chooser,” and “Export” features, which allow you to export to Excel. Click the Image element and define “RecipientLogoUrl” in the “Field to Display” field in the Properties panel. Similarly, make the appropriate Field to Display and Edit Mode Component mappings for the Label fields.
To implement this structure more quickly, you can click the Action Tree area in the left-hand panel and drag and drop the GetInvoices action onto the page.
When the application is tested, an Invoice List screen appears where invoices are listed row by row within a table structure. The logo representing the relevant company is displayed on the left side of each row, followed by the invoice number, invoice date, recipient company name, invoice status, amount, and currency information, all presented in a neat and readable format.