By following these steps, you can create a tagging screen that allows users to add and remove multiple tags to a project at the same time using the Multi-Select element and save their selections along with the project name.
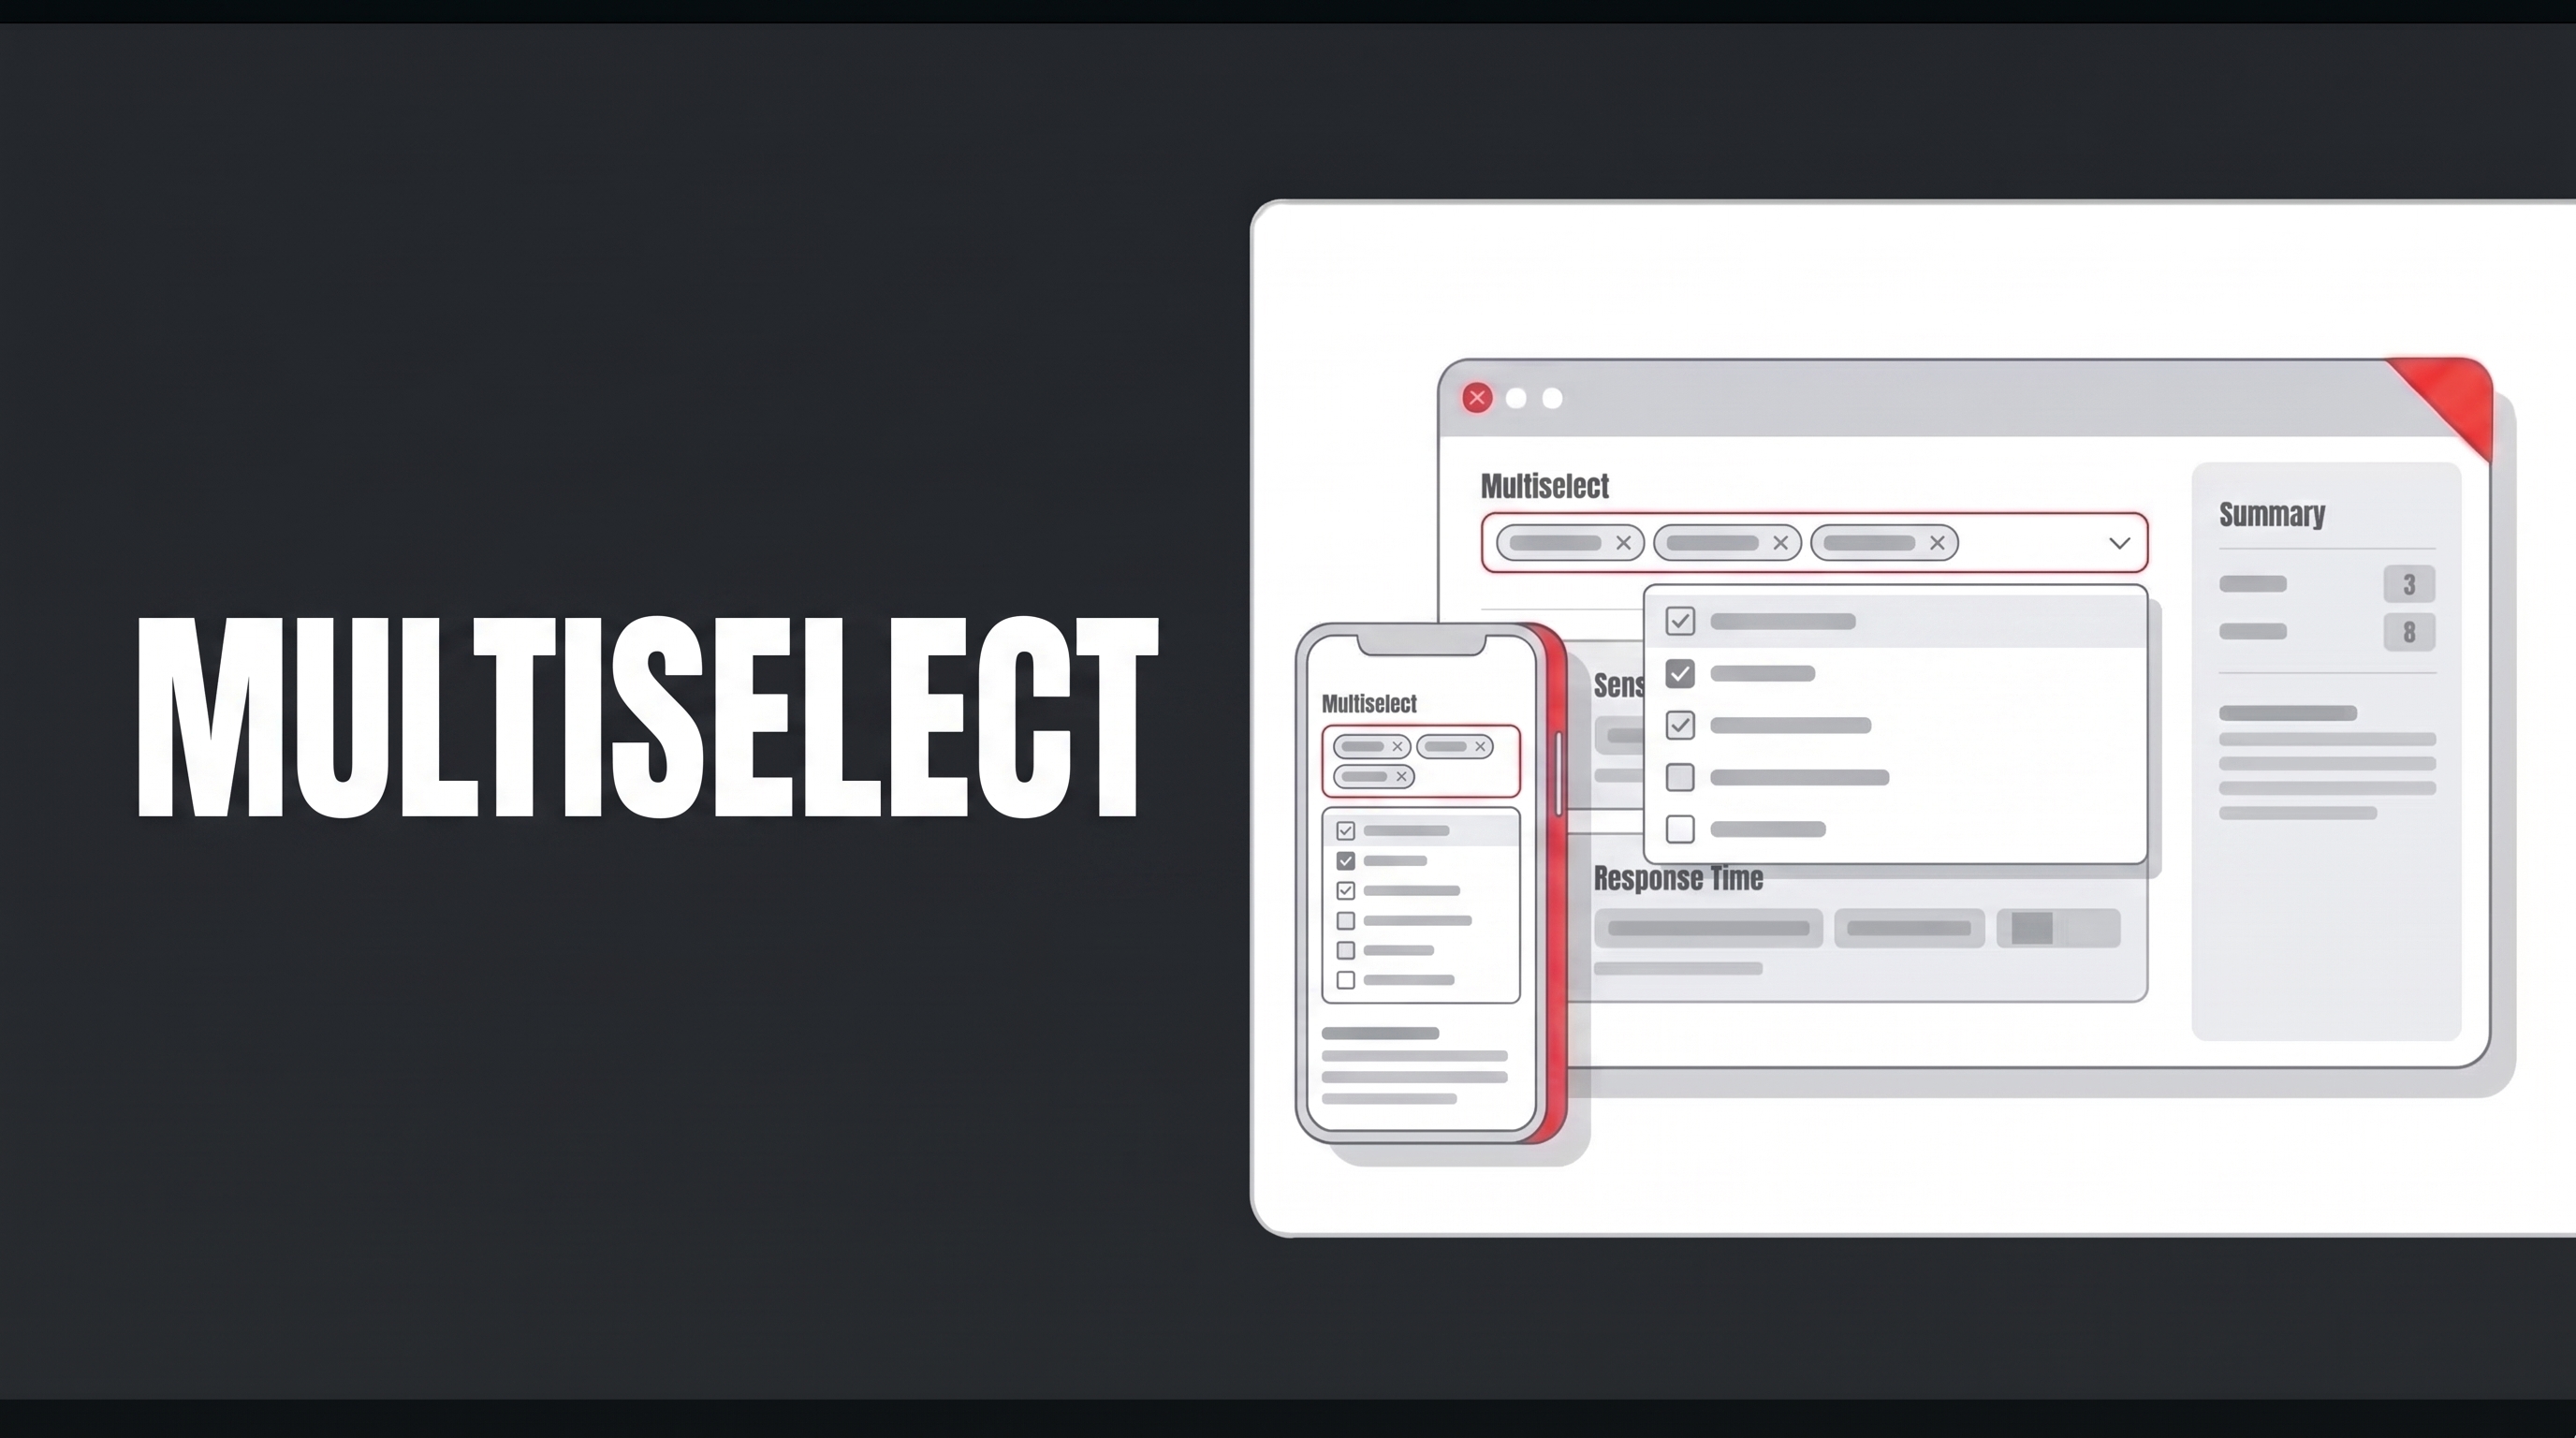
The “Multi Select” element is an advanced selection element that allows users to select multiple options from a list at the same time. Users can create combinations by checking the options that suit their needs and view the selected items with visual labels.
First, set up the “ProjectTags” and “Projects” table structures that you see on the screen. Then, select the “New SQL Action” option from the “Actions” section to create the “InsertProjectTags” action. When applying it, delete the table name, retype it, and press “Enter.” This will automatically add the correct schema name before the table name. Test the action and save it. Perform the same steps for the “GetProjectTags” action you will create next.
Next, from the “UI Design” module, add the “GetProjectTags” action to your page as the “Initial Action” via the “Properties” panel. Drag and drop a “Text Input” element and a “Multi Select” element onto your page. In the “Options” section—where the data table will be connected—configure the settings for “Actions,” “Field to display,” and “Field to Use as Key.” Add a “Delete” icon on the right side and check the “AllowClear” box to enable one-click deletion of entered data. Add a “Button” element to your page and type “Save” in the “Fixed Value” field under “Label.” Add a “Save Record” action to the button, select your table, and include all available columns. For “ProjectName,” select “Components,” “TextInput1,” and “value”; for “ProjectTags,” select “Components,” “MultiSelect1,” “value,” and “TagName”; and for the “Id” field, select “Default” and “New Guid.”
When the application is tested, a page appears where users can add multiple tags to a project, remove these selections if they wish, or add new tags.