Select the element to which the action will be added (e.g. a button).
Select a trigger (OnClick, Initial Actions, etc.) from the + ADD ACTION menu in the right panel.
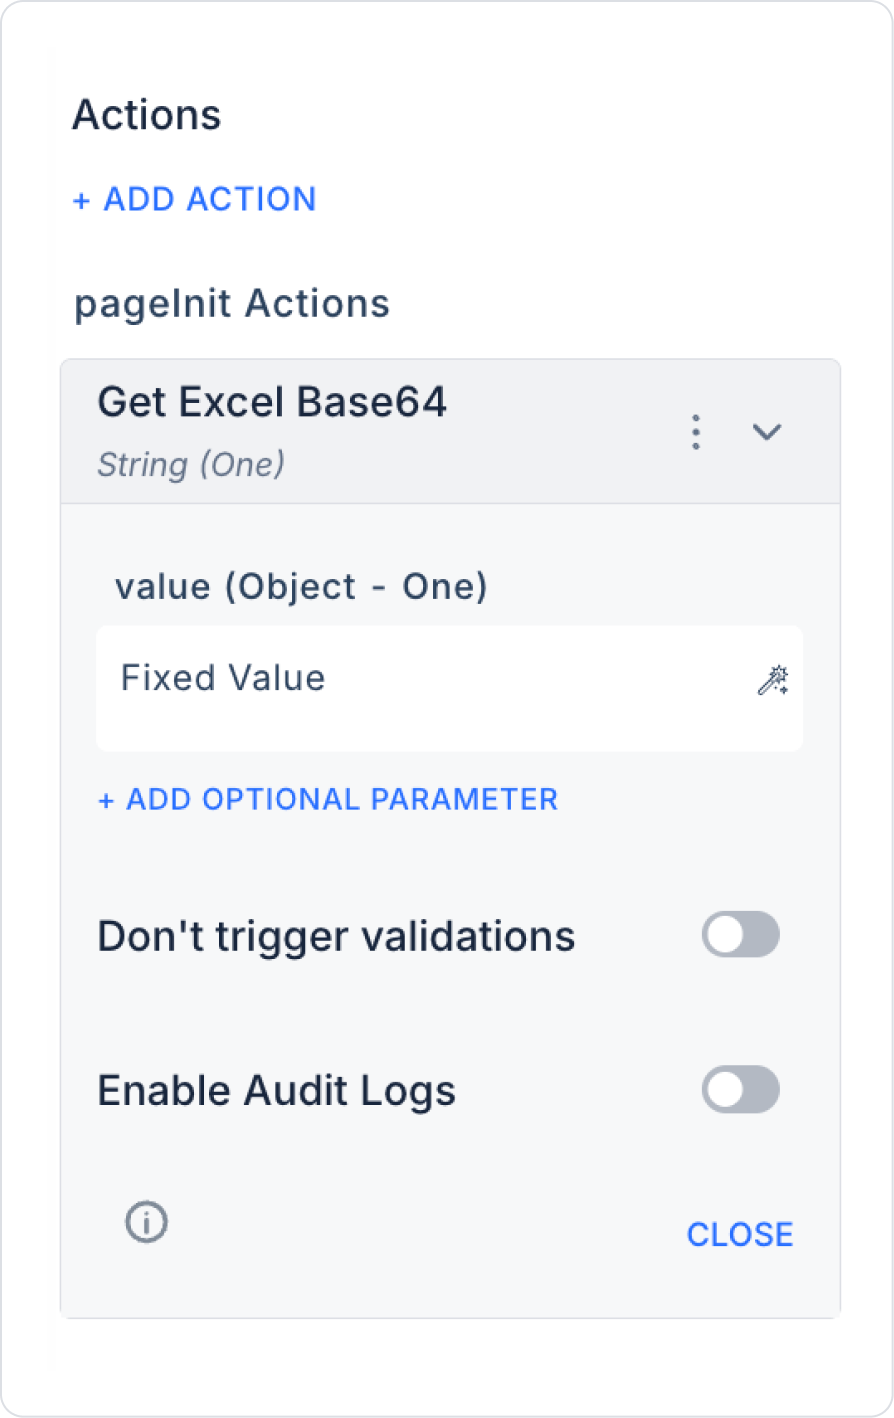
Add the Export > Get Excel Base64 action.
Configuring Get Excel Base64 Parameters
Value (String, required):
Specifies the data set to be converted to Excel.
It is usually defined using data sources such as Action Result, Current, Form Component, Screen Input or Fixed, and can be linked via the Symbol Picker.
Header (String, optional):
Header text to be added to the top of the file (e.g. ‘Sales Report’).
It is usually defined using data sources such as Action Result, Current, Form Component, Screen Input or Fixed and can be linked via the Symbol Picker.
Footer (String, optional):
Explanation or information to be displayed at the bottom (e.g. ‘This document was automatically generated by the system.’).
It is usually defined using data sources such as Action Result, Current, Form Component, Screen Input or Fixed and can be linked via the Symbol Picker.
Enable Audit Log (Optional): Ensures that actions performed during execution are added to the audit log records. This allows you to track when changes were made to the system, by which user, and within the scope of which action.
Completing the Registration Process
After configuring your parameters, click the SAVE button to save your changes. This step ensures that the Get Excel Base64 action is successfully added.