A workflow consists of a series of actions and decisions that proceed step by step to achieve a specific result. Workflow design is critical for ensuring that business processes proceed effectively and smoothly. Kuika Process Automation provides the components needed to easily create and manage workflows.
Creating a Workflow
Log in to the Kuika platform and open the project you’ll be working on from the Apps screen.
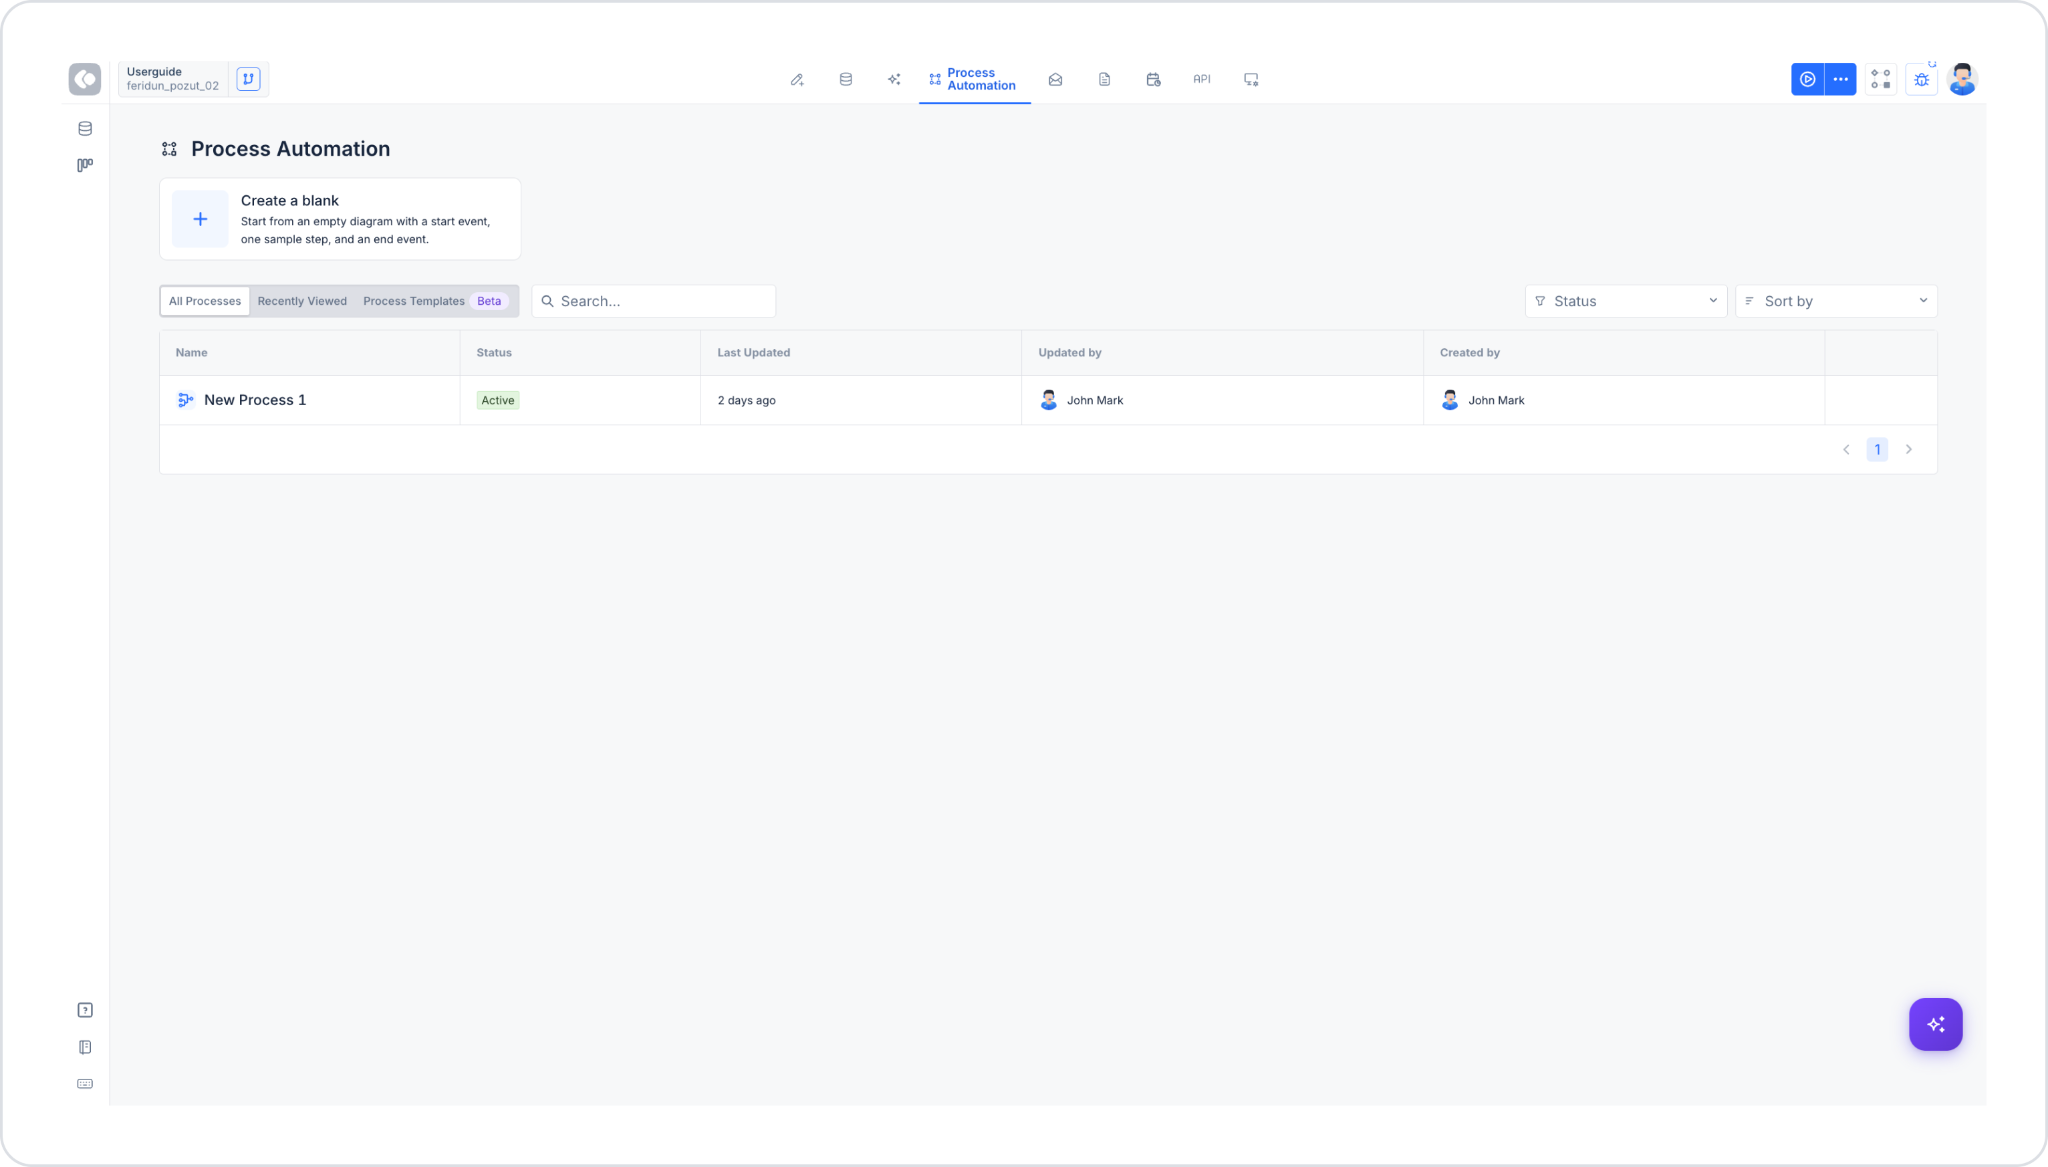
Click the Process Automation module.
On the main screen that opens, click the Create a Blank card. In the diagram screen that opens, give your workflow a name (e.g., “New Process 1”). The process begins with a blank diagram containing a start event, a sample step, and an end event.
In the design area, you can click on elements to change their type (Change Type), add a description note (Append Text Annotation), or delete them (Remove).
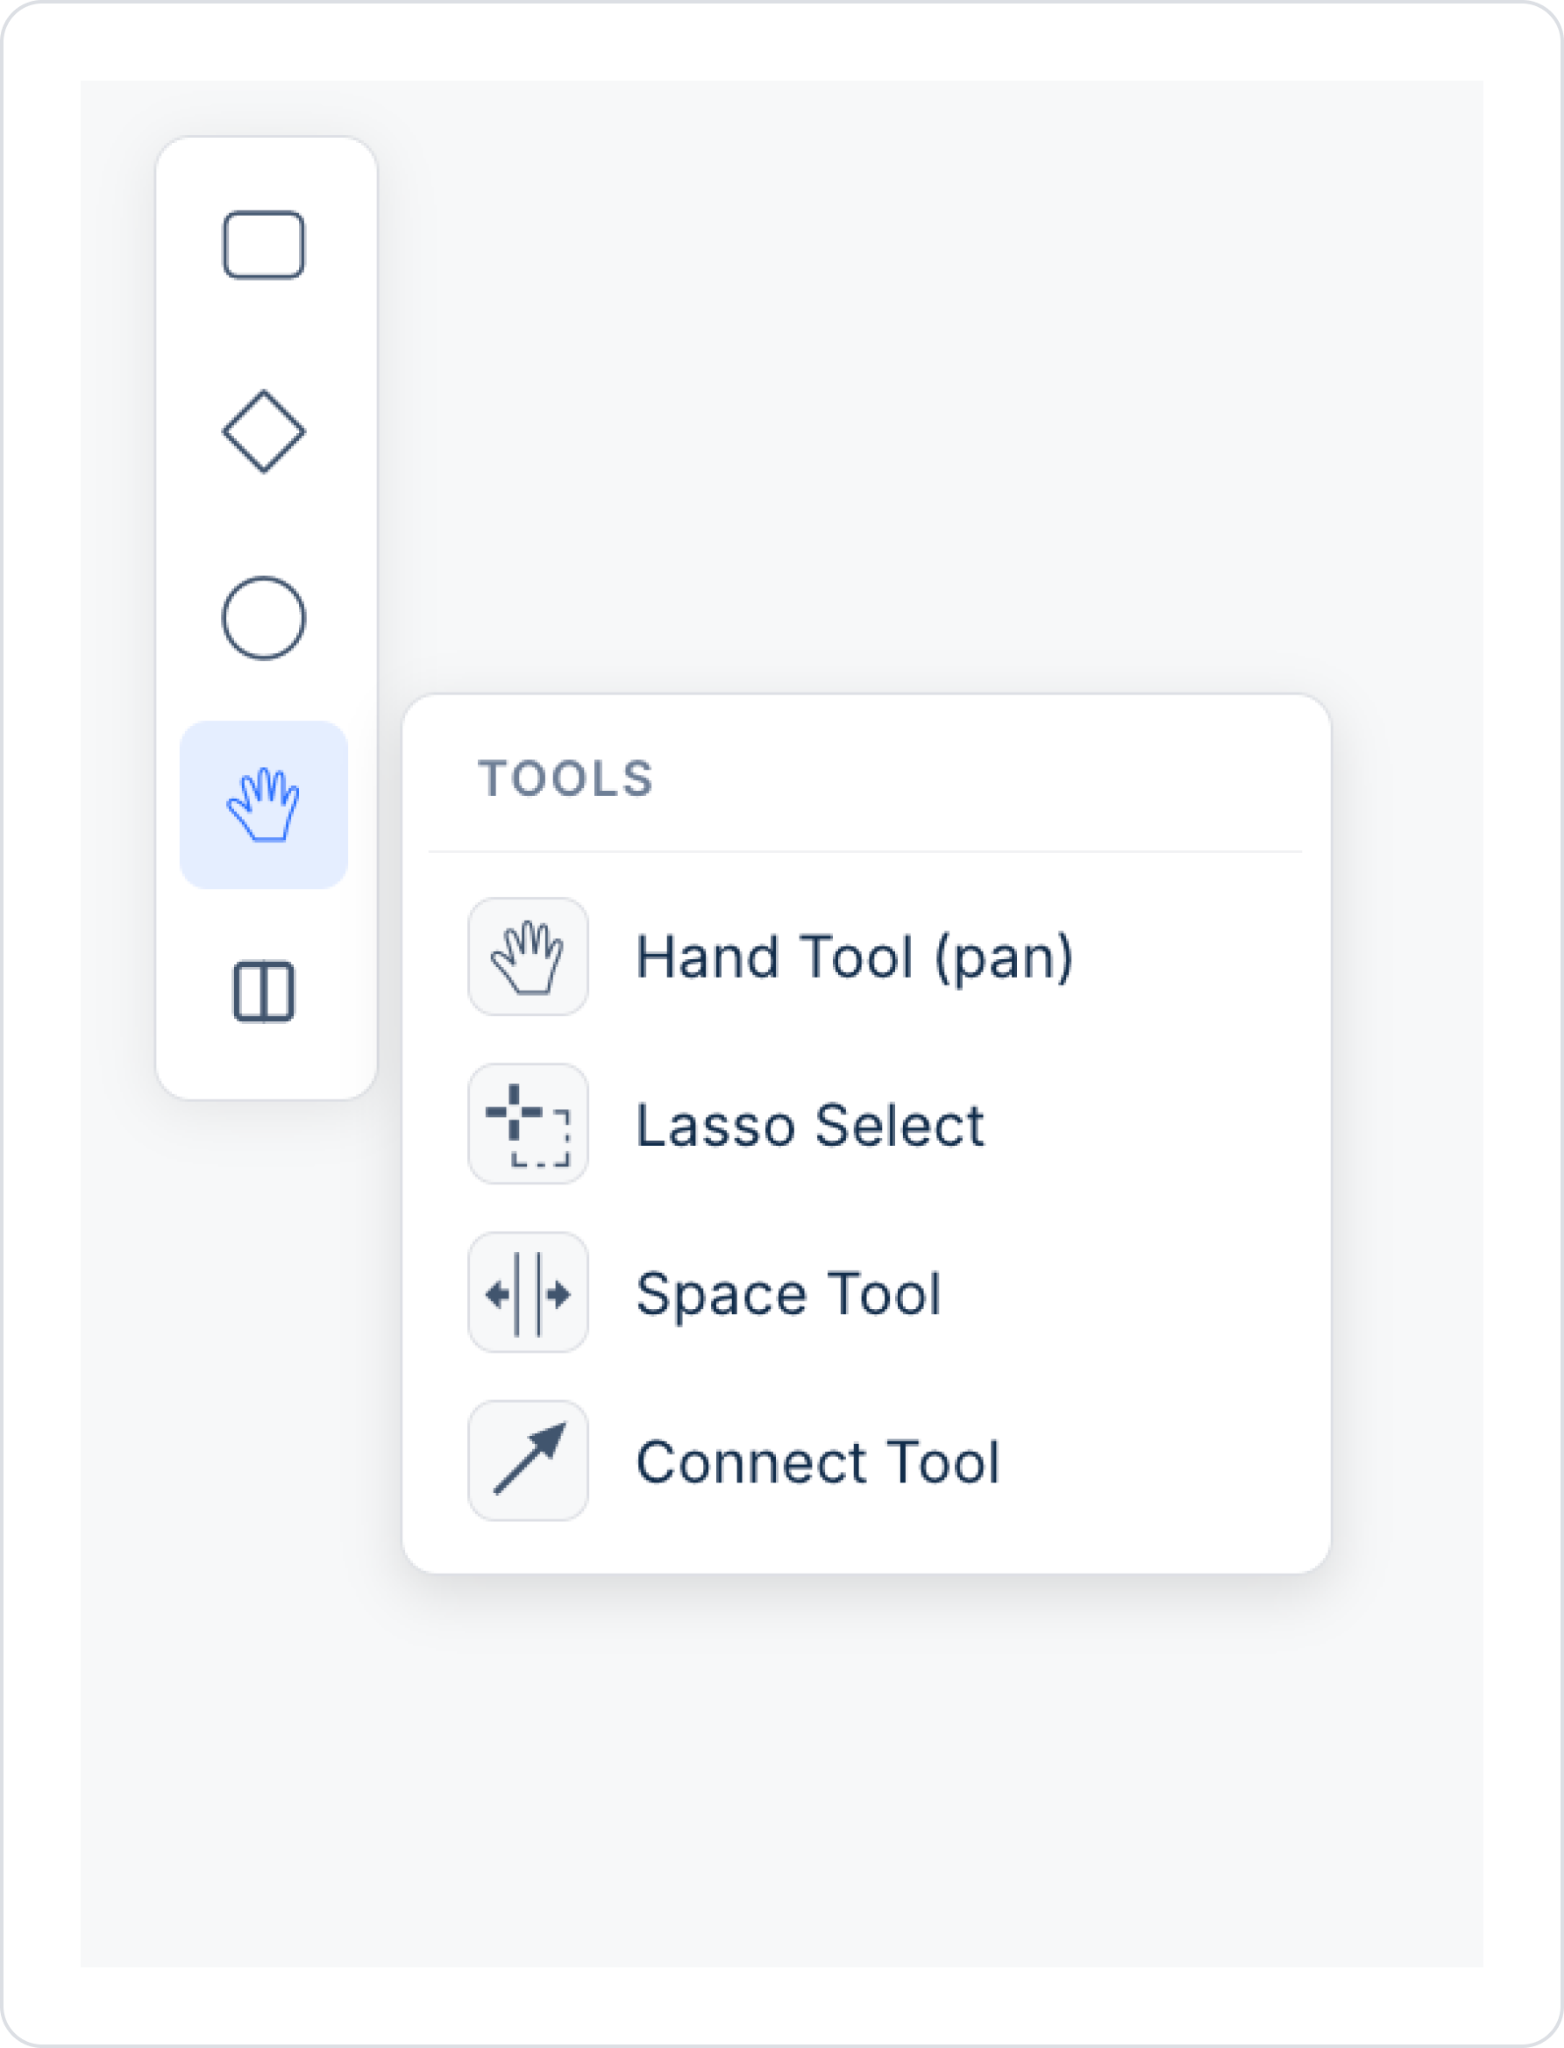
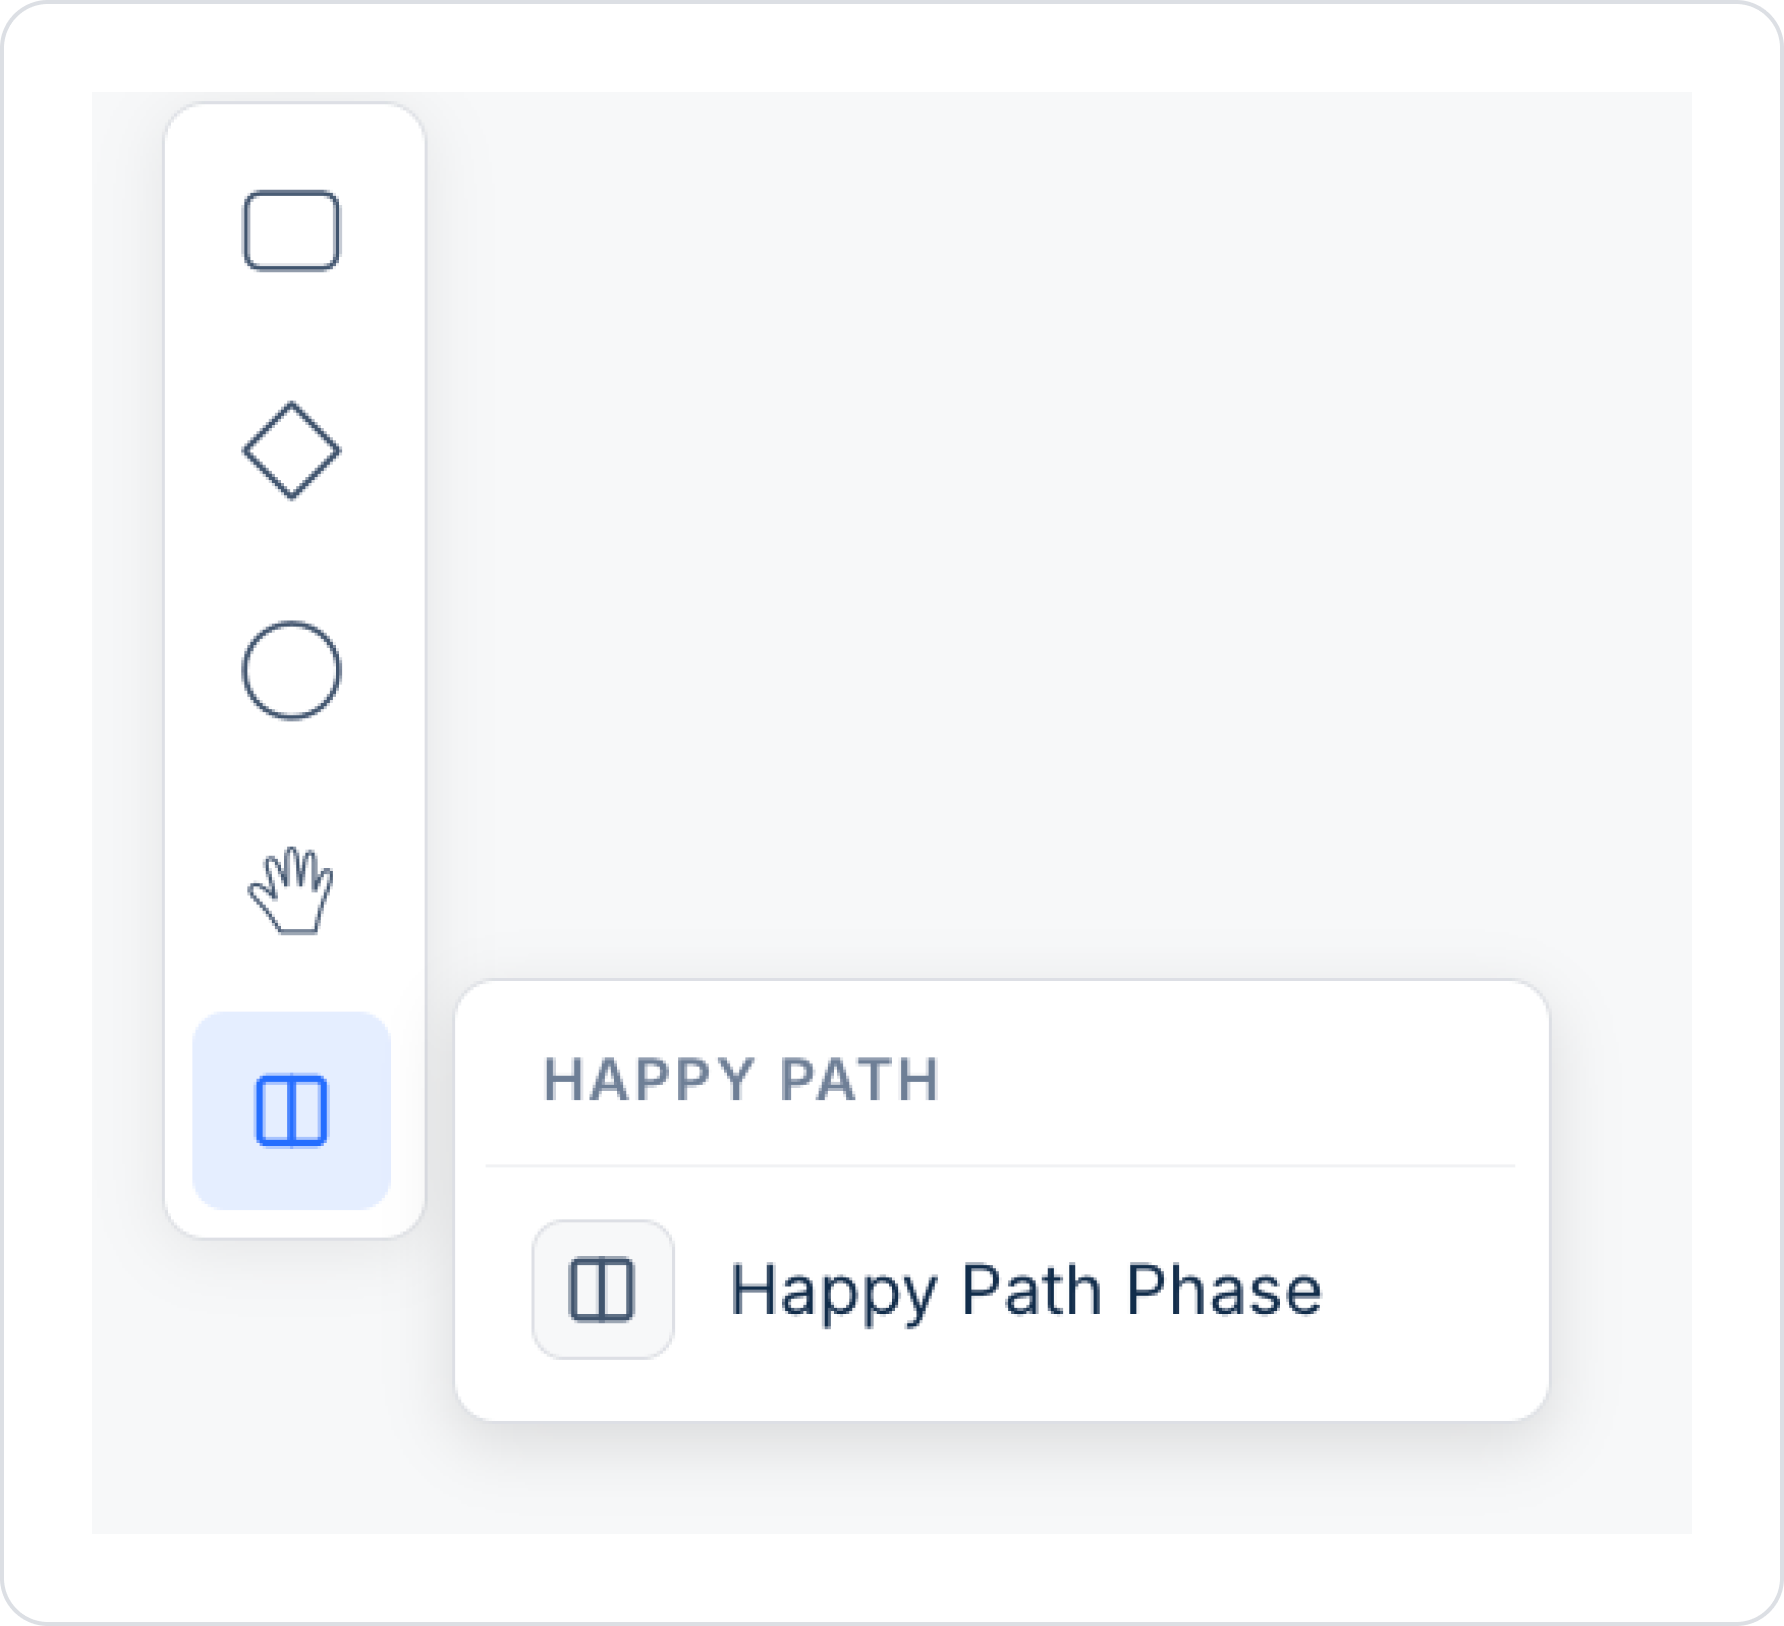
To speed up and simplify the process, you can use the toolbar on the left side of the design screen. This toolbar consists of 5 groups: Activities, Gateways, Events, Tools, Happy Path.
Workflow Components
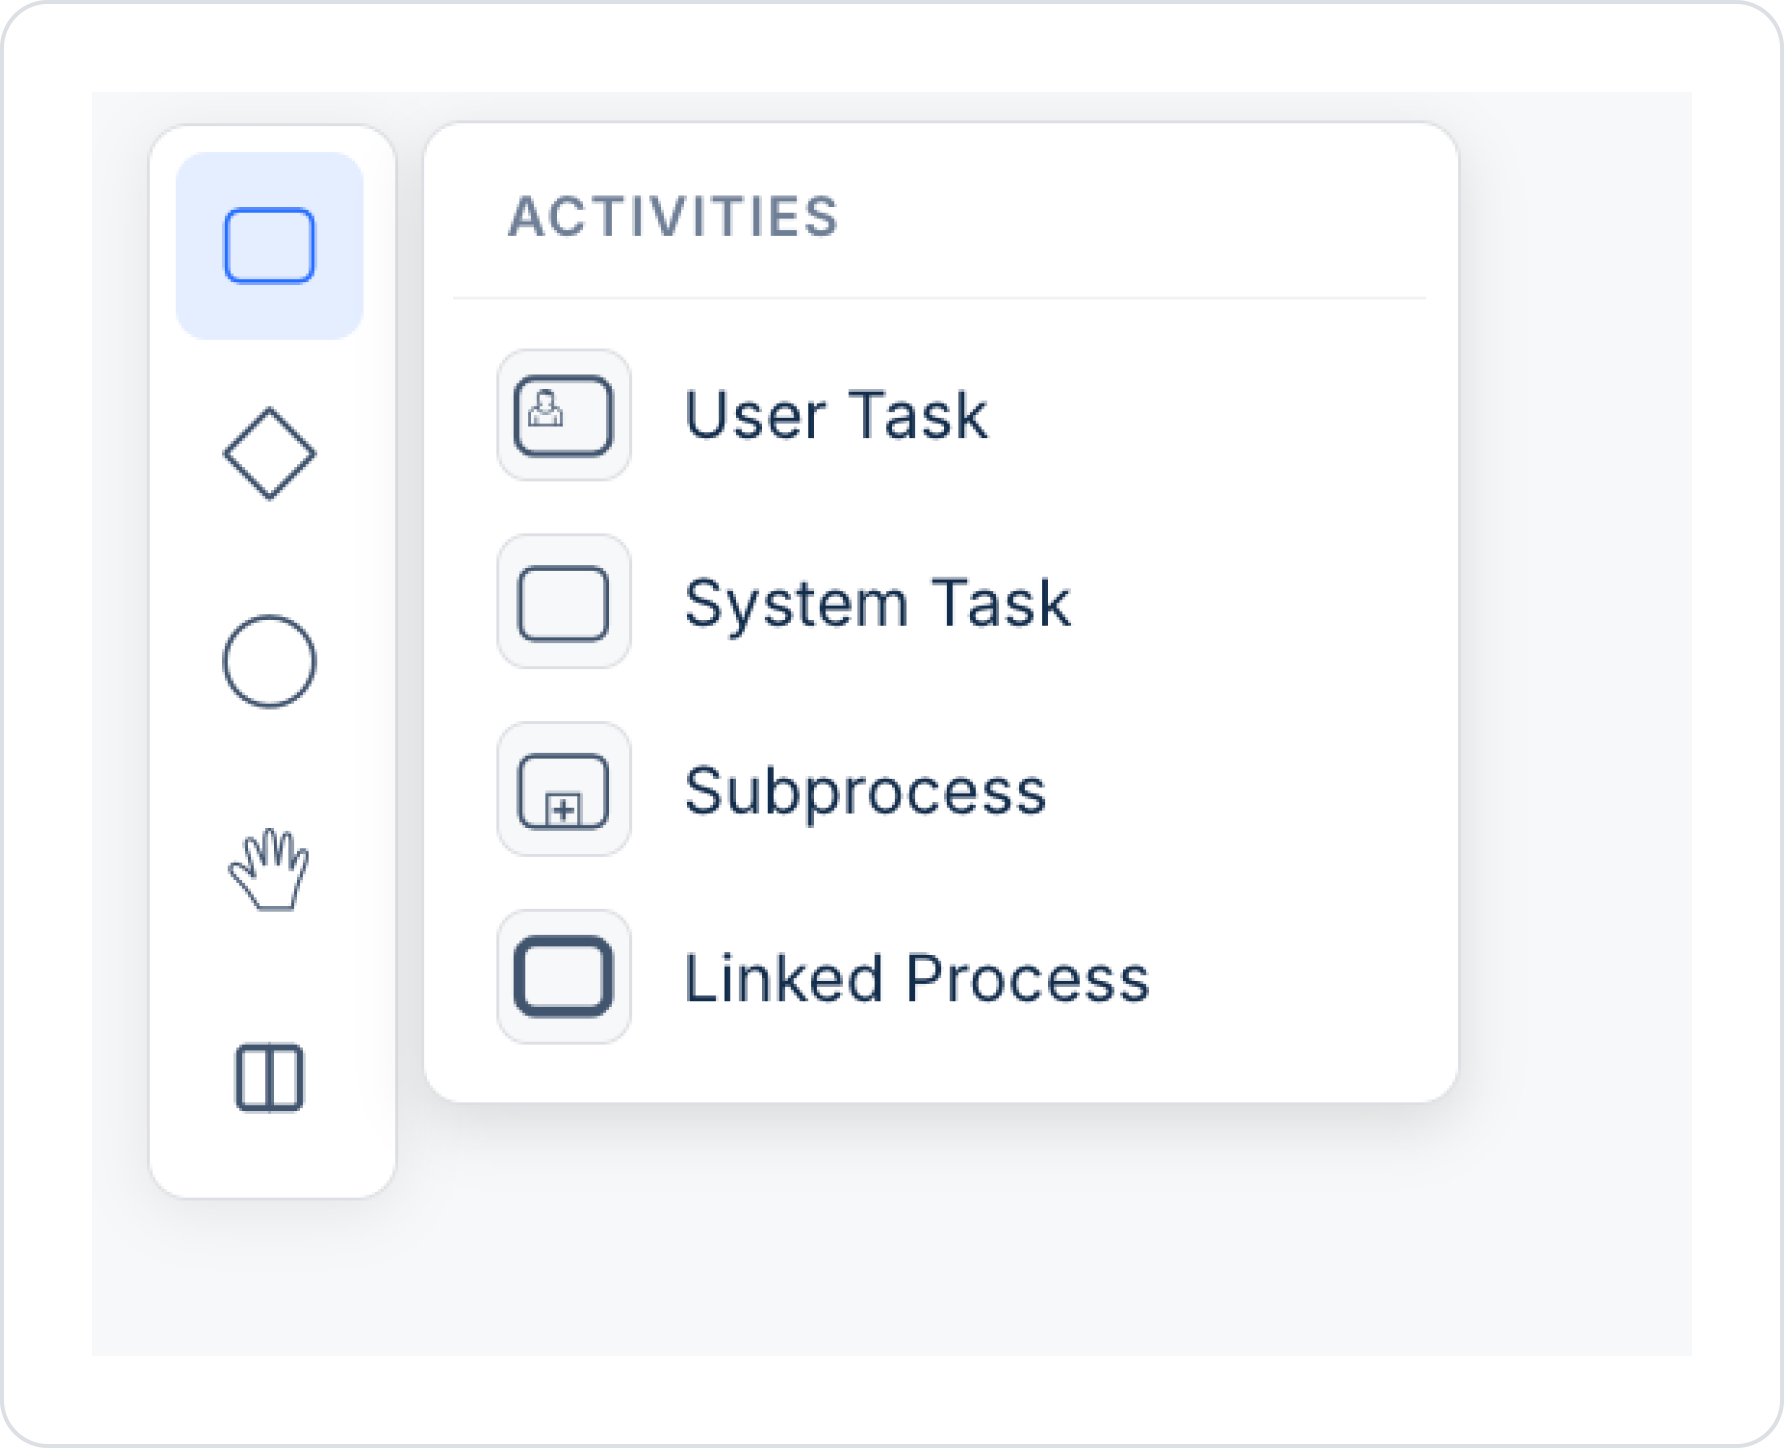
1. Activities
These represent the tasks and operations to be performed in the workflow.
User Task: These are tasks that require user interaction. User intervention is required for operations such as filling out forms or providing approval. Example: For “Manager Approval,” the relevant person is expected to fill out the form and provide approval.
System Task: These are tasks automatically executed by the system. Processes such as integration, data processing, or automatic notifications—which do not require manual intervention—take place here. Example: After an order is approved, an invoice is automatically generated and emailed to the customer.
Subprocess: It groups subprocesses under a single block, making the workflow more organized and readable. Detailed sub-steps are hidden within this block and can be opened and viewed only when necessary. Example: A separate subprocess is defined for the “Return Process”; it appears as a single block in the workflow, but when expanded, the detailed steps are listed.
Linked Process: Enables the current process to establish a direct connection with another process. This facilitates integration between different processes. Example: A direct link from the “Order Management” process to the “Invoicing Process” facilitates transition between steps.
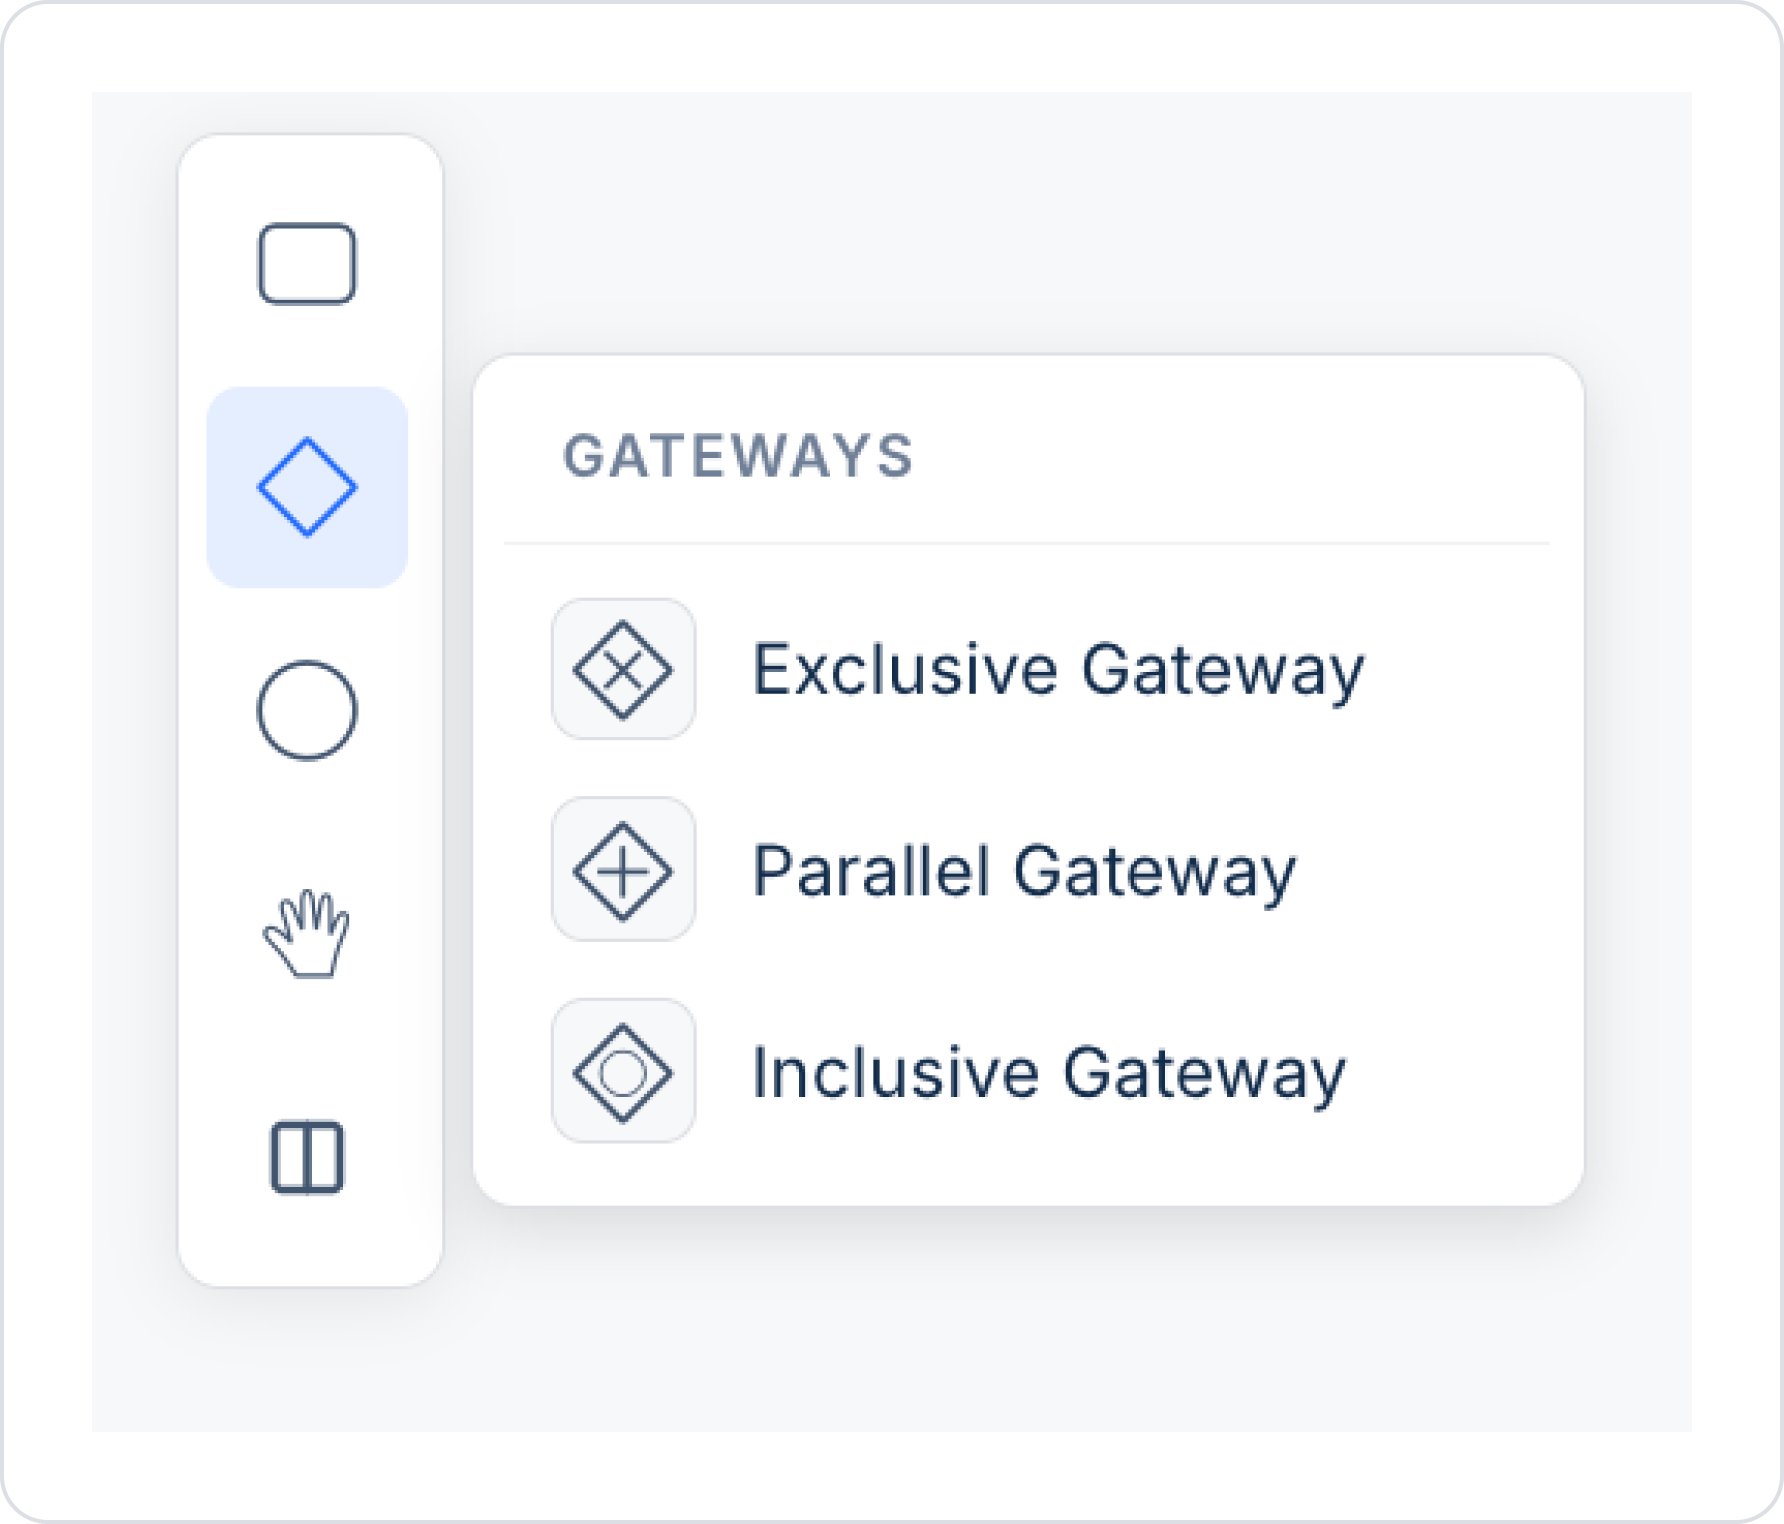
2. Gateways (Decision Points)
These are decision points that determine under which conditions and in which direction specific steps in the workflow will proceed.
Exclusive Gateway: A decision point where, based on conditions, only one path is selected within the workflow. Example: If the order amount is greater than 1,000 TL, the process follows the “Manager Approval” path; otherwise, it follows the “Standard Process” path. One of the exits must be marked as the default path using “Will execute otherwise.”
Parallel Gateway: Facilitates the start (split) or merging (join) of business processes executed in parallel; it is not condition-dependent, and all exit paths are triggered simultaneously. Example: After “Order Approval,” the “Packaging” and “Invoice Preparation” tasks begin at the same time.
Inclusive Gateway: A decision point where one or more paths can be selected simultaneously based on specific conditions. It differs from the Exclusive Gateway in that more than one condition can be met at the same time. Example: If both the “Return Request” and “Invoice Update” options are selected in an order, both steps are executed simultaneously.
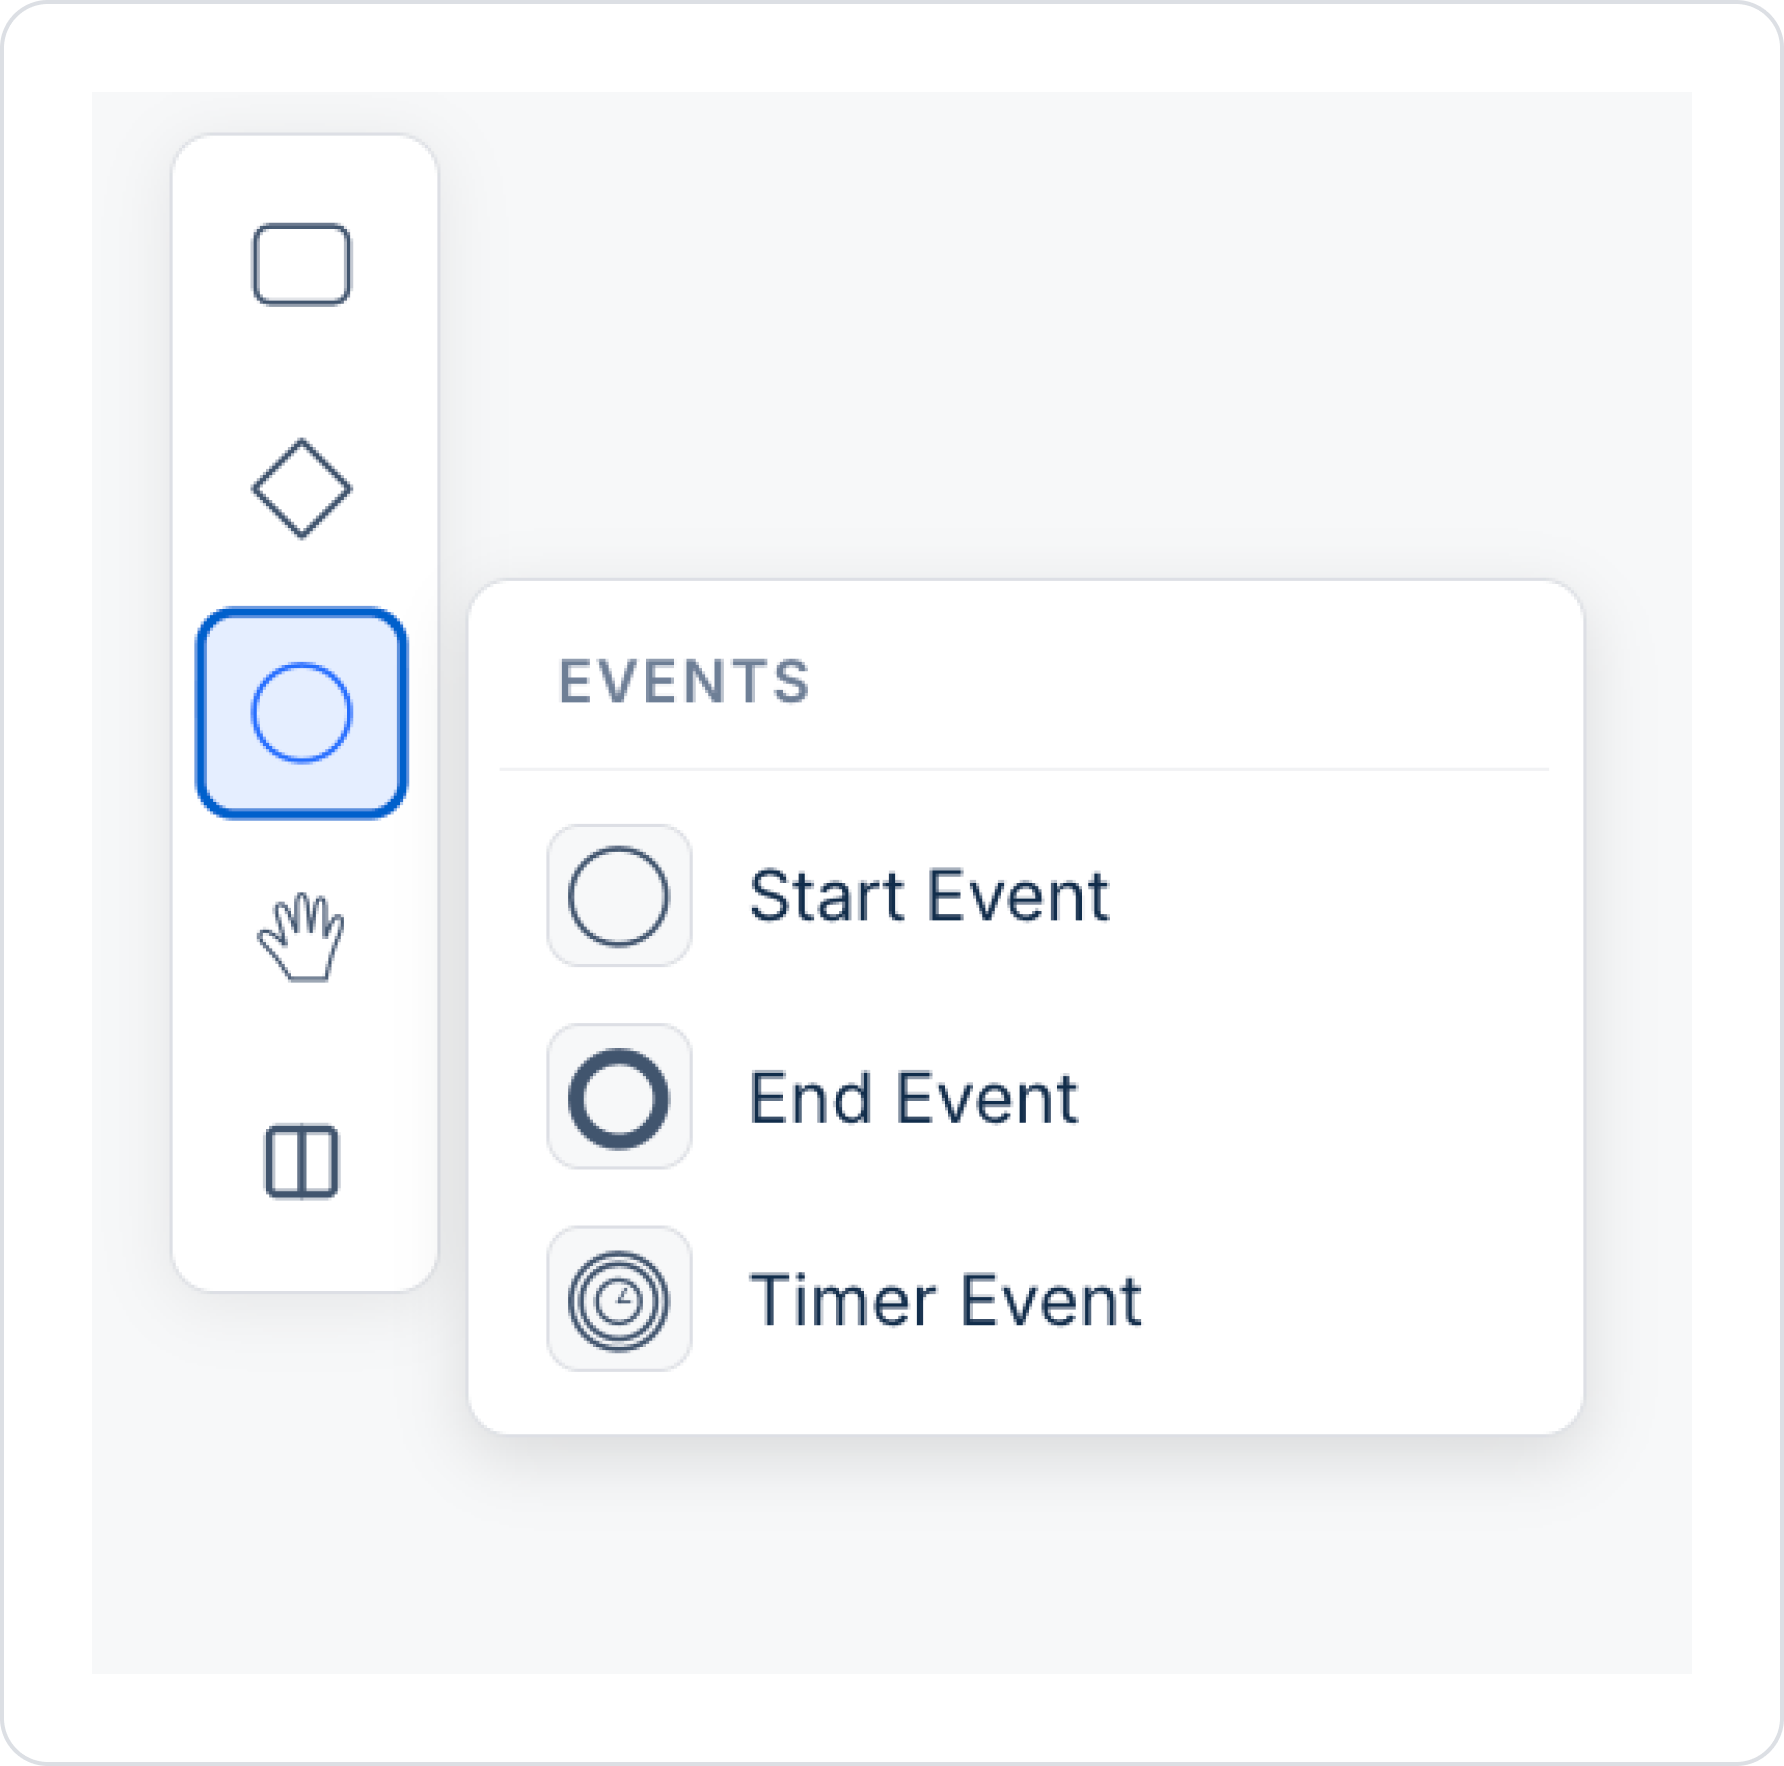
3. Events
These represent the points where the workflow begins, ends, or waits for a specific period of time.
Start Event: Represents the starting point of the workflow. It is the first step that triggers the process; there should generally be only one starting point. Example: The “Customer Order Received” event starts the workflow.
End Event: Indicates the point where the workflow is completed and ends. The process ends, and results are recorded or notifications are sent as needed. Example: The “Order Completed” step ends the workflow.
Timer Event: A timer that triggers the workflow after a specified duration or at specific intervals. The “Time Duration” field sets the wait time, and the “Is Interrupting” option determines whether the process is paused during the wait. Example: The “Wait for Payment” step waits for 3 days; at the end of this period, the “Send Payment Reminder” step is automatically triggered.
4. Tools
These are auxiliary tools used for navigating, selecting, and establishing connections on the design screen.
Hand Tool (pan): Allows you to drag and move the flow on the design screen. It is used to quickly focus on different sections in complex workflows.
Lasso Select: Allows you to select multiple items at once and perform batch move, copy, or delete operations.
Space Tool: Allows you to create or remove space between items; it creates space to add new steps.
Connect Tool: Used to link different elements together; creates connections that indicate the direction of data or control flow.
5. Happy Path
Happy Path Phase: Allows you to visually group the main/expected flow of the process (happy path) as a separate phase or lane on the canvas. This makes the main flow—distinct from exception or alternative scenarios—more readable.
Thanks to these components, workflows can be flexibly configured according to user needs and customized for each process. Kuika Process Automation enables the easy management of complex business processes by visualizing them through these components.