User Manual

Google ReCAPTHCA Settings

10/3/26
Google ReCAPTHCA Settings

Google reCAPTCHA is a security service that protects your app from spam and abuse. It analyzes user behavior in the background using image verification, click-based checks or risk-based algorithms to determine if users are real.

This service prevents automated bots from logging in, ensuring that only real users have access.

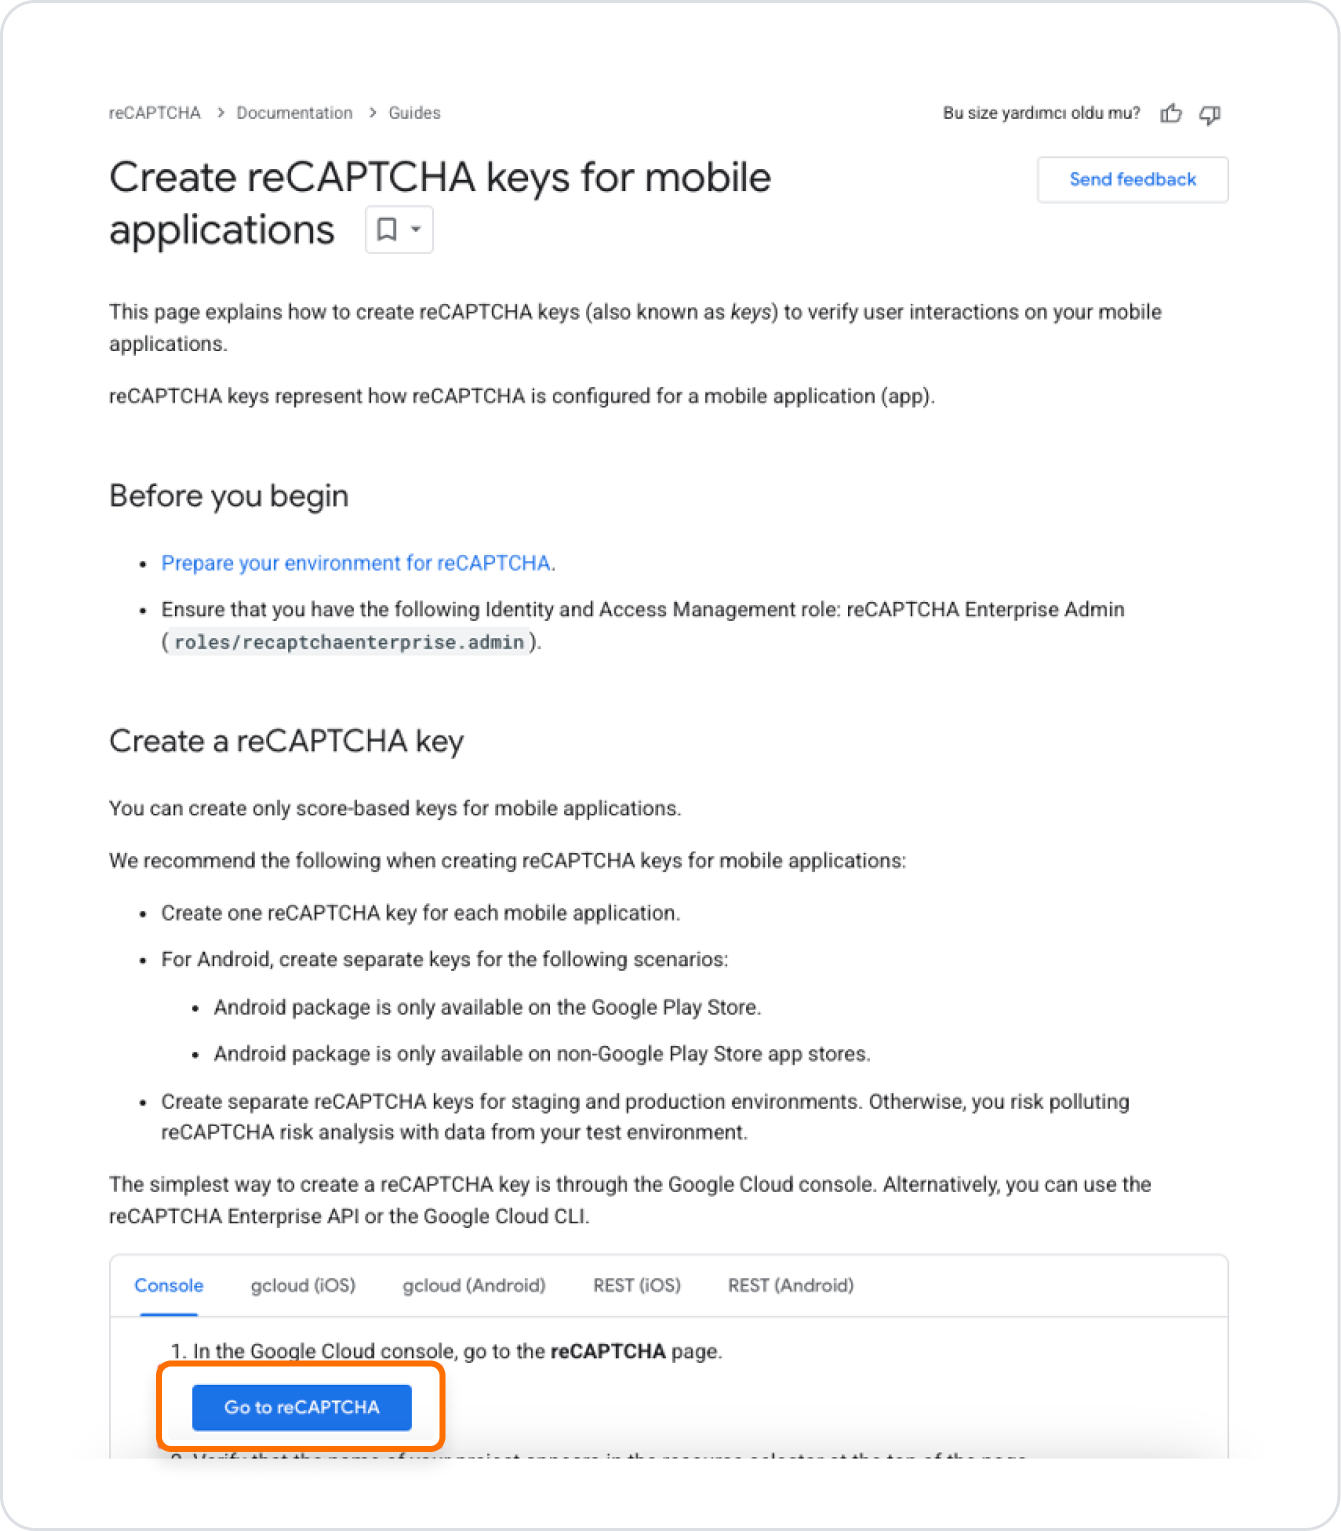
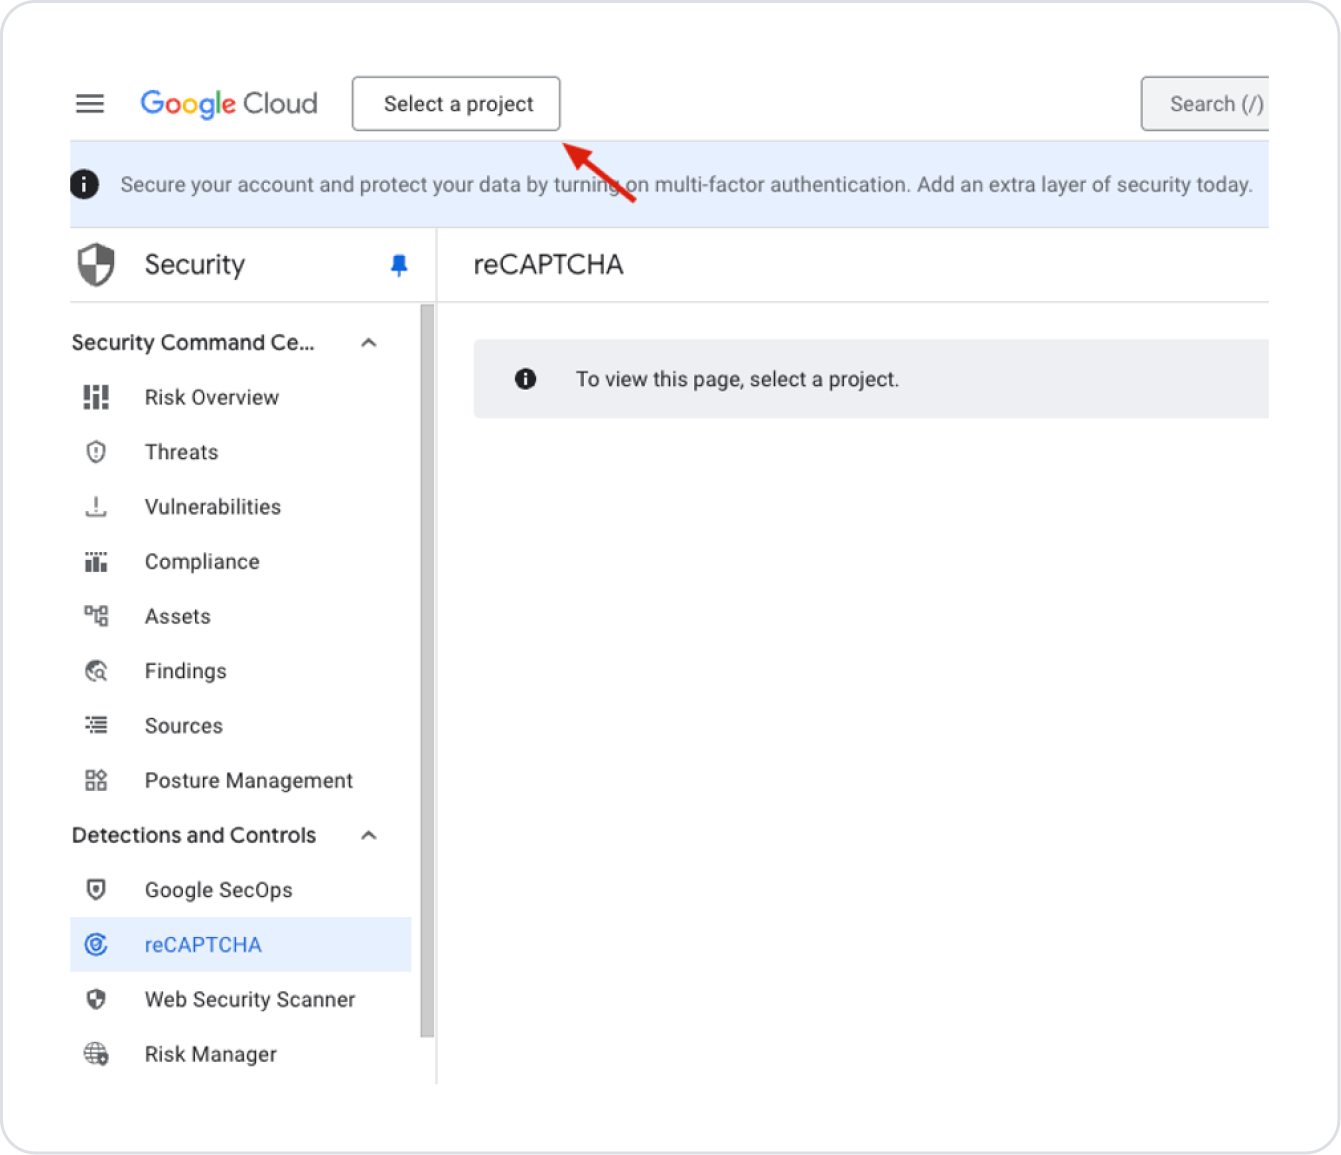
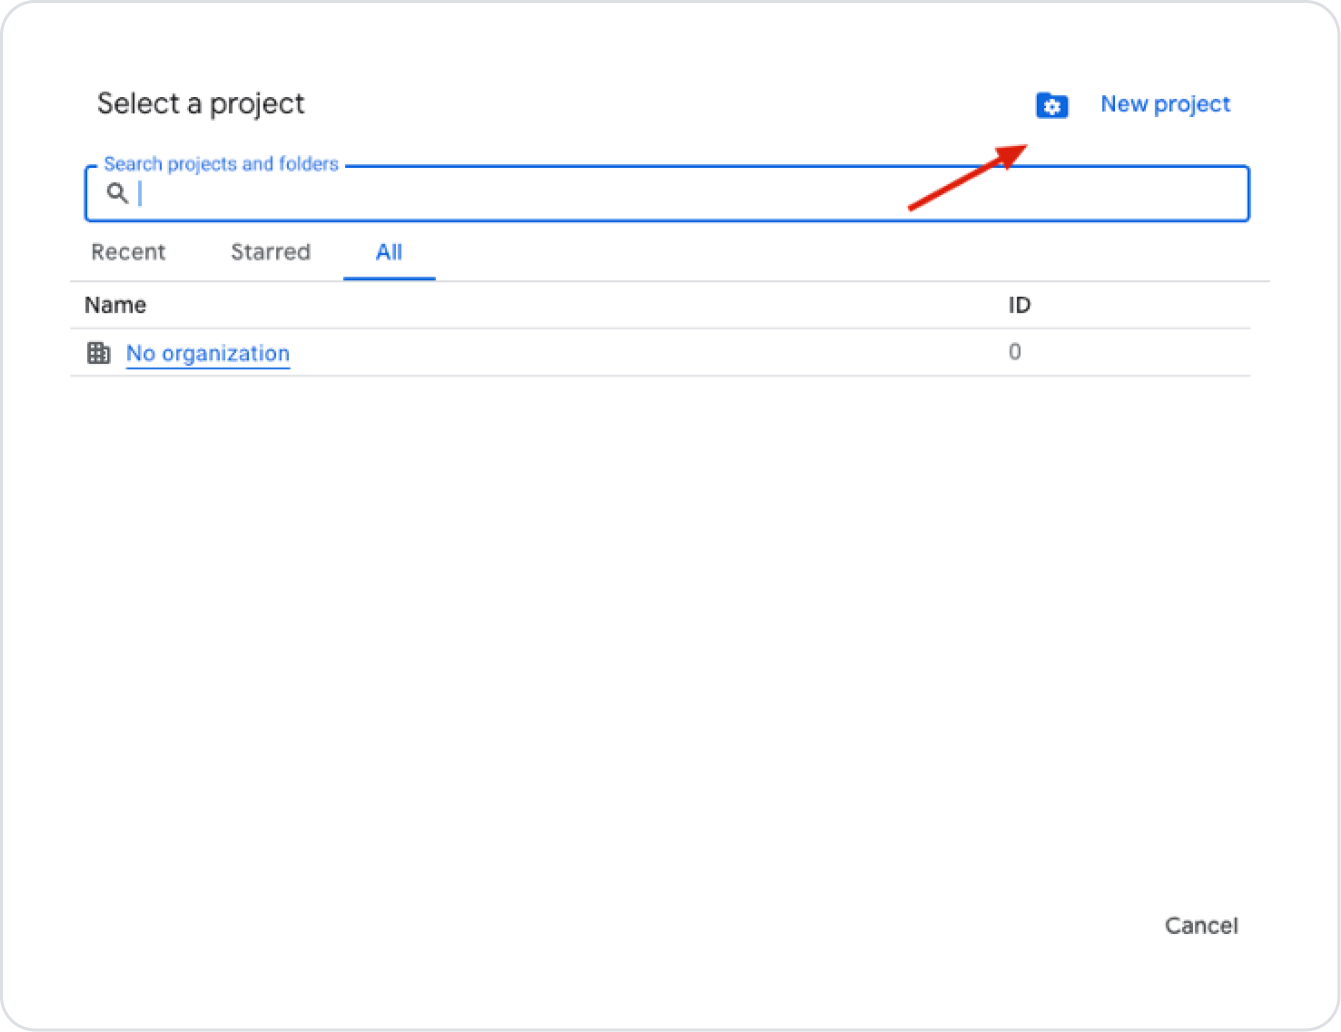
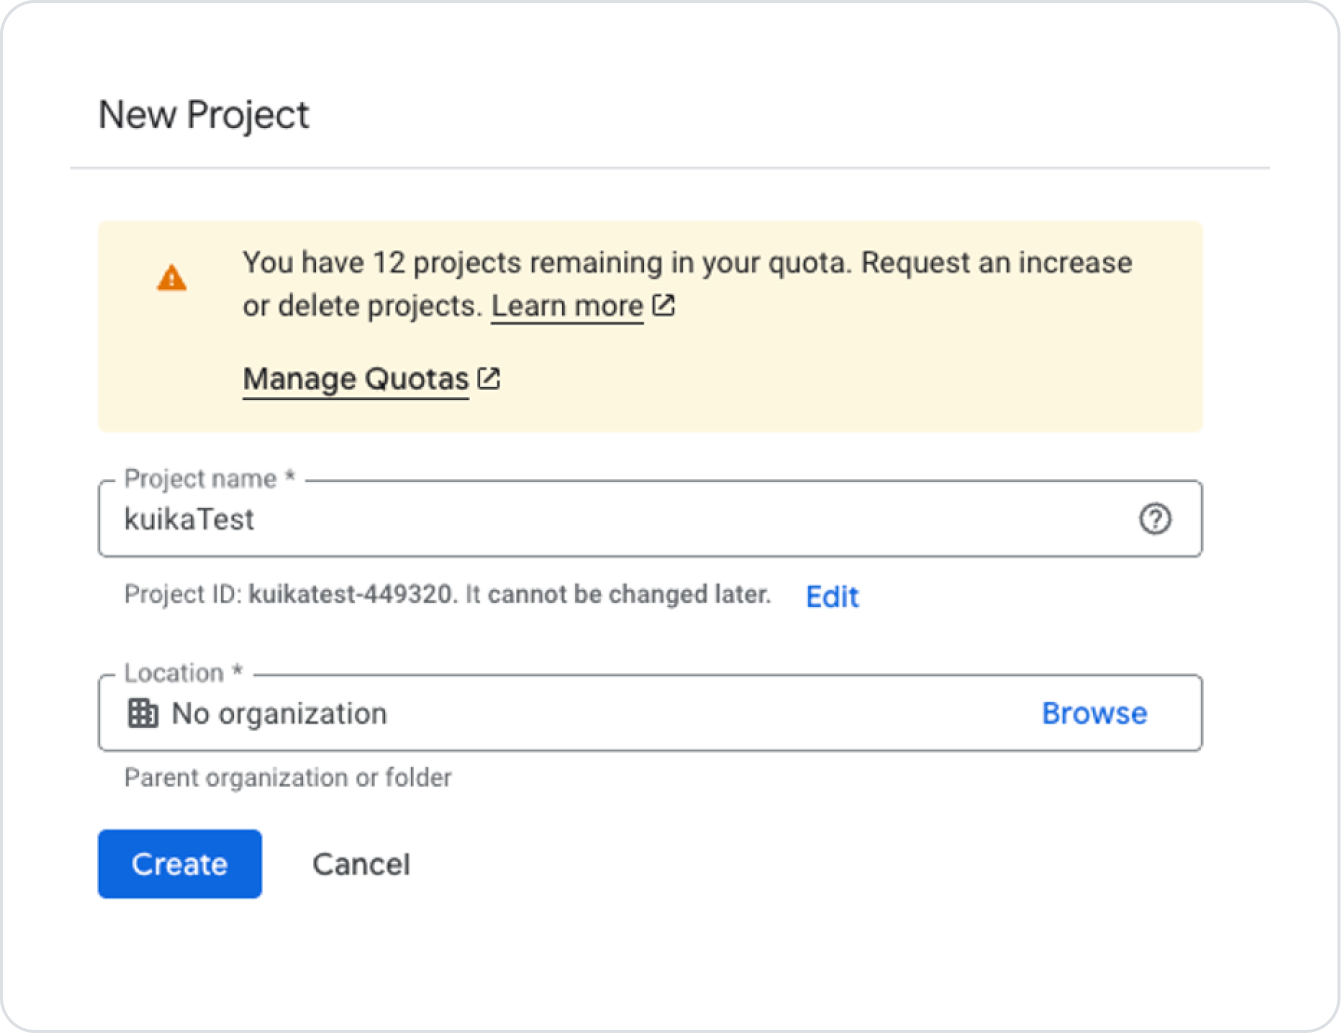
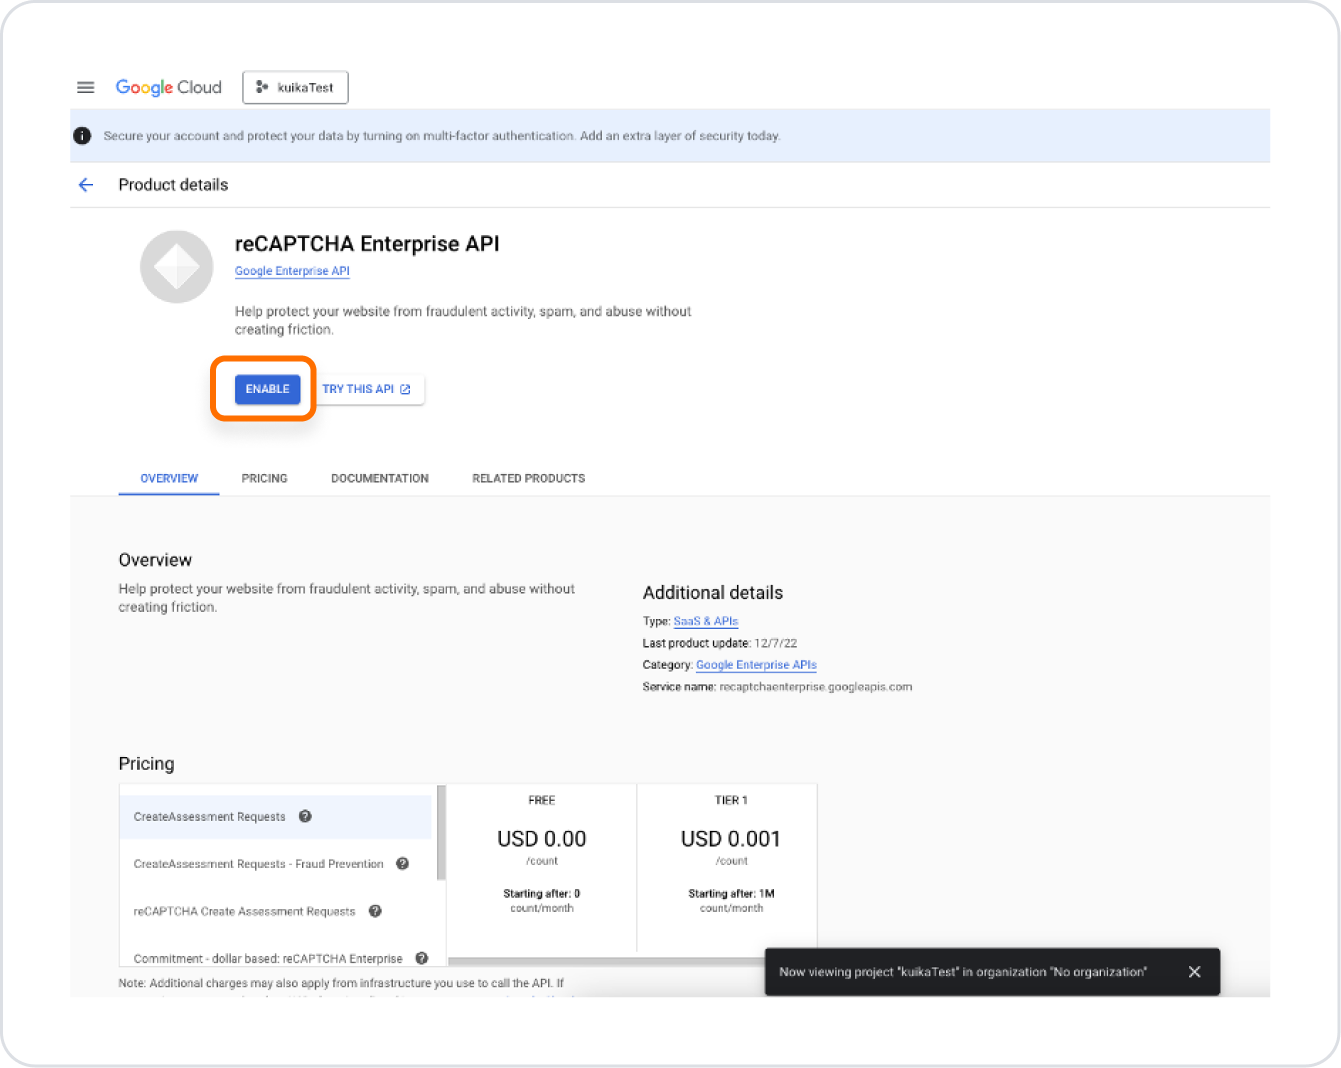
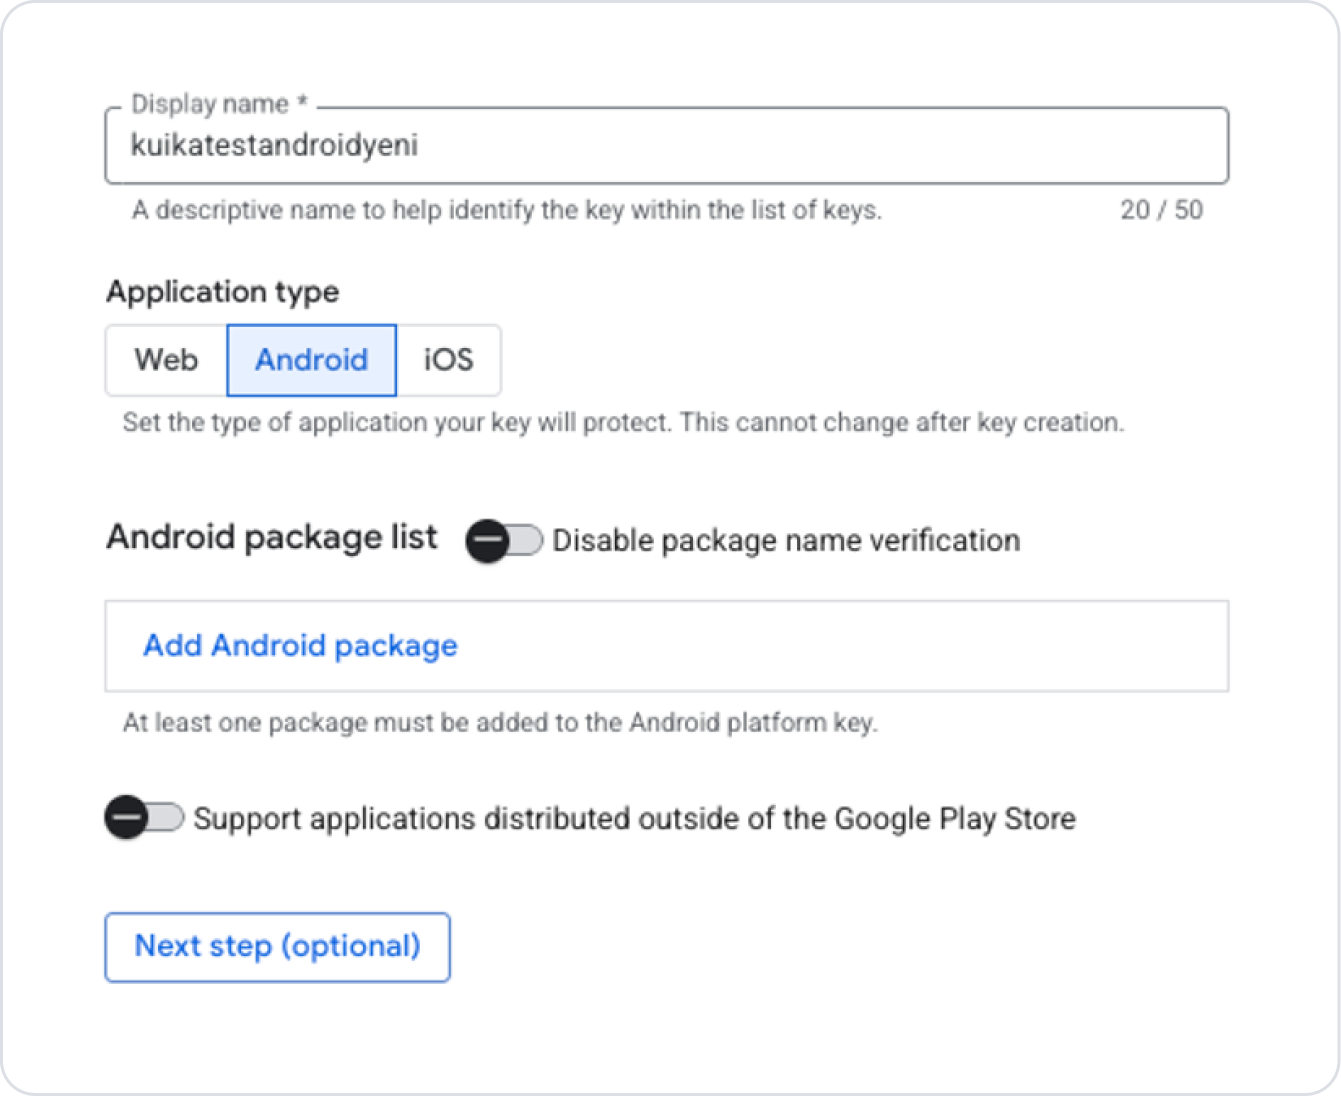
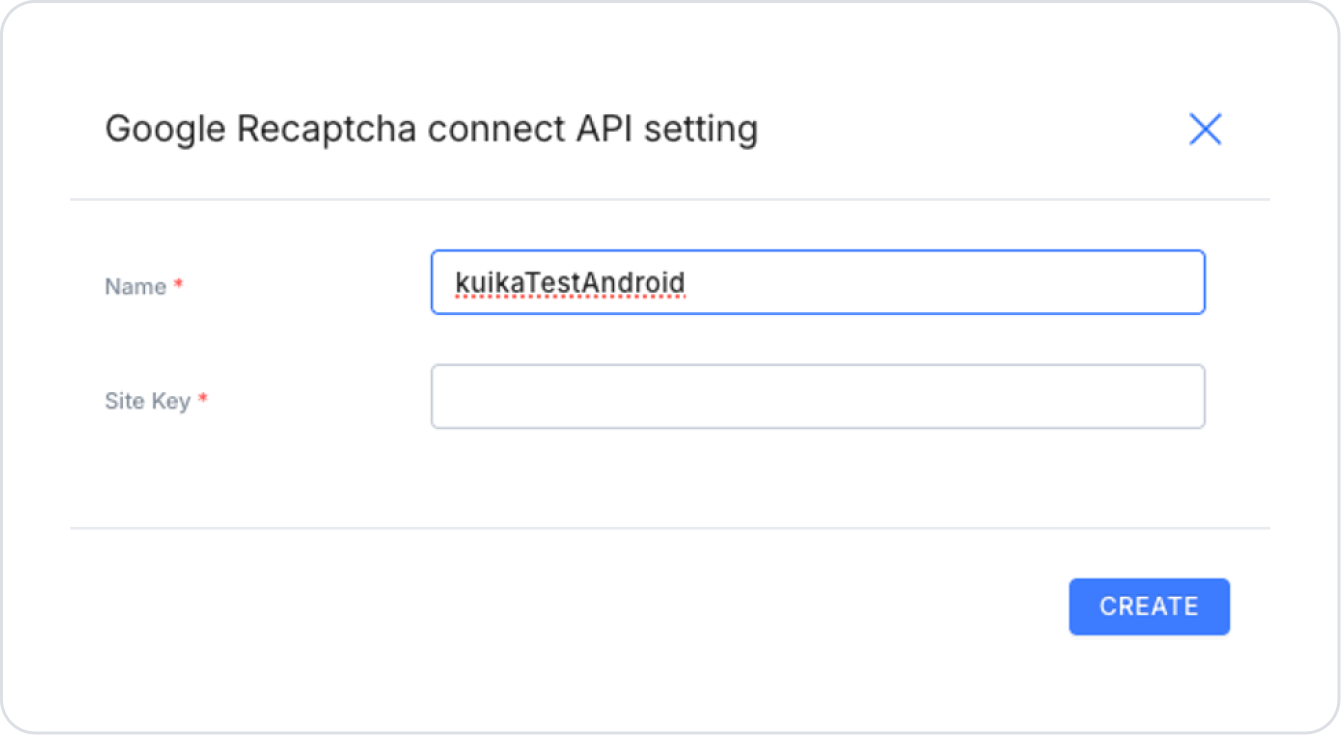
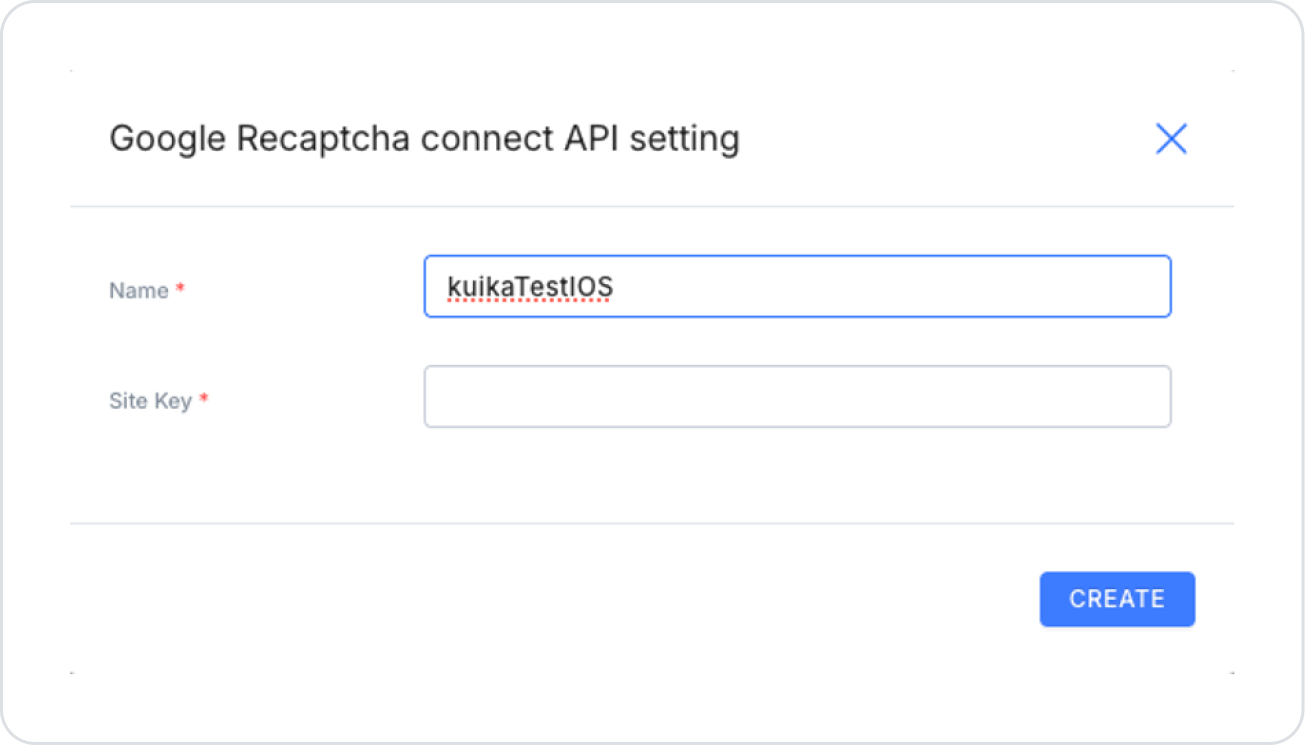
In this tutorial, you will learn how to configure ReCAPTCHA verification settings in the Configuration Manager module.

Settings Required to Use Google reCAPTCHA

  • To make ReCAPTCHA settings, you must first use the Recaptcha element. You can find detailed information in our related content.
  • If you are going to use it for mobile applications, you need to create a mobile application first. You can access our related content to create a mobile application.
  • In order to use the reCAPTCHA element, different key information is required for each platform (Web, Android, iOS).
  • These keys from the Google reCAPTCHA service must be created platform-specific.
  • The key information received separately for Web, Android and iOS must be entered into the Google reCAPTCHA field in the Configuration Manager module to ensure the verification process.

Google Console reCAPTCHA Settings

Web Key Retrieval

  1. Go to the Google ReCaptcha Key Creation page.
  1. Click the “Go to reCAPTCHA” button.
  1. Continue by clicking the “Select a project” button.
  1. If you don't have a project, create a new one using the New Project button.
  1. Enter the project name and click the “Create” button.
  1. On the page that opens, press the ‘Enable’ button.
  1. Then click the “Create Key” button.
    • The Display Name field should be filled in as desired for how the keys should appear on the screen where they are listed.
    • Select the Website option for the Application Type field.
    • Enter the domain address of the added site in the Domain List field. (This can be disabled if desired, but is not recommended for security reasons.)
    • Once the necessary steps are complete, click the Next Step button.
  1. Here, options related to the created key can be enabled if desired.
  1. Since a test key was created in this example, the following selections were made. When creating your own key, you can evaluate the relevant fields according to your needs and usage scenario and make your selection.
  1. After completing the necessary steps, click the Create Key button at the bottom of the page to create the key. On the screen that opens, click the back arrow icon to view the key you created on the key list page.
  1. The created key will be listed on the page.

Obtaining an Android Key

  1. Click the Create Key button in the area where the keys are listed on the ReCaptcha page.
  2. Fill in the Display Name field as you want the key to appear in the list.
  3. Select the Android option for the Application Type field.
  4. Enter the domain address of the site you added in the Domain List field. (You can find a detailed explanation of the Domain List field in the next steps of this guide.)
  1. After selecting Android, enter the Bundle ID information found in the Configuration Manager → Android tab of the project you created on the Kuika platform in the field that opens.
  1. Click the Done button to save the Bundle ID information.
  1. After completing the necessary steps, click the Next Step button.
  1. On the screen that opens, set the optional options for the created key according to your needs.
  1. Finally, click the Create Key button to generate the key.
  1. To view the generated key, click the back arrow icon on the page that opens. The key will be displayed on the key list page.

Obtaining an iOS Key

  1. On the ReCaptcha page, click the Create Key button in the area where the keys are listed.
  2. Fill in the Display Name field as you want the key to appear in the list.
  3. Select the iOS app option for the Application Type field.
  4. Enter the domain address of the site you added in the Domain List field. (You can find a detailed explanation of the Domain List field in the next steps of this guide.)
  1. In the field that opens, enter the Bundle ID information found in the Configuration Manager → iOS tab of the project you created on the Kuika platform.
  1. Click the Done button to save the Bundle ID information.

Apple Developer Settings

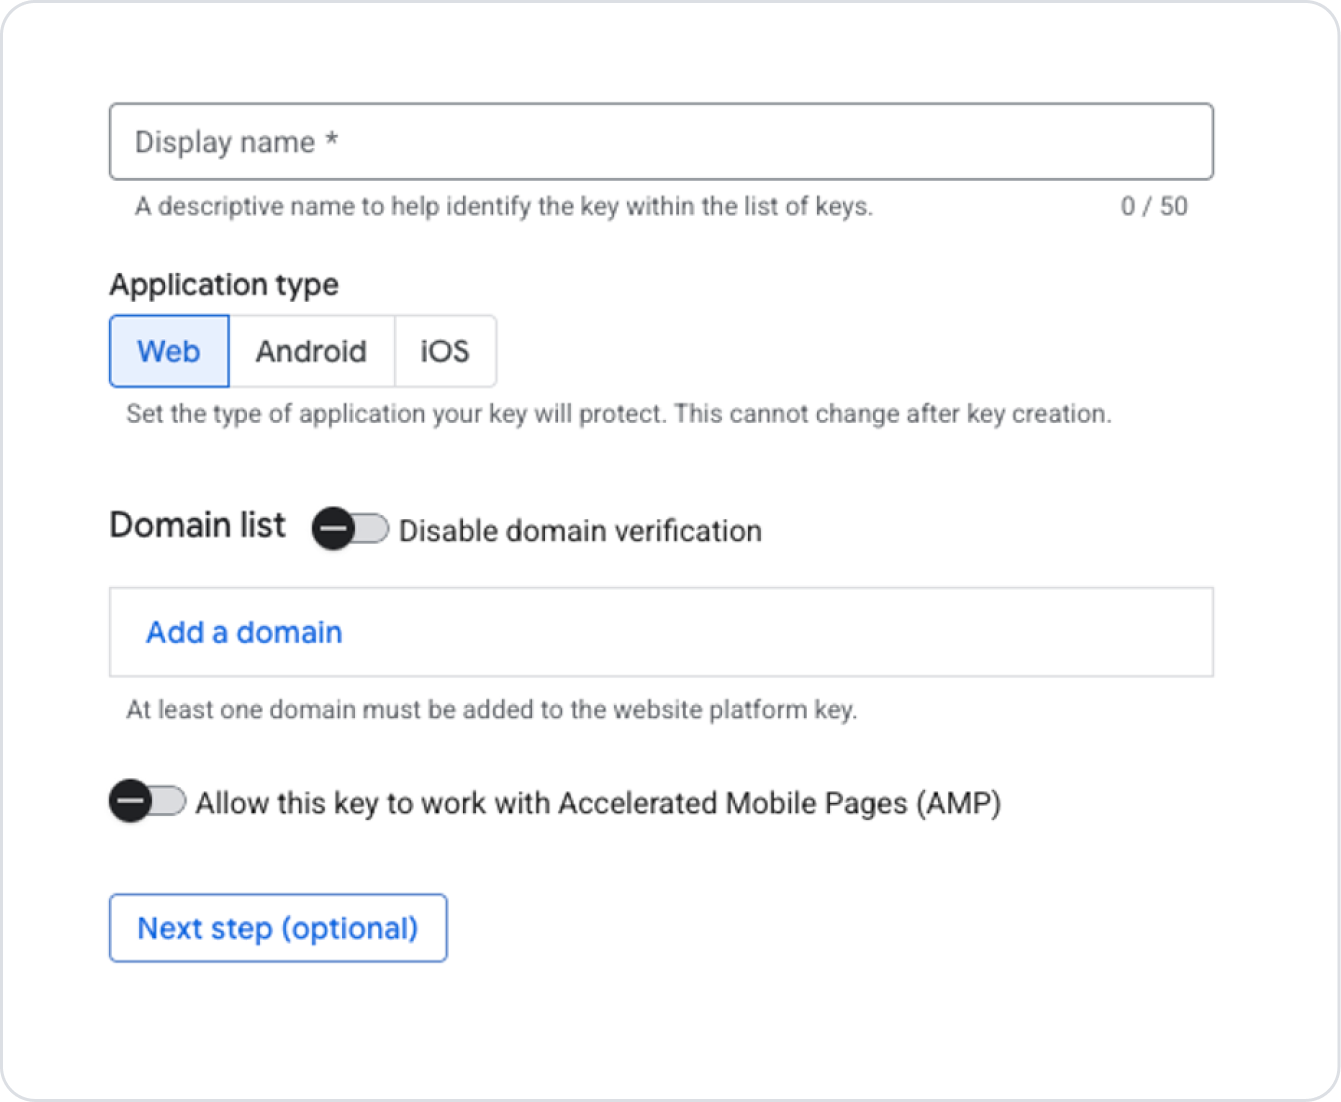
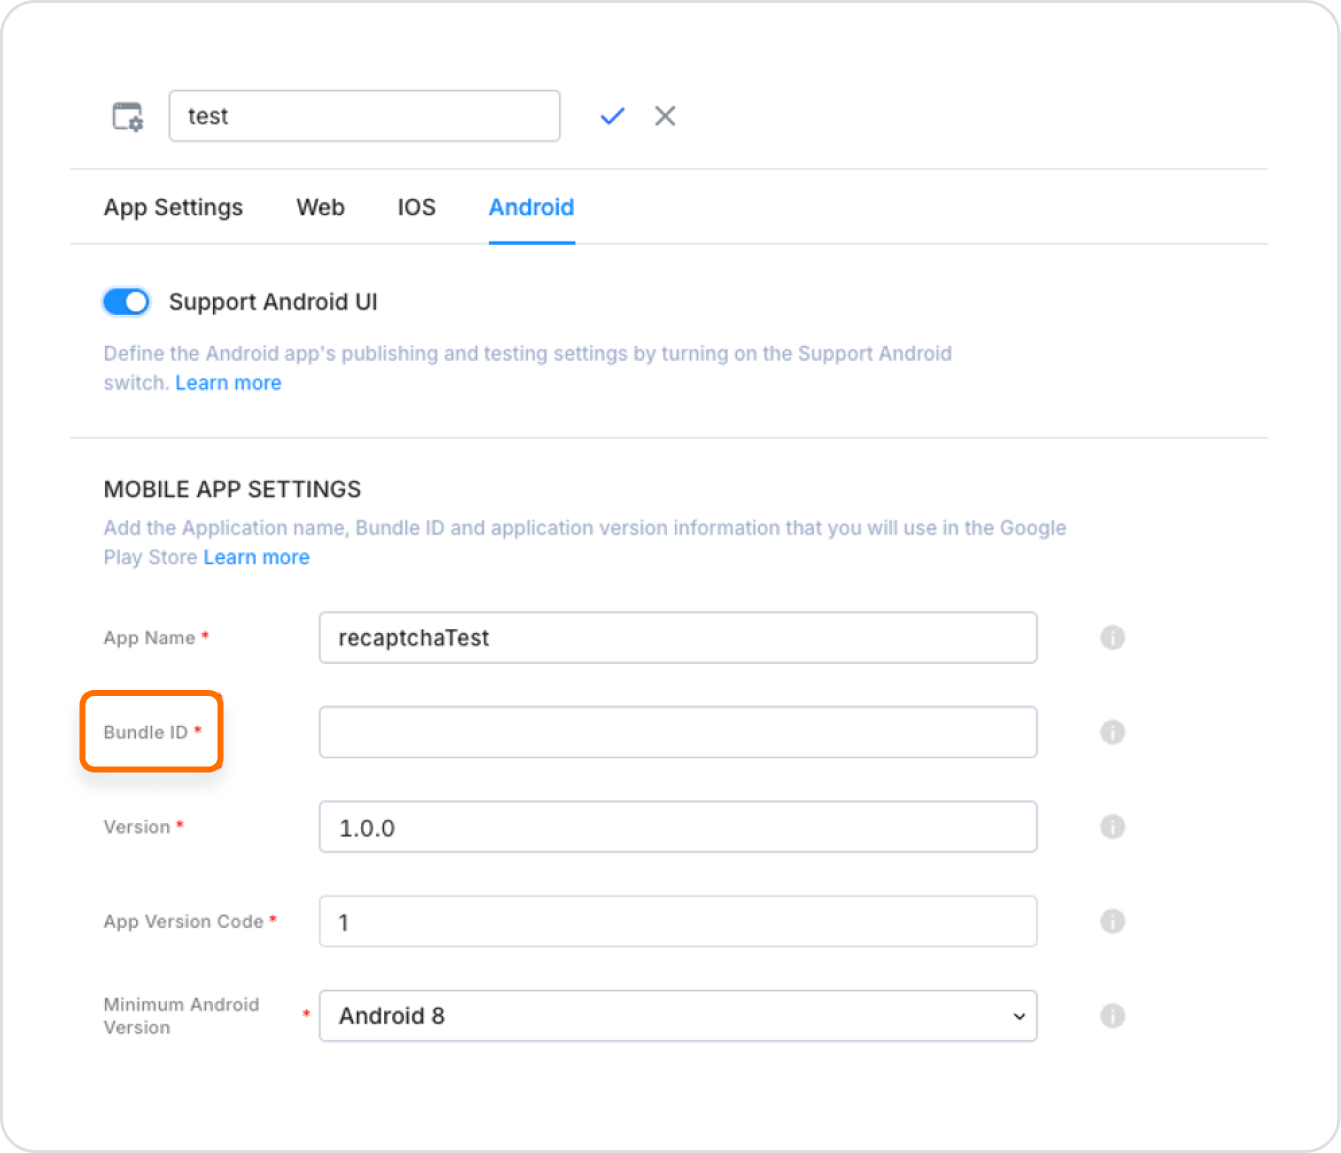
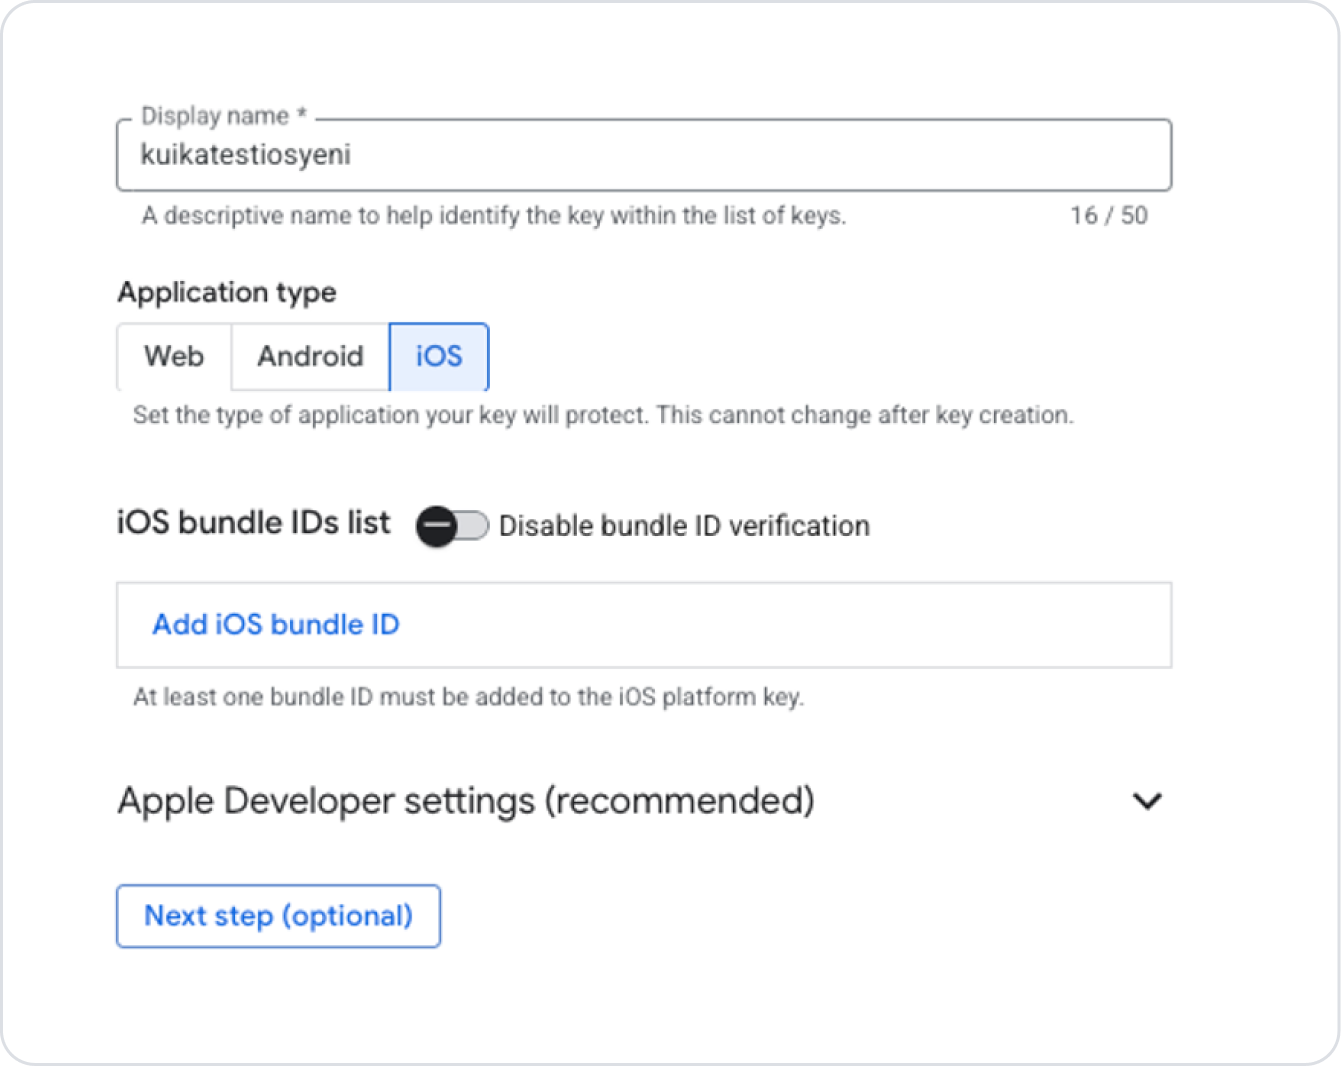
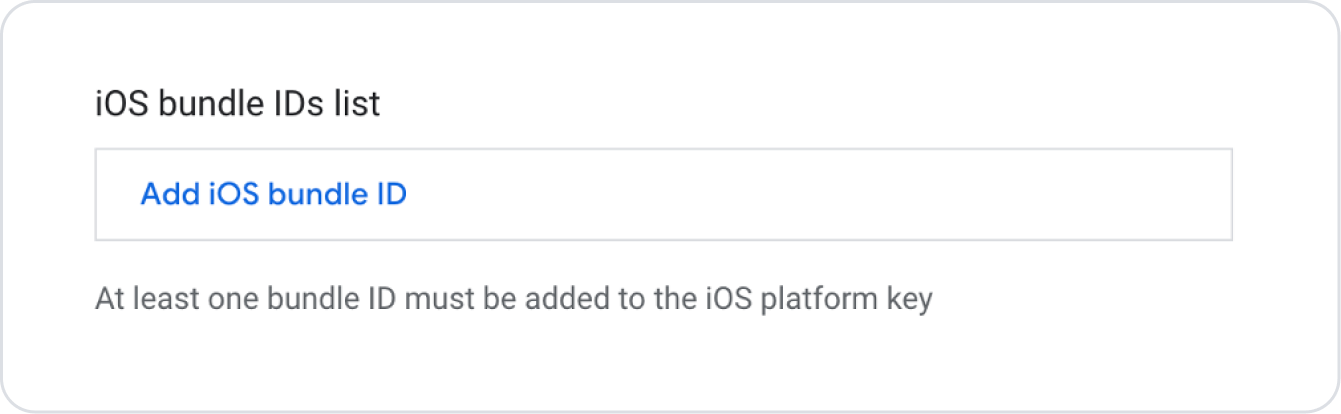
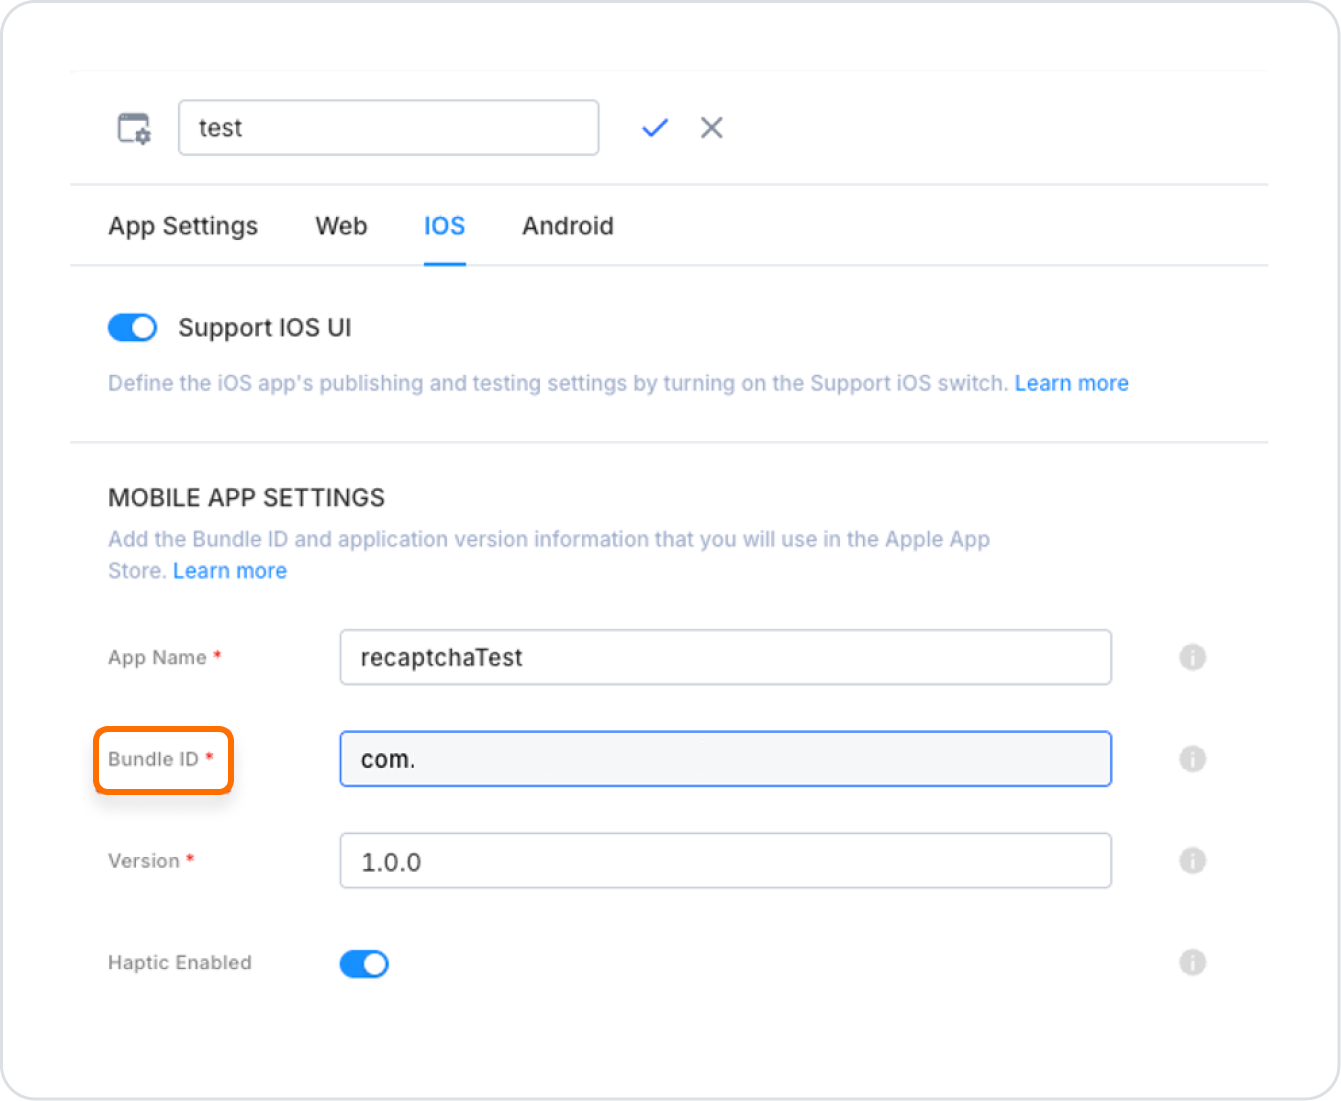
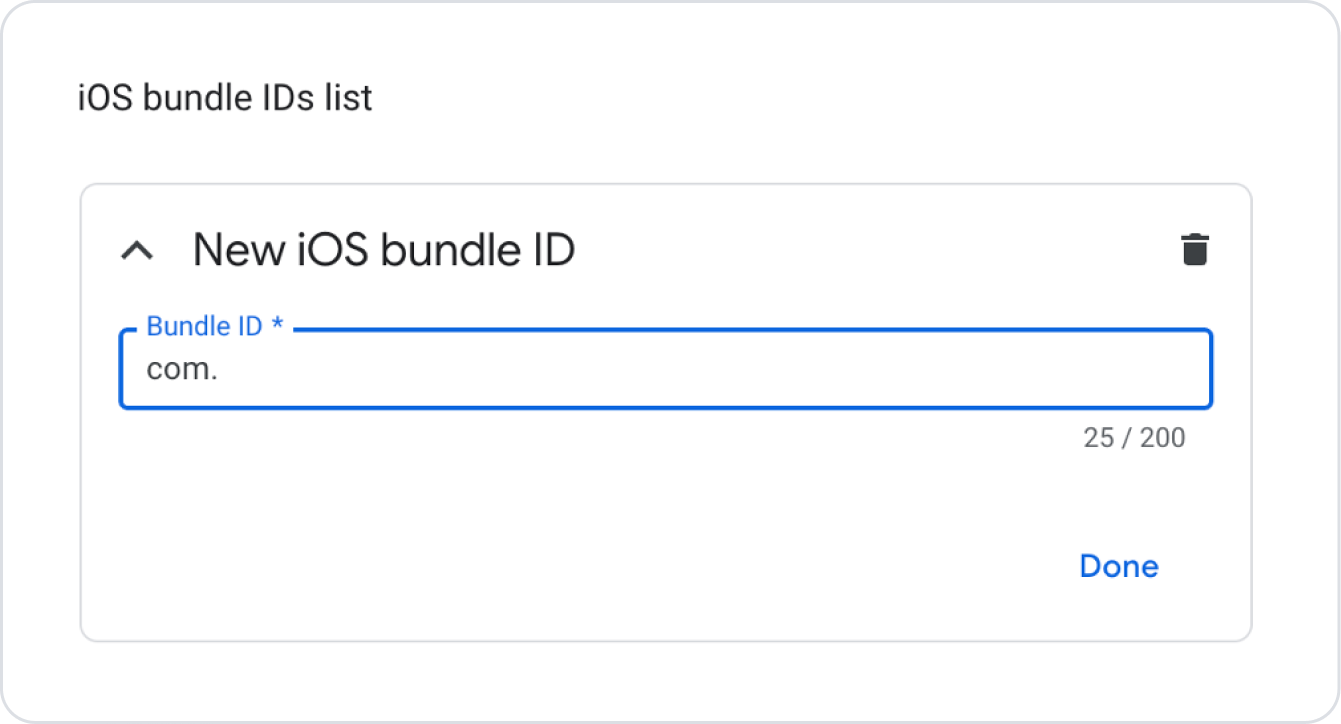
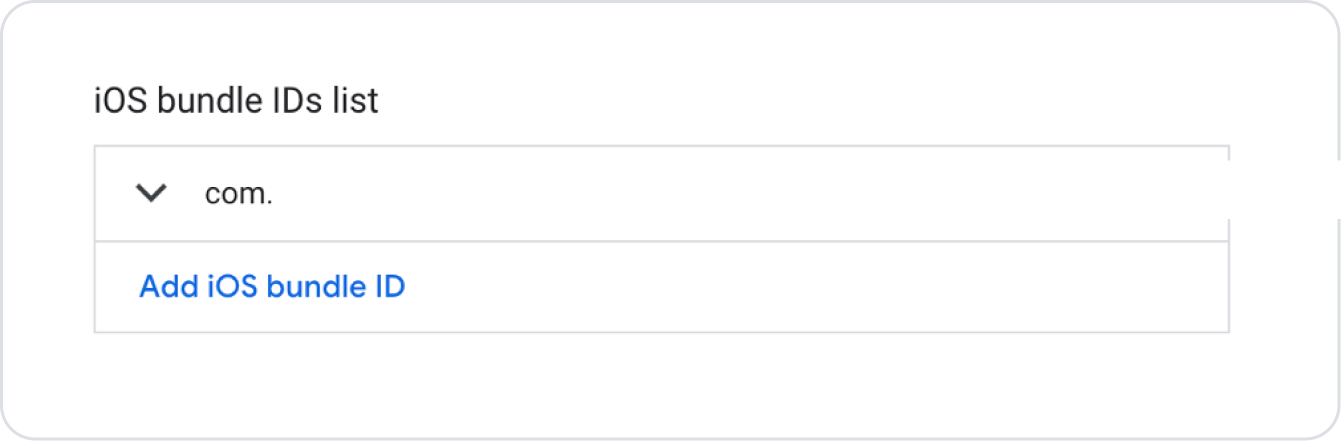
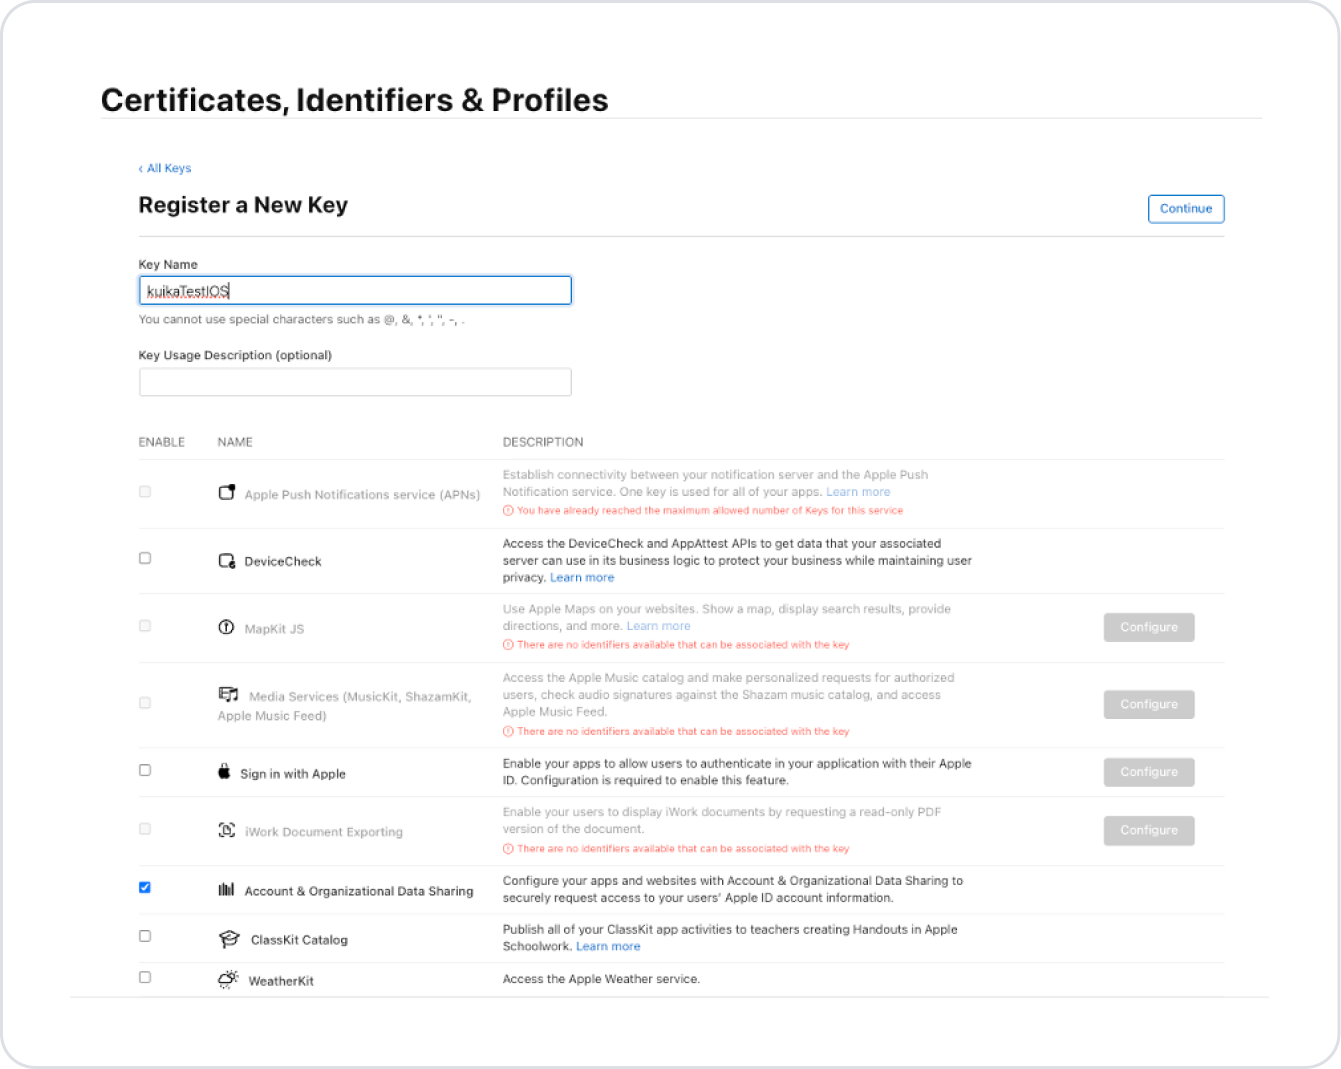
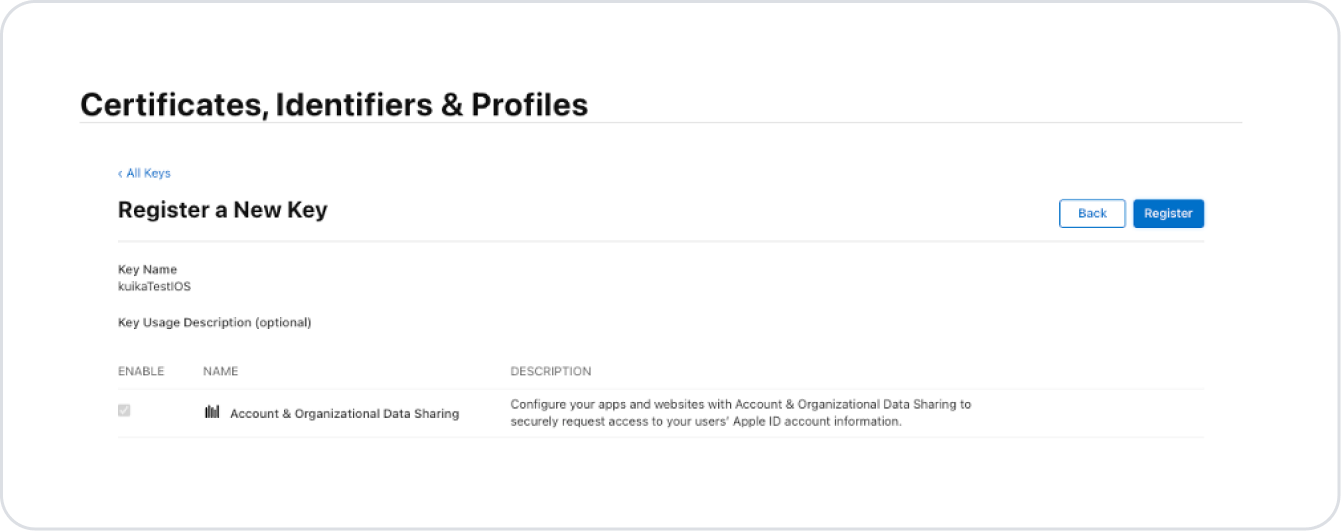
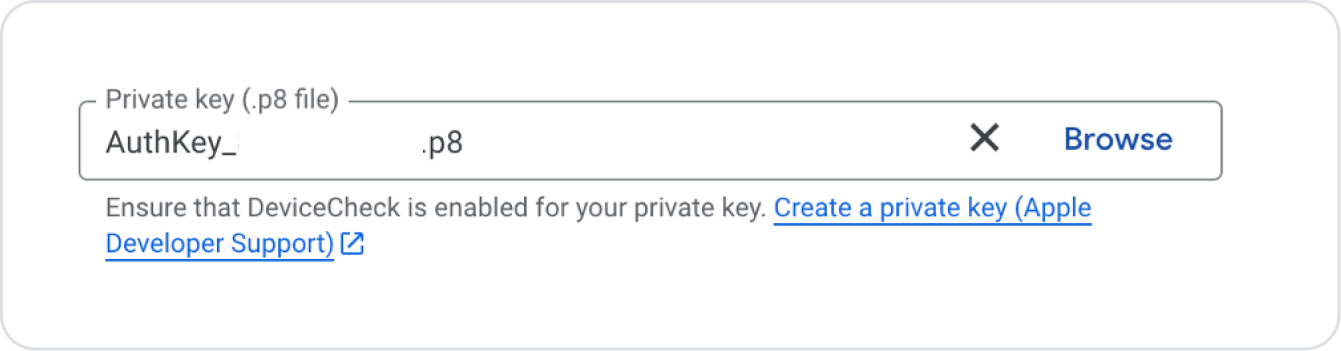
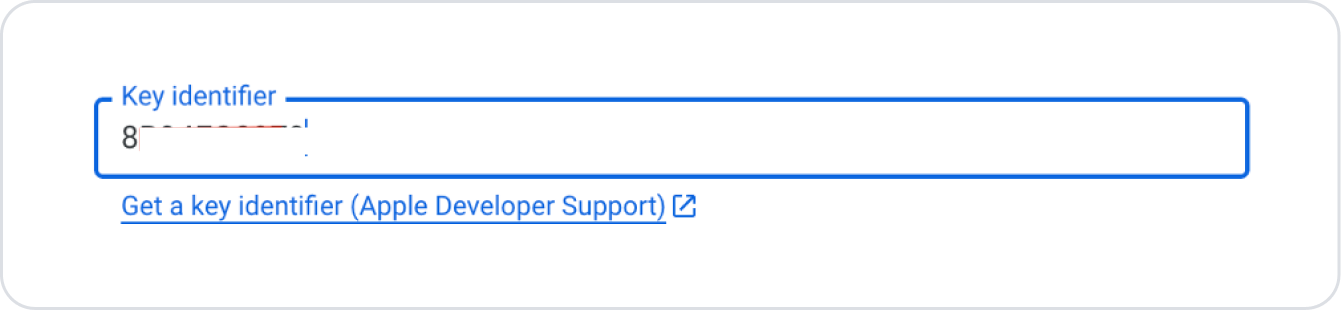
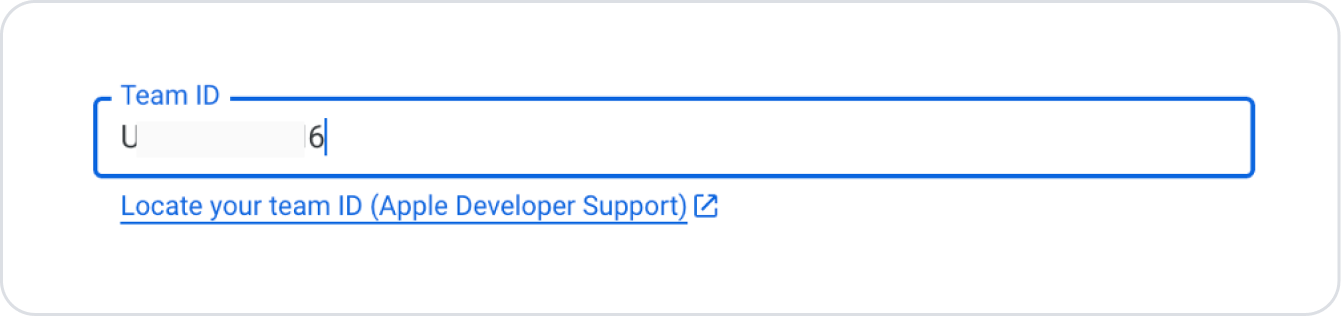
After saving the Bundle ID, you need to configure the Apple Developer Settings field at the bottom of the page. This information will be retrieved from your Apple Developer account.

  1. Go to the following link: https://developer.apple.com/account/resources/authkeys/list
  2. In the Certificates, Identifiers & Profiles section, go to the Keys tab.
  1. Click the + button to create a new Private Key (.p8).
  1. Fill in the Key Name field and select the required option from the list.
  1. Click the Register button.
  1. On the screen that opens, click the Download button to download the .p8 file.
The .p8 file can only be downloaded once. There is only one download right for each private key.

Adding Private Key Information

  • Upload the downloaded .p8 file to the relevant field on the iOS key creation page using the Browse option.
  • For the Key Identifier field, use the KEY ID value of the key you created in Certificates, Identifiers & Profiles → Keys.
  • For the Team ID field, enter the Team ID code located under your name in the upper right section of the same page.

Key Creation

  • After completing the Apple settings, click the Next Step button.
  • On the screen that opens, configure the optional settings for the created key according to your needs.
  • Finally, click the Create Key button to create the key.

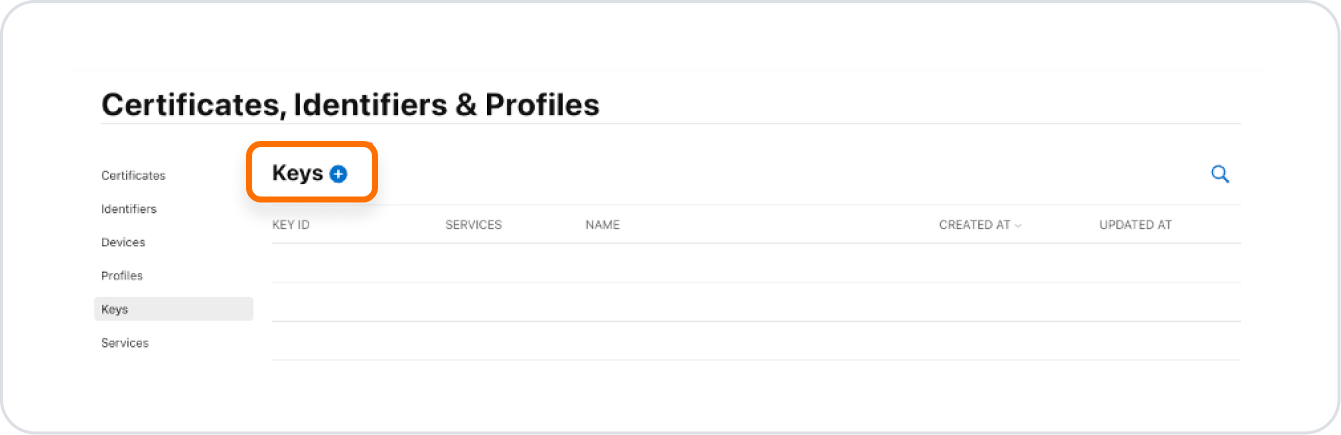
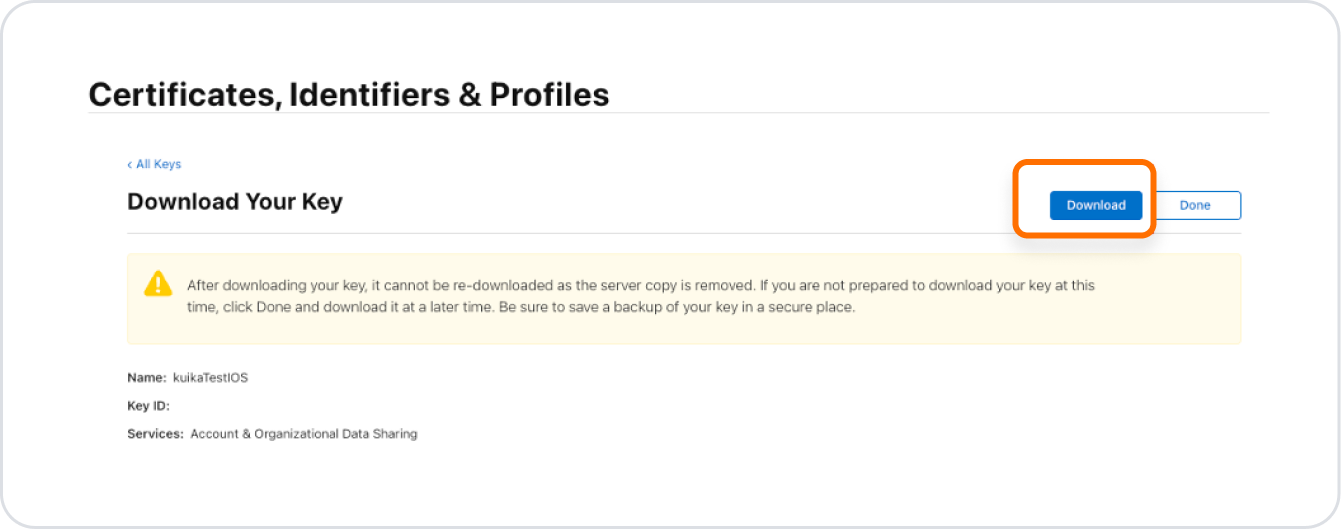
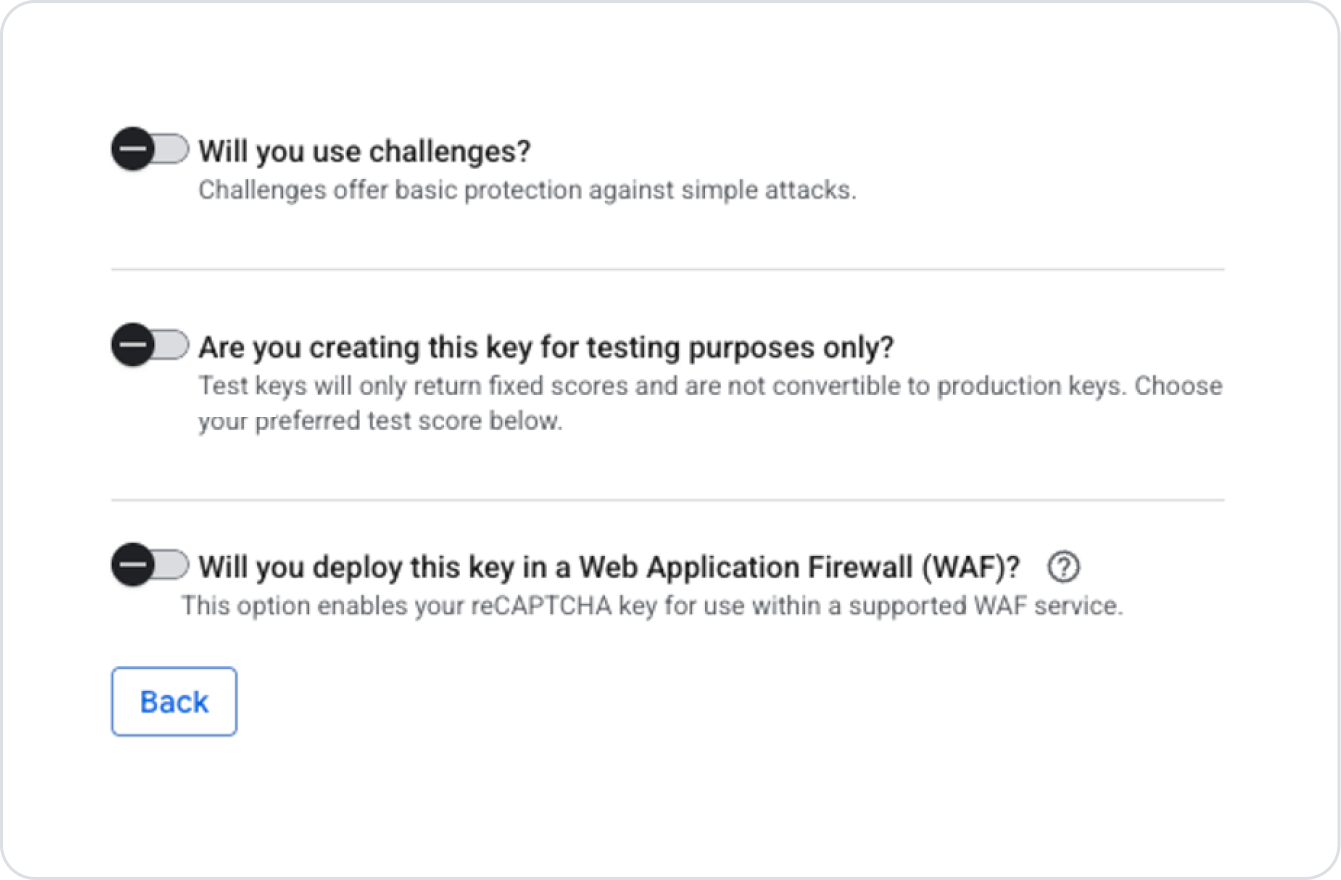
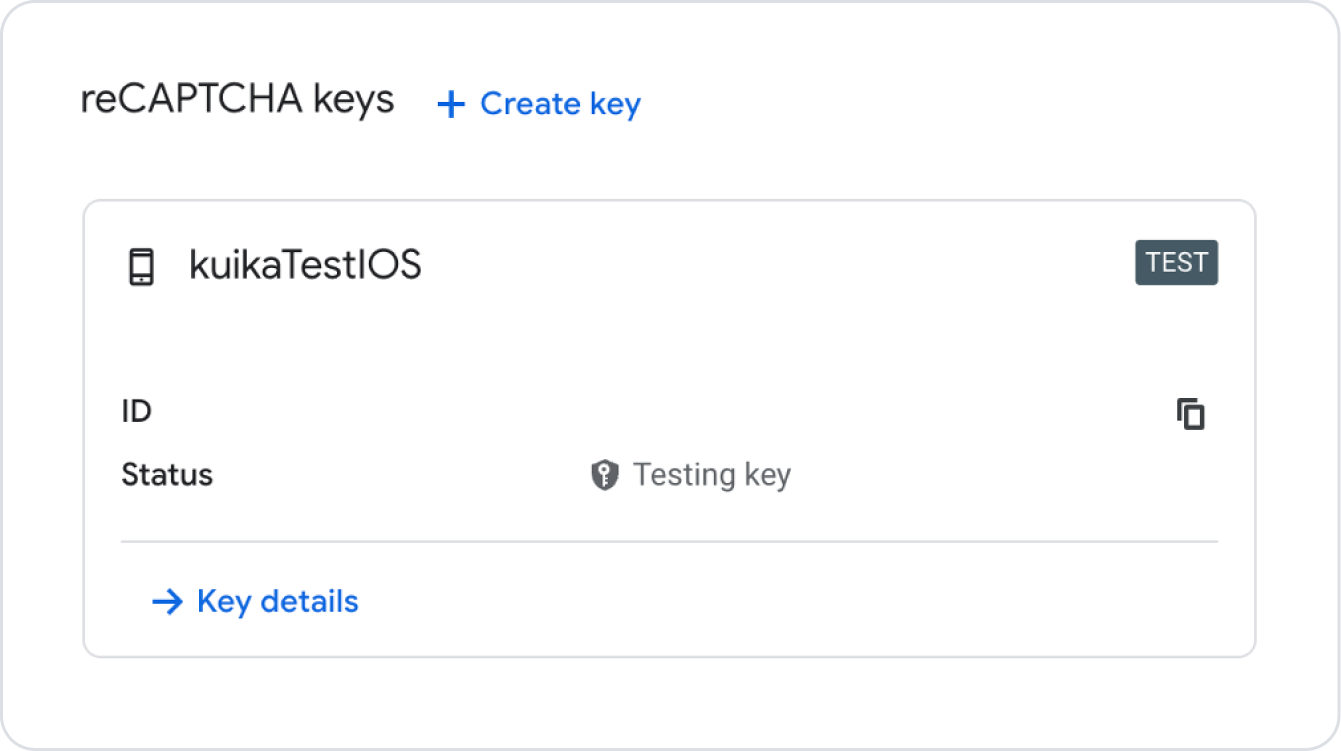
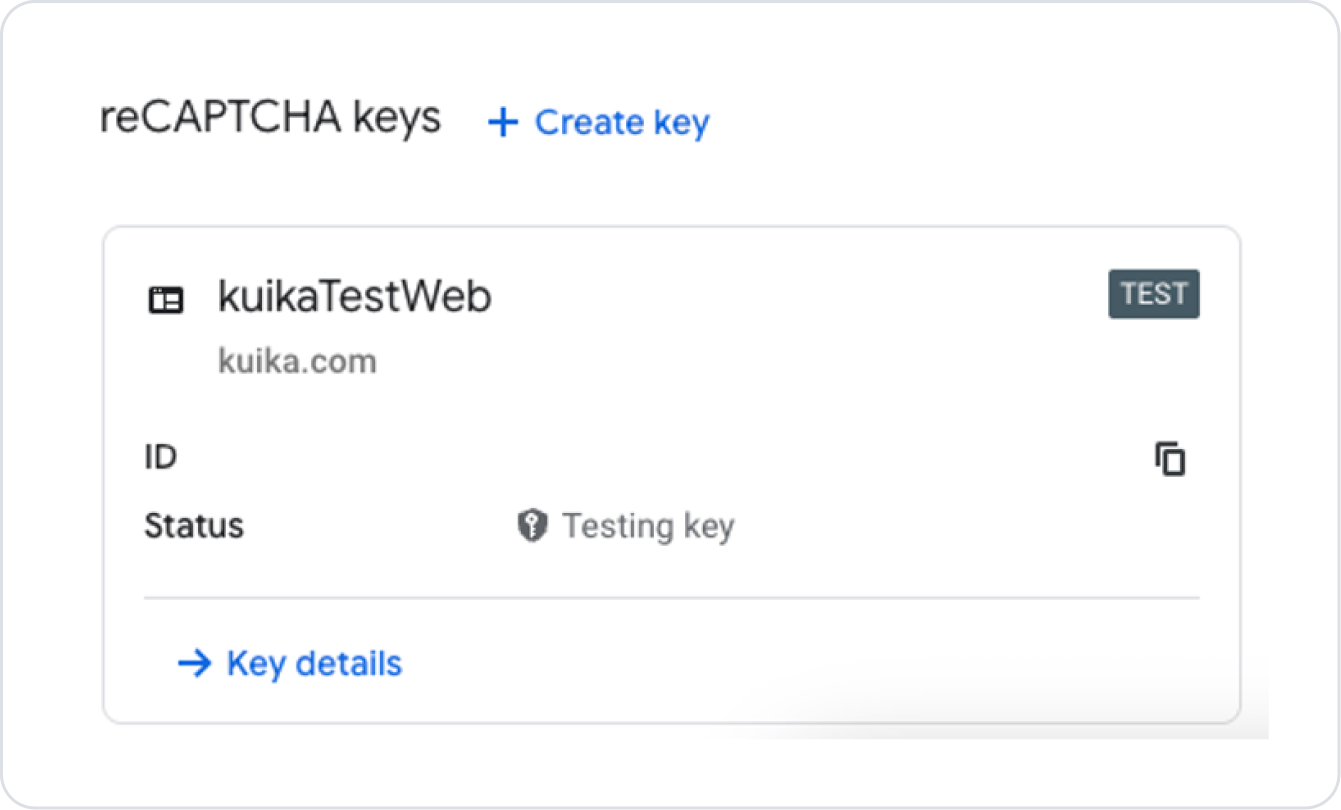
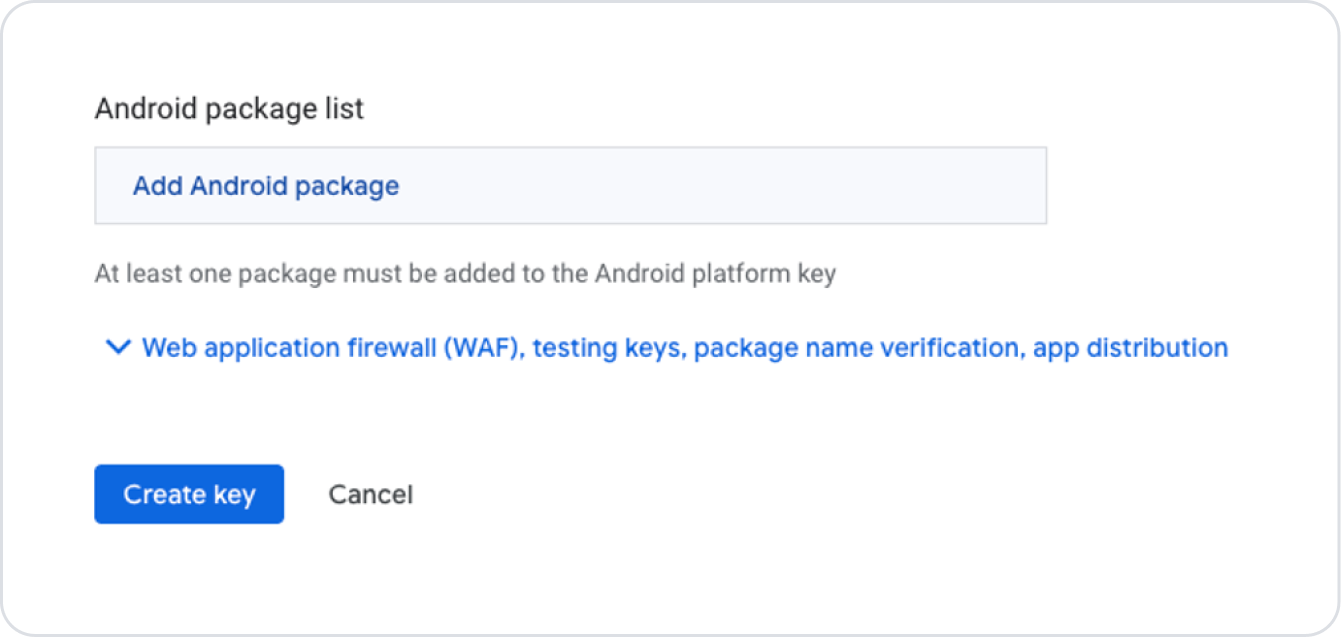
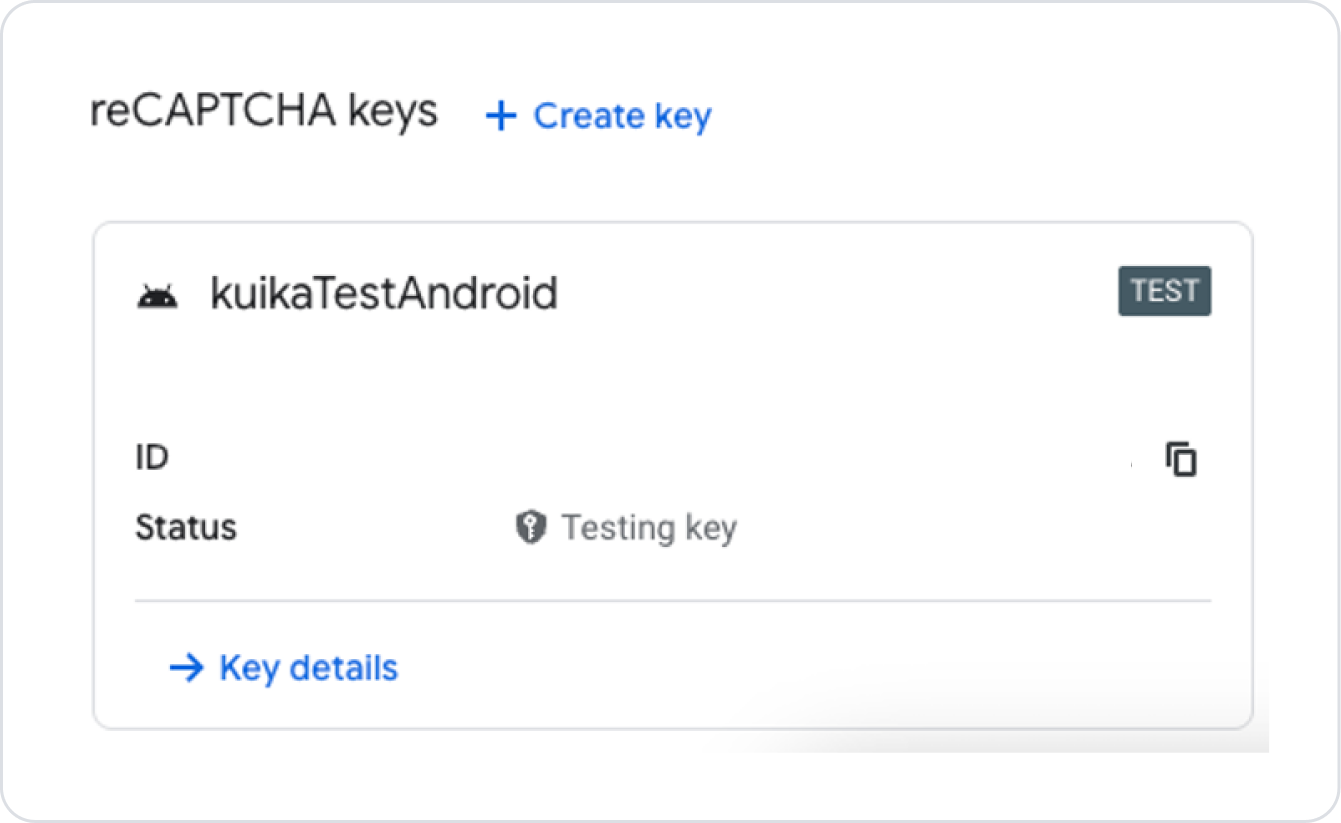
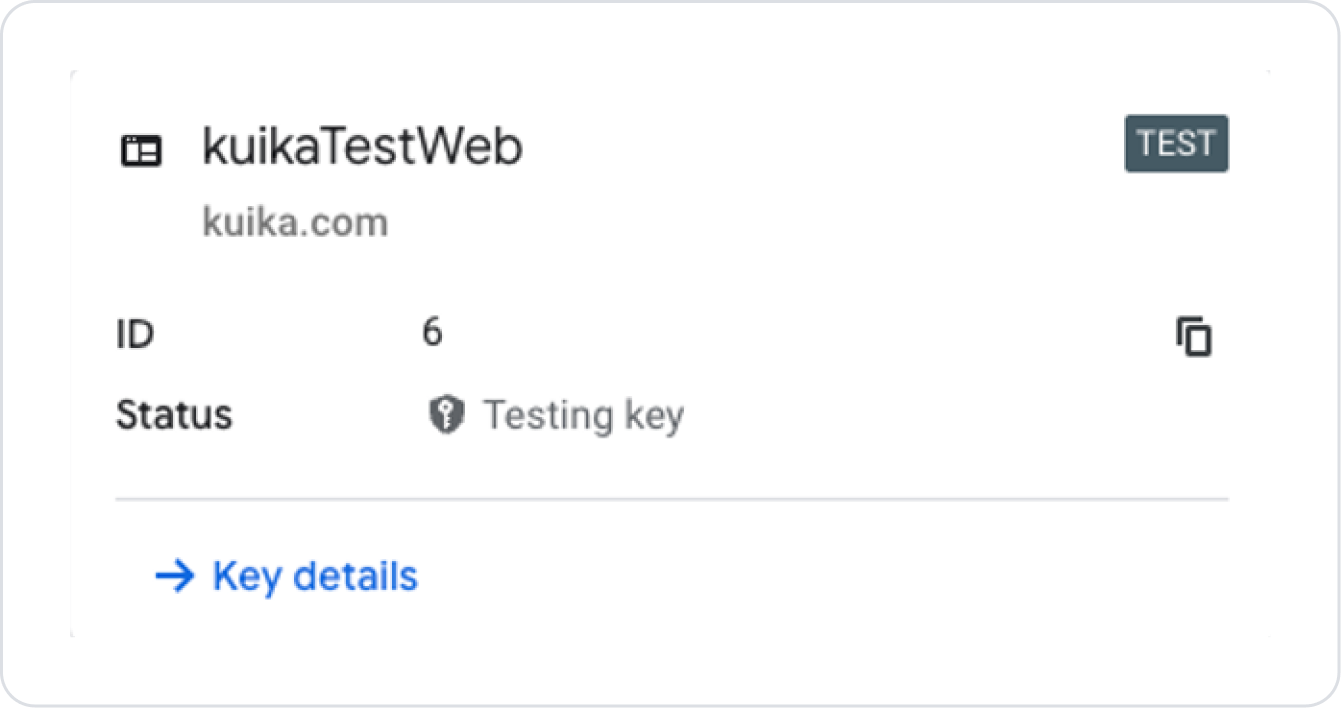
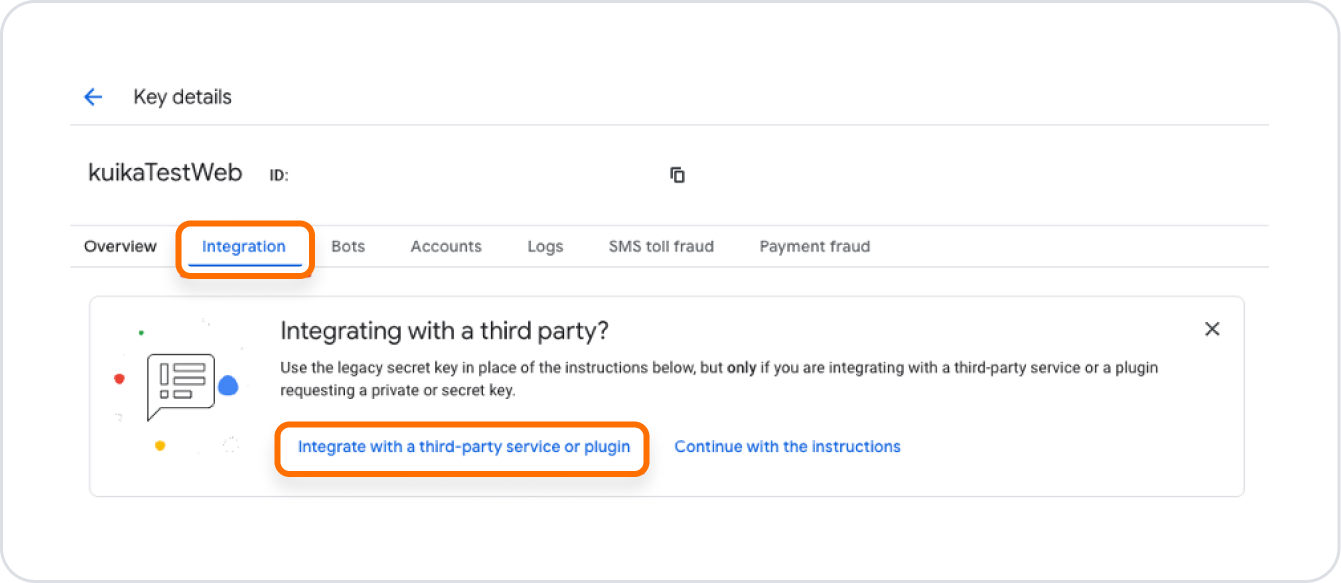
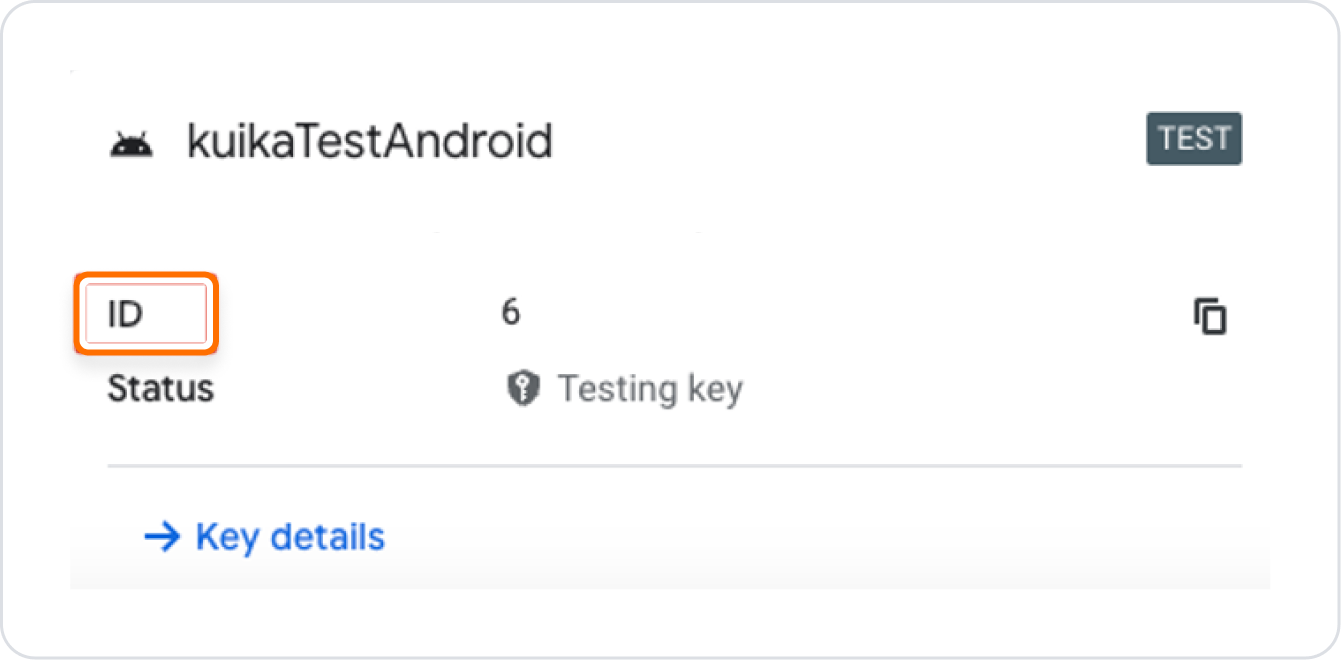
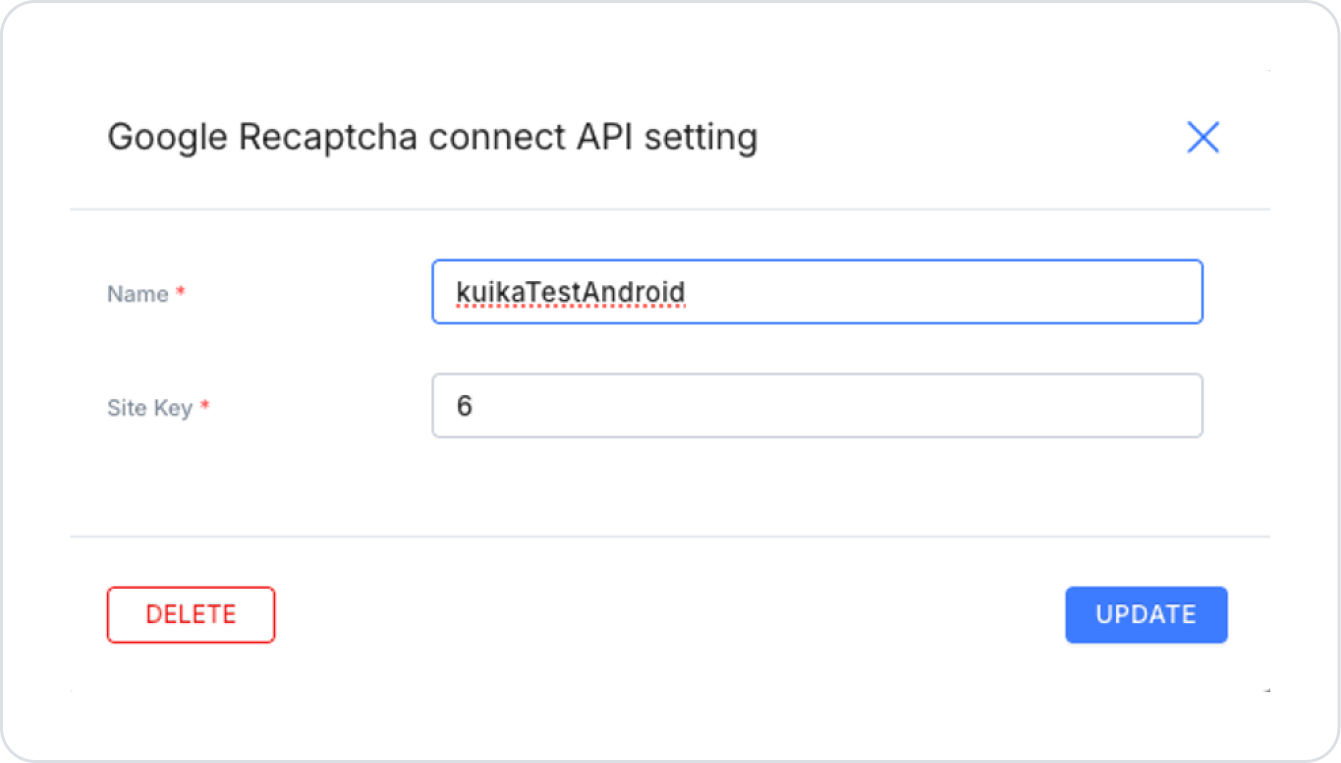
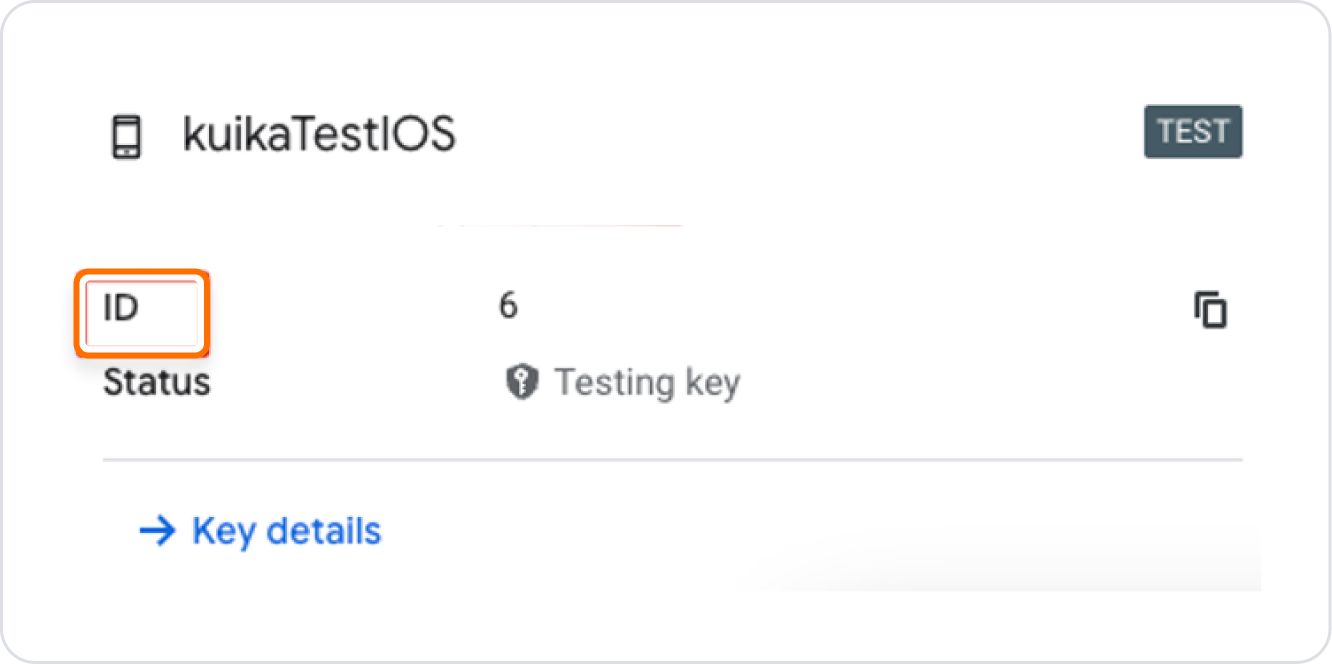
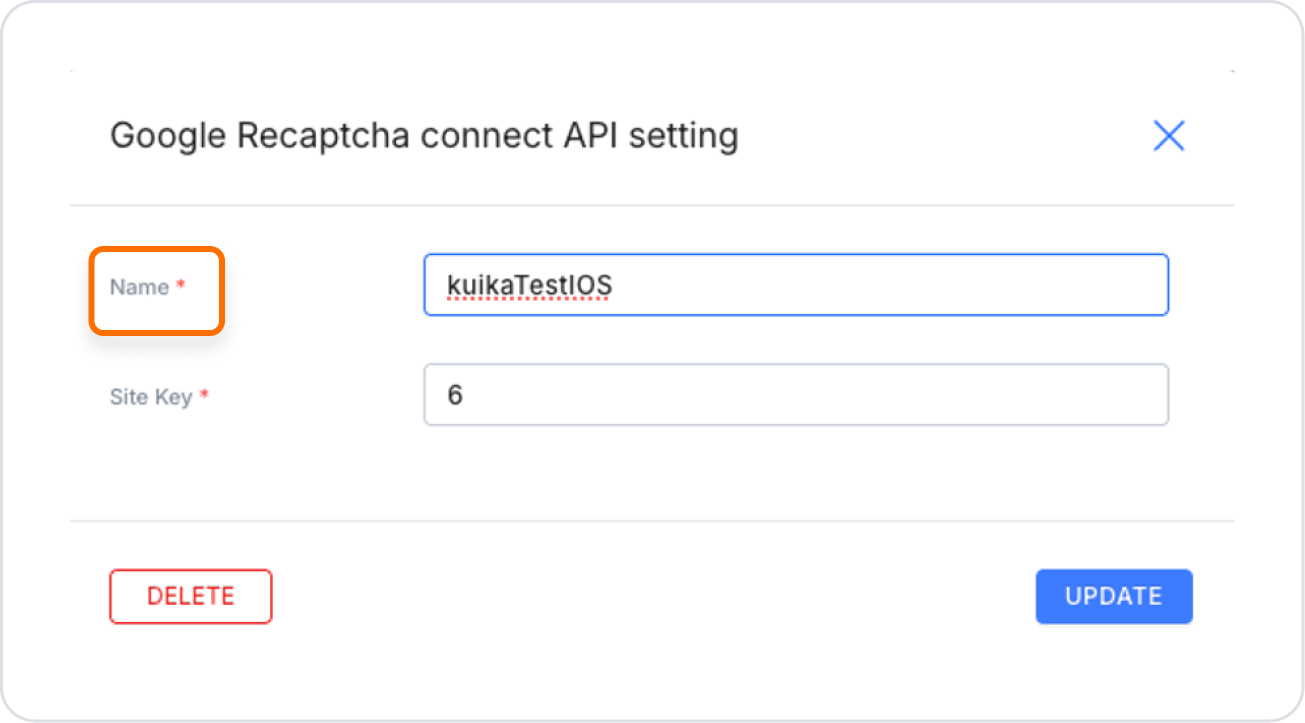
After the key is created, you can view it on the key list page by clicking the back arrow icon on the page that opens.

ReCAPTCHA Settings in Configuration Manager Module

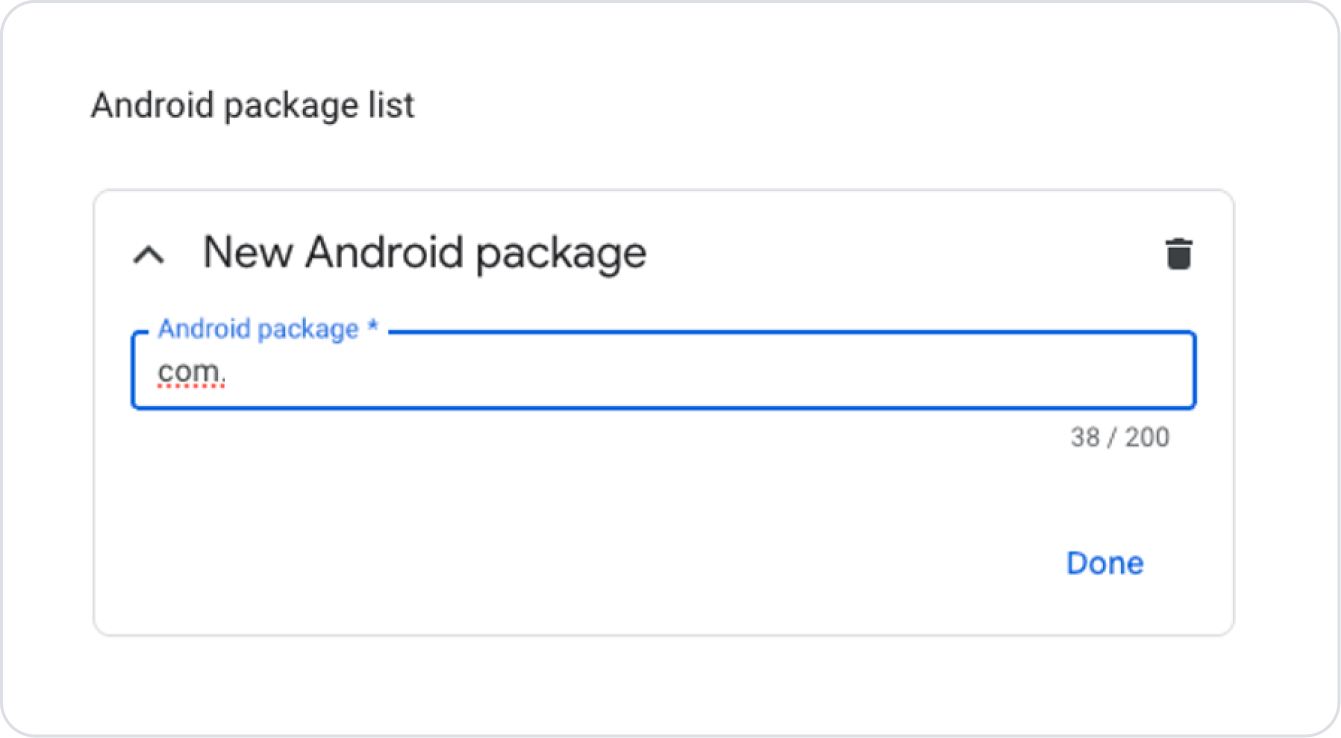
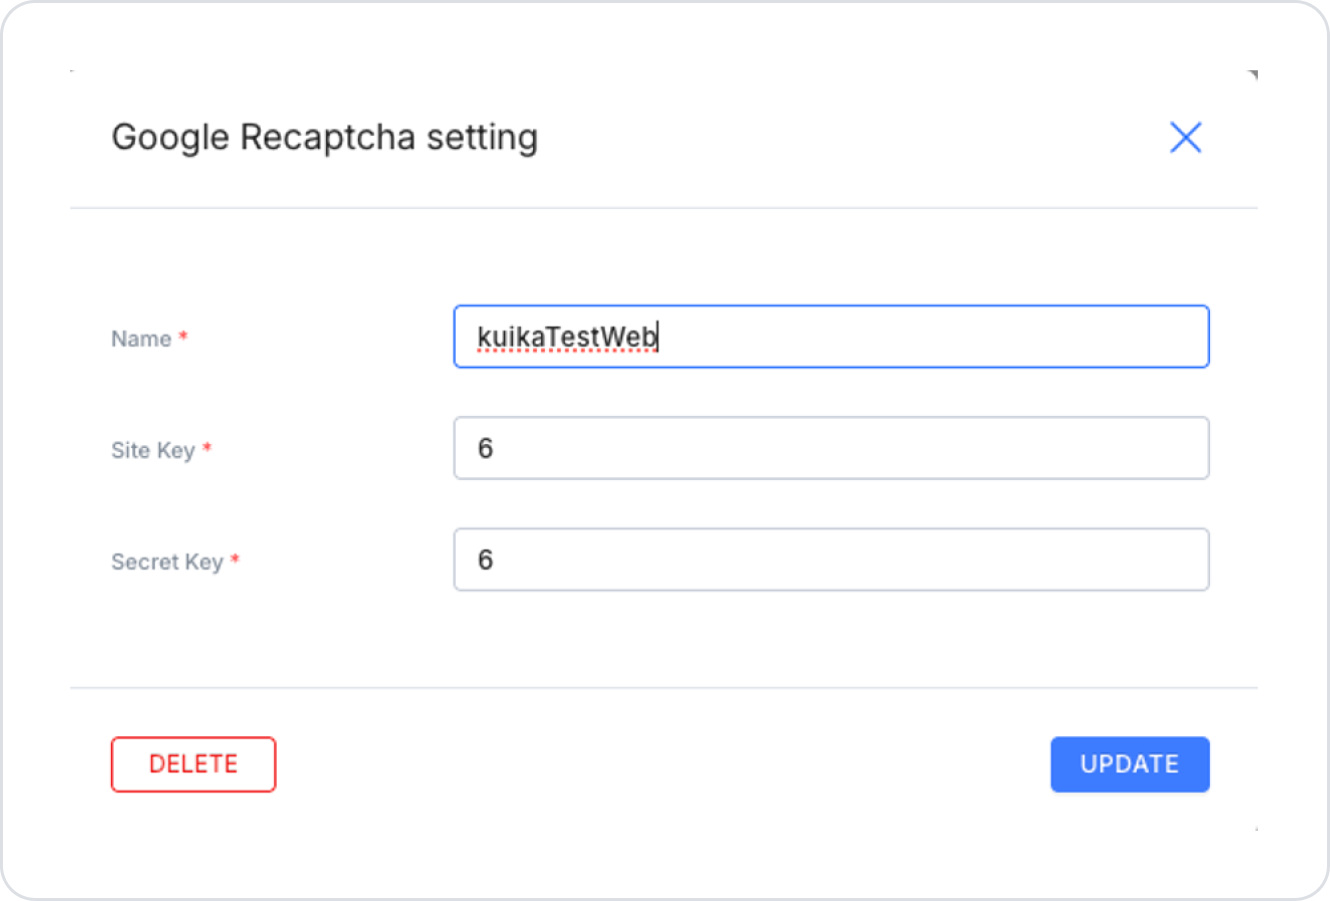
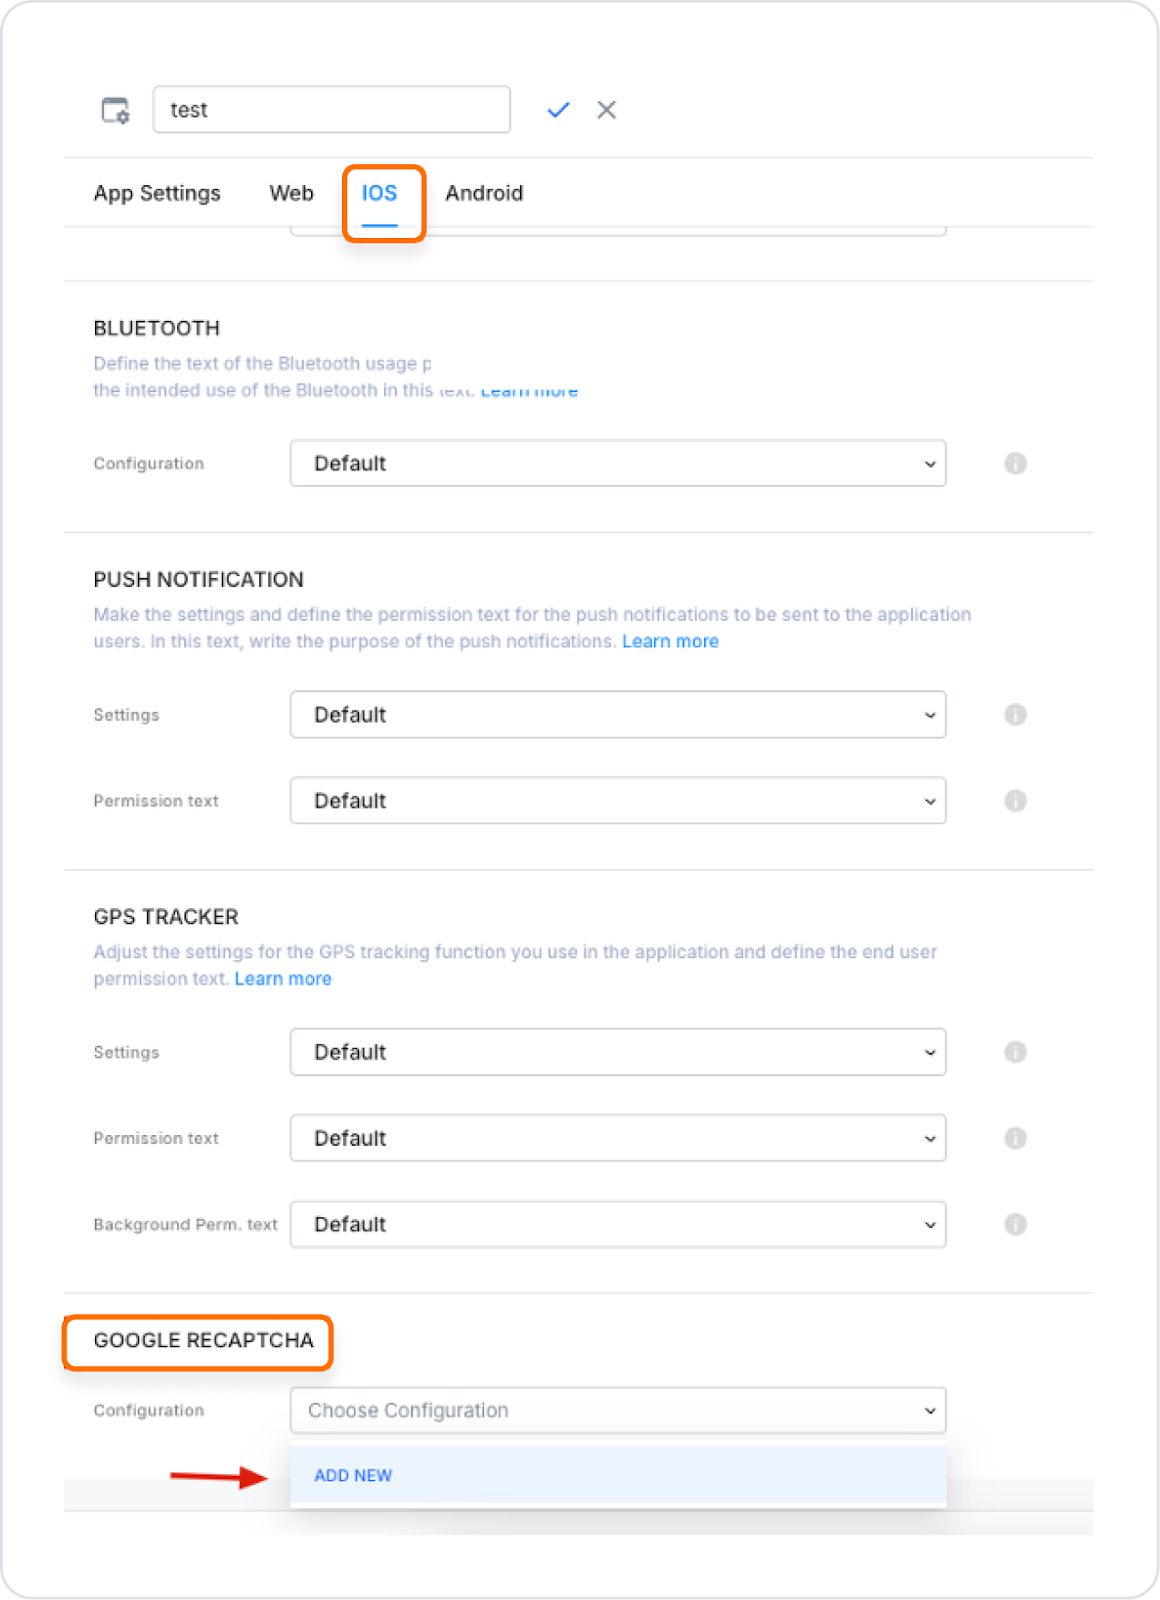
Up to this point, we have created Web, Android, and iOS keys. Now we will use the keys we have obtained on the Kuika platform.

If you are going to use it for a mobile application, you must first create a mobile application. You can access our relevant content to create a mobile application.

WEB Integration

  1. Go to the “Configuration Manager” module.
  1. Find the “App Settings” tab and the “Google Recaptcha” field. For detailed information, you can review our Configuration Manager content.
  2. Click the “Add New” button.
  1. In the window that opens, fill in the ‘Name’ field as desired.
  1. Fill in the “Site Key” and “Secret Key” fields with the values from the Web Key created by Google.
  2. Go to the Details page, go to the Integrations tab, and click the Integrate with a third-party service or plugin button.
  1. Return to the Google Recaptcha page and click the Key Details button in the web key we created.
  1. Go to the Details page, go to the Integrations tab, and click the “Integrate with a third-party service or plugin” button.
  1. The Secret Key appears in the window that opens.
    • “ID” value -> “Site Key”
    • “Secret Key” value -> “Secret Key”
  1. After entering the required information, save it in the Configuration Manager module. You can also create a configuration for Android and iOS applications by following similar steps.

Android Integration

  1. Go to the “Configuration Manager” module.
  1. Scroll to the bottom of the “Android” tab and find the “Google Recaptcha” field.
  2. Click the “Add New” button.
  3. Fill in the ‘Name’ field as desired.
  1. In the “Site Key” field, enter the “ID” value of the Android Key you created.
  2. After entering the required information, save it.

iOS Integration

  1. Go to the “Configuration Manager” module.
  1. In the “iOS” tab, scroll to the bottom of the page and find the “Google Recaptcha” field.
  2. Click the “Add New” button.
  3. Fill in the ‘Name’ field as desired.
  1. In the “Site Key” field, enter the “ID” value of the iOS Key you created.
  2. After entering the required information, save it.

Error and Troubleshooting

  • If verification fails: Check key configurations in Google Console.
  • If you get errors in API calls: Make sure the Secret Key is entered correctly.
  • If the reCAPTCHA element is not visible: Check the integration on the UI side and complete the missing actions.

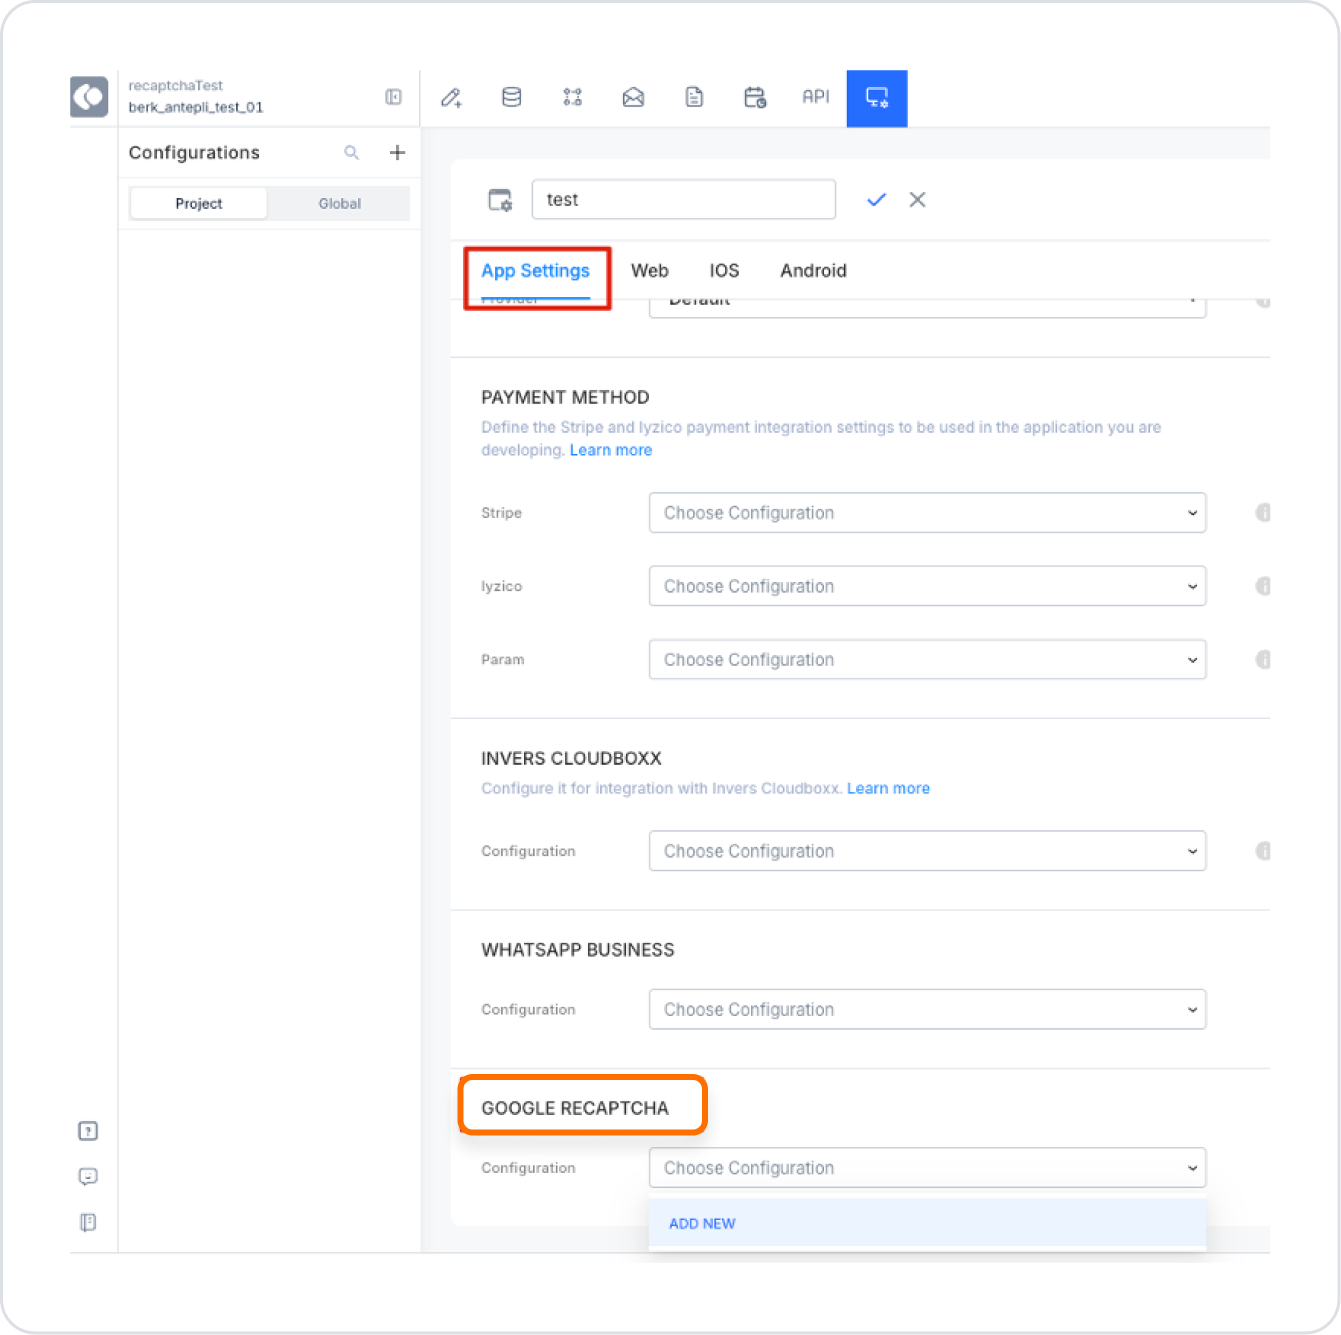
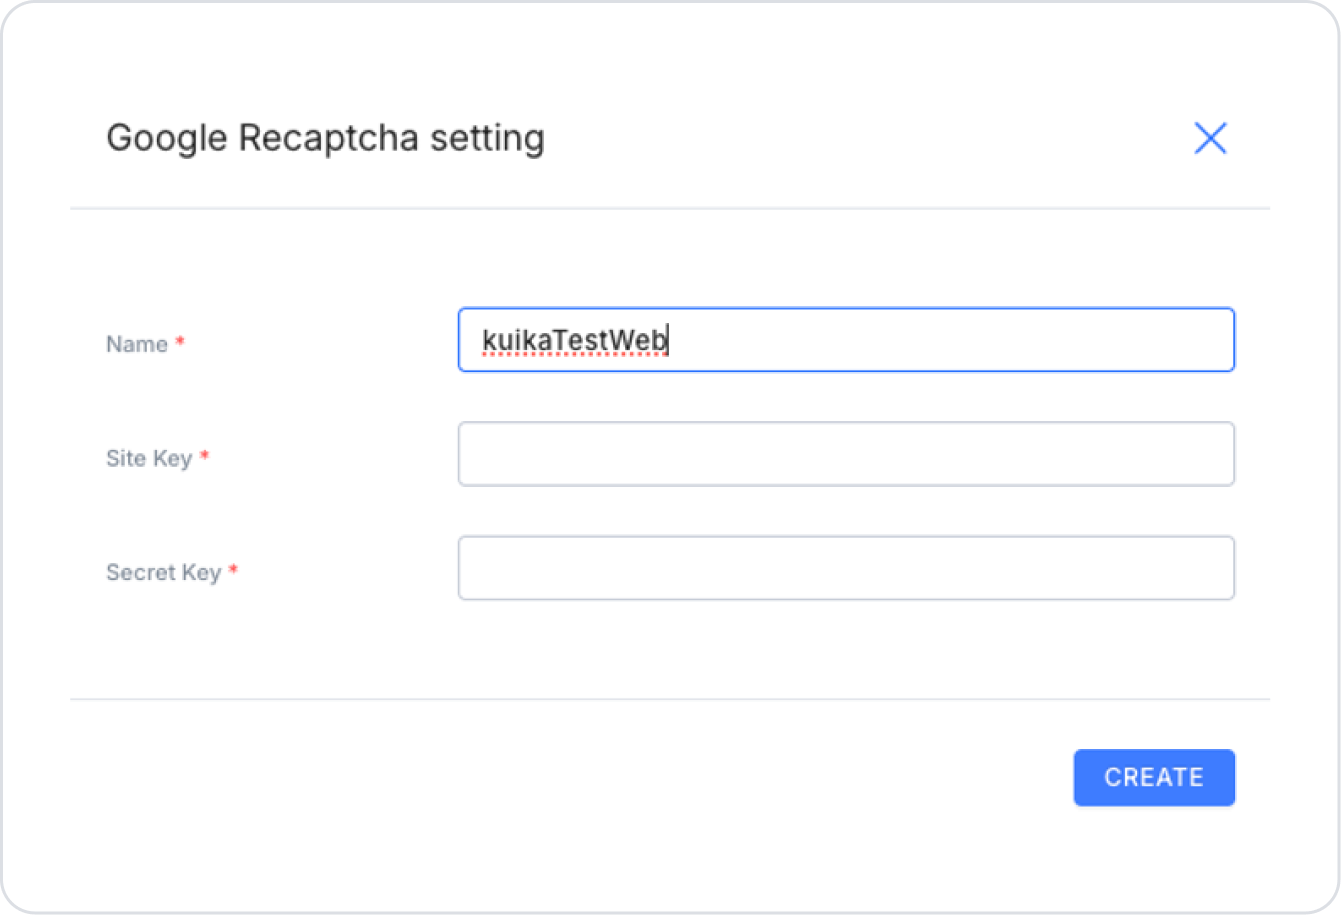
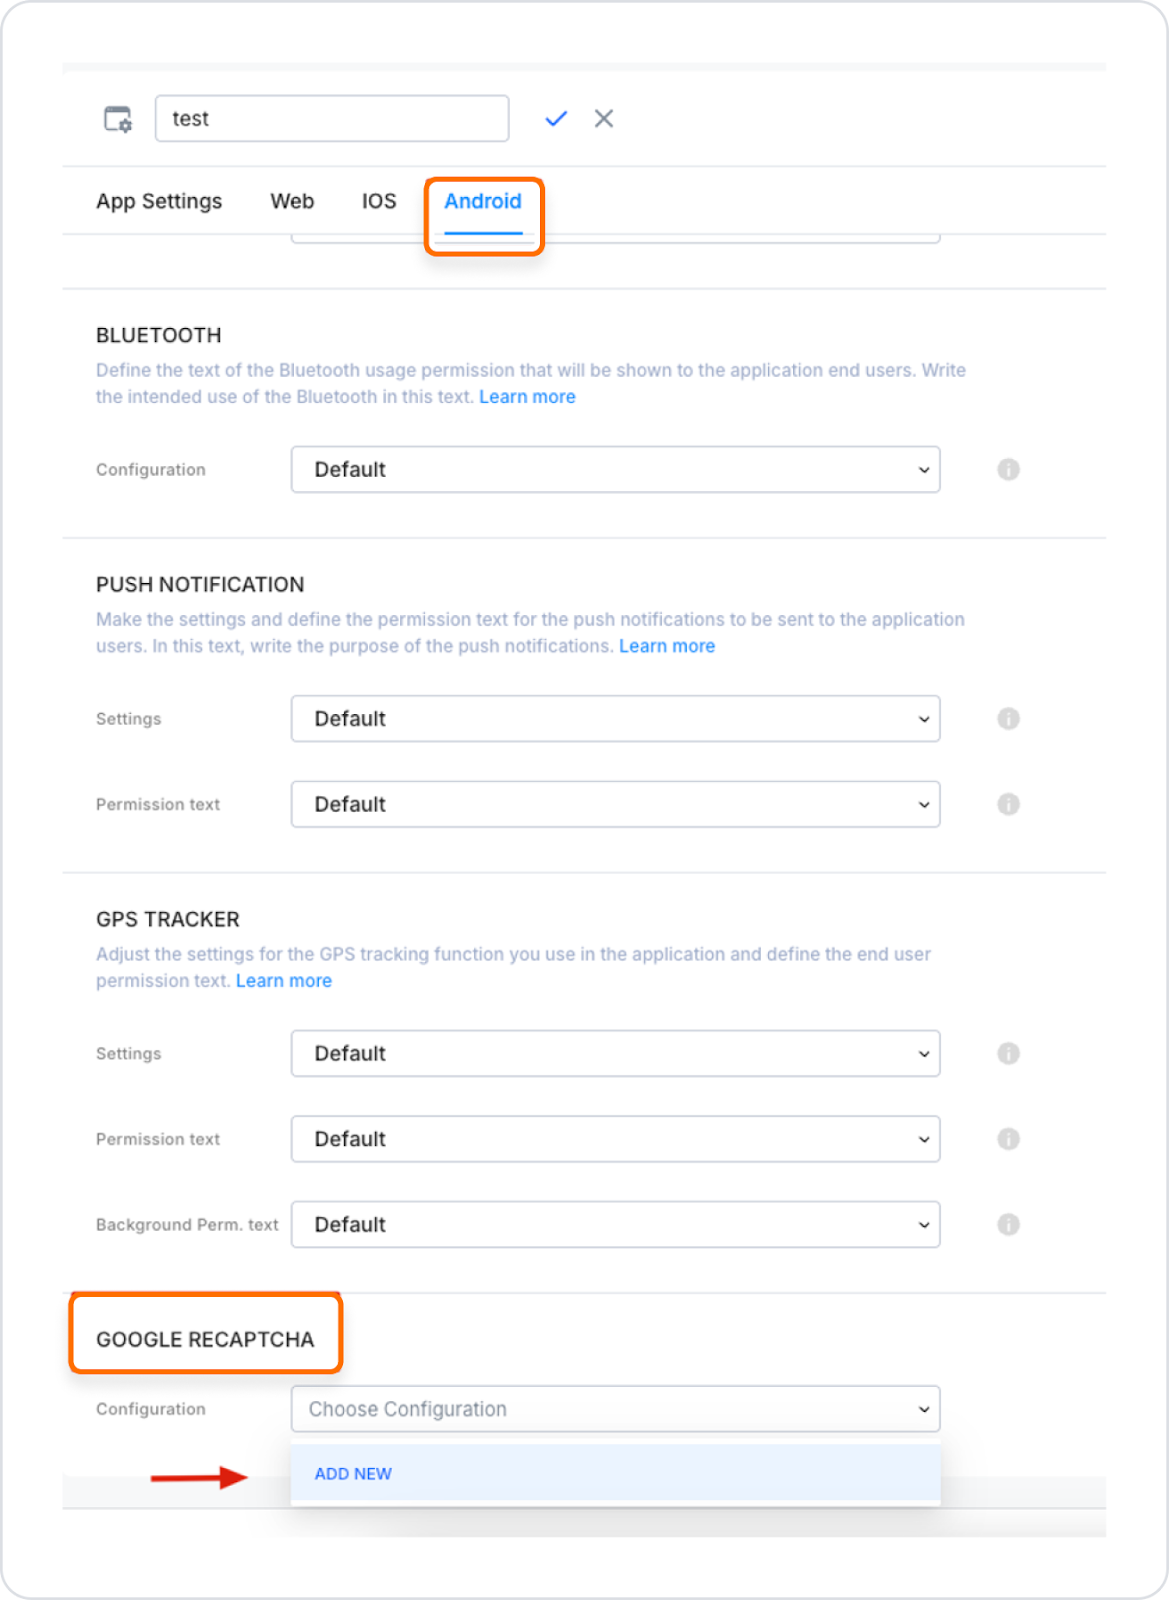
By following these steps, you can successfully integrate Google reCAPTCHA into the Kuika platform, increase the security of your application and ensure that only real users can log in.

Other Related Content

Glossary

No items found.

Alt Başlıklar