
Kuika's API Builder module allows you to turn your application into a data source for other applications and services. API (Application Programming Interface) is an interface that performs data exchange between different systems and applications in a standard structure.
This module makes it easier for your application to send and receive data. For example, a food ordering application developed in Kuika can get a restaurant's menu via API. Similarly, when an order is placed, you can send this information to the restaurant via API and get feedback. In this training content, you will learn how to configure API definitions using the Kuika API Builder module.

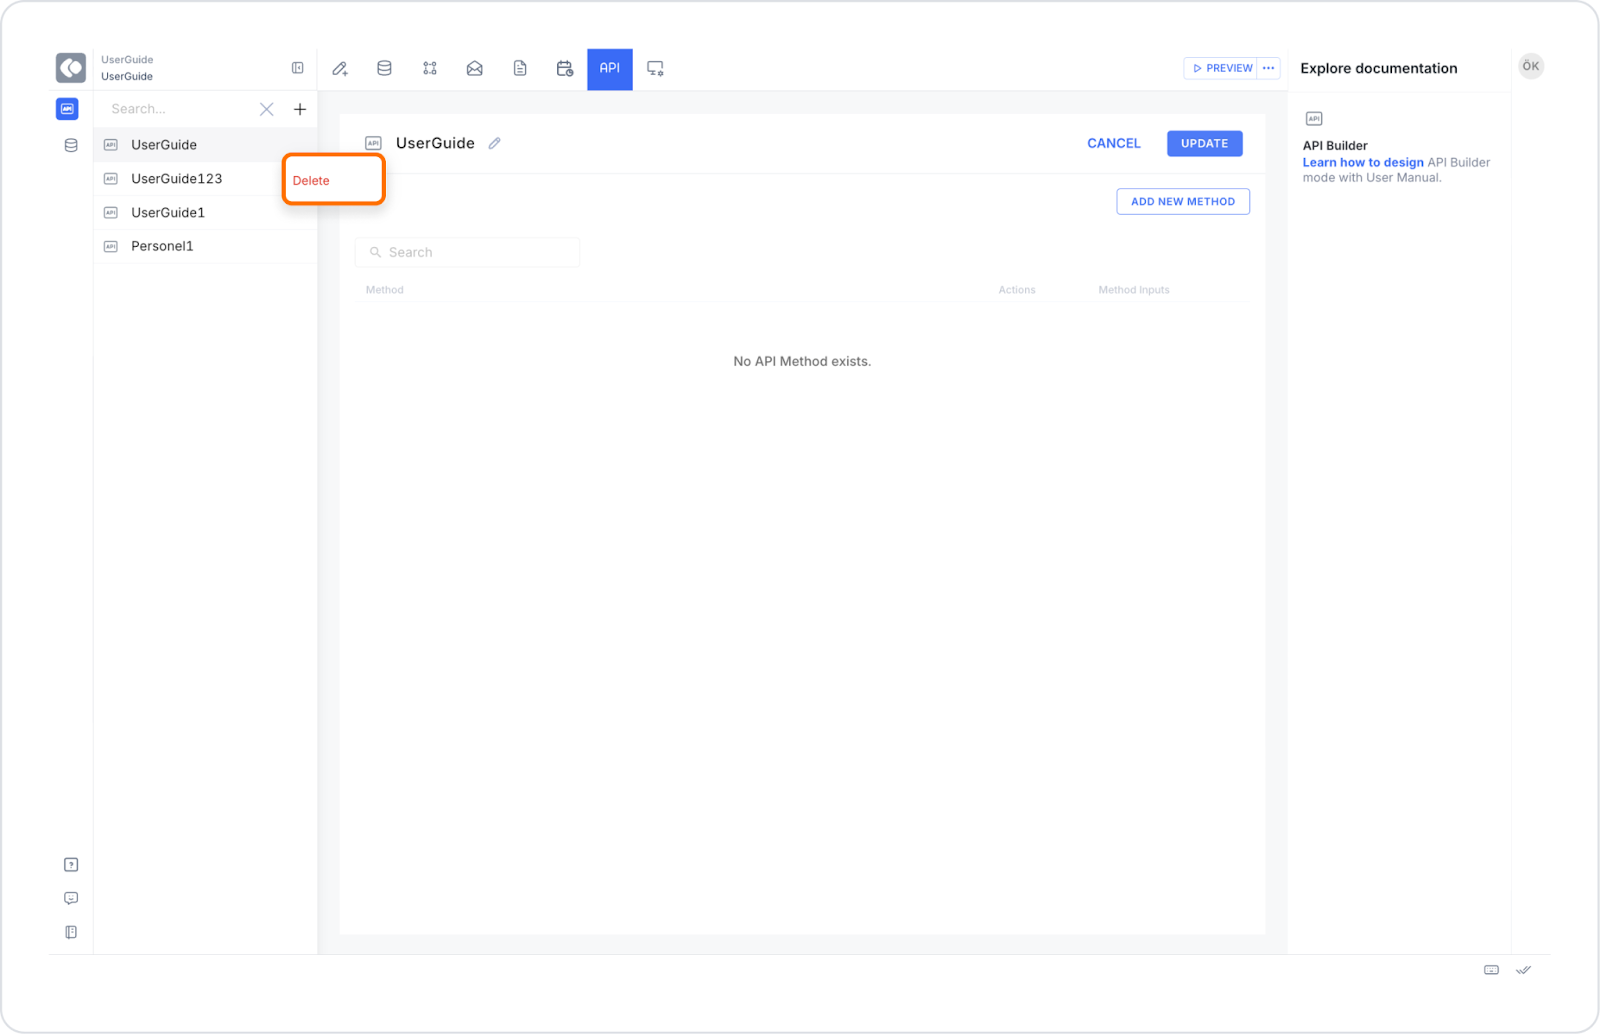
The API Builder Panel allows you to manage all API definitions created on Kuika. What you can do in this panel:
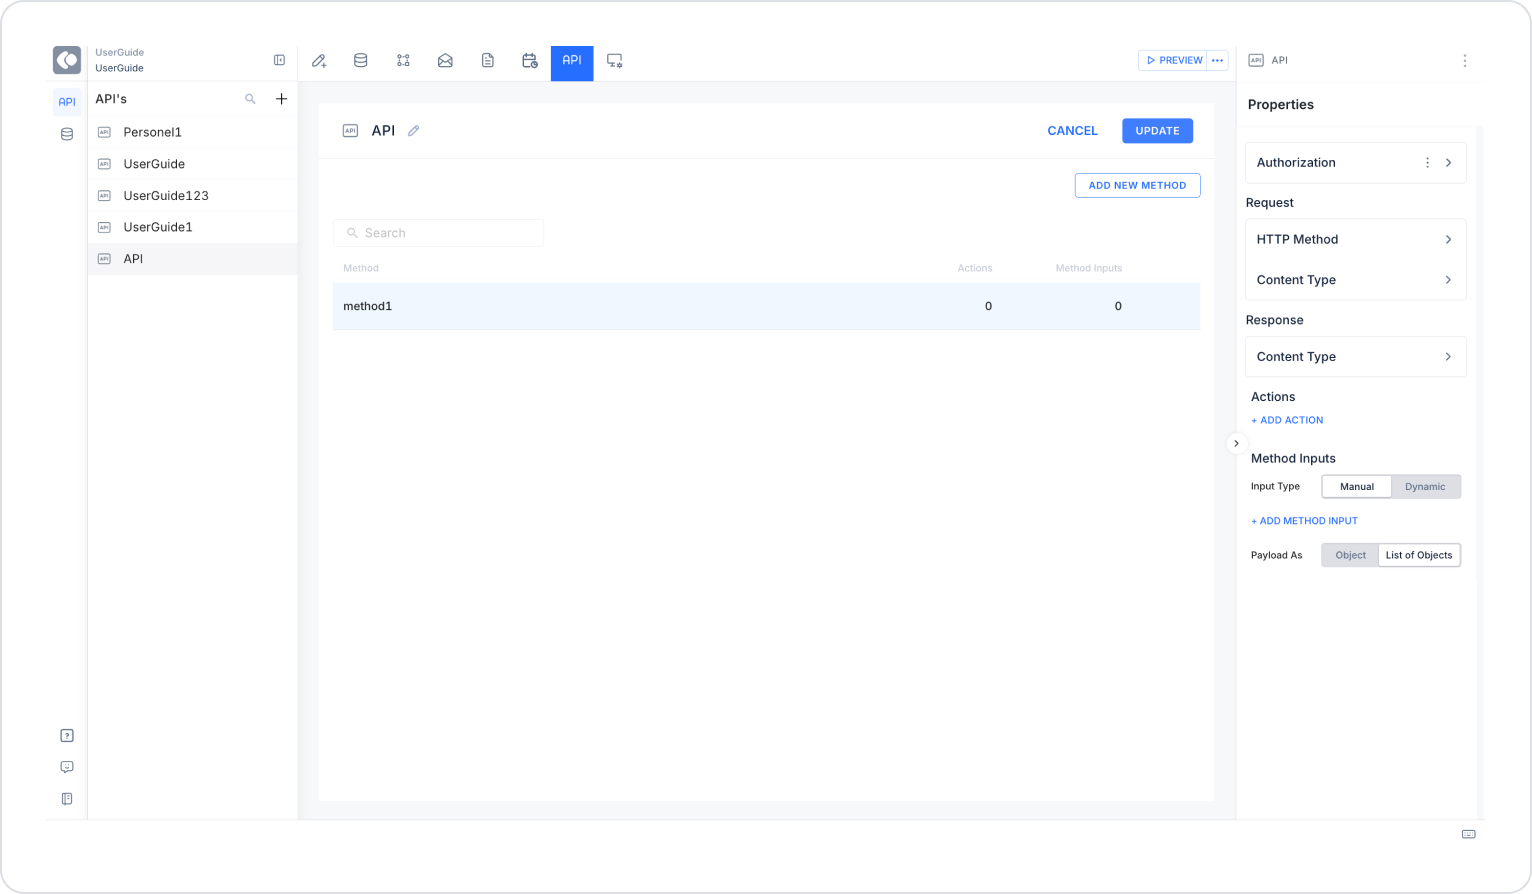
Properties Panel Fields
Authorization
You can configure authorization settings specific to the method in this field. The access level for the API method can be specified.
Request Settings
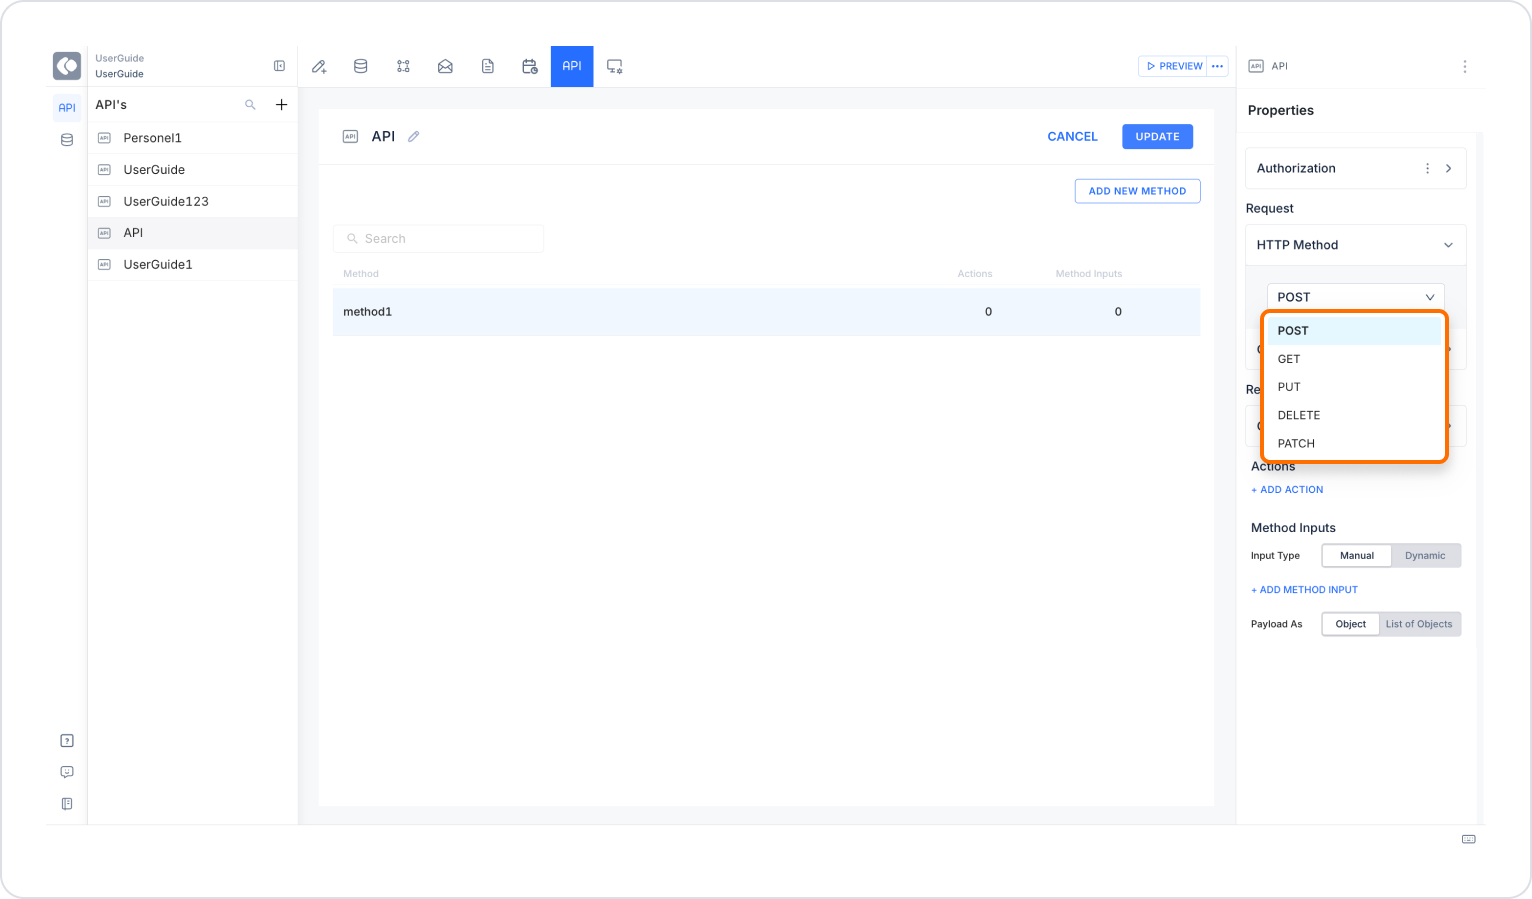
HTTP Method
Specifies which HTTP type the method will work with.
Supported method types:
The selected HTTP Method determines the API's data retrieval or data modification behavior.
Content Type (Request)
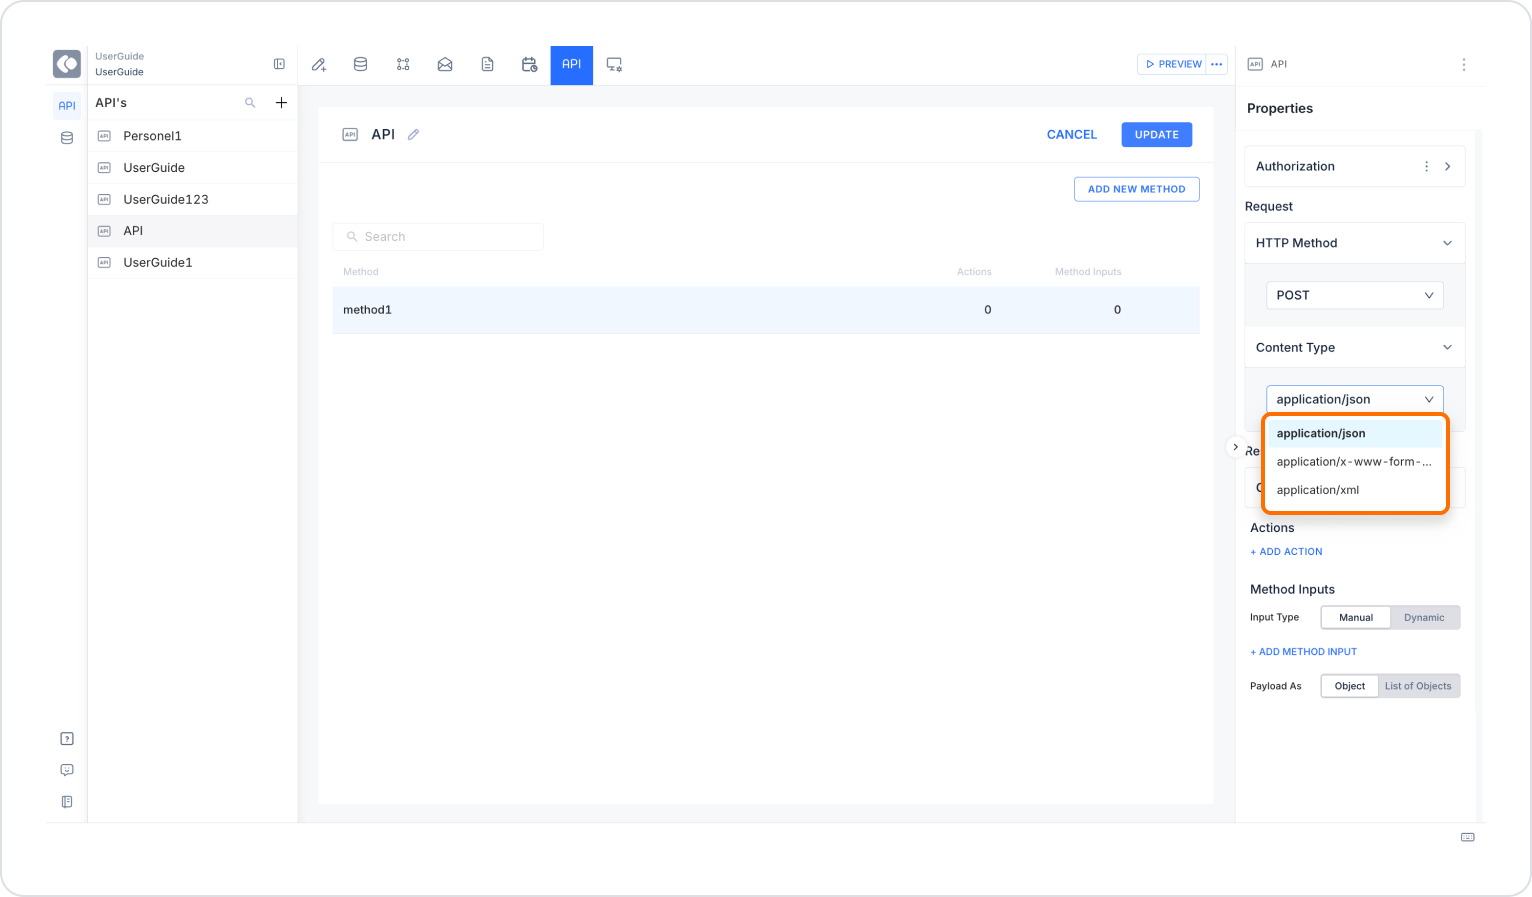
Determines the format of the data to be sent to the API.
Supported content types:
For example:
Response Settings
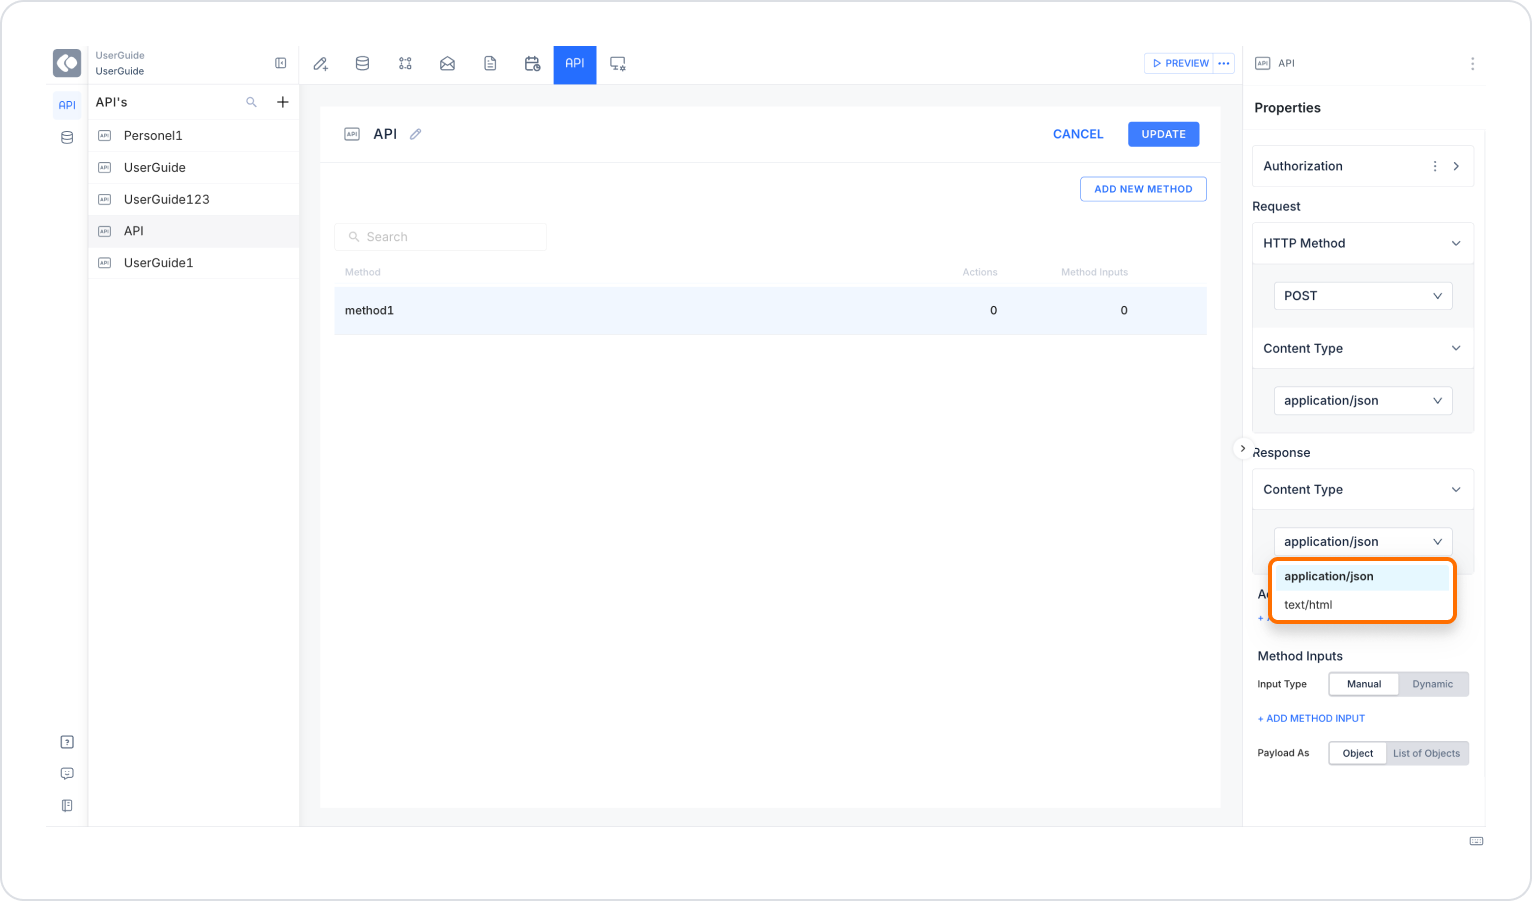
Content Type (Response)
Determines the format of the response returned by the API.
Supported response types:
application/json is generally preferred for data-based APIs.
Actions
Actions to be performed when the method is called are added using the + ADD ACTION button.
Added actions:
Action results can be linked to the Response via the Symbol Picker.
Method Inputs
Enables the API to receive parameters from outside.
Input Type
Manual Input
Click the + ADD METHOD INPUT button to add a new parameter.
Fields:
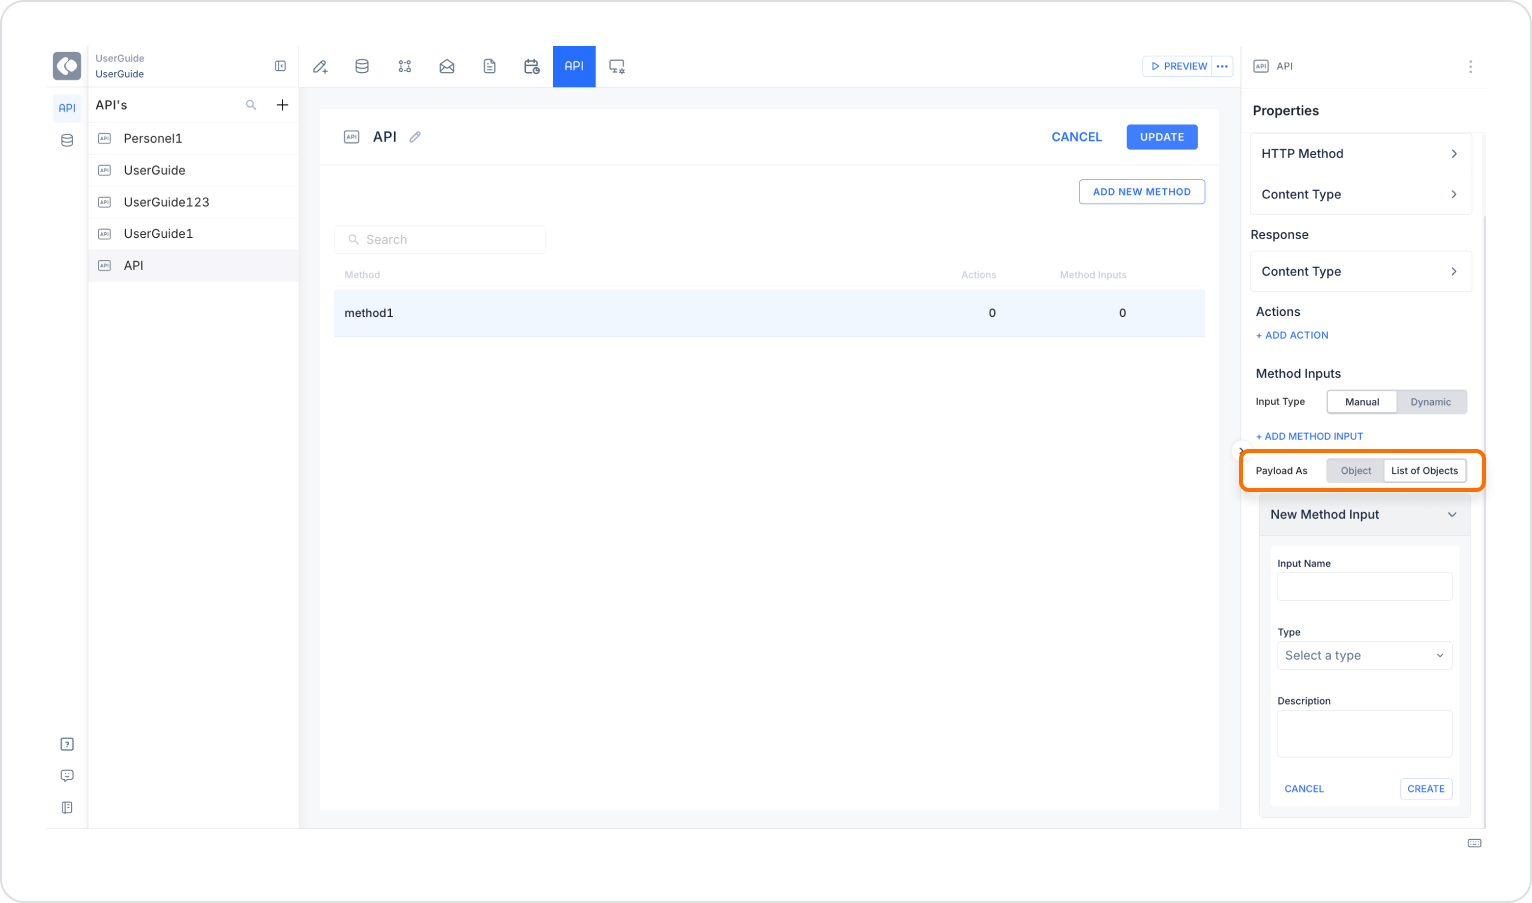
Payload type can be selected:
Thanks to the Array (multi-row) data structure, the API method can process multiple records in a single request. This structure is particularly used for:
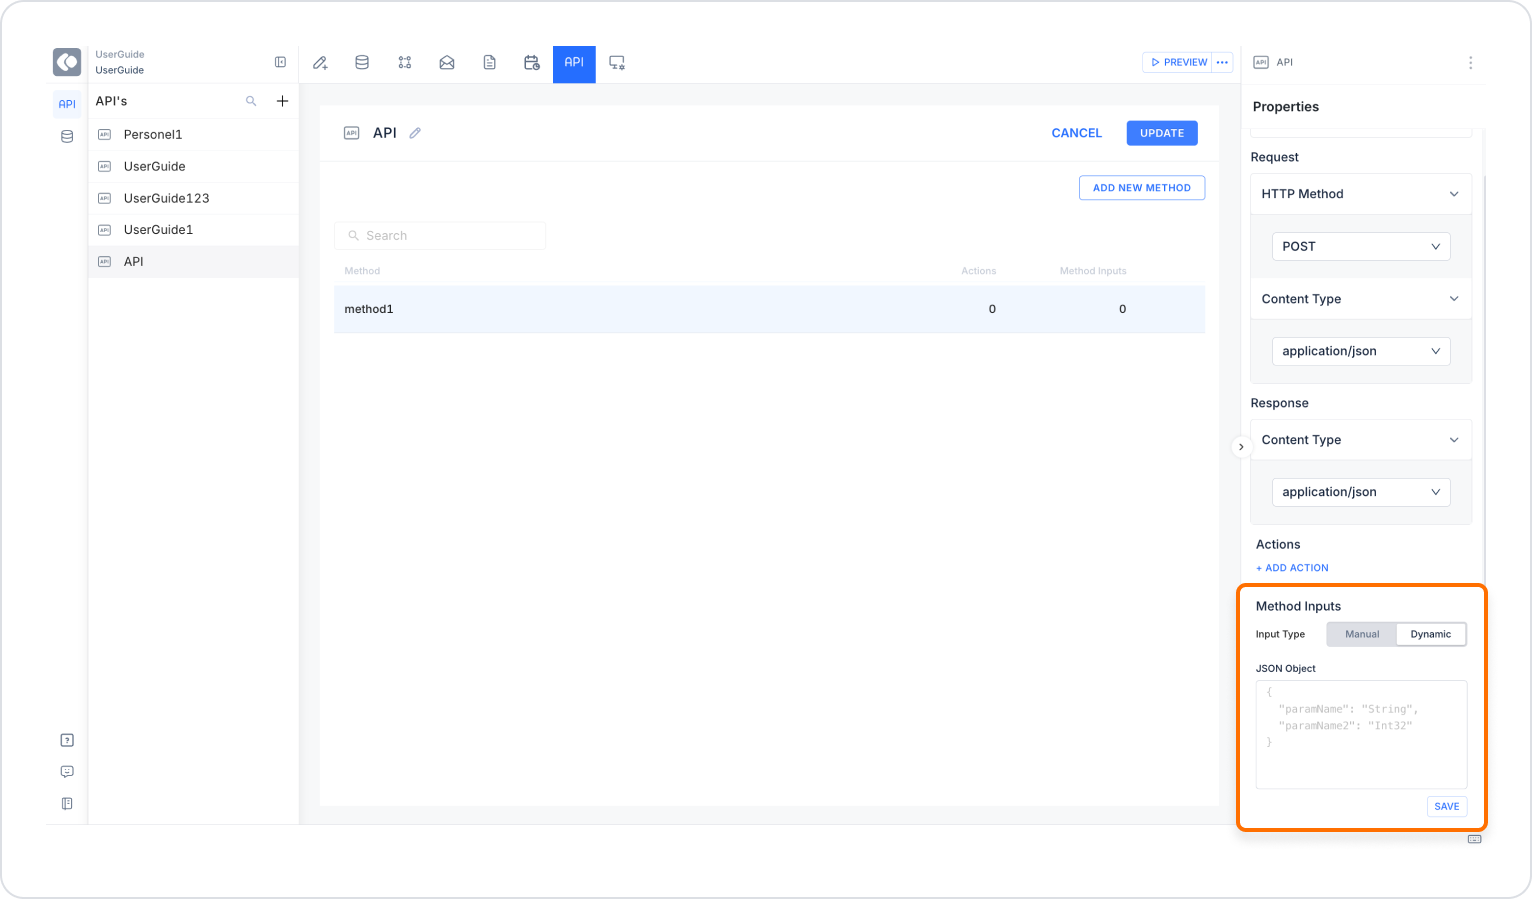
Dynamic Input
When Dynamic is selected, the JSON Object field opens. Example structure:
{
“paramName”: “Value1”,
‘paramName2’: 10,
“paramName3”: 10.4,
}
This structure defines the request body expected by the method. The system automatically understands the type of the relevant parameter based on the values found here. Below are the critical ones and the system's default type definition criteria:
Numeric: If the value is not Float, the system automatically selects the Long type. If the value is Float, i.e., contains “.”, the system determines the type of the relevant parameter as decimal.
DateTime: The system only recognizes the “iso” format as DateTime. DateTime values other than “YYYY-MM-DDThh:mm:ss” are automatically defined as string type.
Example Scenario
An API will be created that returns the menu status based on the barcode number.

