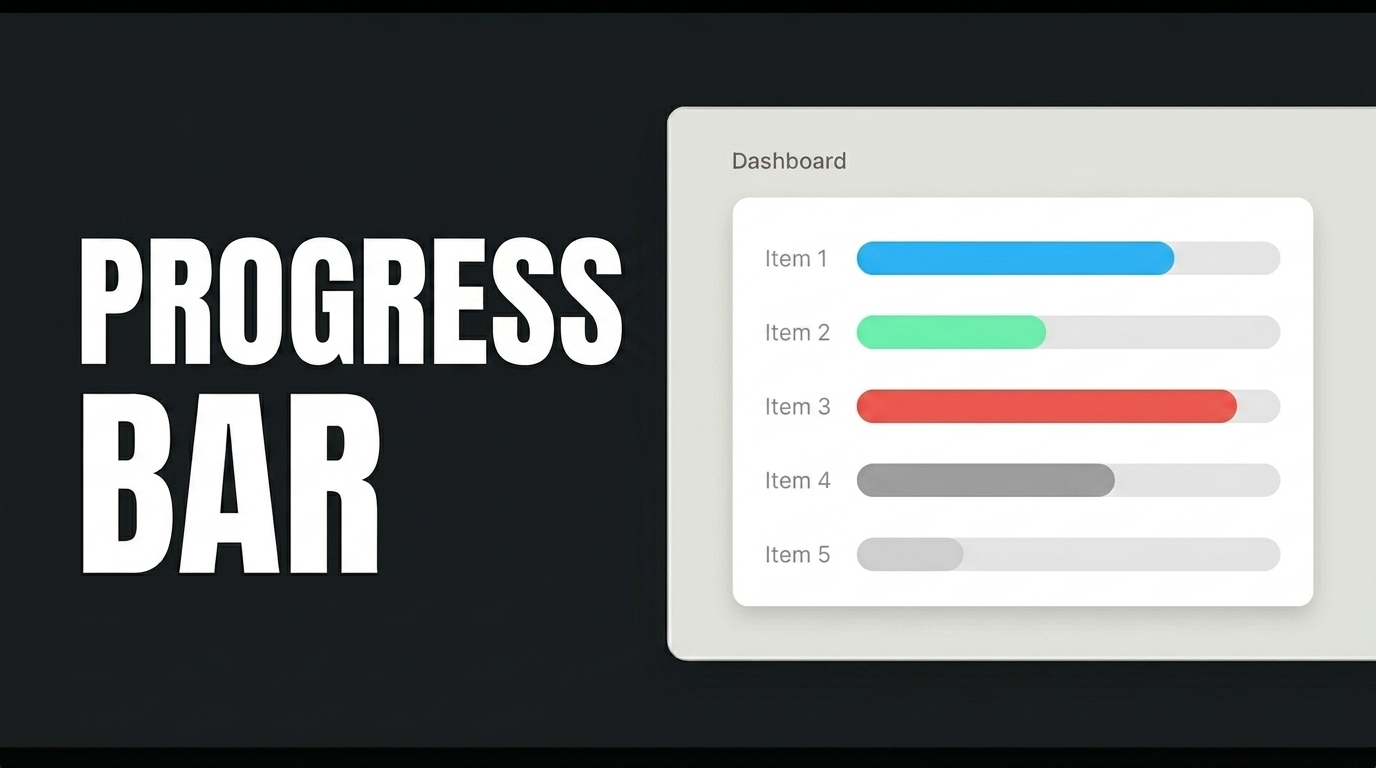
The Progress Bar is used to display the percentage of completion of a process (e.g., sales targets) on a linear scale; you can filter by period using the SelectBox.
The most effective way to instantly show users how much of a task, operation, or process has been completed is to use the Progress Bar element. From form completion to file uploads, and from monthly sales targets to onboarding steps, it provides users with clear feedback on the process through linear and percentage-based indicators in a wide range of scenarios.
To get started, create the table shown on the screen from the “Tables” section in the “Data Sources” area. Next, click the plus icon in the “Actions” section under “Managed DB” in the left-hand panel and select “New SQL Action.” Type “InsertSalesTargets,” add the correct schema name starting with “dbo.”, and click the “Test” button. Repeat the same steps for the ‘GetSalesTargets’ and “GetSalesTargetsPeriod” actions.
Switch to the UI Design module and add these actions to the page as Initial Actions; set the field opened by the “GetSalesTargets” action to “Default Empty.” Add a Label element to the page, and place a Panel element below it. Center the label horizontally and vertically. In the Layout section of the Styling area, set the width and height; in the Fill area, set the background to white; and in the Border area, set the Radius value to 40. Place a Row element inside the Panel, set it to “1” in the Desktop area, and add a Vertical Stack inside it. Add a Progress Bar element inside the Vertical Stack; set the colors to red and green in the FirstGradientColor and SecondGradientColor fields. Add a SelectBox below the Progress Bar, and a Row element below that. In the Row, center the Column fields horizontally and vertically using the Styling Layout, and place a Label element inside. Duplicate the Row.
On the Progress Bar, bind the Percent value to GetSalesTargets, First, and CompletionRate. In the SelectBox, define the PeriodLabel in the Values and Placeholder fields; complete the Action, Field to Display, and Field to Use as Key definitions in the Options field as shown on the screen. Use Add Action to bind the action to the SelectBox via onChange and define the SelectedPeriod field that appears. Name the Label elements and configure their settings in the Value field of the Properties panel.
When you click the Preview button, you’ll see that you can easily and clearly track the processes using the progress indicators.