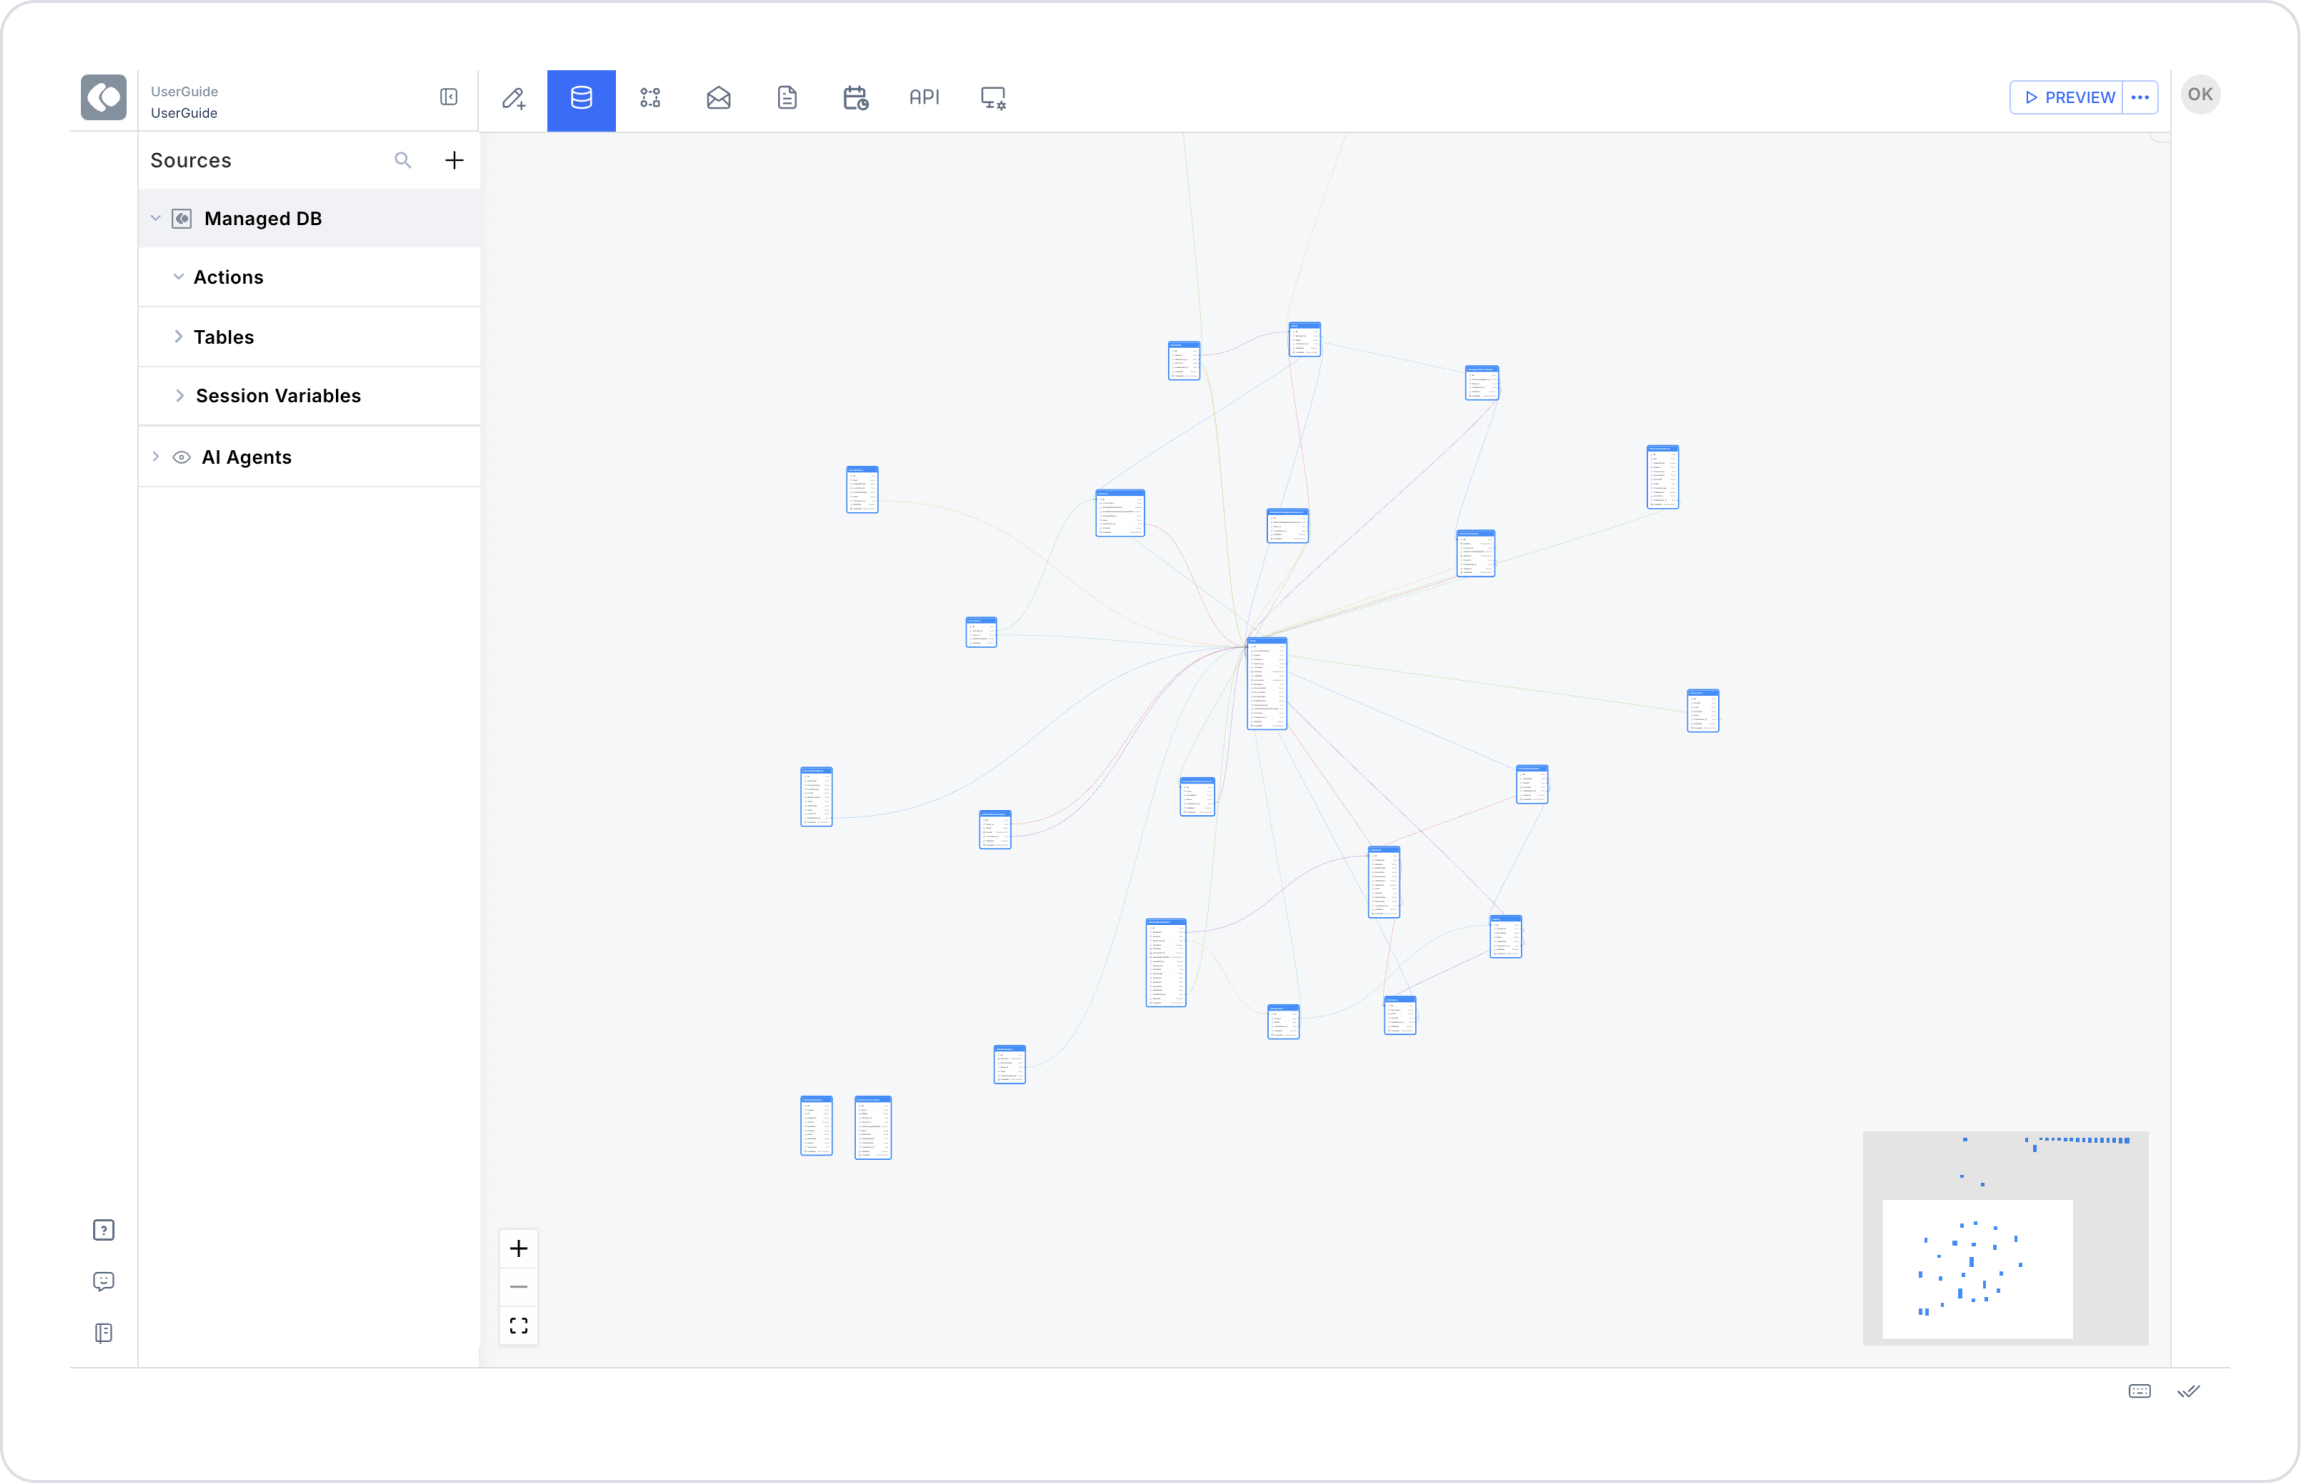
In order to transfer data to the Select Box element in the application development process with Kuika, you must first perform some operations in the Datasources module. You can transfer your data to Select Box by following the steps below.
2.1. Adding a New Table
2.2. Adding Columns
In the screen that appears, you will see a column named Id of Guid type created by Kuika by default.
2.3 Completing Columns
3. Creating a Custom Action
After the table creation process, you should create a custom action that will list the data in the Select Box element.
3.1 Adding New SQL Action
3.2 Naming The Actions
On the screen that opens, name your action and click “Next”. For the example scenario, you can use the name SelectDepartment for the action that will list the departments in the Select Box.
3.3 Using SQL Action
A SQL Editor will greet you on the screen that opens. In the SQL Editor, write the SQL query required for the listing. You can use the following query to create the SelectDepartment action to be used in the example scenario:
SELECT * FROM Department
In Kuika, you can quickly and easily create a Select query without writing any query expression. To create the listing action quickly and easily, click Tables on the left menu of the SQL editor screen. Hover over theDepartment table with the cursor and open the detail menu.
By following these steps, you can successfully transfer data to the Select Box element.