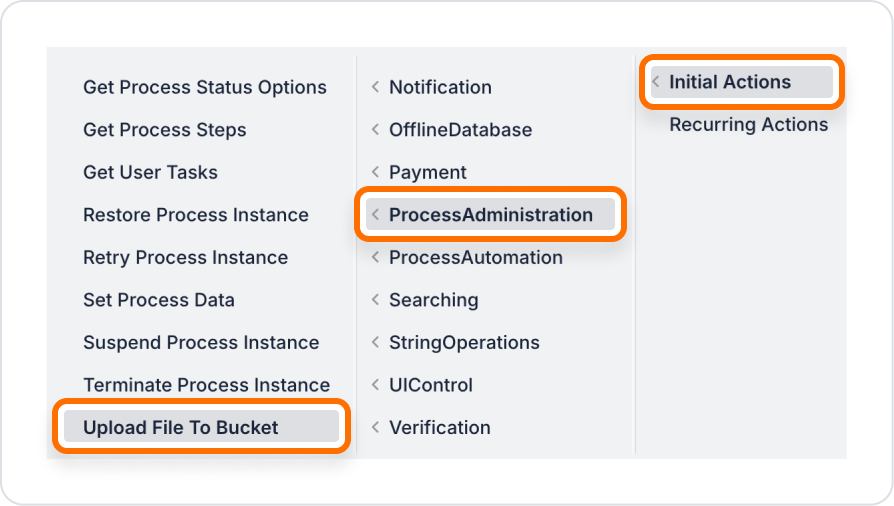
1. Action Definition
- Open your project on the Kuika platform.
- In the UI Design module, click the Add Action button on the right side and select the Upload File to Bucket action.
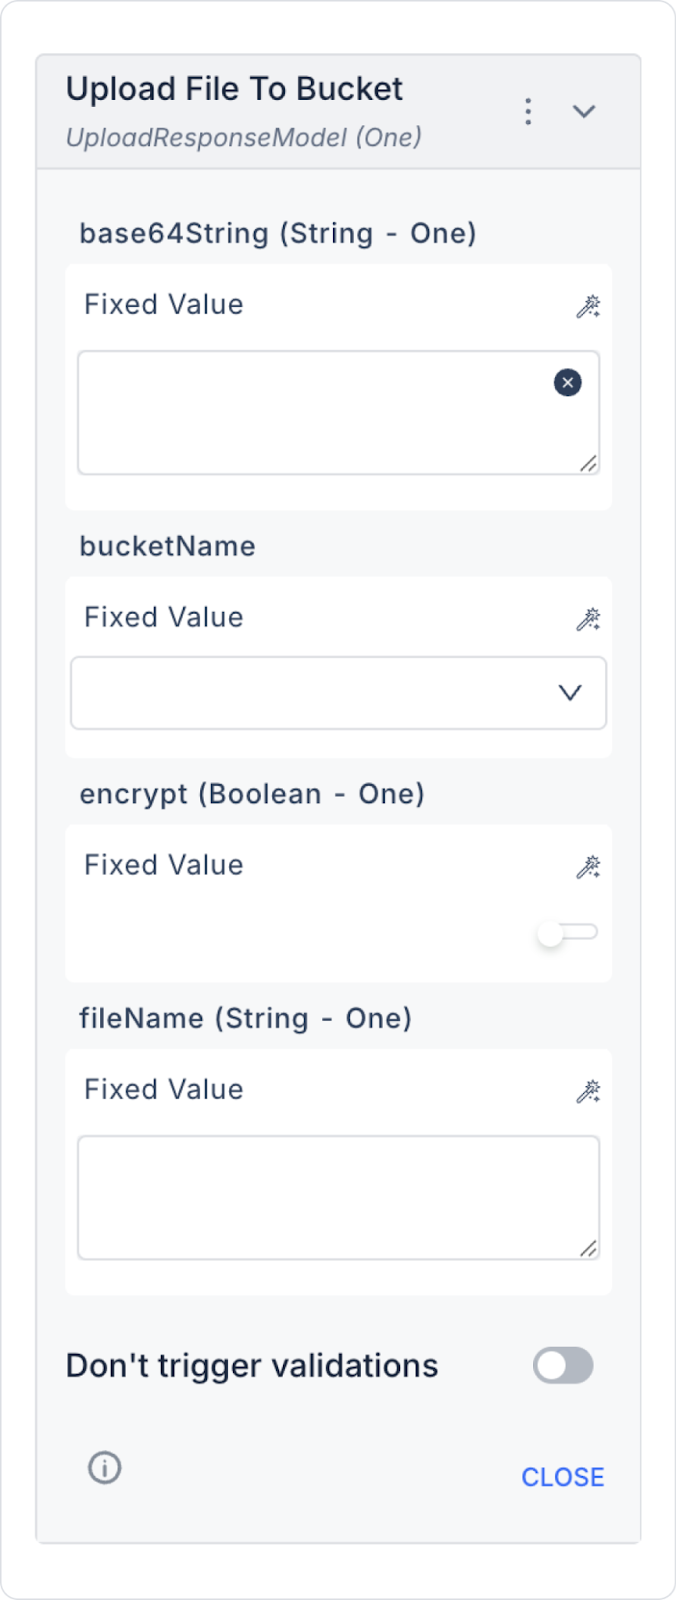
2. Specifying File Content
- Specify the file to be uploaded using the Base64String parameter.
- Example: JVBERi0xLjQKJ....
3. Bucket Selection
- Select the target Bucket where the file will be uploaded.
- You can only select AWS or Google as the cloud provider.
4. Specifying File Name
- Enter the name under which the file will be saved in the Bucket.
- Example: invoice_123.pdf
5. Using Encryption
- If Encrypt = true is selected, the file will be uploaded in encrypted form.
- If false or left blank, the file will be uploaded normally.
6. Running and Testing the Action
- Run the action in Preview mode.
- Verify that the file has been successfully uploaded to the Bucket.
Important Points
- Base64String must be correct and complete; incorrect content will result in a failed upload.
- The file extension must be added to the FileName parameter (e.g., .pdf, .png).
- The Encrypt parameter is optional; if not used, the file will be uploaded unencrypted.
- Incorrectly entering the Bucket Name or if it is not defined in Configuration Manager will result in an upload error.