TestFlight is a platform for beta testing your iOS apps.
You must have an Apple Developer account to use TestFlight.
1. Making the Necessary Settings on the Apple Developer Account
- Sign in to your Apple Developer account.
- Go to the Certificates, Identifiers & Profiles tab.
- Click the + icon in the Identifiers section.
- Select App IDs from the Register a New Identifier section.
- Select App and click Continue.
- Description: Enter the app name (e.g. Kuika Test App).
- Bundle ID: Enter a unique identifier (e.g. com.kuika.myapp).
- After filling in the required fields, click Continue and then Register.
App Store Connect Settings:
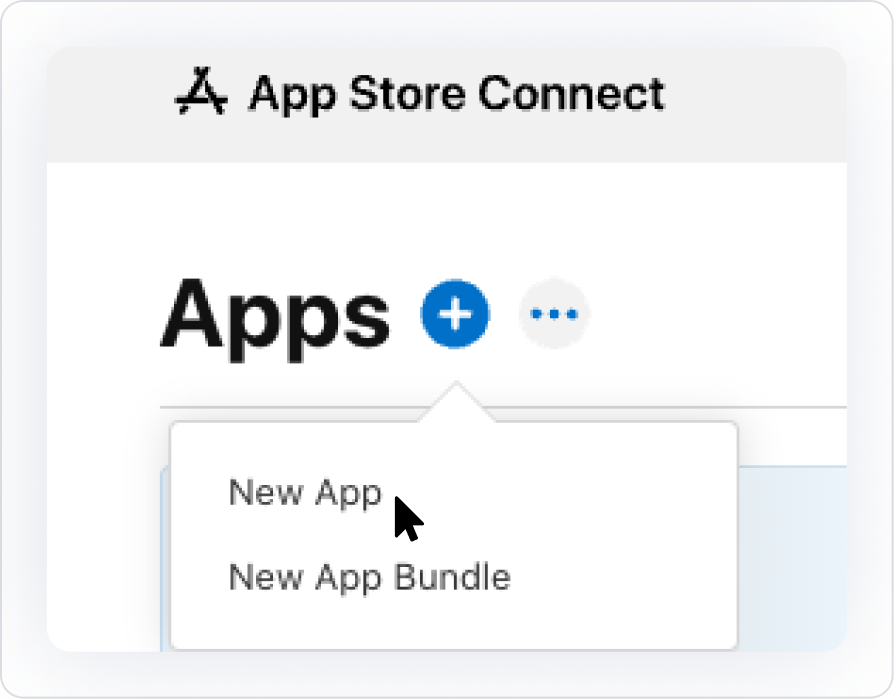
- Go to the App Store Connect page.
- Click the + icon on the Apps tab.
- Platforms: iOS
- Name: Enter the application name.
- Primary Language: Turkish
- Bundle ID: Select the Bundle ID you created earlier
- SKU: Enter a unique ID for the product
- User Access Specify the type of access
- Click on the Create button.
2. iOS Configuration via Kuika
- Login to the Kuika platform.
- Click on the Configuration Manager module from the left menu.
- Create a new configuration or edit an existing configuration.
- Enter a name for the configuration and click the CREATE button.
- Switch to the iOS tab and enable the Support iOS UI option.
- In the Mobile App Settings field, enter the following information:
- App Name: Enter the app name
- Bundle ID: Enter the Bundle ID you created earlier
- Version: Type the version number
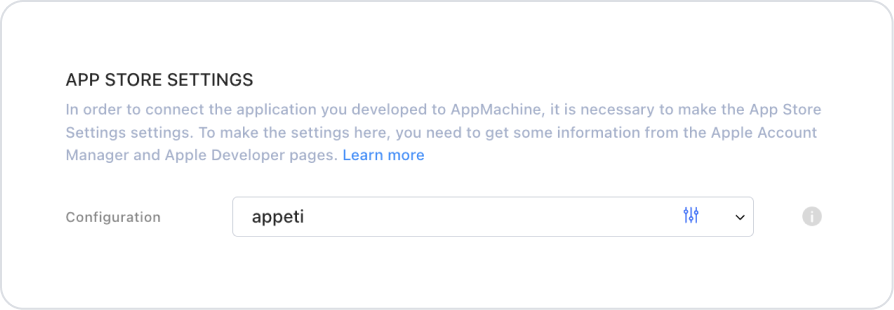
- Under App Store Settings, click ADD NEW and enter the required information.
- Save the configuration by clicking the CREATE button.
3. Publish with TestFlight
- In the Kuika interface, click on the three dots next to the Preview button in the top menu.
- Select your project and iOS platform from Generate The App.
- Switch to the Preview tab and click the RUN button.
- Once the publishing process is complete, the test link will be sent to the email address linked to your Kuika account.
- Test your application through TestFlight using the test link.
4. Error Conditions and Solutions
- Missing Compliance: If you receive an encryption algorithm warning, select None of the algorithms mentioned above and click Save.
- Token Error: If the Bundle ID is incorrect or missing, create a correct Bundle ID and start the process again.
TestFlight Usage and Test Process
- Install the TestFlight app on your iOS device.
- Log in to TestFlight using the link in the invitation email.
Test Groups:
- Internal Testing Group: Used for internal testing.
- External Testing Group: Used for external users or beta test teams. Access can be provided with a public link.
With TestFlight, you can test the performance of your application, detect errors and optimize the user experience.


