With Kuika, you can easily test your mobile applications on different devices and environments. Kuika integrates with Appetize and TestFlight platforms to enable you to test your apps with a wide range of users. In this course, you will learn step by step how to test your application.
Test Methods
Testing an App with Appetize (Android)
Testing an App with TestFlight (iOS)
Test Your App with Appetize
Appetize allows you to test your Android apps by simulating them in a browser. You must create an Appetize account before starting the testing process.
1. Kuika Configuration Settings
Log in to the Kuika platform.
Open the mobile app you’ll be working on from the Apps screen.
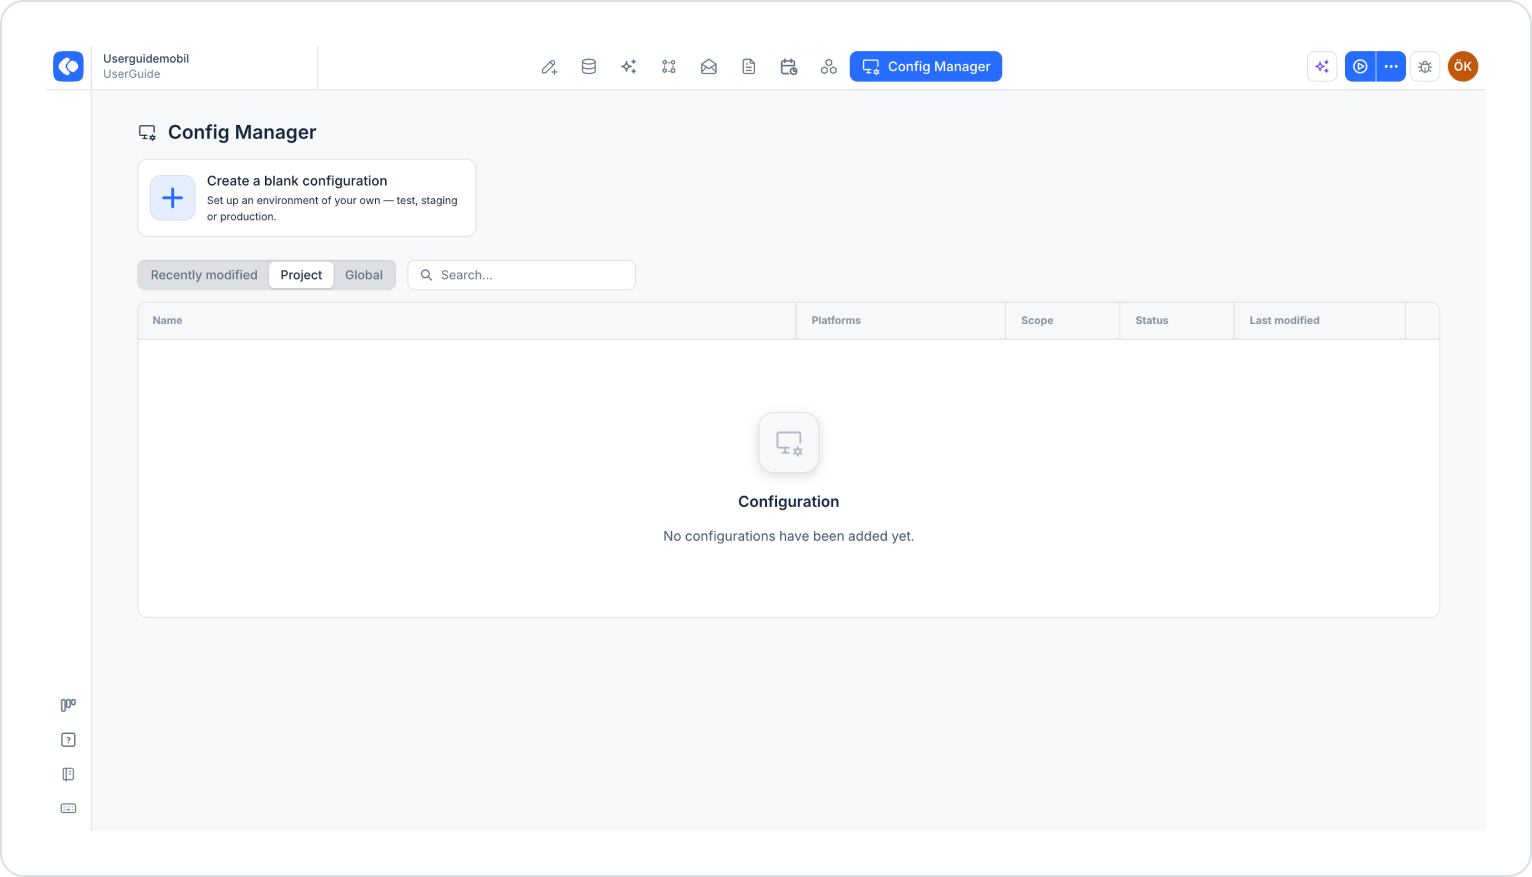
Click the Config Manager module in the top menu.
To create a new configuration, click the Create a blank configuration card, give the configuration a name, and complete the creation process. If you want to use an existing configuration, click its name in the list.
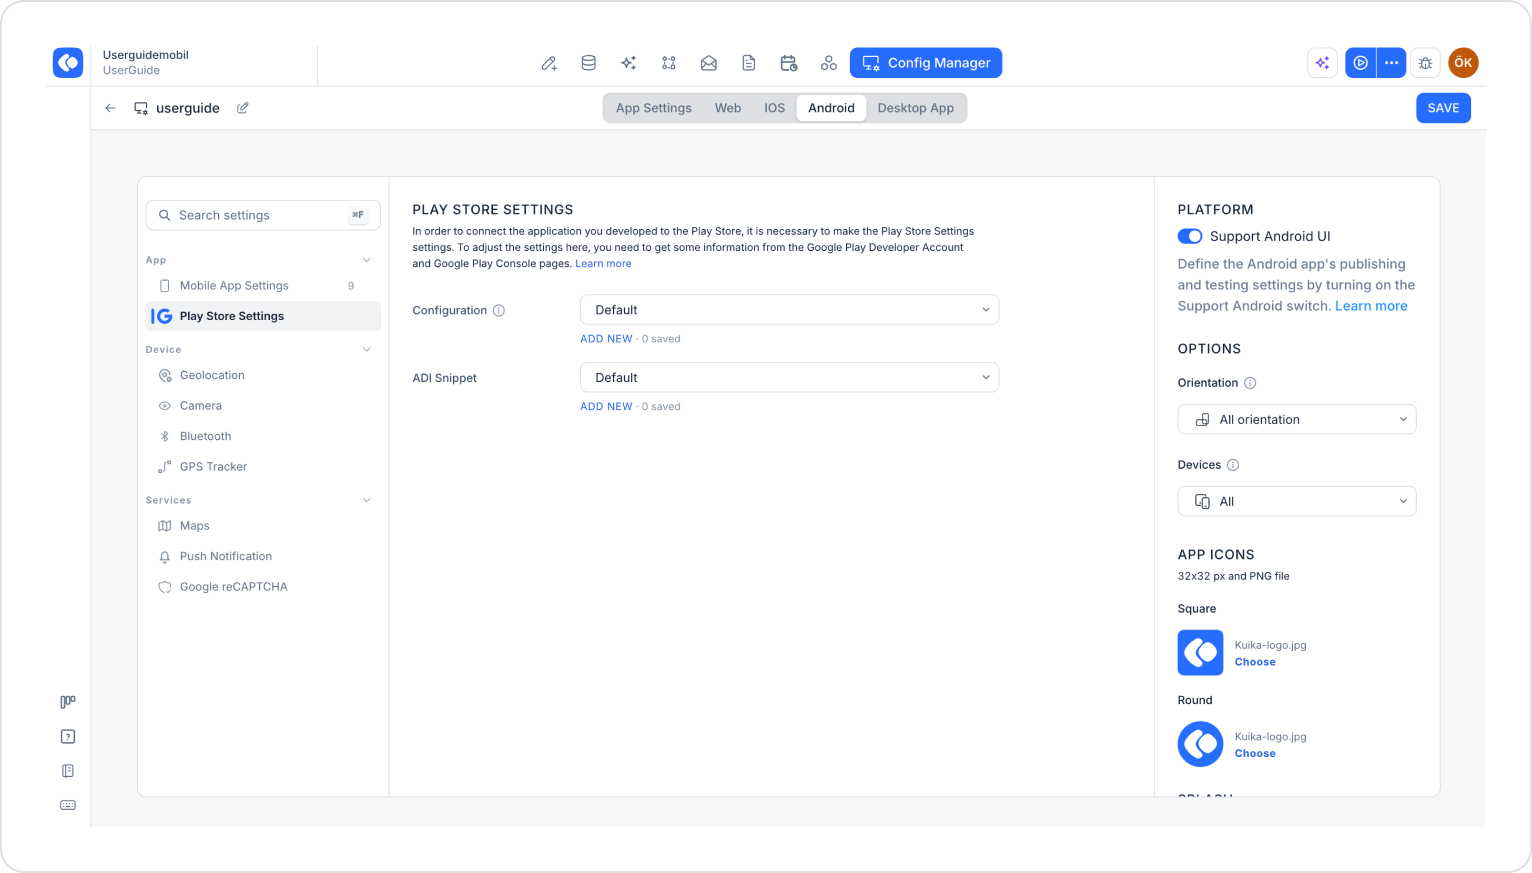
Select the Android tab from the tabs at the top of the configuration screen.
In the left menu, click the Play Store Settings option under the App heading.
Click the ADD NEW link under the Configuration dropdown menu.
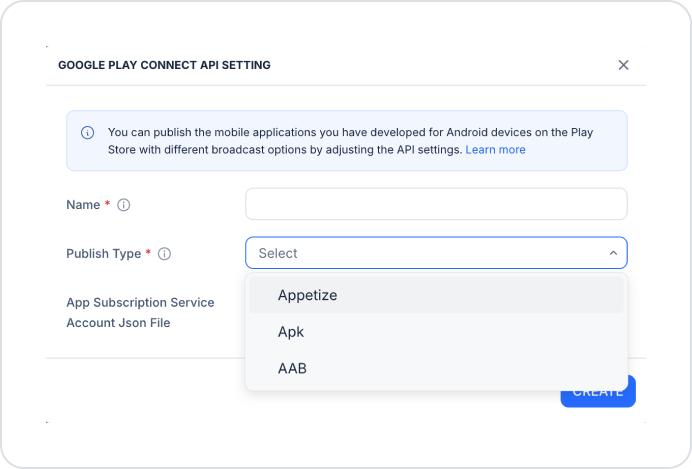
In the Google Play Connect API Settings window that opens, enter a name for the configuration in the Name field.
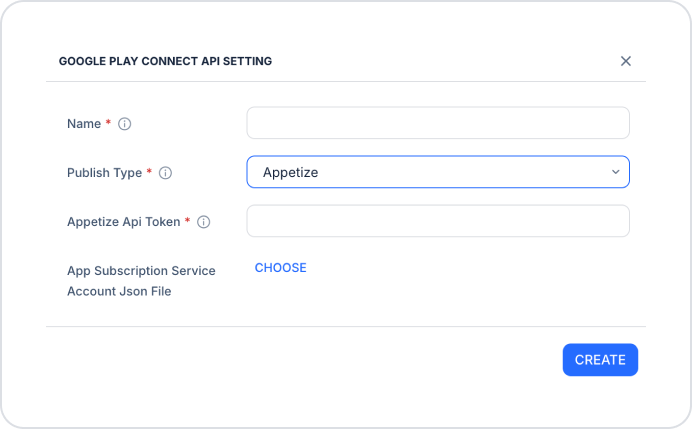
Select the Appetize option from the Publish Type dropdown menu.
Enter the API token you obtained by logging into your Appetize account in the Appetize API Token field.
After entering the information, click the CREATE button.
Select the configuration you created from the Configuration dropdown menu.
Click the SAVE button in the top-right corner to save the changes. In a previously saved configuration, this button appears as UPDATE.
2. Testing the App with Appetize
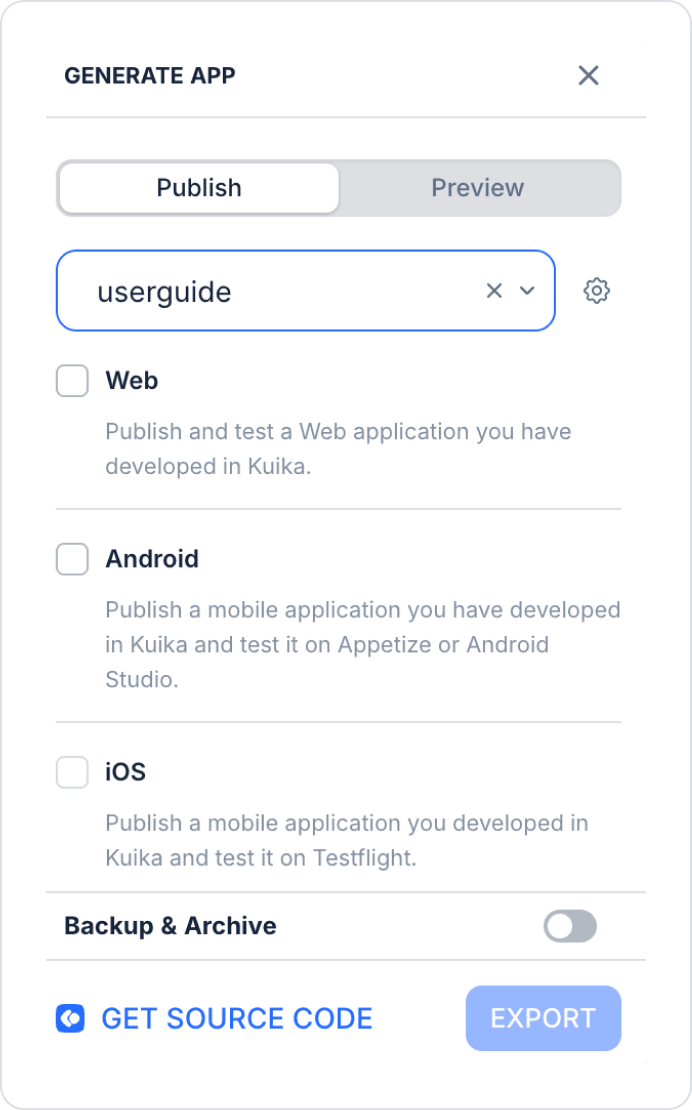
Click the three-dot icon next to the Preview button in the top-right corner. The Generate App window opens.
Select the Publish tab.
Select the configuration you created from the drop-down menu and check the Android option.
Click the EXPORT button.
Once the process is complete, the test link will be sent to the email address associated with your Kuika account.
Test your app using the Appetize test link sent to your email address.
Test Your App with TestFlight
TestFlight is a platform used to beta test your iOS apps.
To use TestFlight, you must have an Apple Developer account.
1. Configuring Your Apple Developer Account
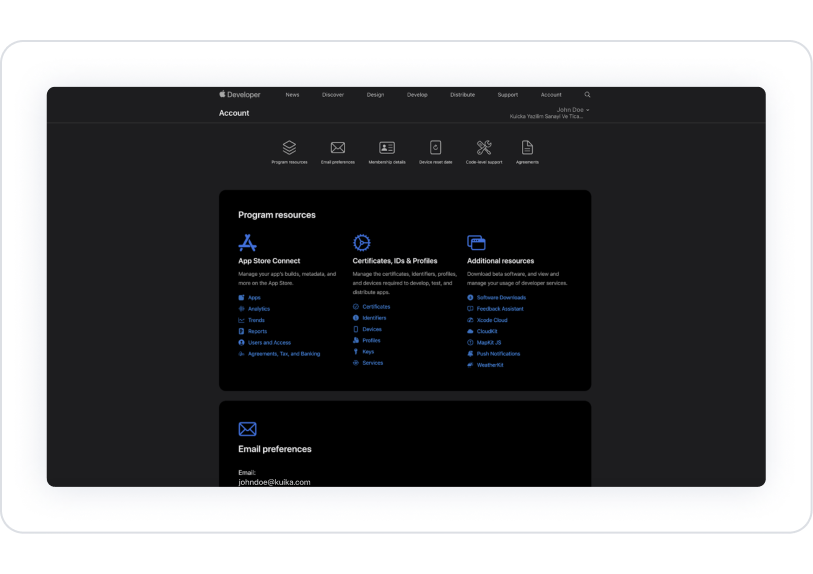
Sign in to your Apple Developer account.
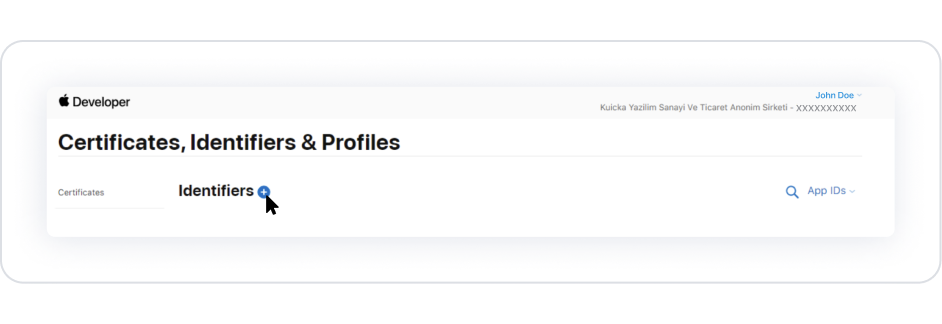
Go to the Certificates, Identifiers & Profiles tab.
In the Identifiers section, click the + icon.
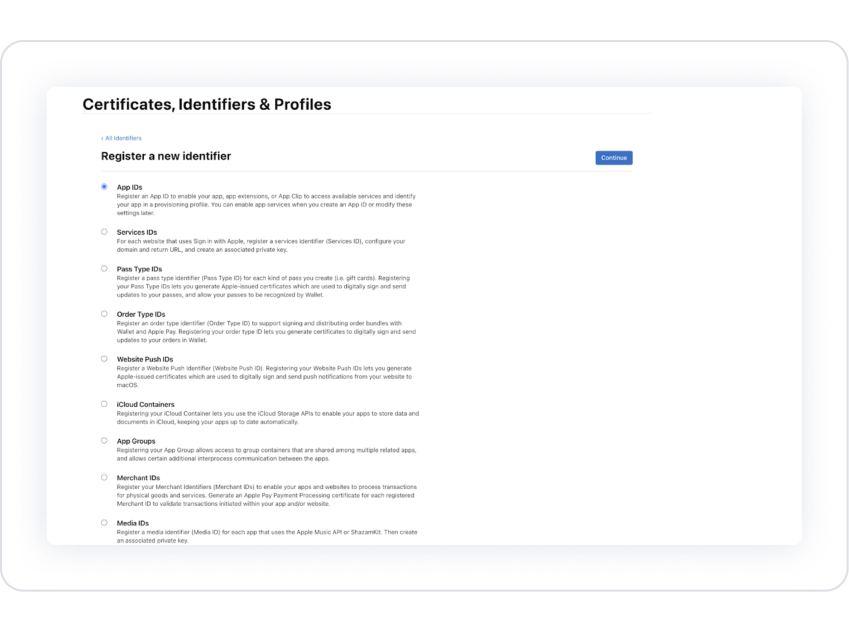
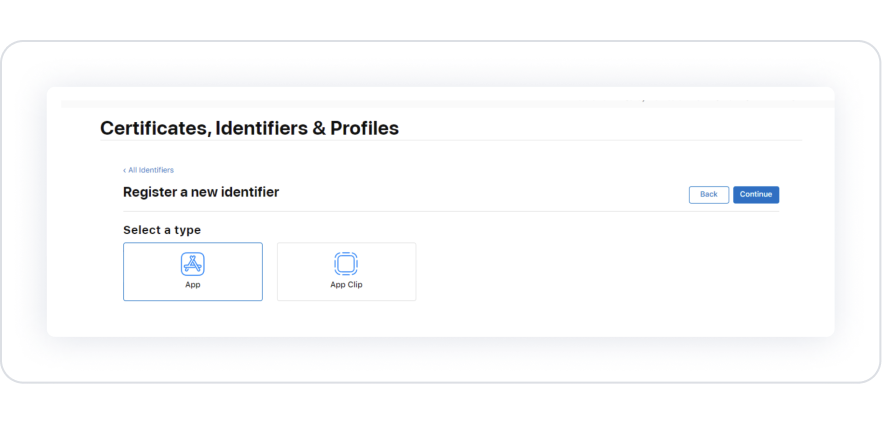
From the “Register a New Identifier” section, select the “App IDs” option.
Select the “App” option and click the “Continue” button.
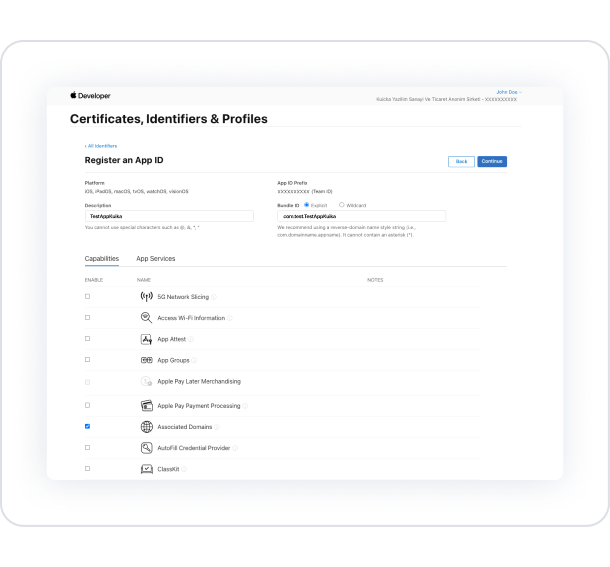
Description: Enter the app name (e.g., Kuika Test App).
Bundle ID: Enter a unique identifier (e.g., com.kuika.myapp).
After filling in the required fields, click the “Continue” and then the “Register” buttons.
App Store Connect Settings:
Go to the App Store Connect page.
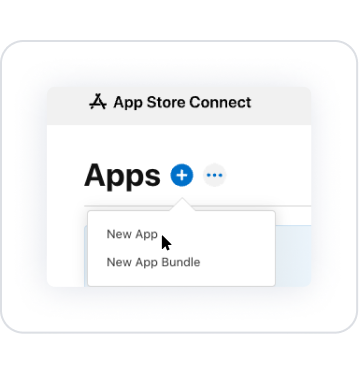
On the Apps tab, click the + icon.
Select the New App option.
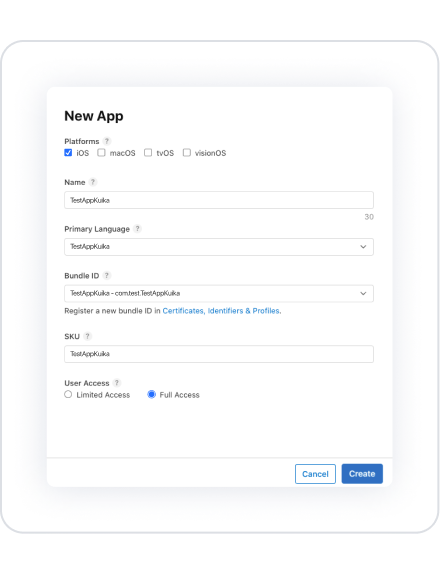
Platforms: iOS
Name: Enter the app name.
Primary Language: Turkish
Bundle ID: Select the Bundle ID you created earlier
SKU: Enter a unique identifier for the product
User Access: Specify the access type
Click the Create button.
2. iOS Configuration via Kuika
Log in to the Kuika platform.
From the Apps screen, open the mobile app you’ll be working on.
Click the Config Manager module in the top menu.
To create a new configuration, click the Create a blank configuration card, give the configuration a name, and complete the creation process.
If you want to use an existing configuration, click its name in the list.
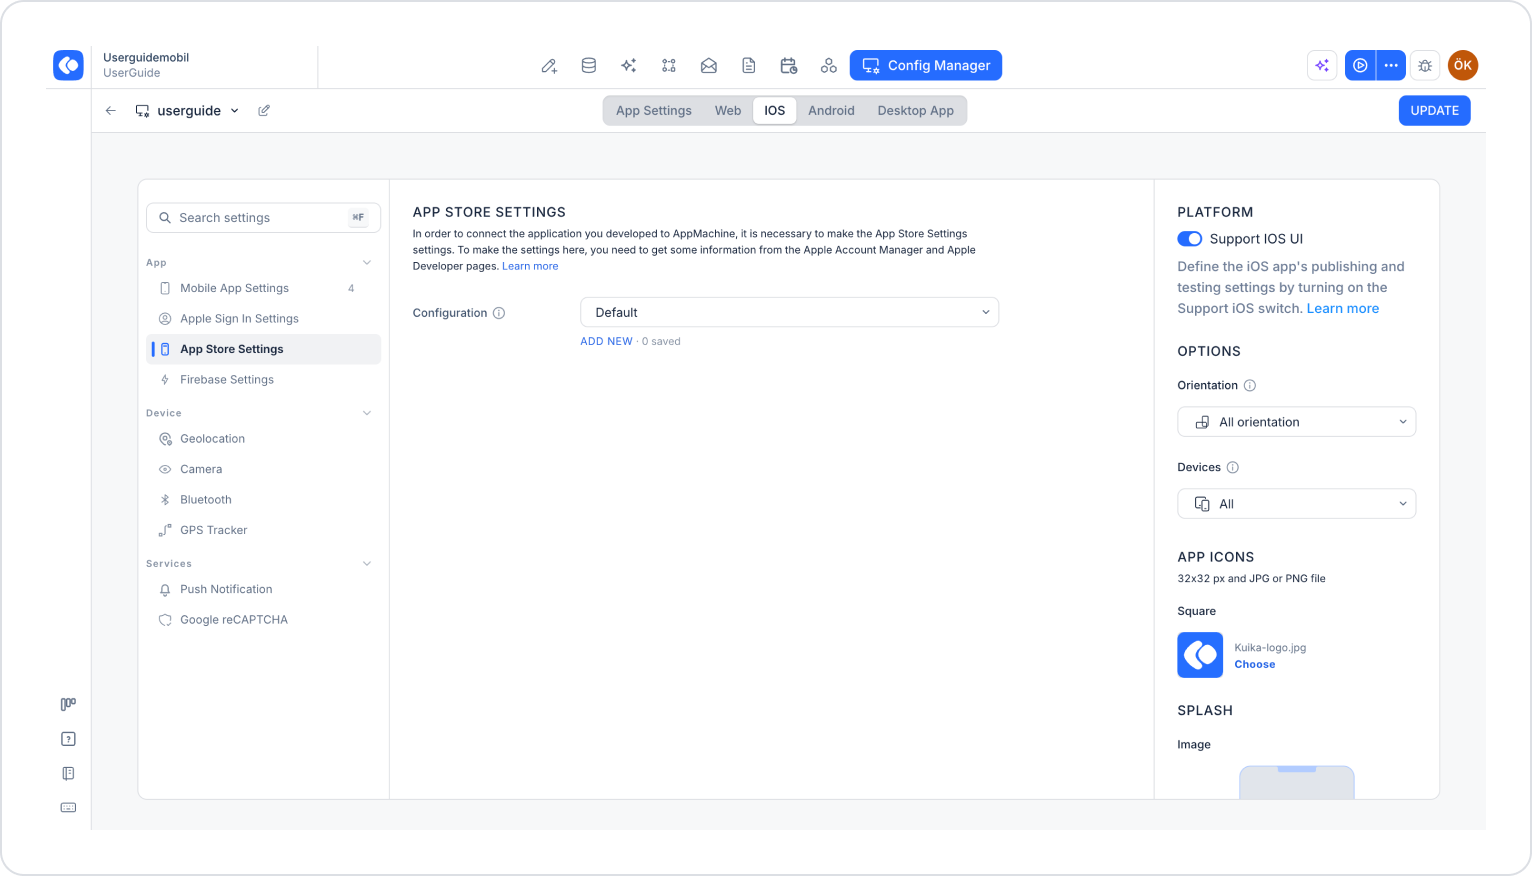
From the tabs at the top of the configuration screen, select the iOS tab.
In the PLATFORM section on the right, enable the Support iOS UI toggle.
In the left menu, click the Mobile App Settings option under the App heading and enter the following information:
App Name: The name of your app.
Bundle ID: The Bundle ID you created earlier.
Version: Your app’s version number.
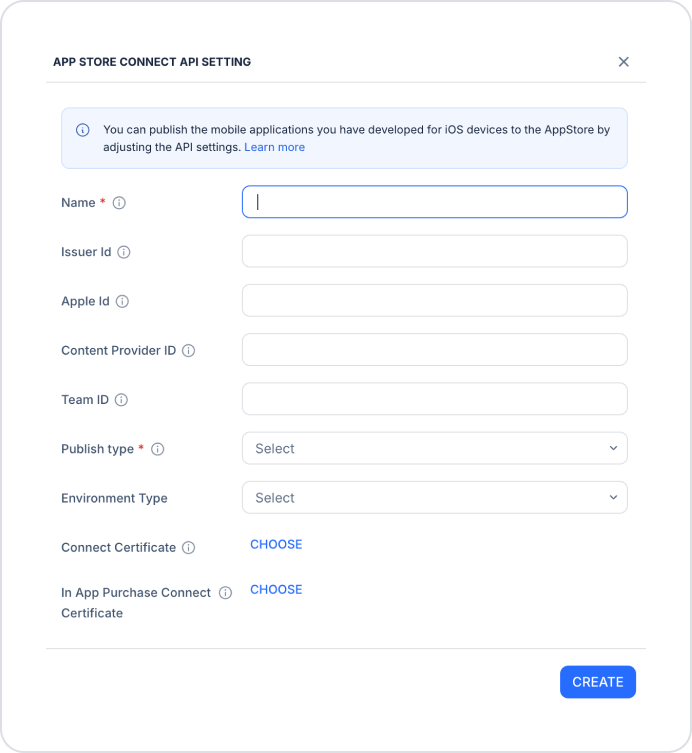
In the left menu, click the App Store Settings option and click the ADD NEW link under the Configuration dropdown menu.
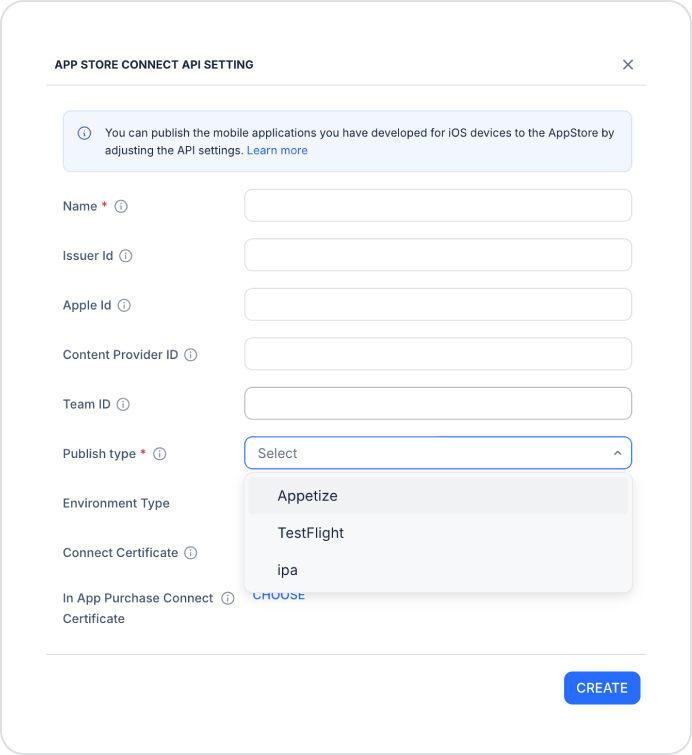
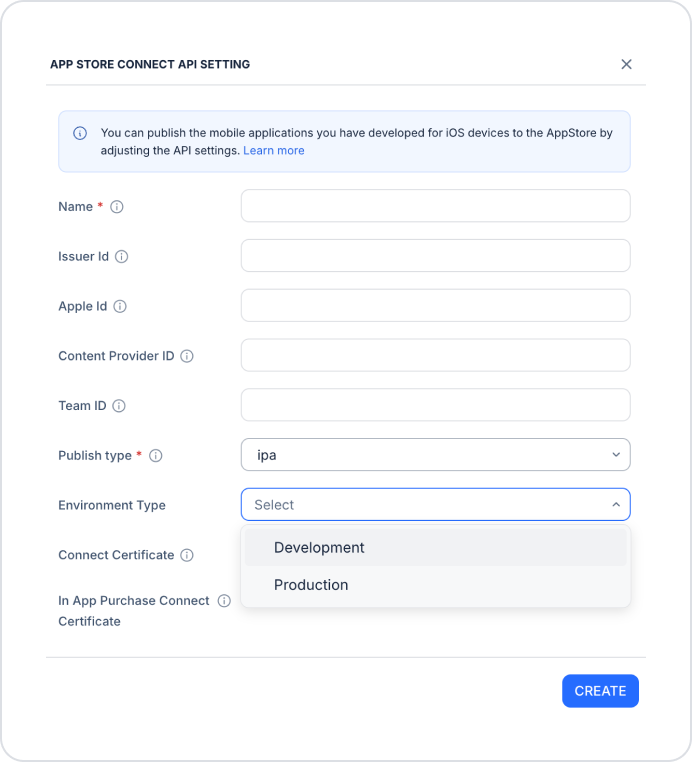
In the App Store Connect API Settings window that opens, enter the required information.
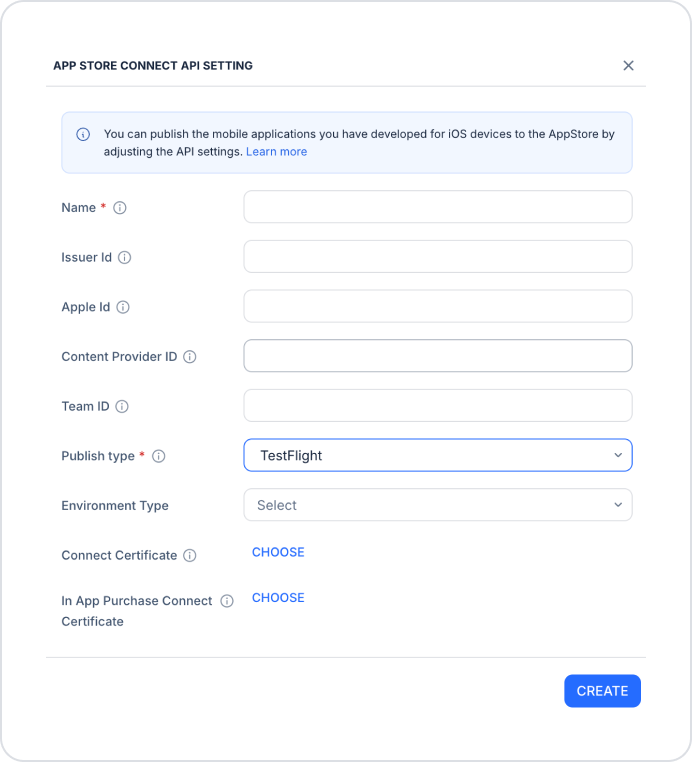
From the Publish type dropdown menu, select the TestFlight option.
From the Environment Type dropdown menu, select either Development or Production.
After entering the information, click the CREATE button.
Select the configuration you created from the Configuration dropdown menu.
Click the SAVE button in the top-right corner to save your changes. If you’re editing a previously saved configuration, this button will appear as UPDATE.
3. Publishing with TestFlight
Click the three-dot icon next to the Preview button in the top-right corner. Generate App window opens.
Select the Publish tab.
Select the configuration you created from the dropdown menu and check the iOS option.
Click the EXPORT button.
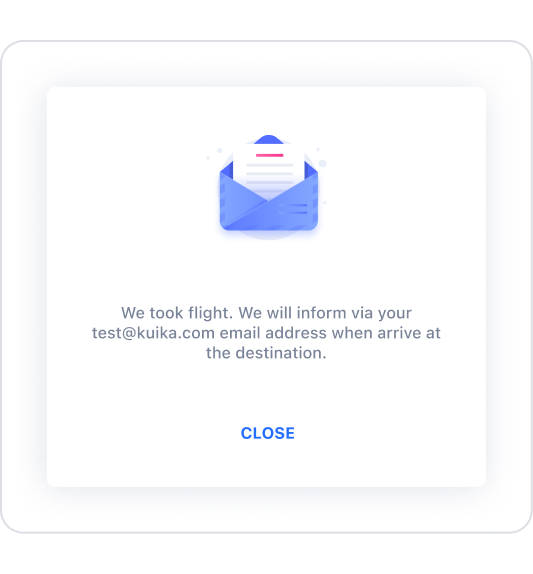
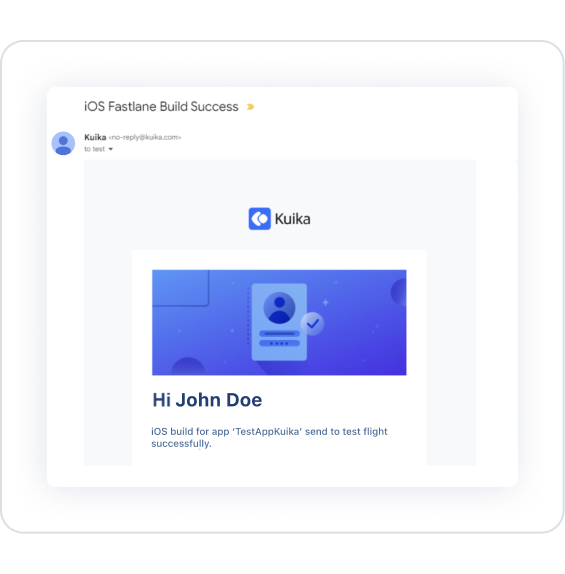
Once the publishing process is complete, the test link will be sent to the email address associated with your Kuika account.
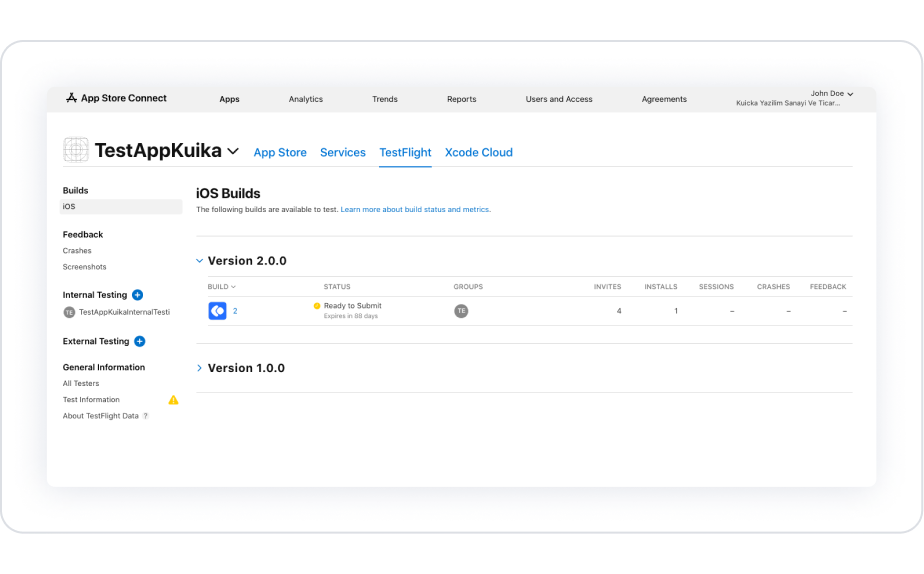
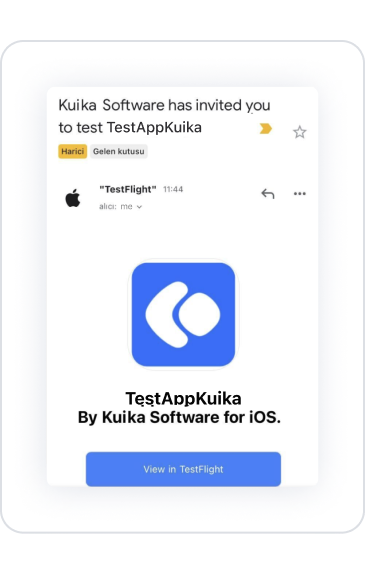
Test your app via TestFlight using the test link.
4. Error Conditions and Solutions
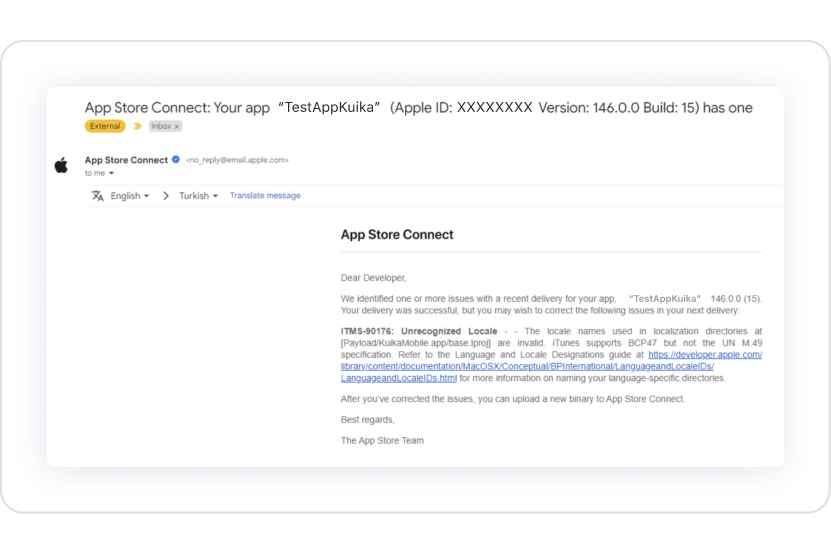
Missing Compliance: If you receive an encryption algorithm warning, select the None of the algorithms mentioned above option and click the Save button.
Token Error: If the Bundle ID is incorrect or missing, create a valid Bundle ID and restart the process.
Using TestFlight and the Testing Process
Install the TestFlight app on your iOS device.
Sign in to TestFlight using the link in the invitation email.
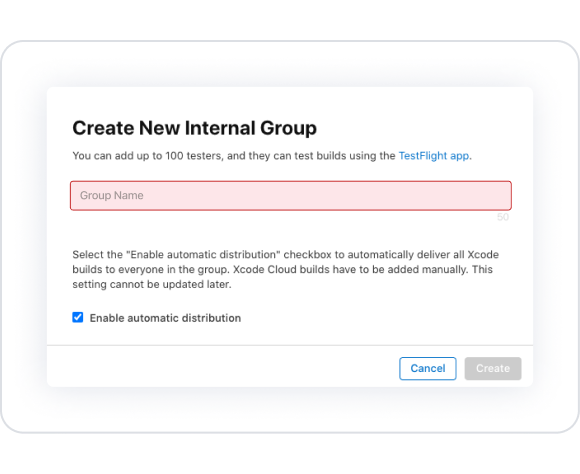
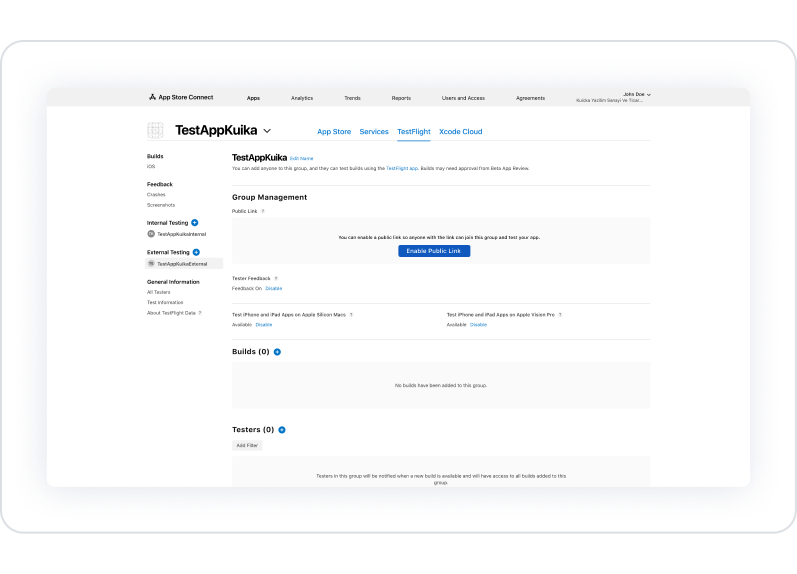
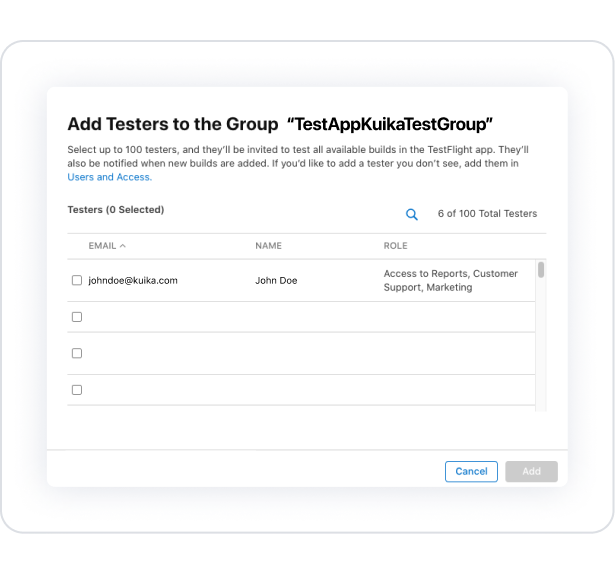
Test Groups:
Internal Testing Group: Used for internal testing.
External Testing Group: Used for external users or beta testing teams. Access is available via a public link.
By testing your app’s performance with TestFlight, you can identify bugs and optimize the user experience.