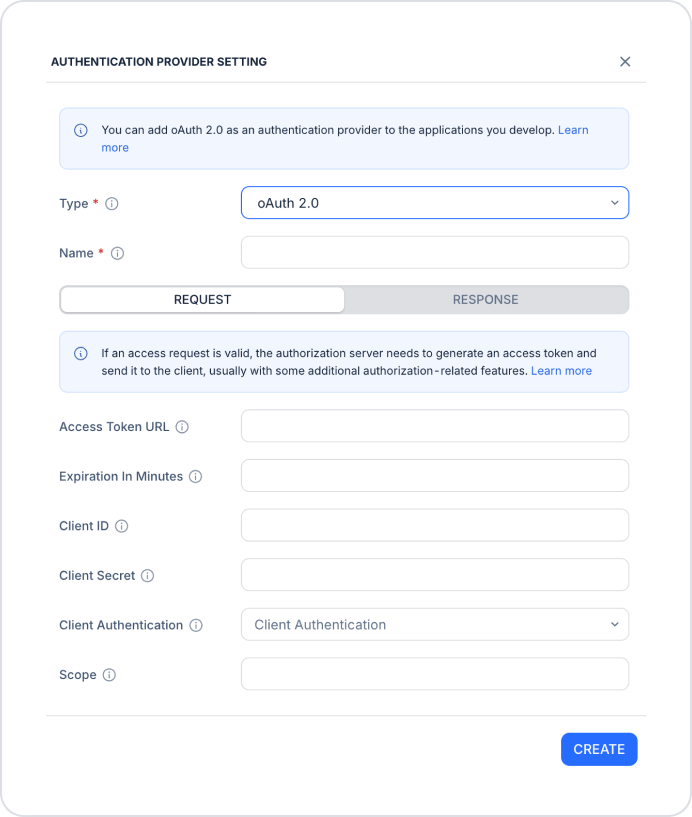
MSAL allows your users to sign in to your app using their Microsoft accounts. MSAL is not listed among the Authentication Provider types. It is configured via the separate MSAL section on the Authentication & Authorization screen.
On the Authentication & Authorization screen, click the ADD NEW link below the MSAL dropdown menu.
In the MSAL Settings window that opens, fill in the following fields:
Name (required): A descriptive name for the configuration.
Client ID (required): The client ID of your app registered in the Azure Portal.
Client Secret (required): The secret key used to authenticate the application.
Authority: The authentication URL (e.g., https://login.microsoftonline.com/{tenant}).
Scopes: The access permissions to be requested (e.g., user.read).
Keystore Base64: The contents of the keystore file in Base64 format.
Cache Location: The key that specifies the token cache location.
Keystore Hash (Android only): The keystore hash value for Android apps only.
After entering the information, click the CREATE button, select the configuration you created from the MSAL dropdown menu, and click the SAVE button to save it.
Once you’ve completed these steps, you can start using the authentication provider that best suits your needs in your app.
Important Tips
Store the Client Secret, password, and token information securely.
In response mappings, enter the domain names exactly as they appear in the JSON response returned by your service.
Information added in global configurations may appear as read-only or hidden (***) to unauthorized users.
Before deploying to production, test the sign-in flow with different users in the test environment.
By correctly configuring the Authentication Provider settings, you can easily integrate your organization’s existing authentication infrastructure into your Kuika applications.