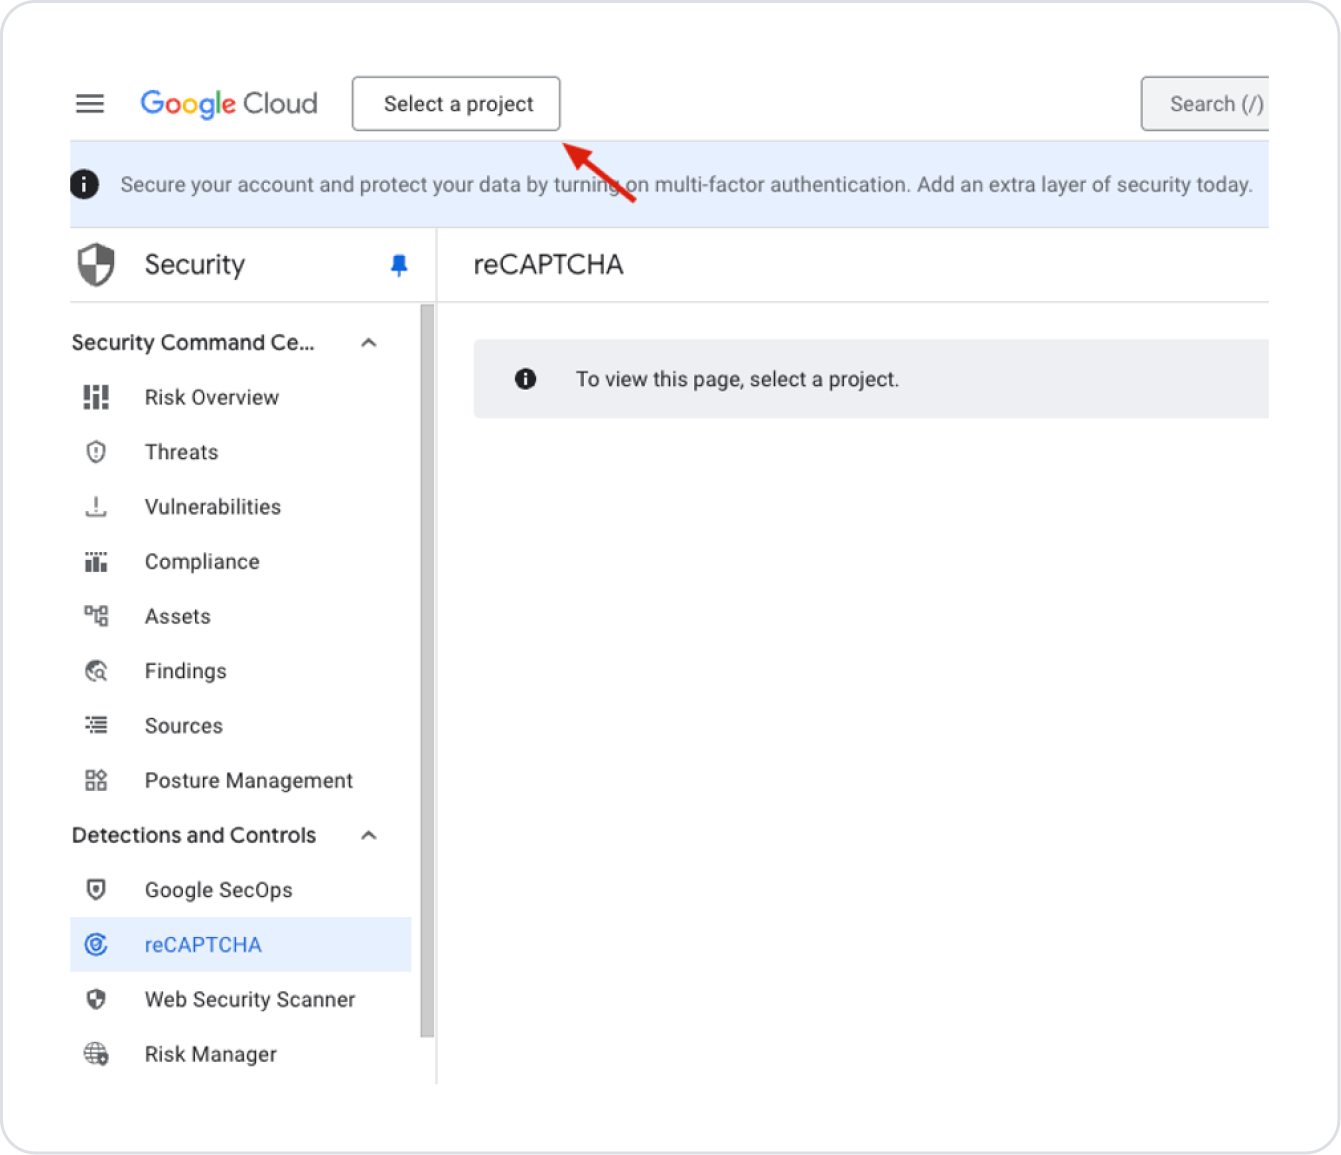
Continue by clicking the “Select a project” button.
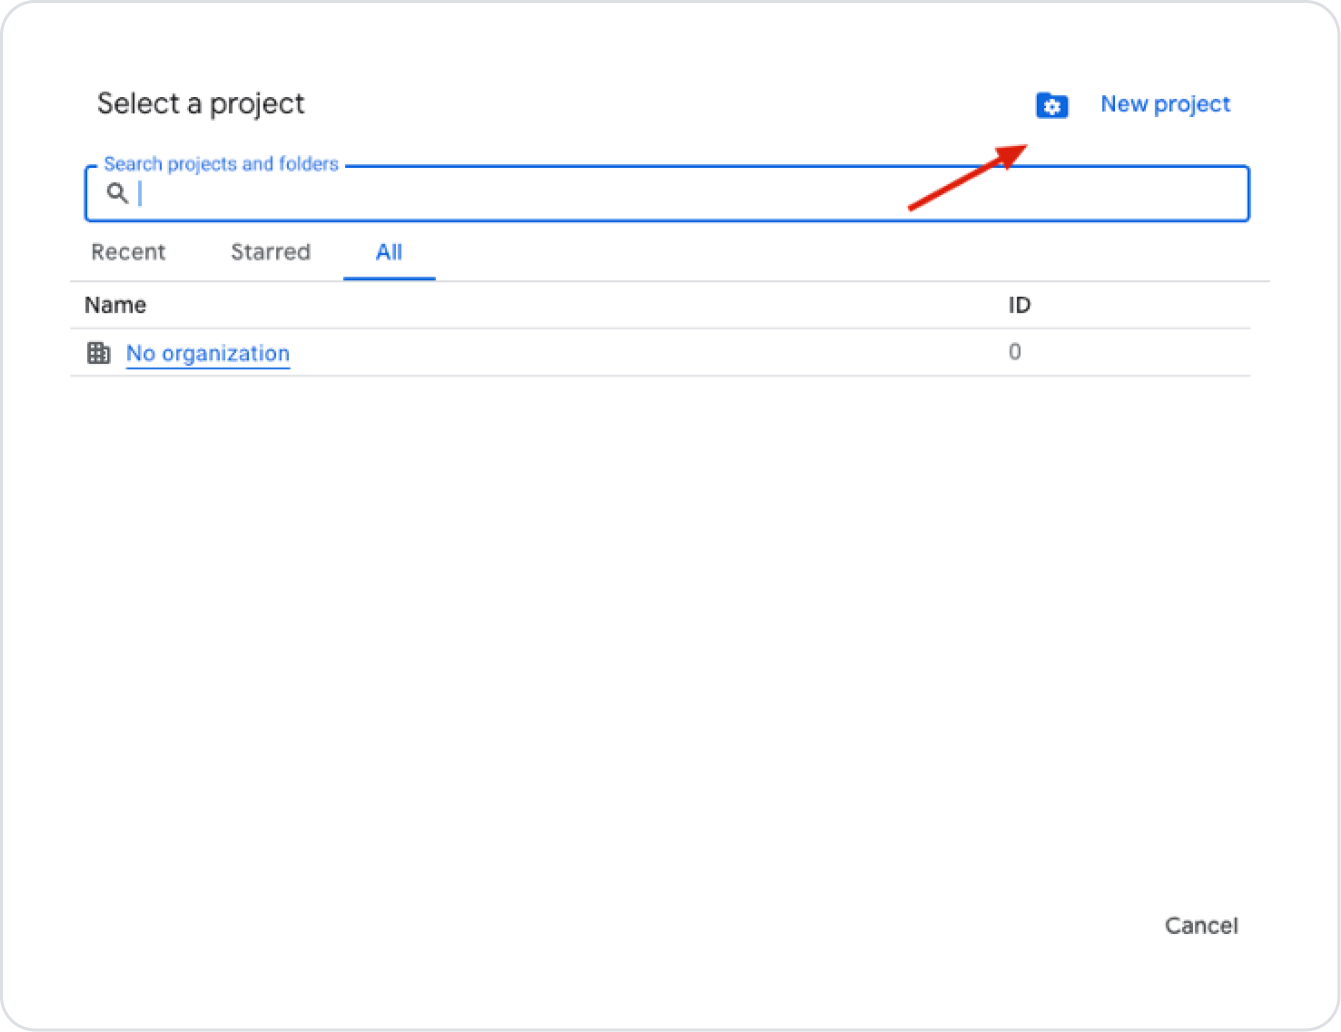
If you don't have a project, create a new one using the New Project button.
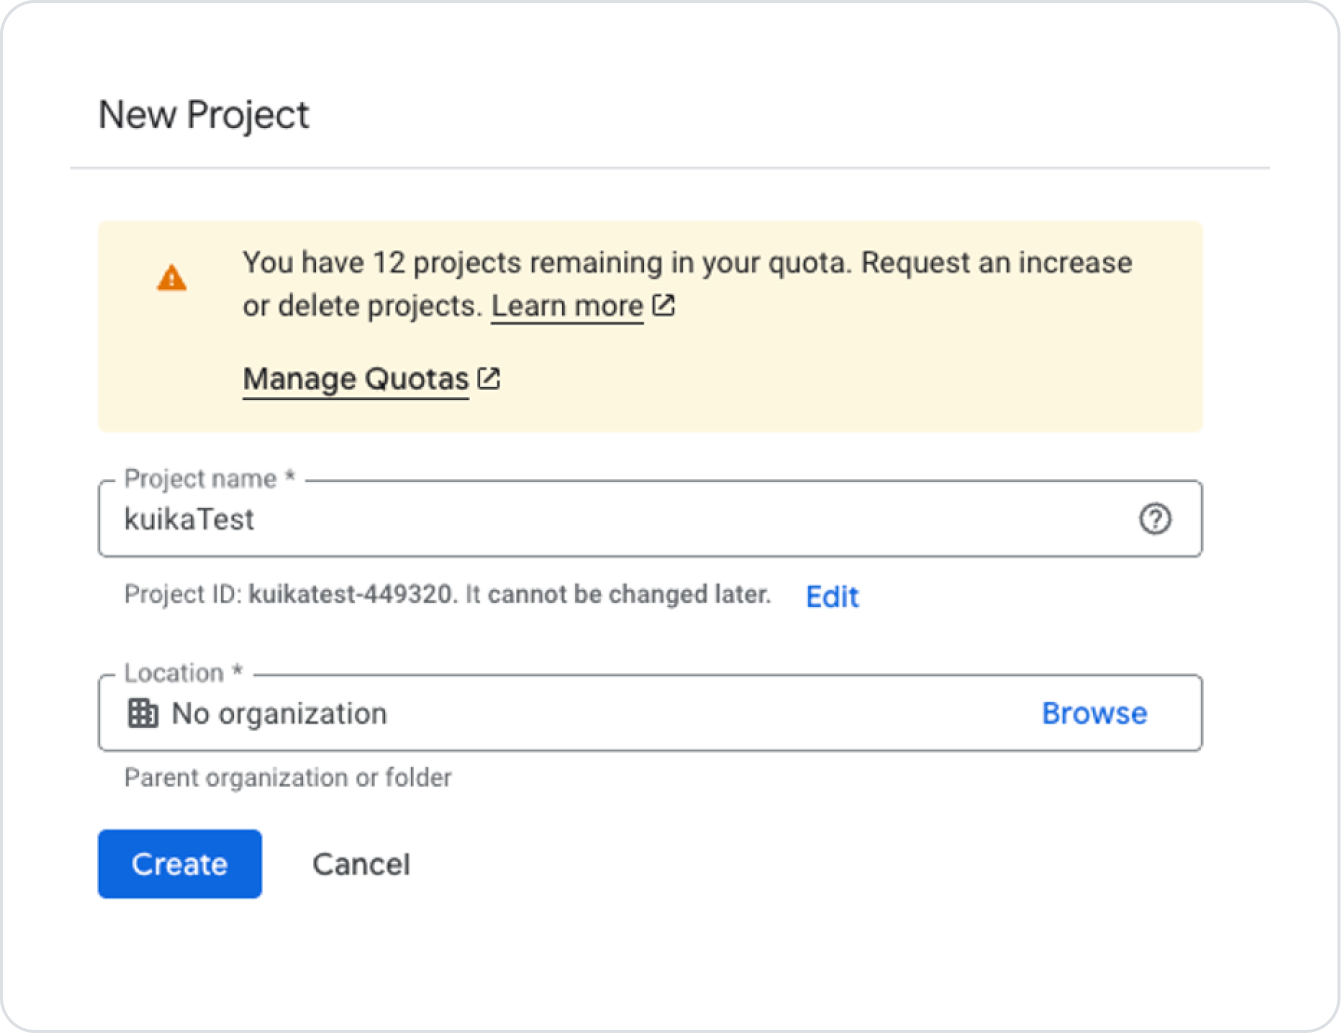
Enter the project name and click the “Create” button.
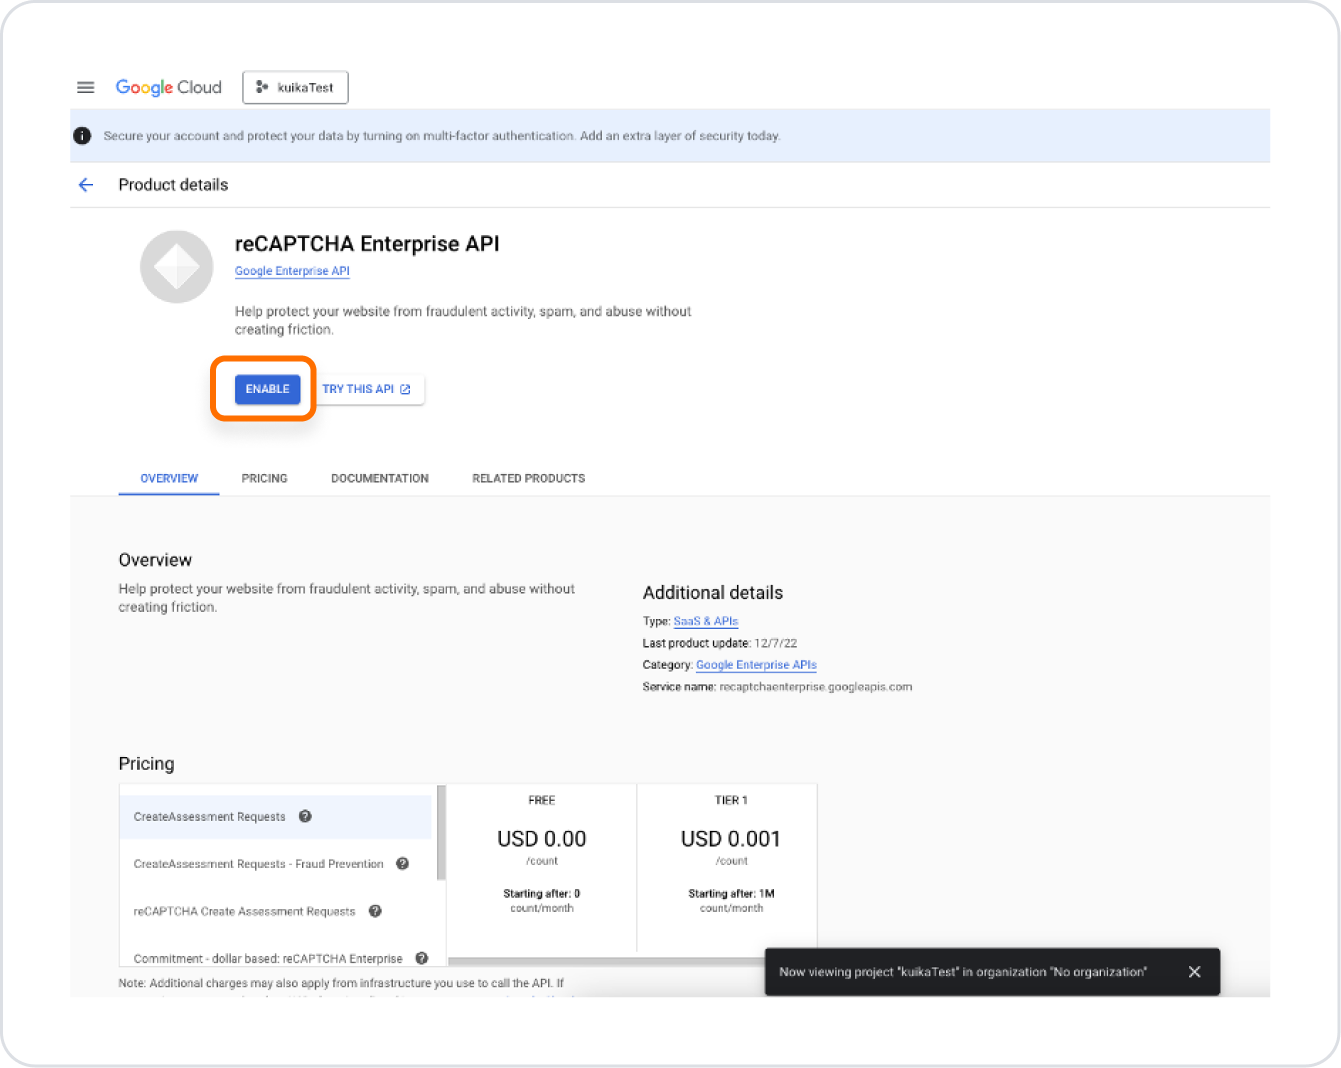
On the page that opens, press the ‘Enable’ button.
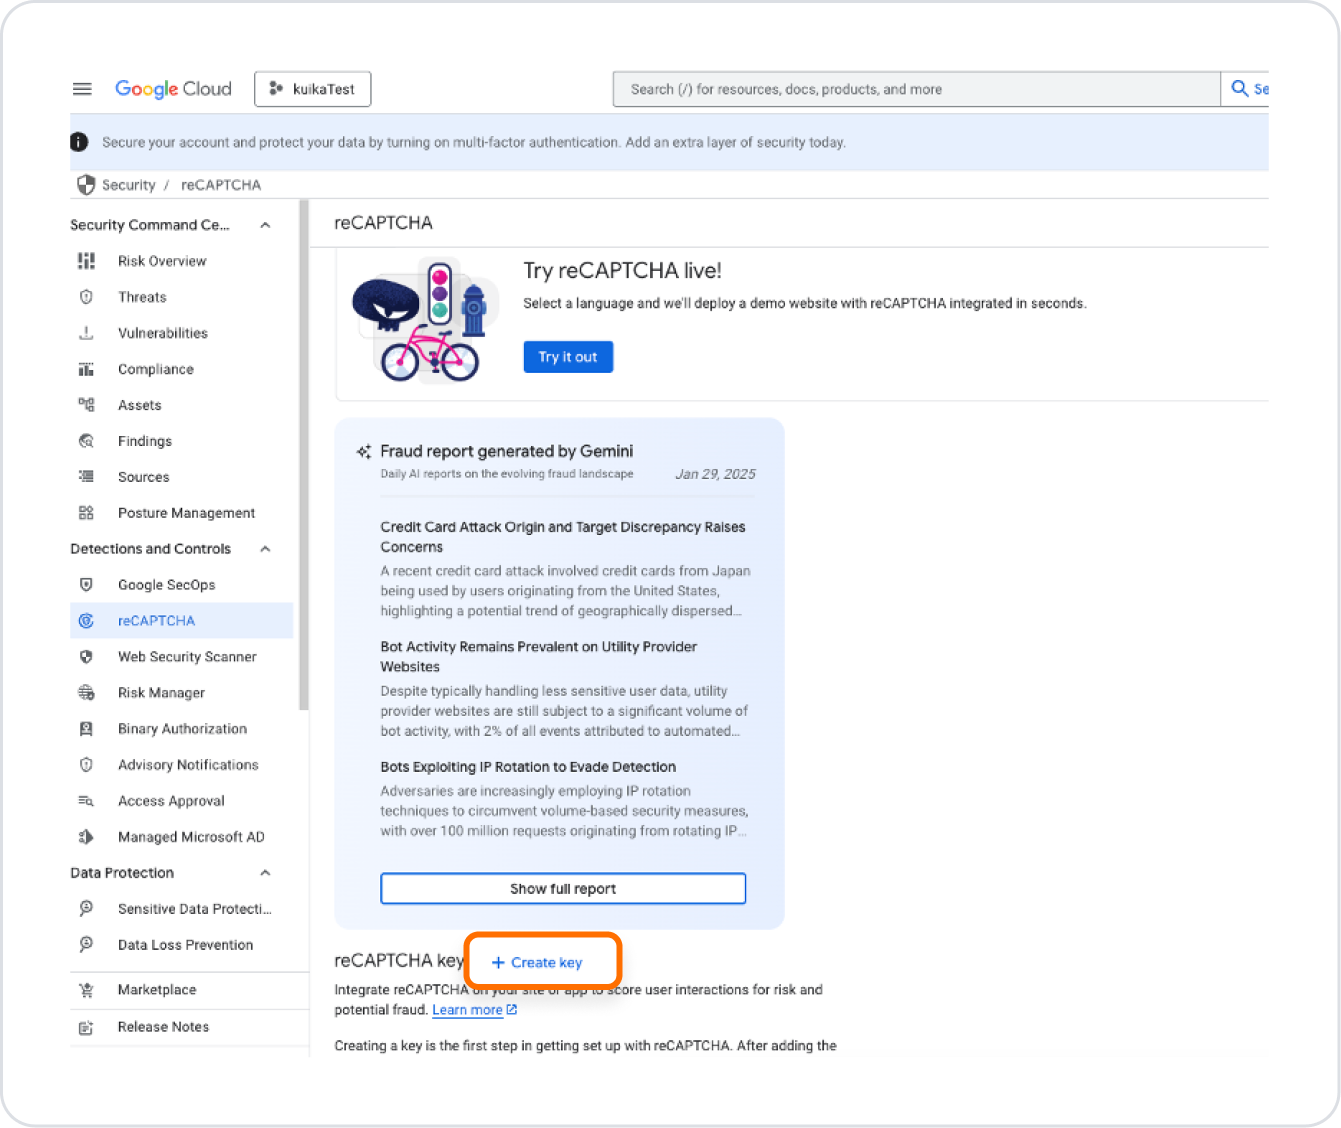
Then click the “Create Key” button.
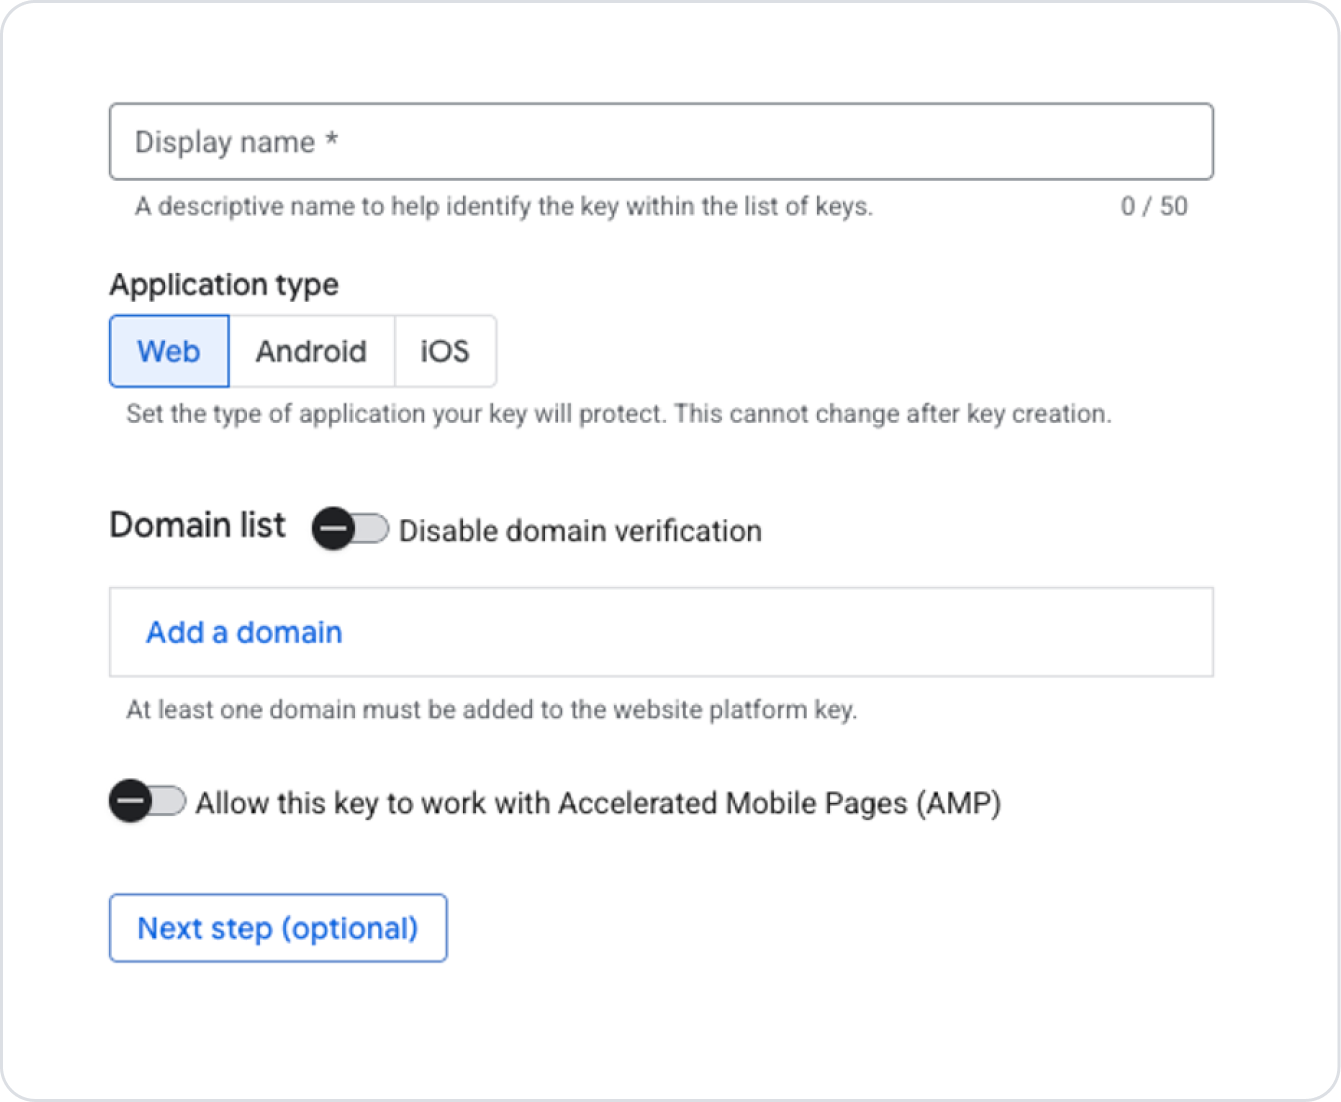
The Display Name field should be filled in as desired for how the keys should appear on the screen where they are listed.
Select the Website option for the Application Type field.
Enter the domain address of the added site in the Domain List field. (This can be disabled if desired, but is not recommended for security reasons.)
Once the necessary steps are complete, click the Next Step button.
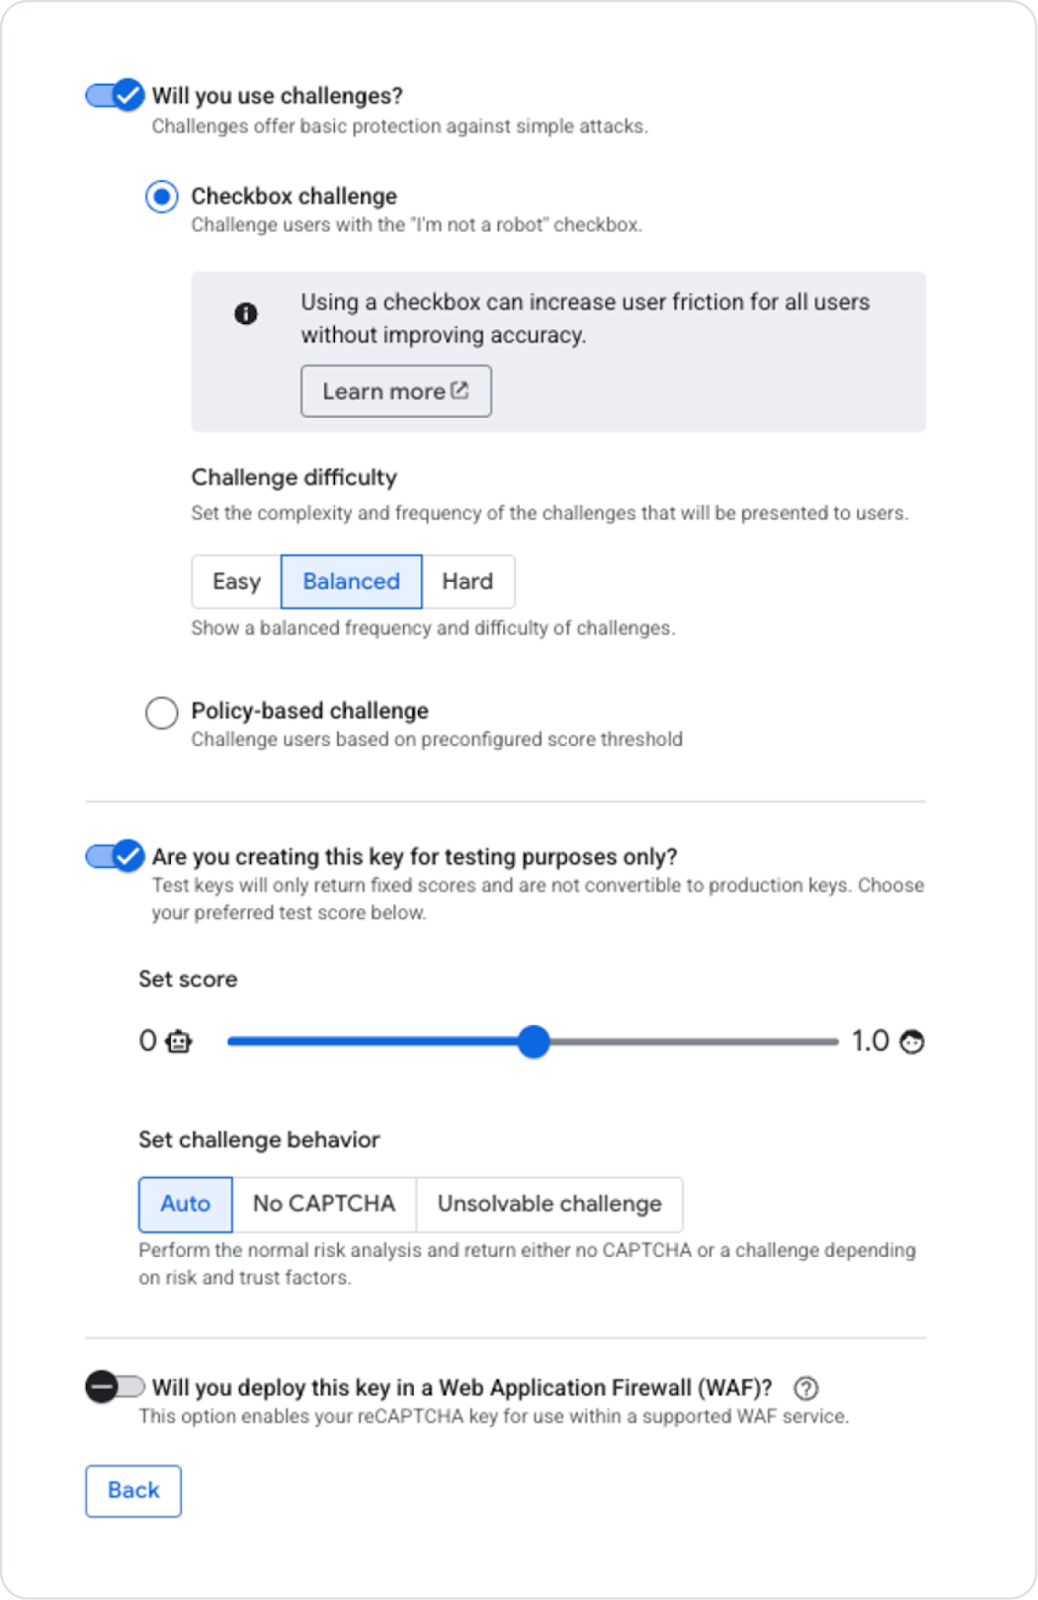
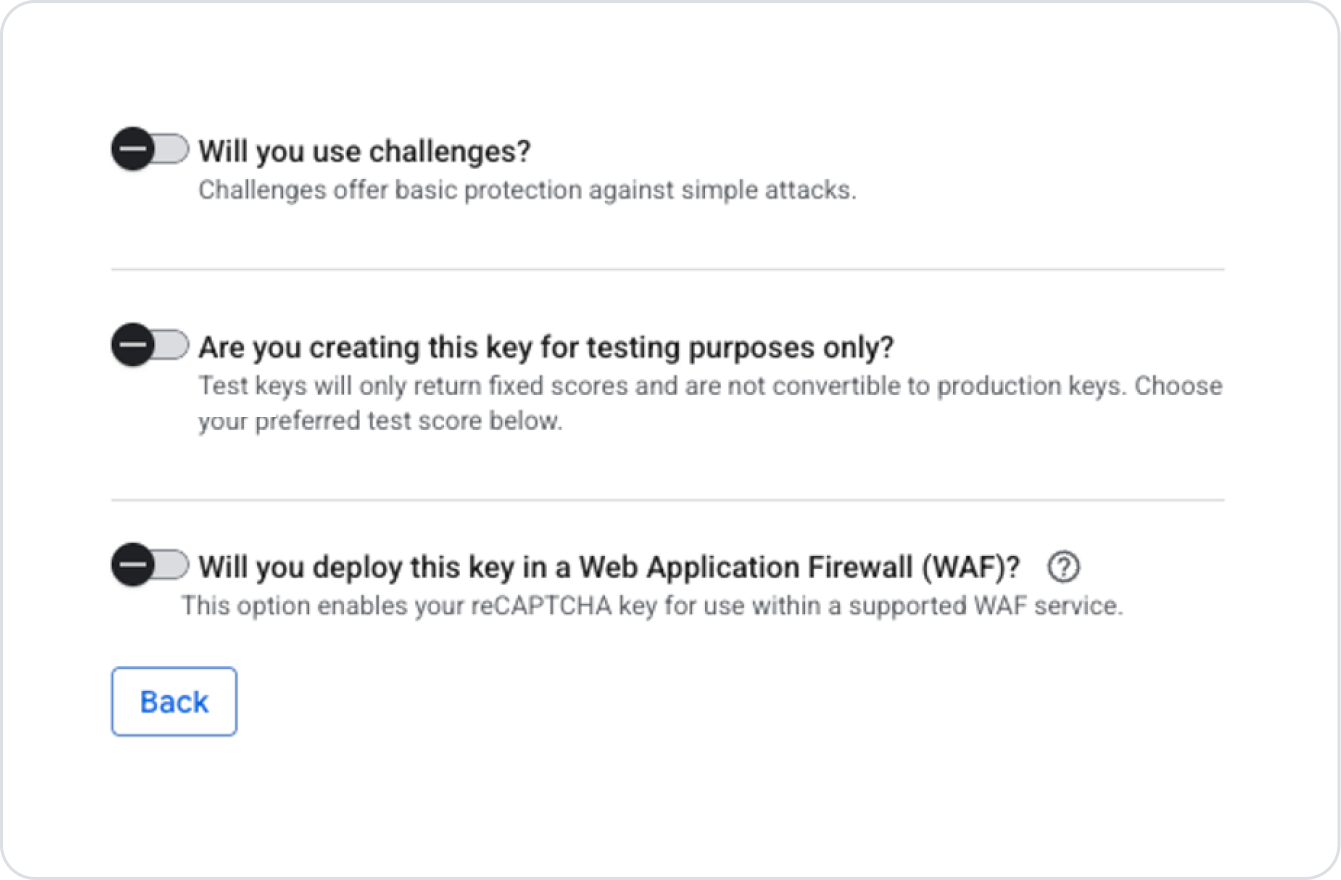
Here, options related to the created key can be enabled if desired.
Since a test key was created in this example, the following selections were made. When creating your own key, you can evaluate the relevant fields according to your needs and usage scenario and make your selection.
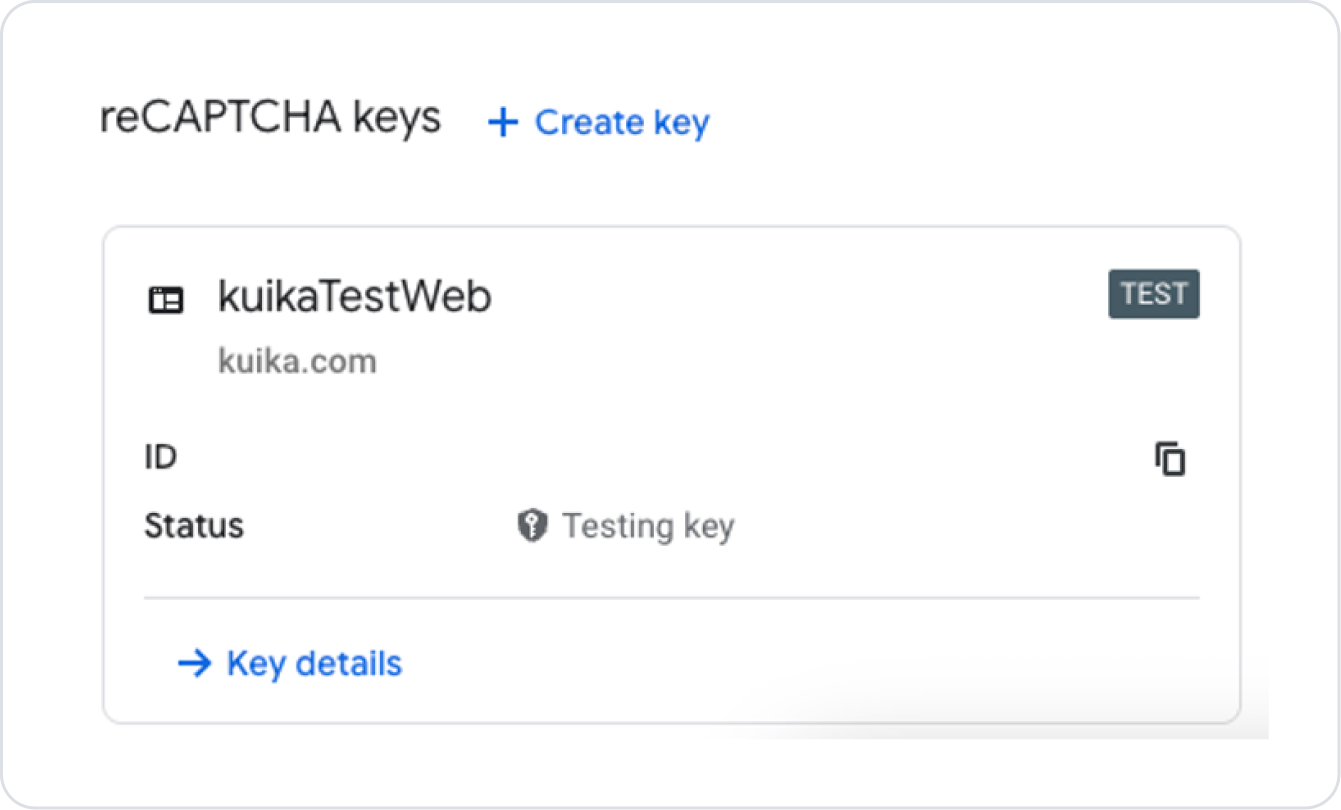
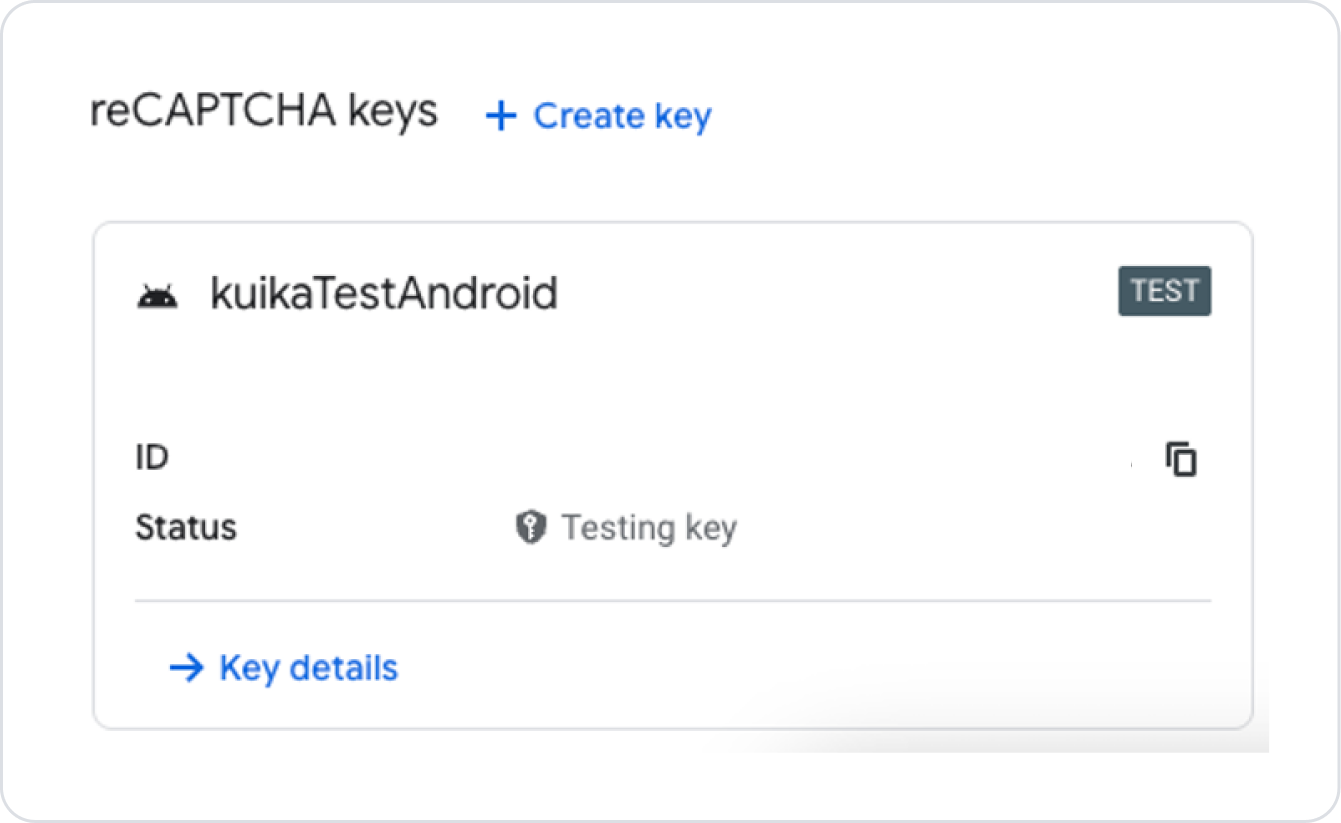
After completing the necessary steps, click the Create Key button at the bottom of the page to create the key. On the screen that opens, click the back arrow icon to view the key you created on the key list page.
The created key will be listed on the page.
Obtaining an Android Key
Click the Create Key button in the area where the keys are listed on the ReCaptcha page.
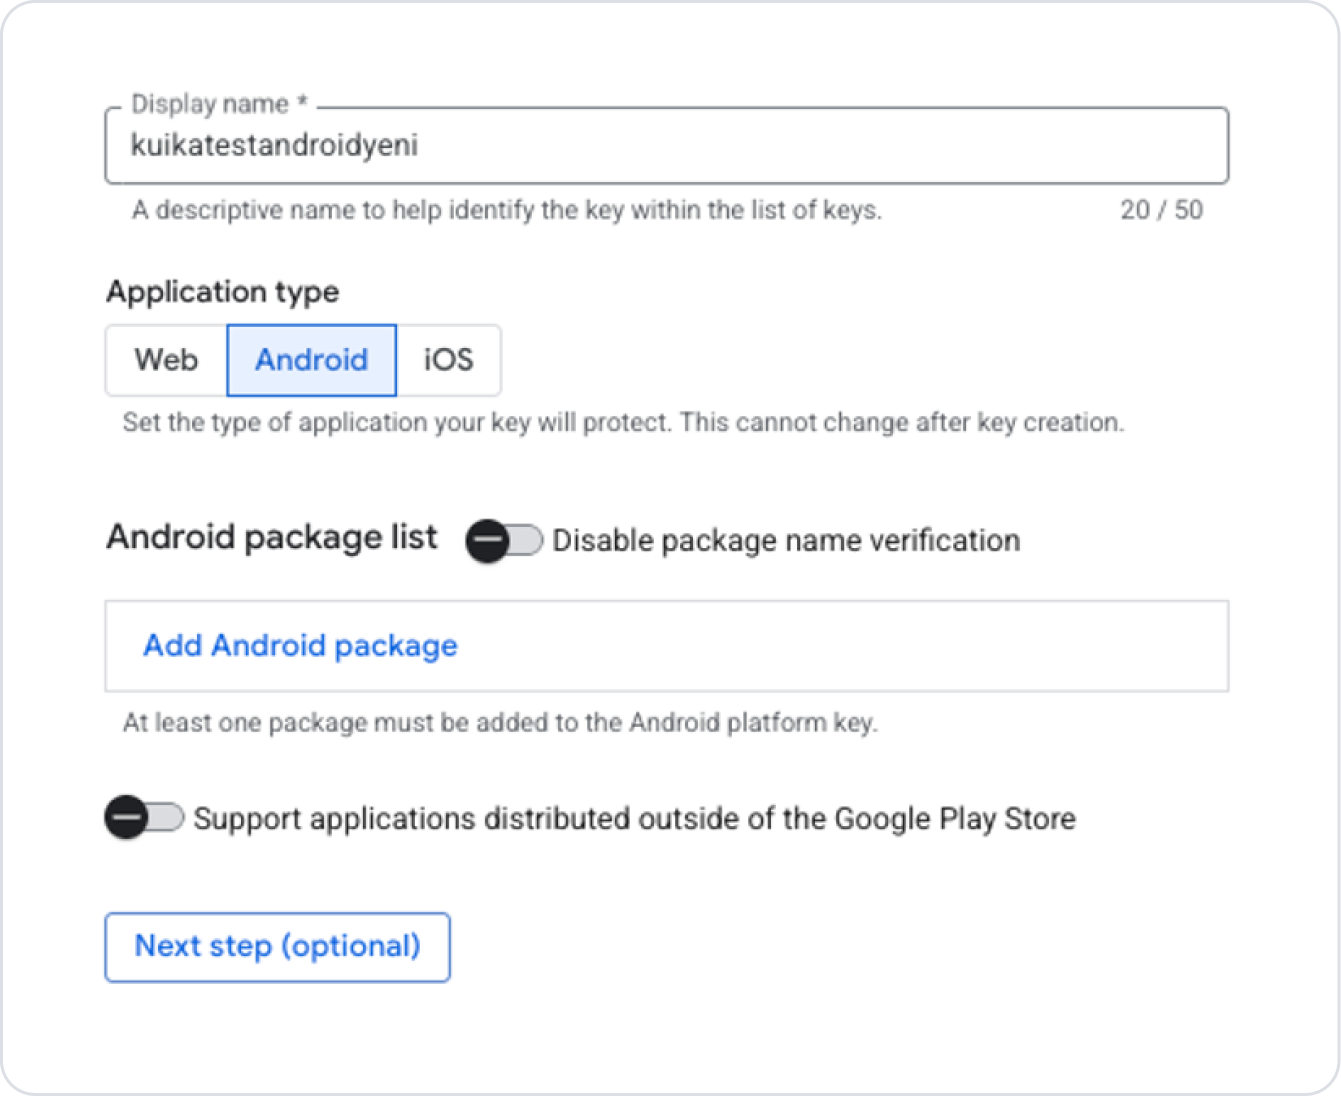
Fill in the Display Name field as you want the key to appear in the list.
Select the Android option for the Application Type field.
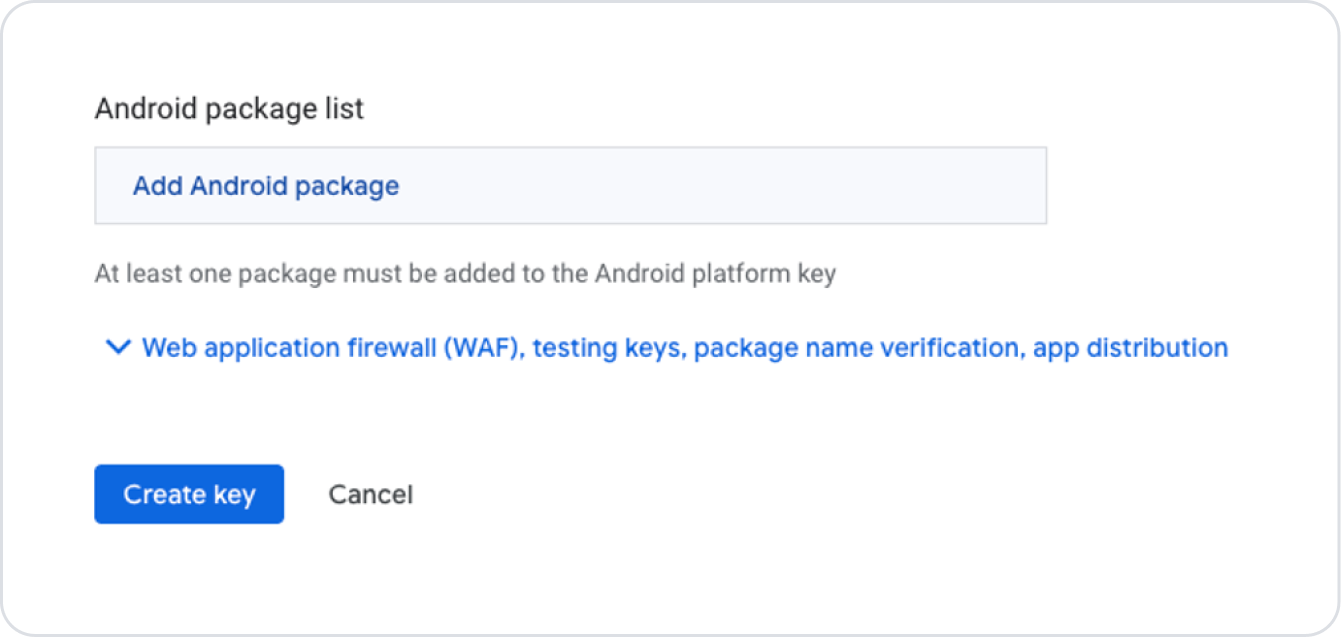
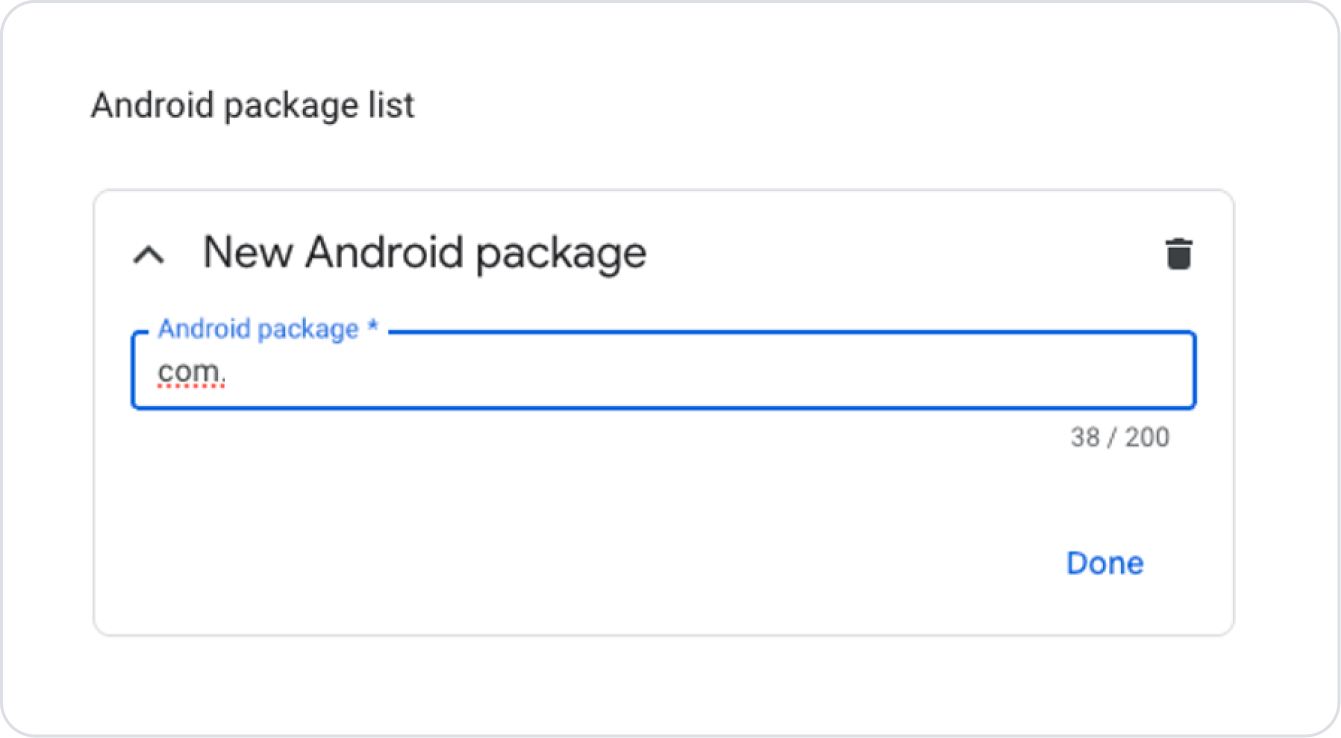
Enter the domain address of the site you added in the Domain List field. (You can find a detailed explanation of the Domain List field in the next steps of this guide.)
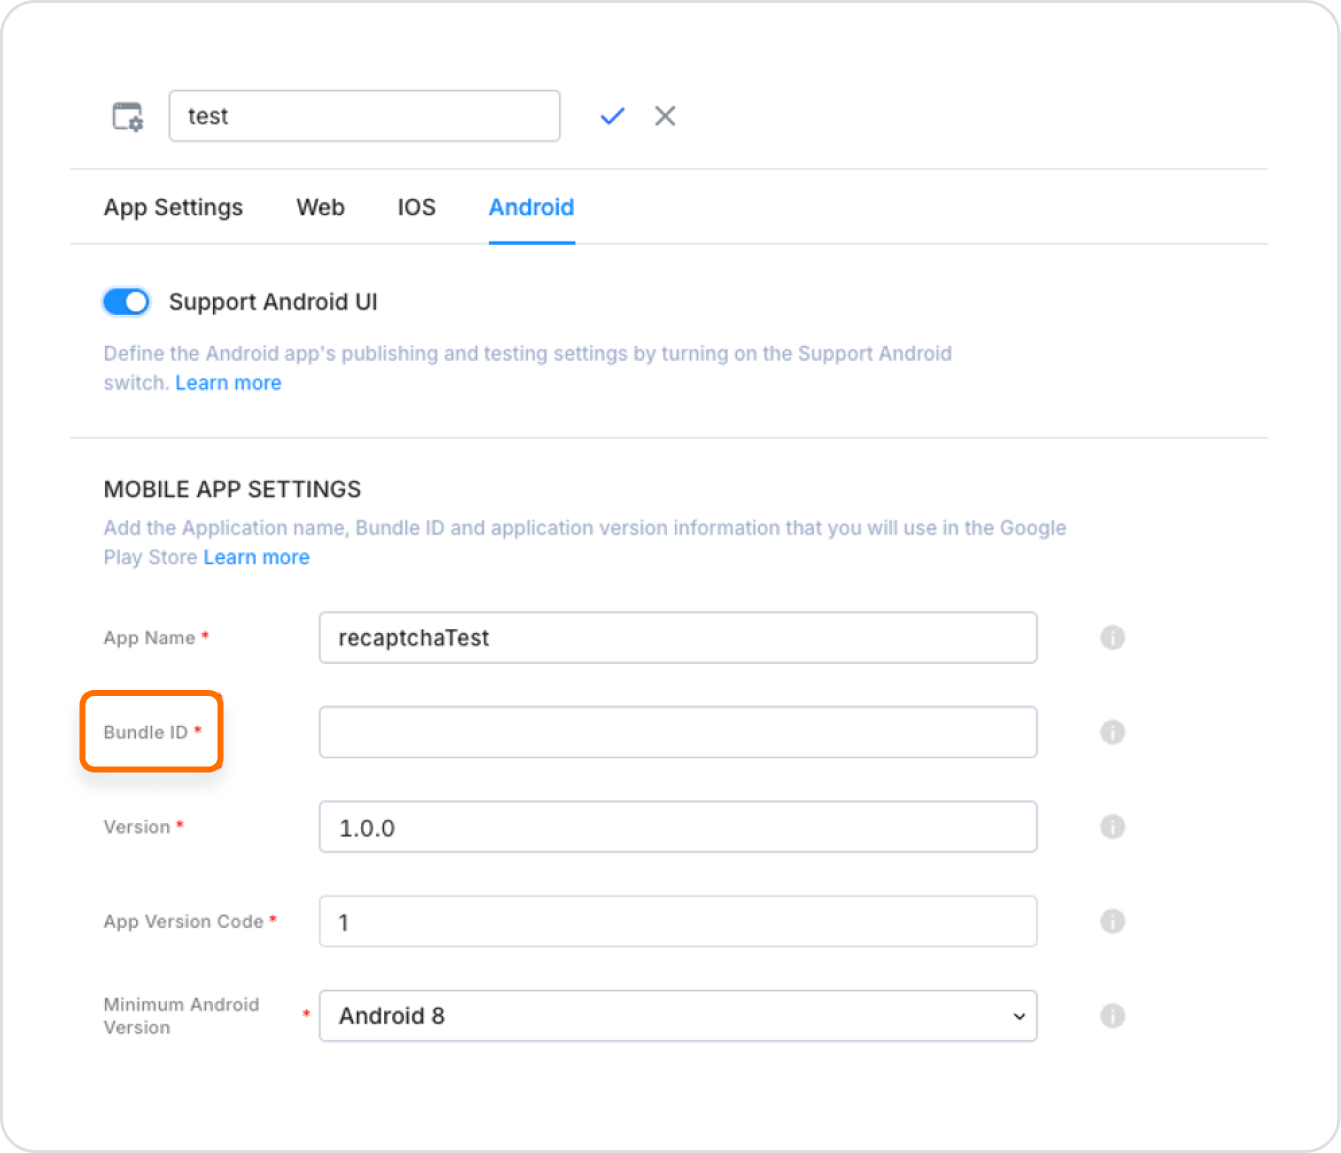
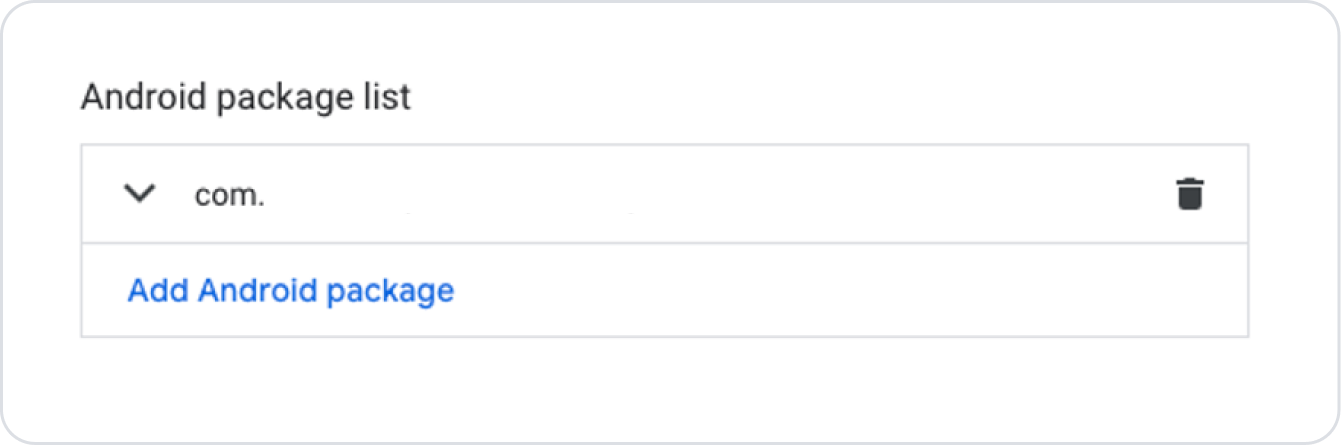
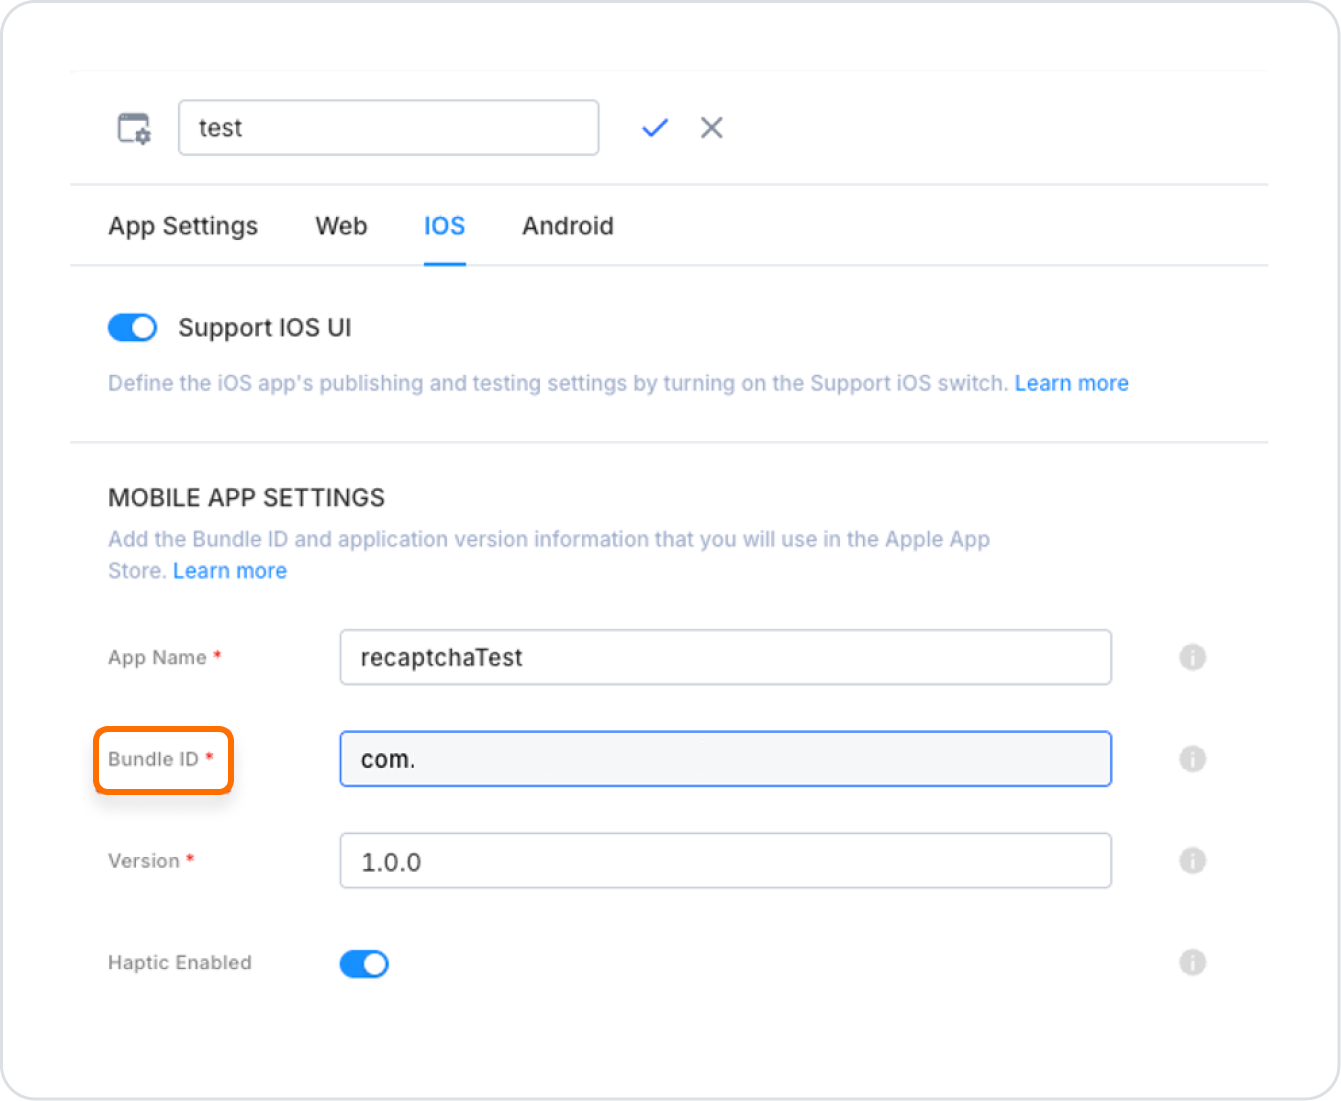
After selecting Android, enter the Bundle ID information found in the Configuration Manager → Android tab of the project you created on the Kuika platform in the field that opens.
Click the Done button to save the Bundle ID information.
After completing the necessary steps, click the Next Step button.
On the screen that opens, set the optional options for the created key according to your needs.
Finally, click the Create Key button to generate the key.
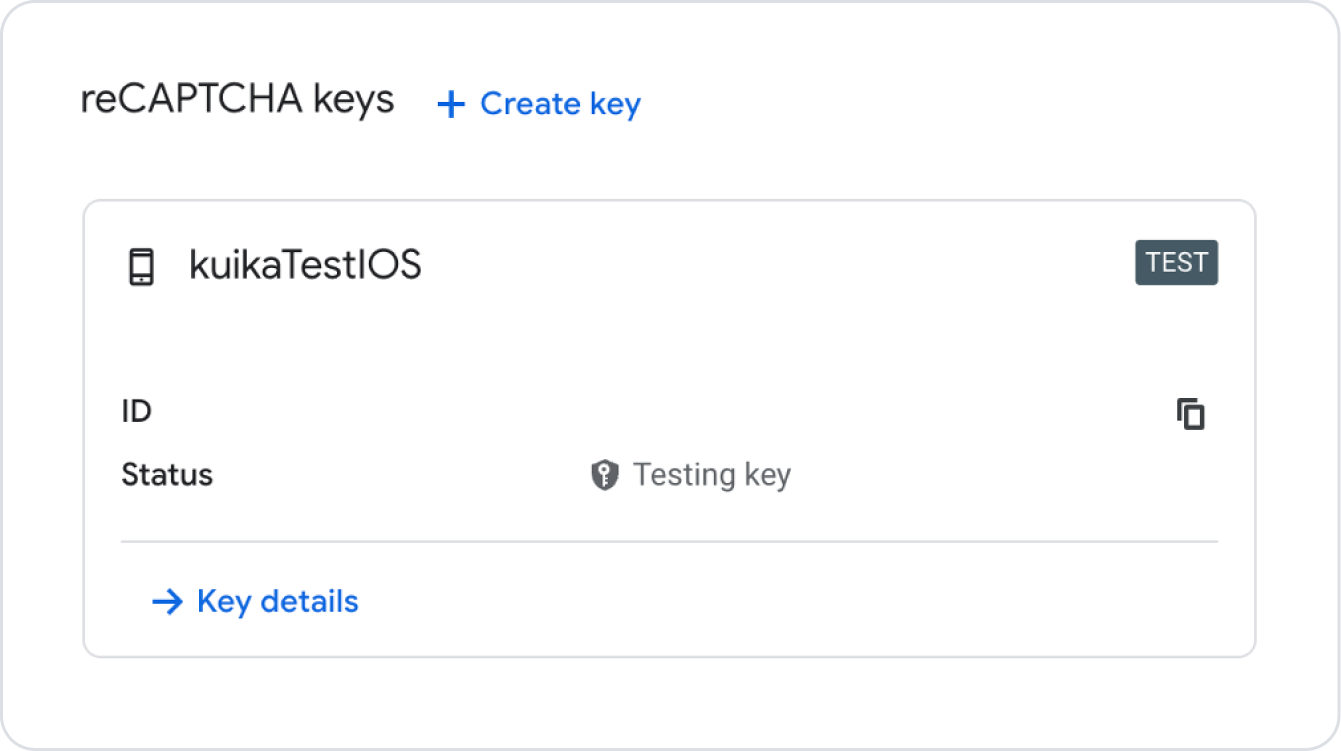
To view the generated key, click the back arrow icon on the page that opens. The key will be displayed on the key list page.
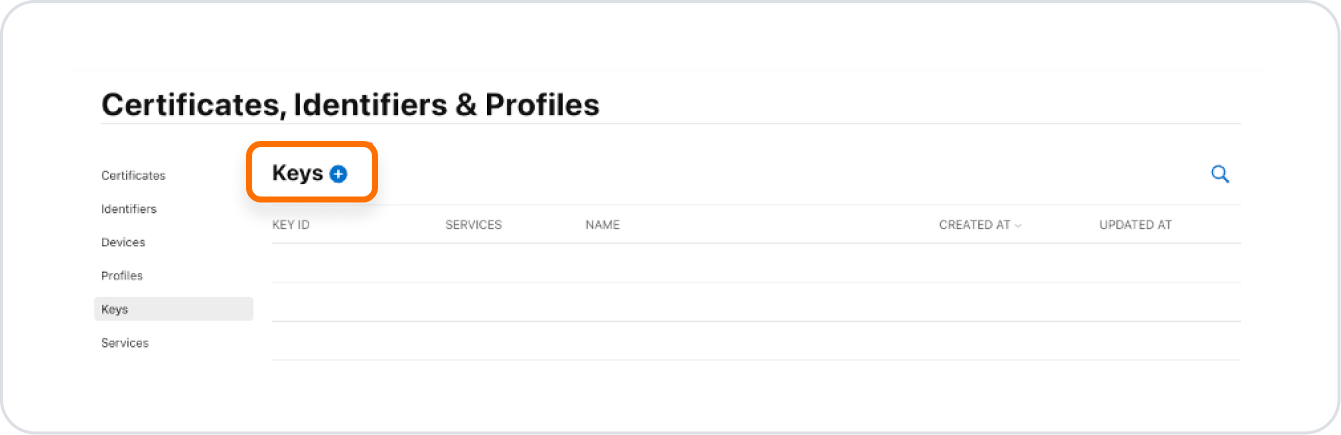
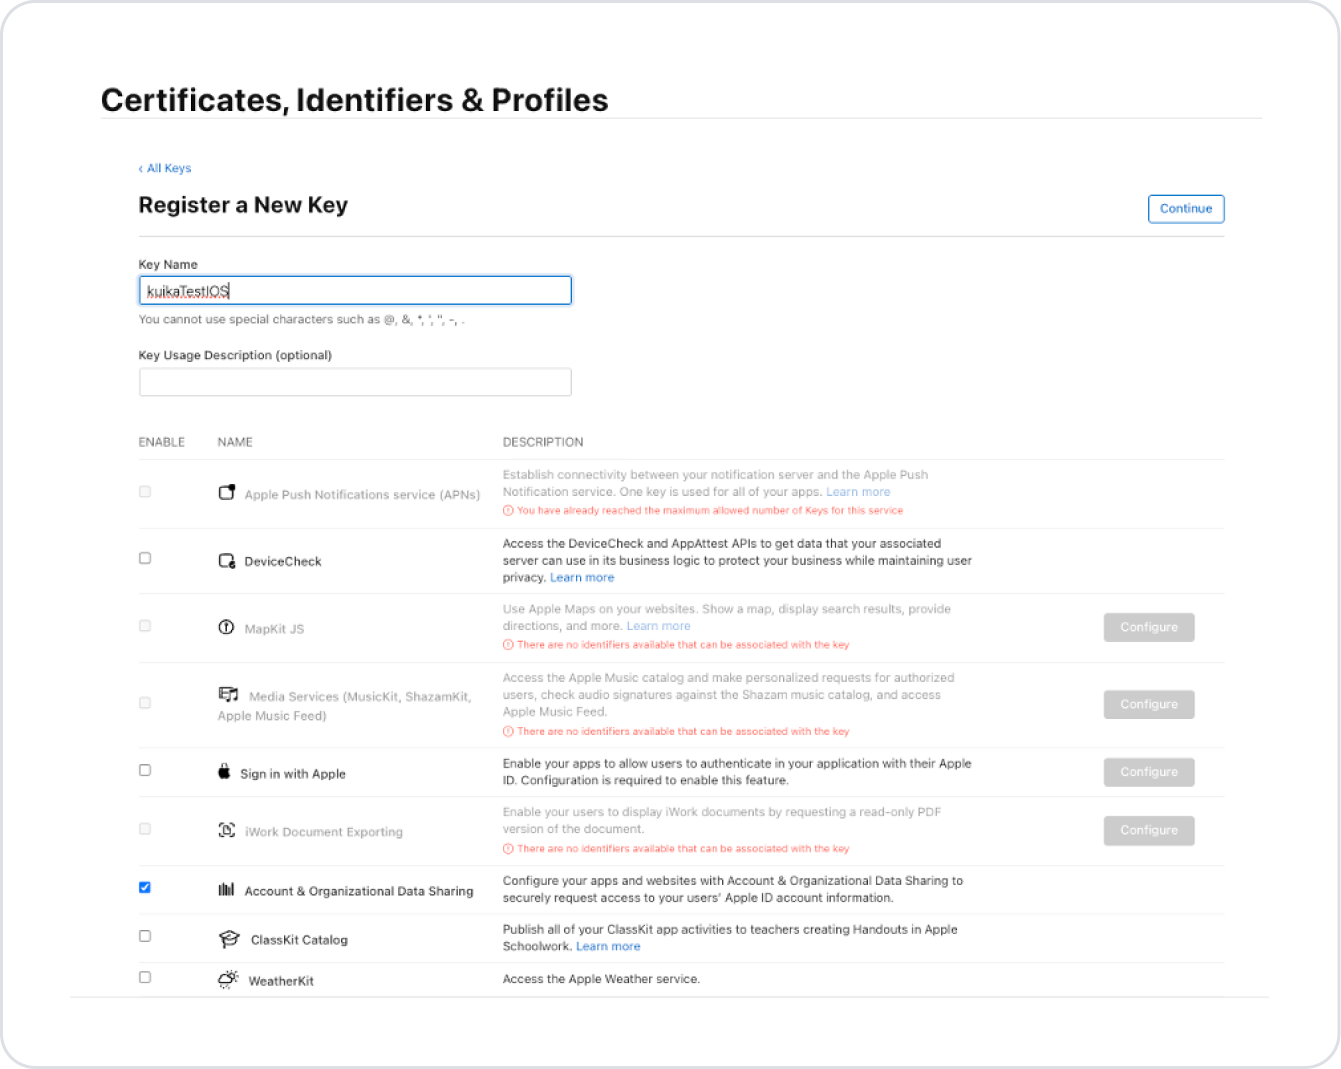
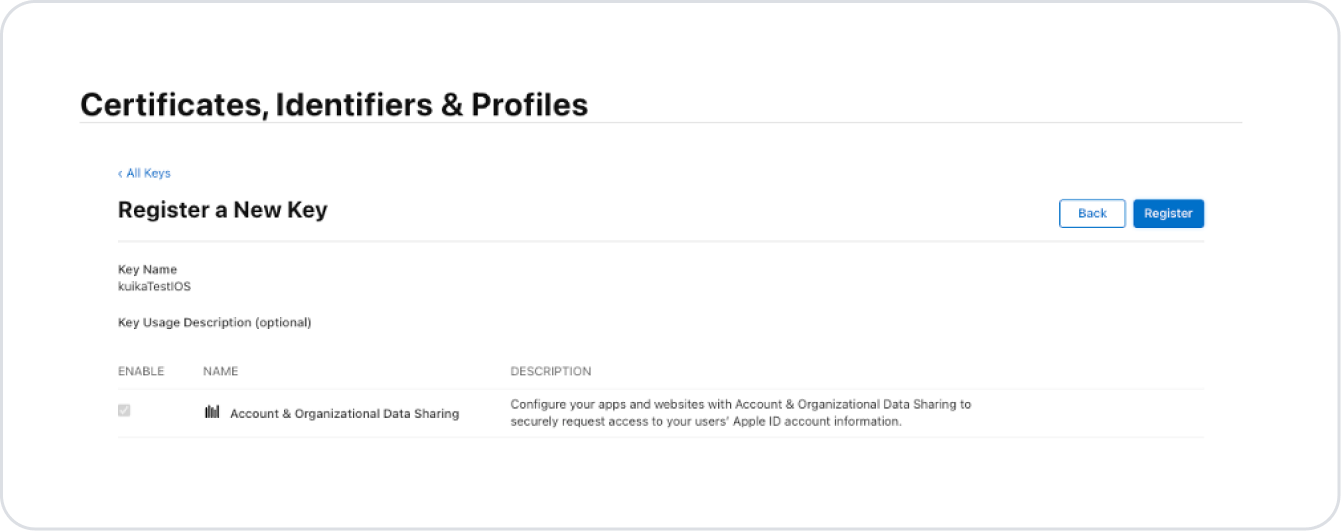
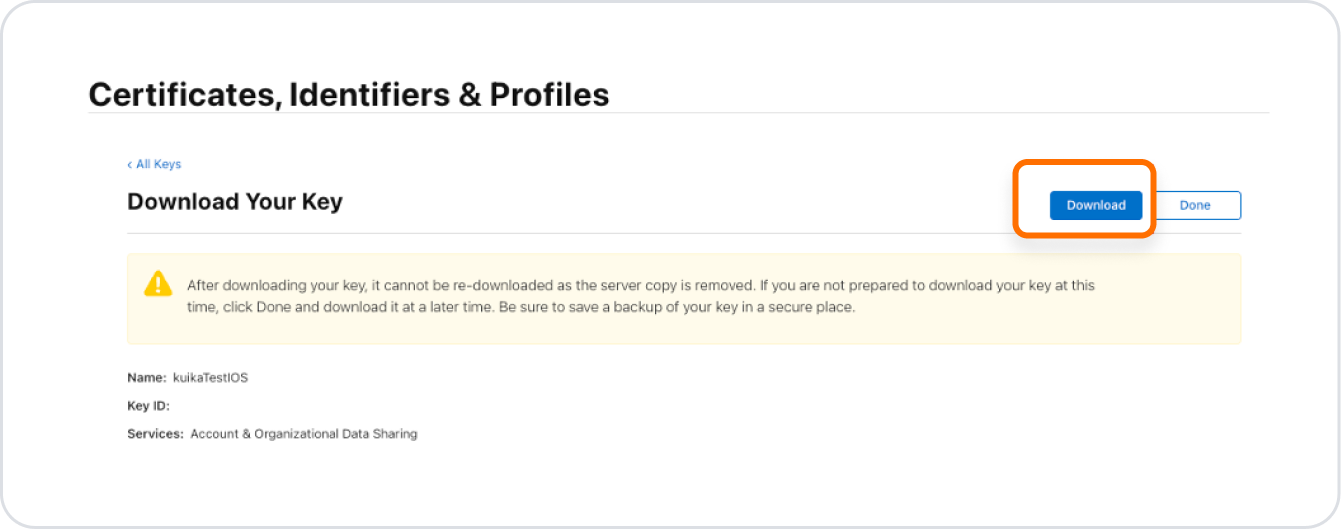
Obtaining an iOS Key
On the ReCaptcha page, click the Create Key button in the area where the keys are listed.
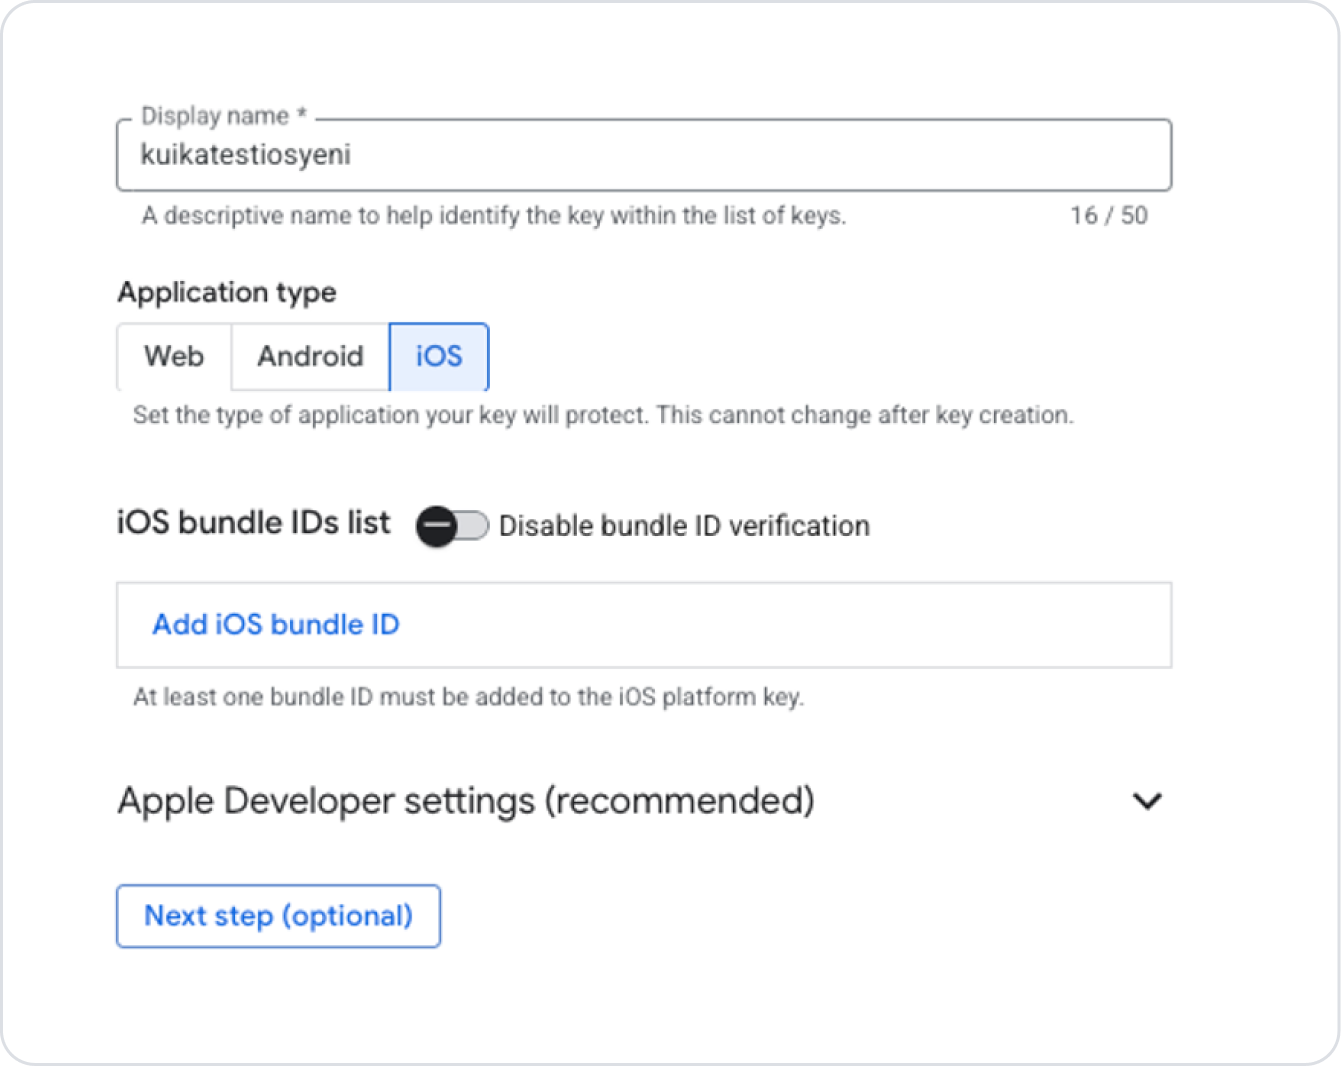
Fill in the Display Name field as you want the key to appear in the list.
Select the iOS app option for the Application Type field.
Enter the domain address of the site you added in the Domain List field. (You can find a detailed explanation of the Domain List field in the next steps of this guide.)
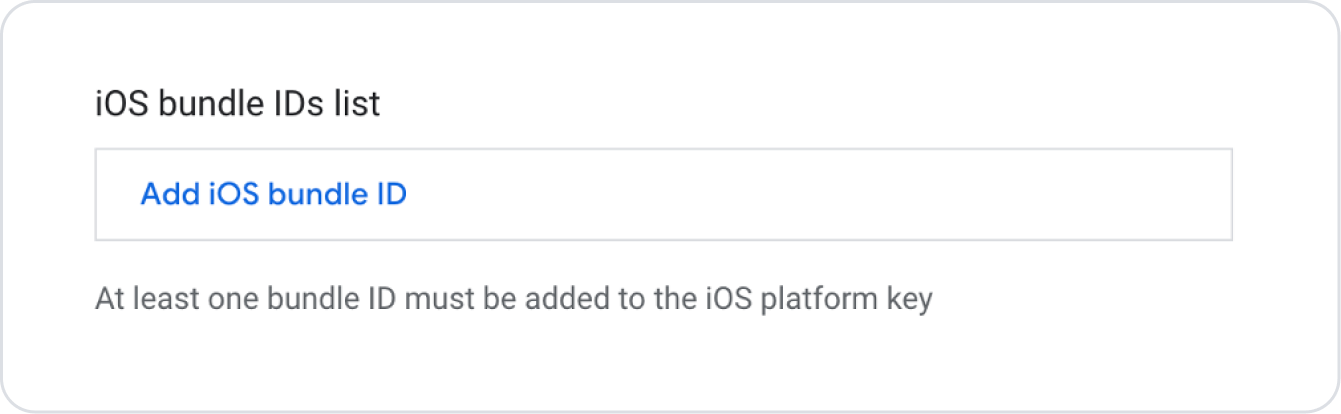
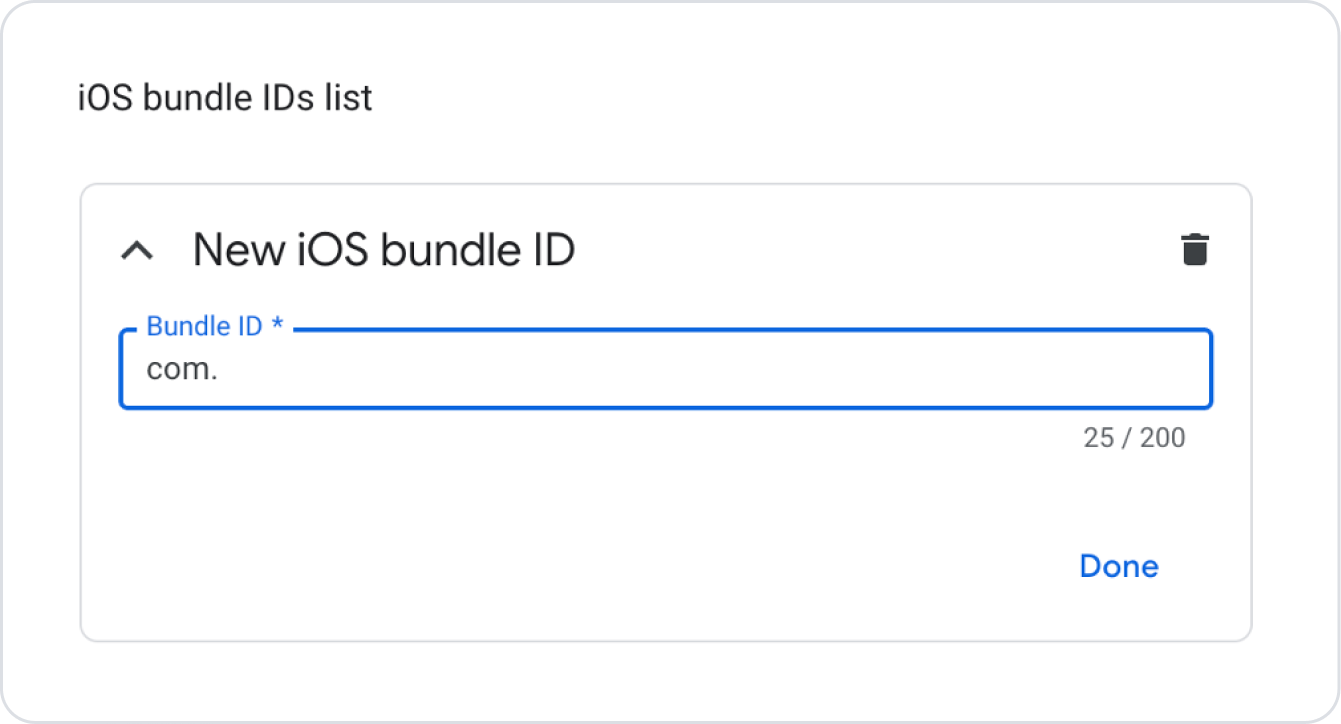
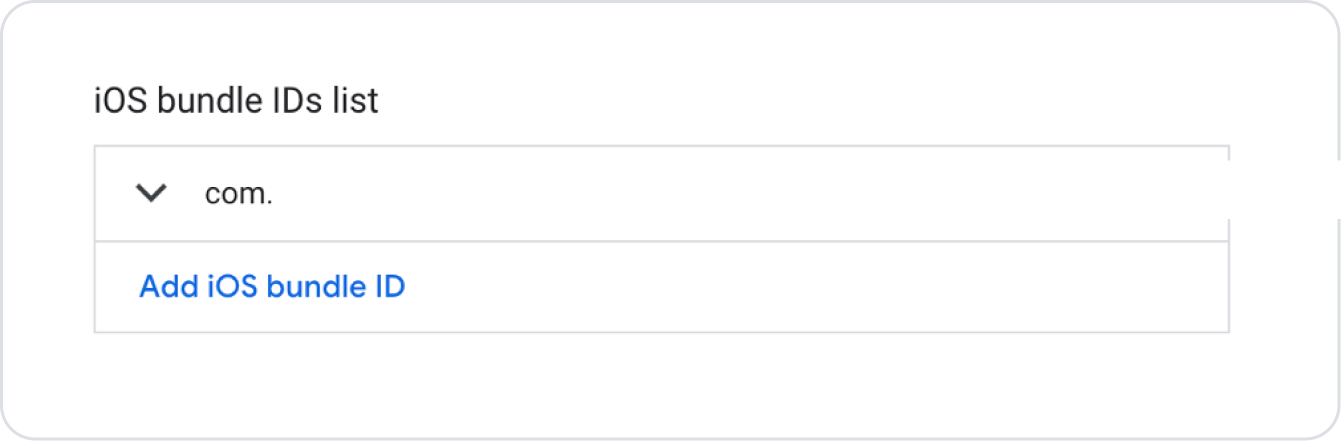
In the field that opens, enter the Bundle ID information found in the Configuration Manager → iOS tab of the project you created on the Kuika platform.
Click the Done button to save the Bundle ID information.
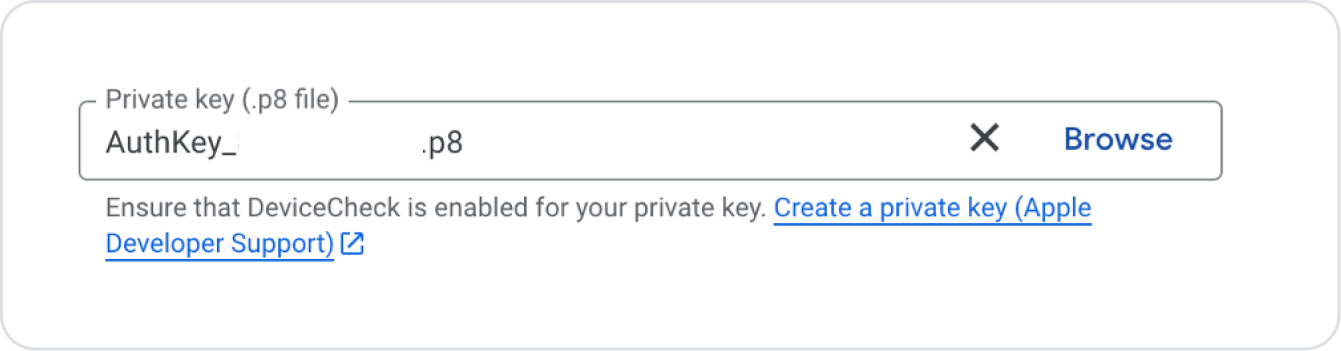
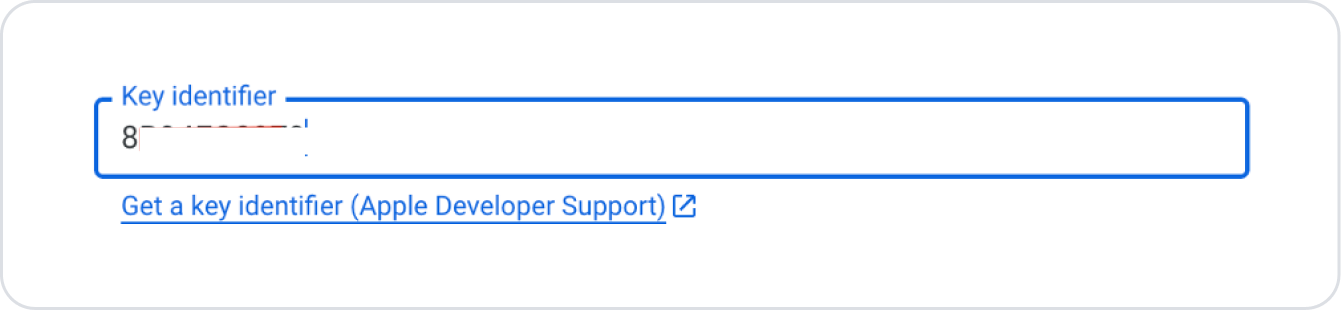
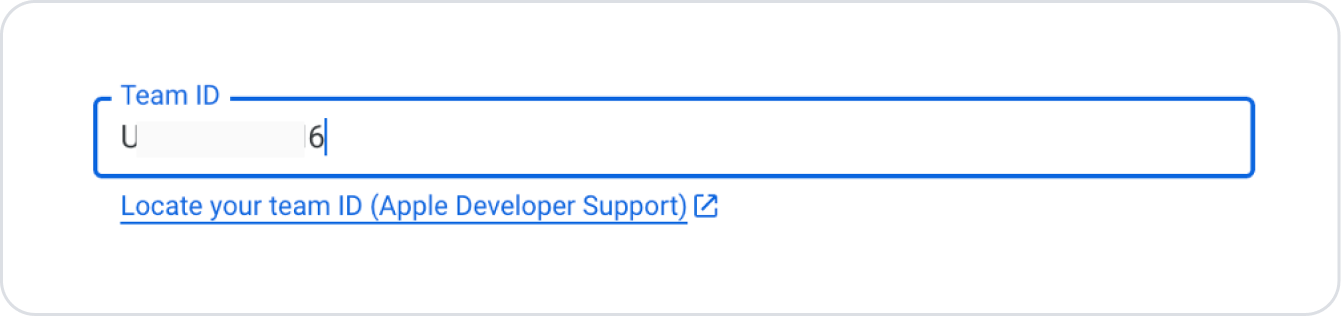
Apple Developer Settings
After saving the Bundle ID, you need to configure the Apple Developer Settings field at the bottom of the page. This information will be retrieved from your Apple Developer account.