Follow these steps to create a data source connection with artificial intelligence in the Datasources module:
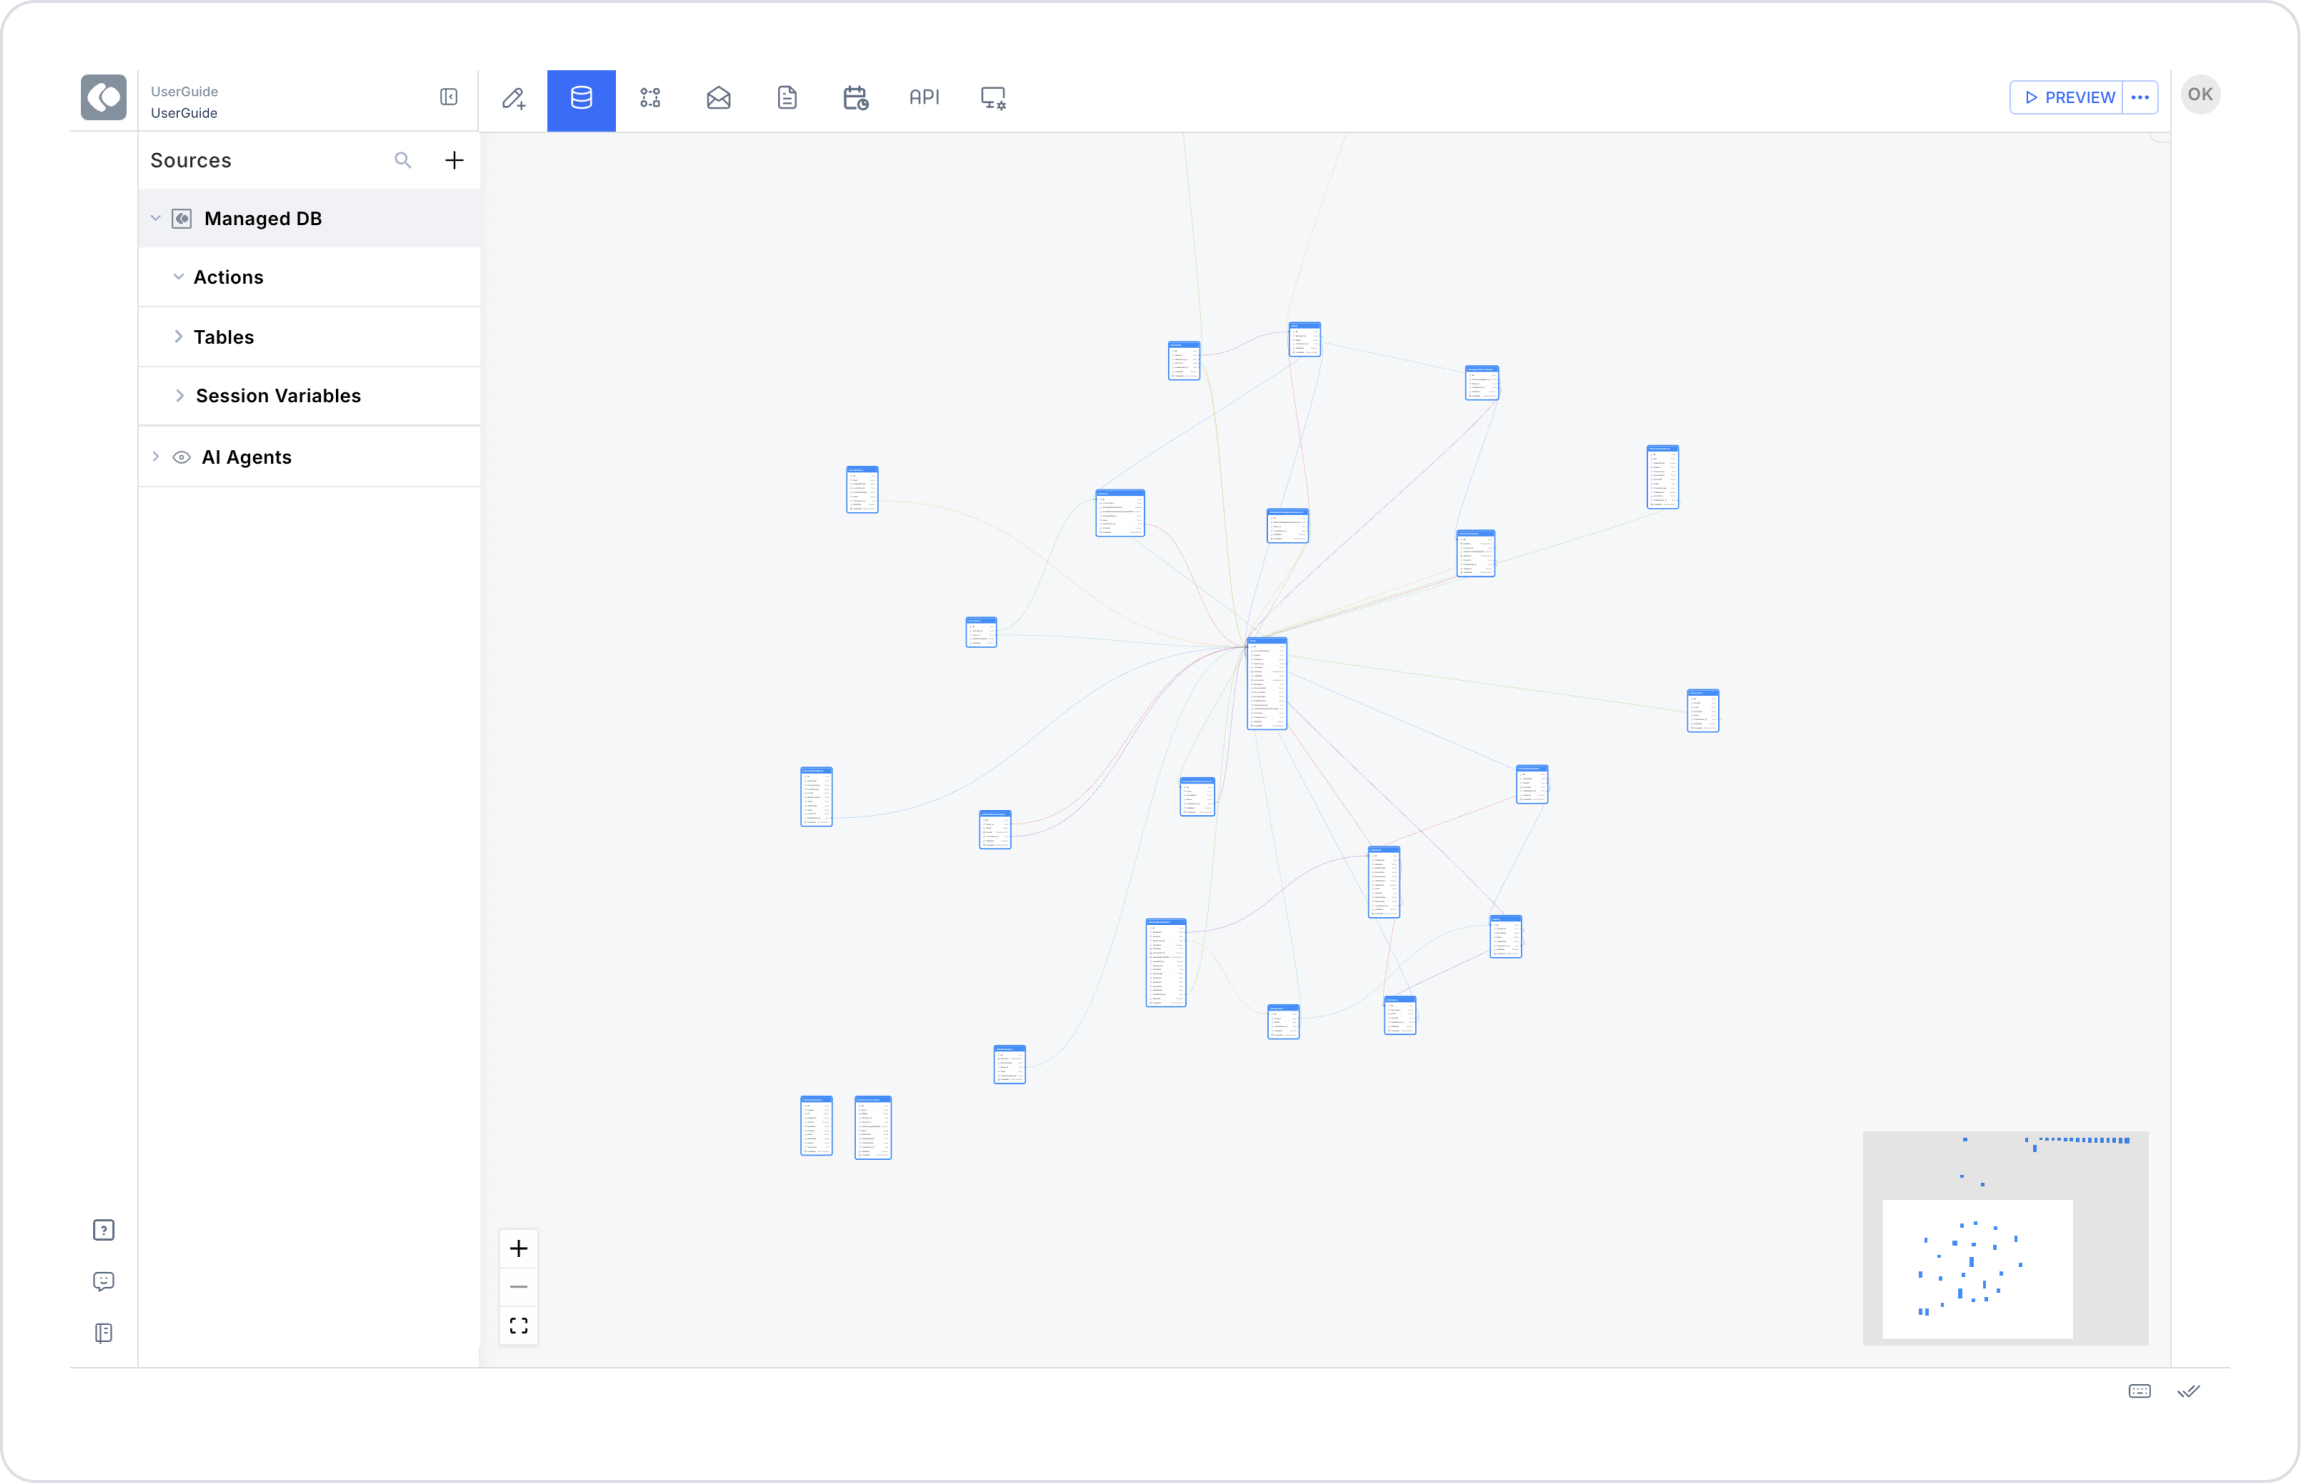
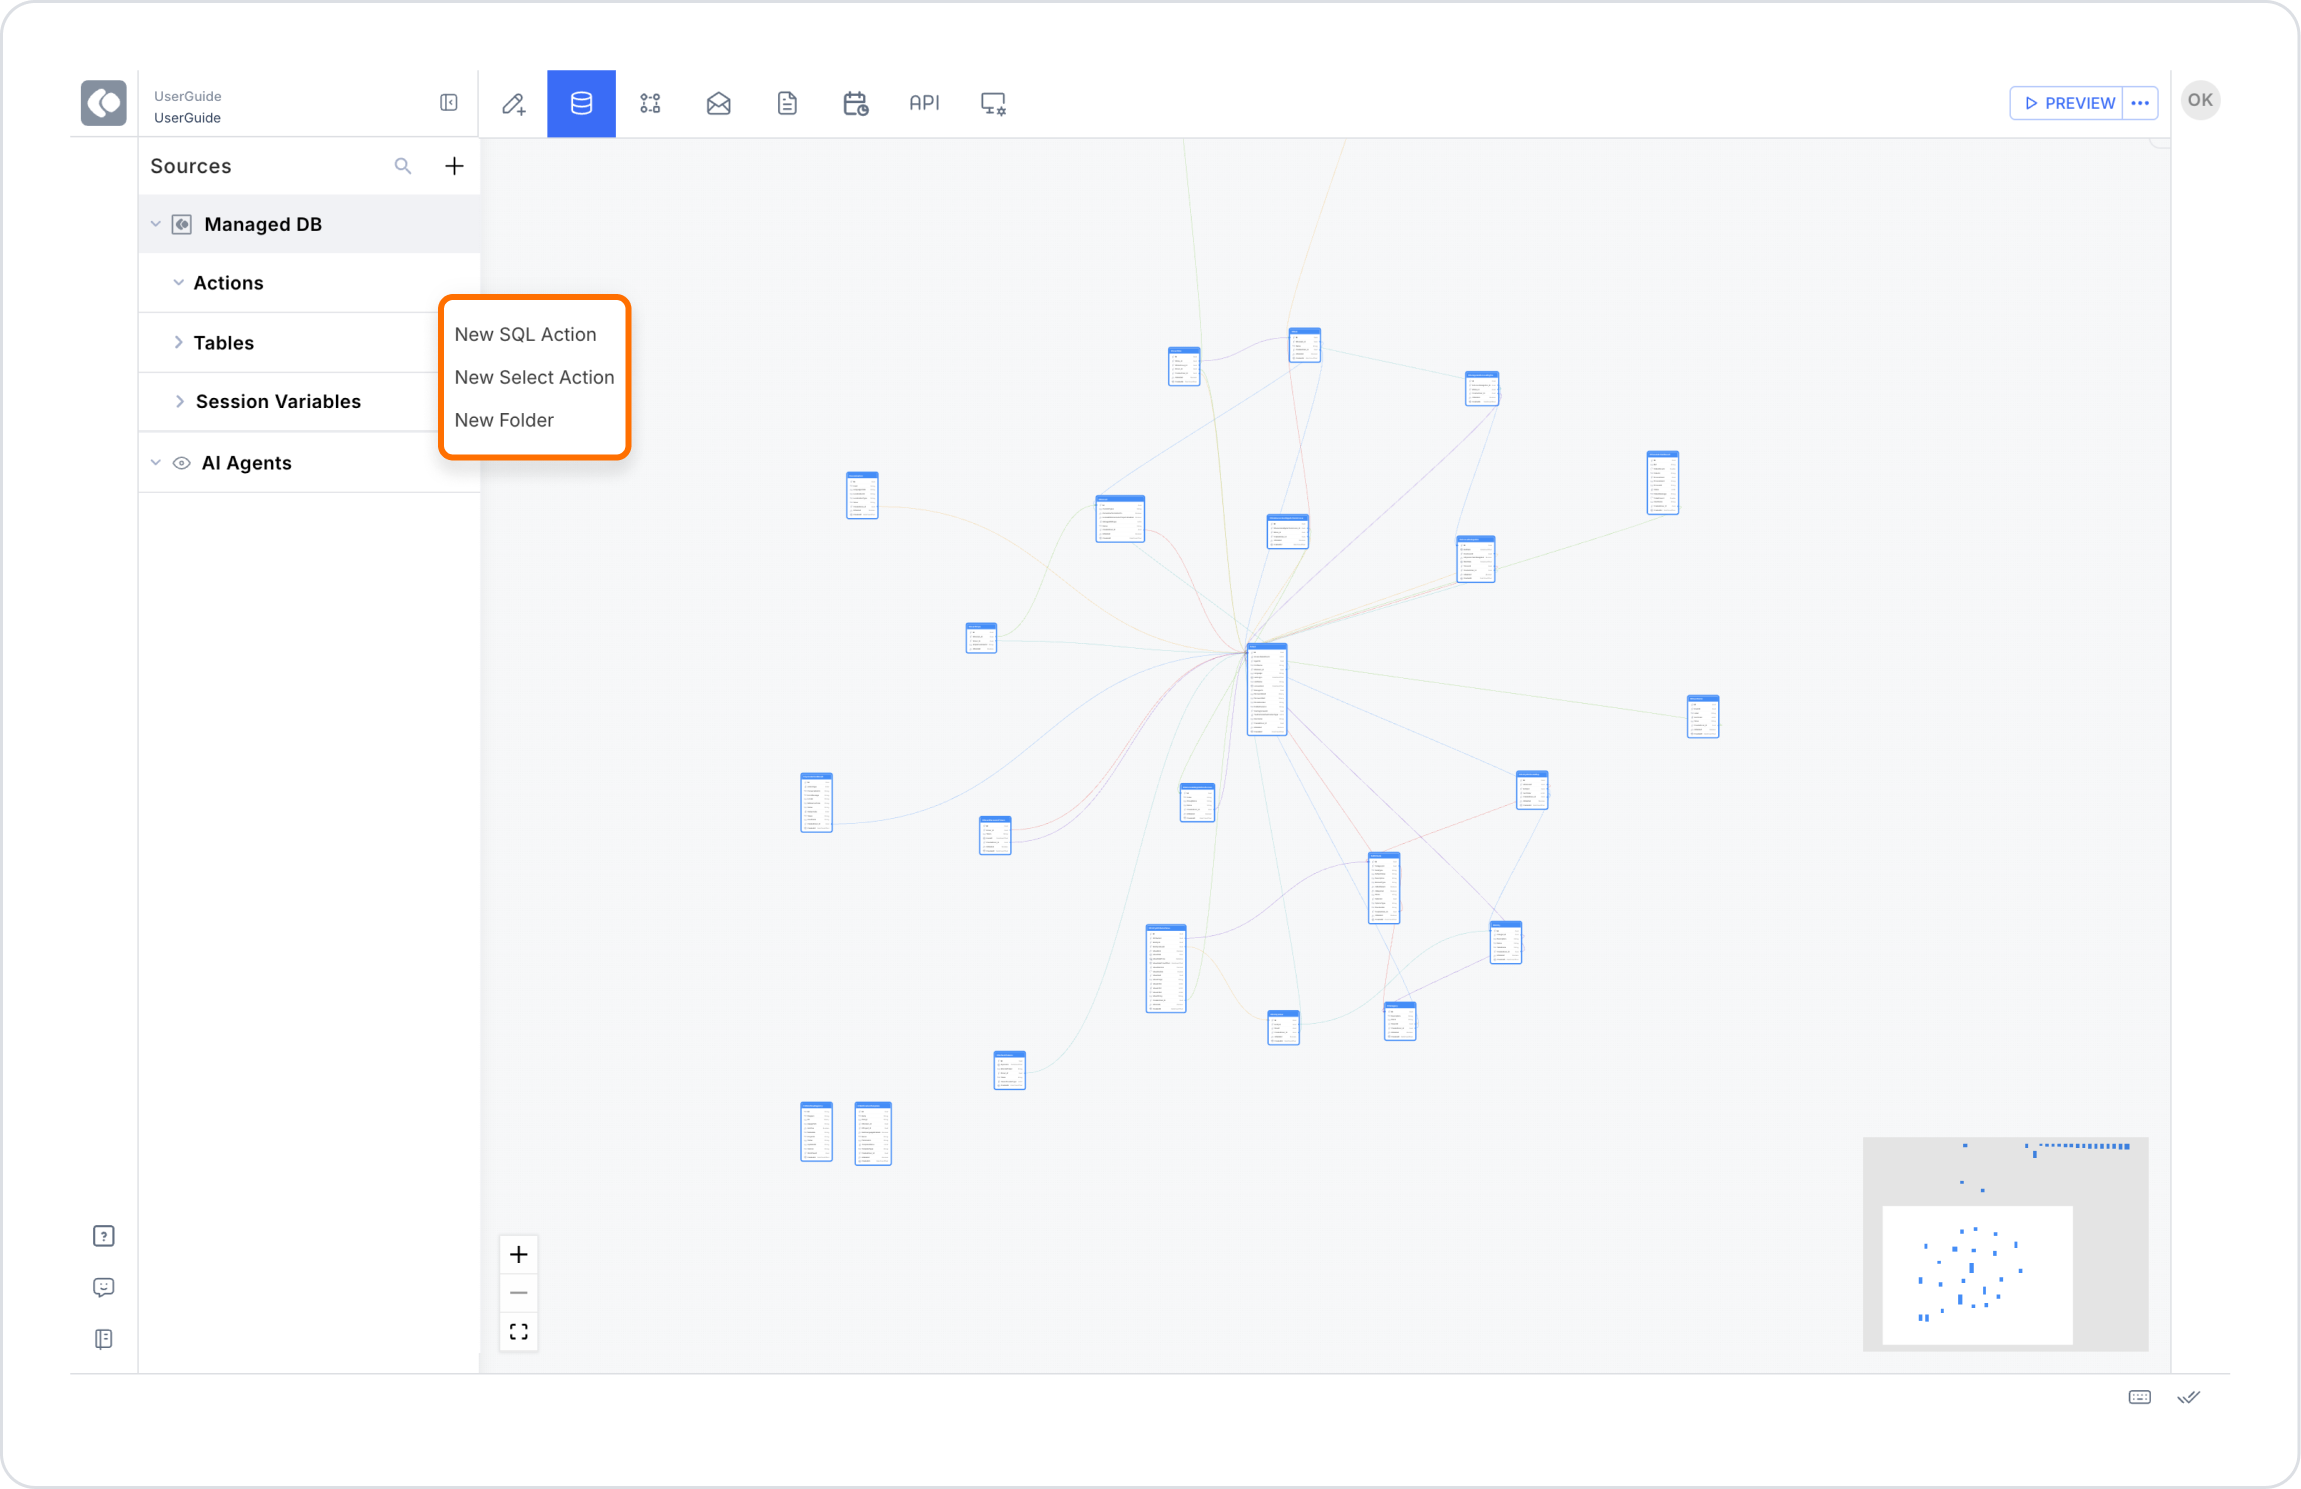


With Kuika you can quickly add a new table to the data source.

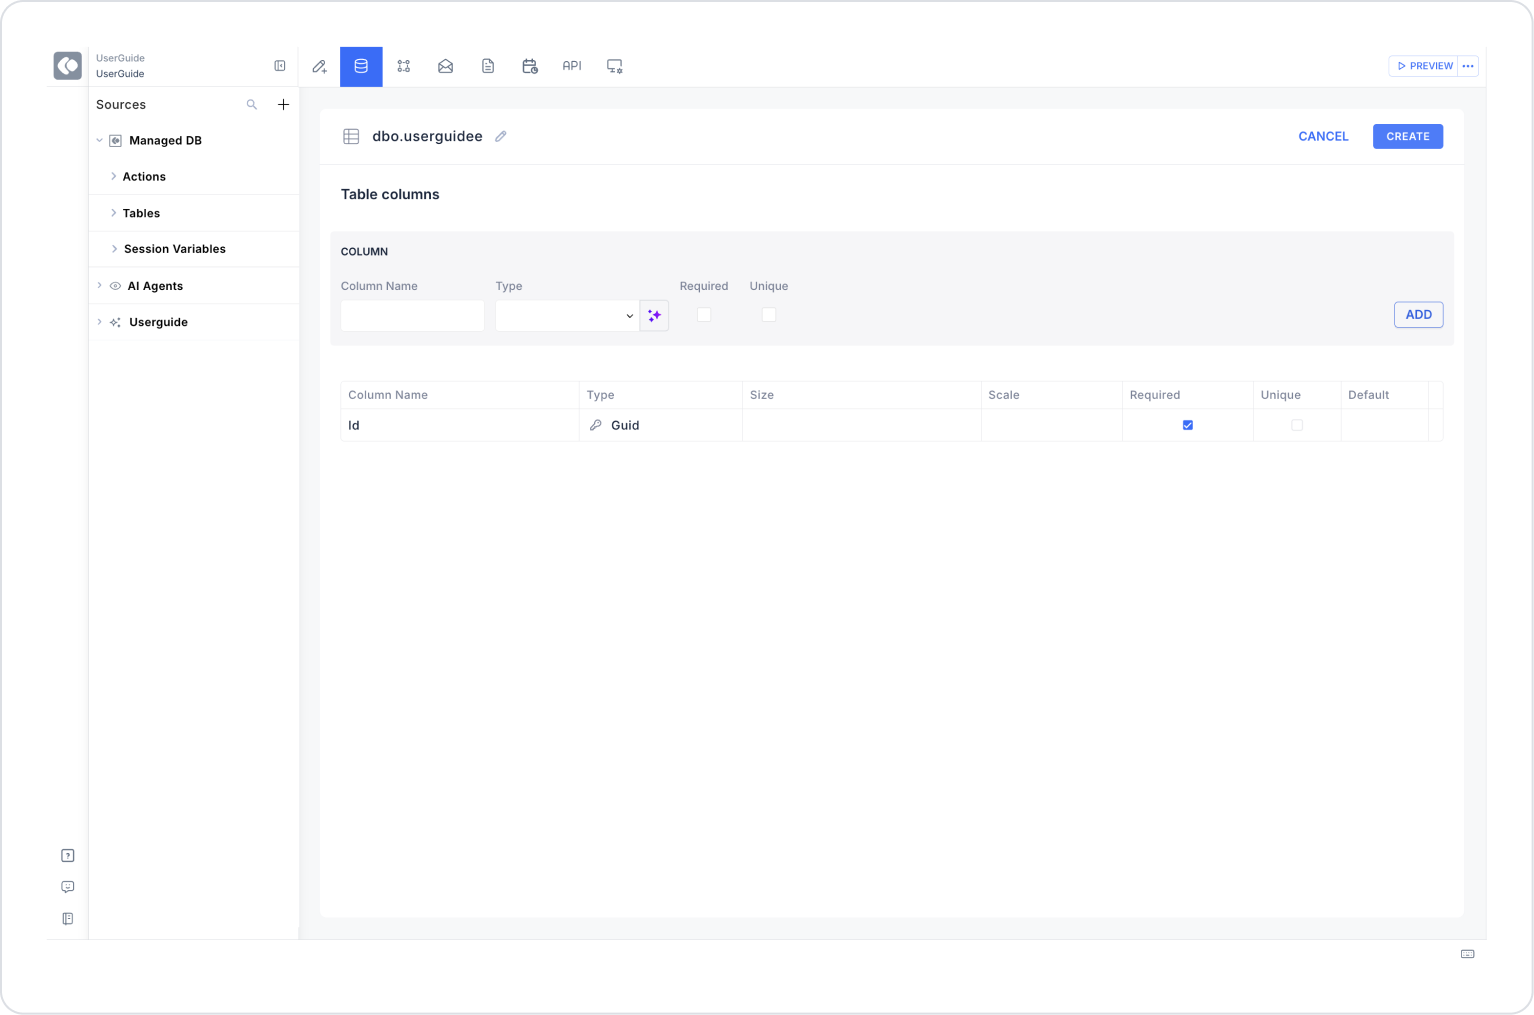
You can activate the Kuika AI button to use artificial intelligence suggestions.
Editing and Deleting a Table
At design time, you can view and edit a table’s data directly through the platform interface. This allows you to create test data, edit existing records, or import/export data without needing a separate database client.
Access: DataSource → ManagedDB → when you hover over any table, the Browse Data (table icon) and ellipsis menu icons appear.
System Tables: System tables such as KApplication and KUser open in read-only mode: "System table — view only. You can read rows here, but edits, imports, and exports are disabled.“ message appears, and the SAVE/DISCARD buttons become disabled.
Hiding Sensitive Columns: In tables containing sensitive data, such as KUser, columns like passwords are automatically hidden, and the ”X sensitive columns hidden" warning is displayed.
Adding and Editing Data
Save / Discard: Changes made activate the SAVE button; changes can be undone with DISCARD.
Undo / Redo: Changes can be undone or redone using the Cmd+Z (Undo) and Cmd+Shift+Z (Redo) shortcuts.
Generating Data with AI: Generate with AI Sample data rows can be generated using this button. The generated records first appear as draft inserts; they can be reviewed before saving and then saved to the database.
Show/Hide Columns: Using the Show / hide columns feature on the toolbar, you can hide or show specific columns; Show all and Reset widths options are available.
Column-Based Filtering: You can narrow down the data list by applying a filter to any column; the filter can be cleared using Clear filter.
Right-Click (Context Menu) Actions: Right-clicking a row displays the following options: Set [field] to null, Export selection, Clone row, Fill column from this row, Duplicate selected, Delete selected, Clear selection.
Export: Data can be exported in CSV, Excel (XLSX), SQL INSERT, SQL UPDATE, and SQL UPSERT (MERGE) formats.
Import: Data can be imported from CSV or Excel (.xlsx) files; Insert, Update existing, and Dry run modes are supported.
Preview SQL: Before saving, the SQL query corresponding to the changes made can be viewed as a preview (Preview SQL).