
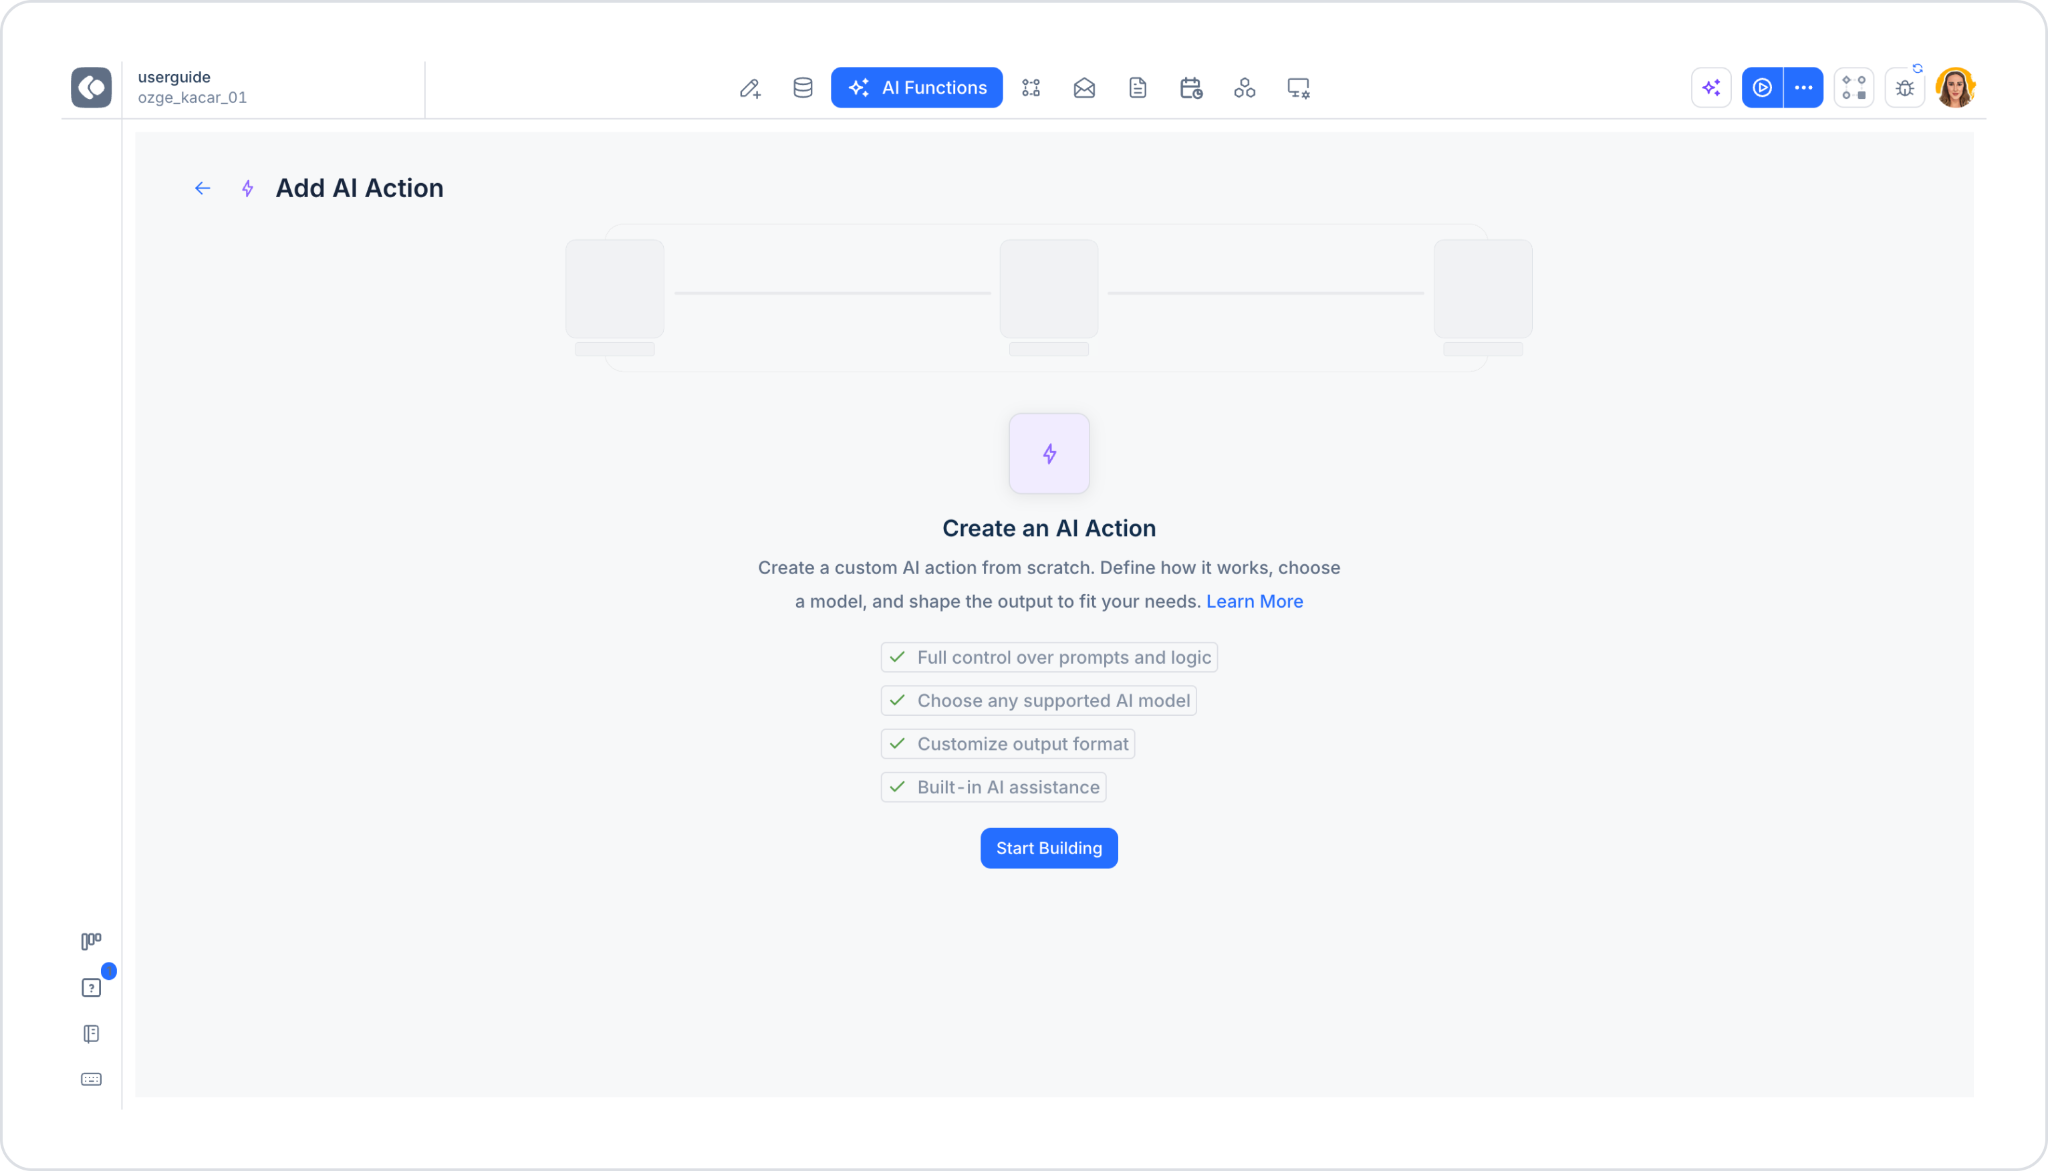
When you click the “Create from a blank” card, the “Create an AI Action” intro screen opens. On this screen:
You can create personalized AI actions using the “Custom” template. When you enter a description of the desired AI template, a template is quickly generated based on that description, and the necessary prompts are automatically filled in.
Editing Screen
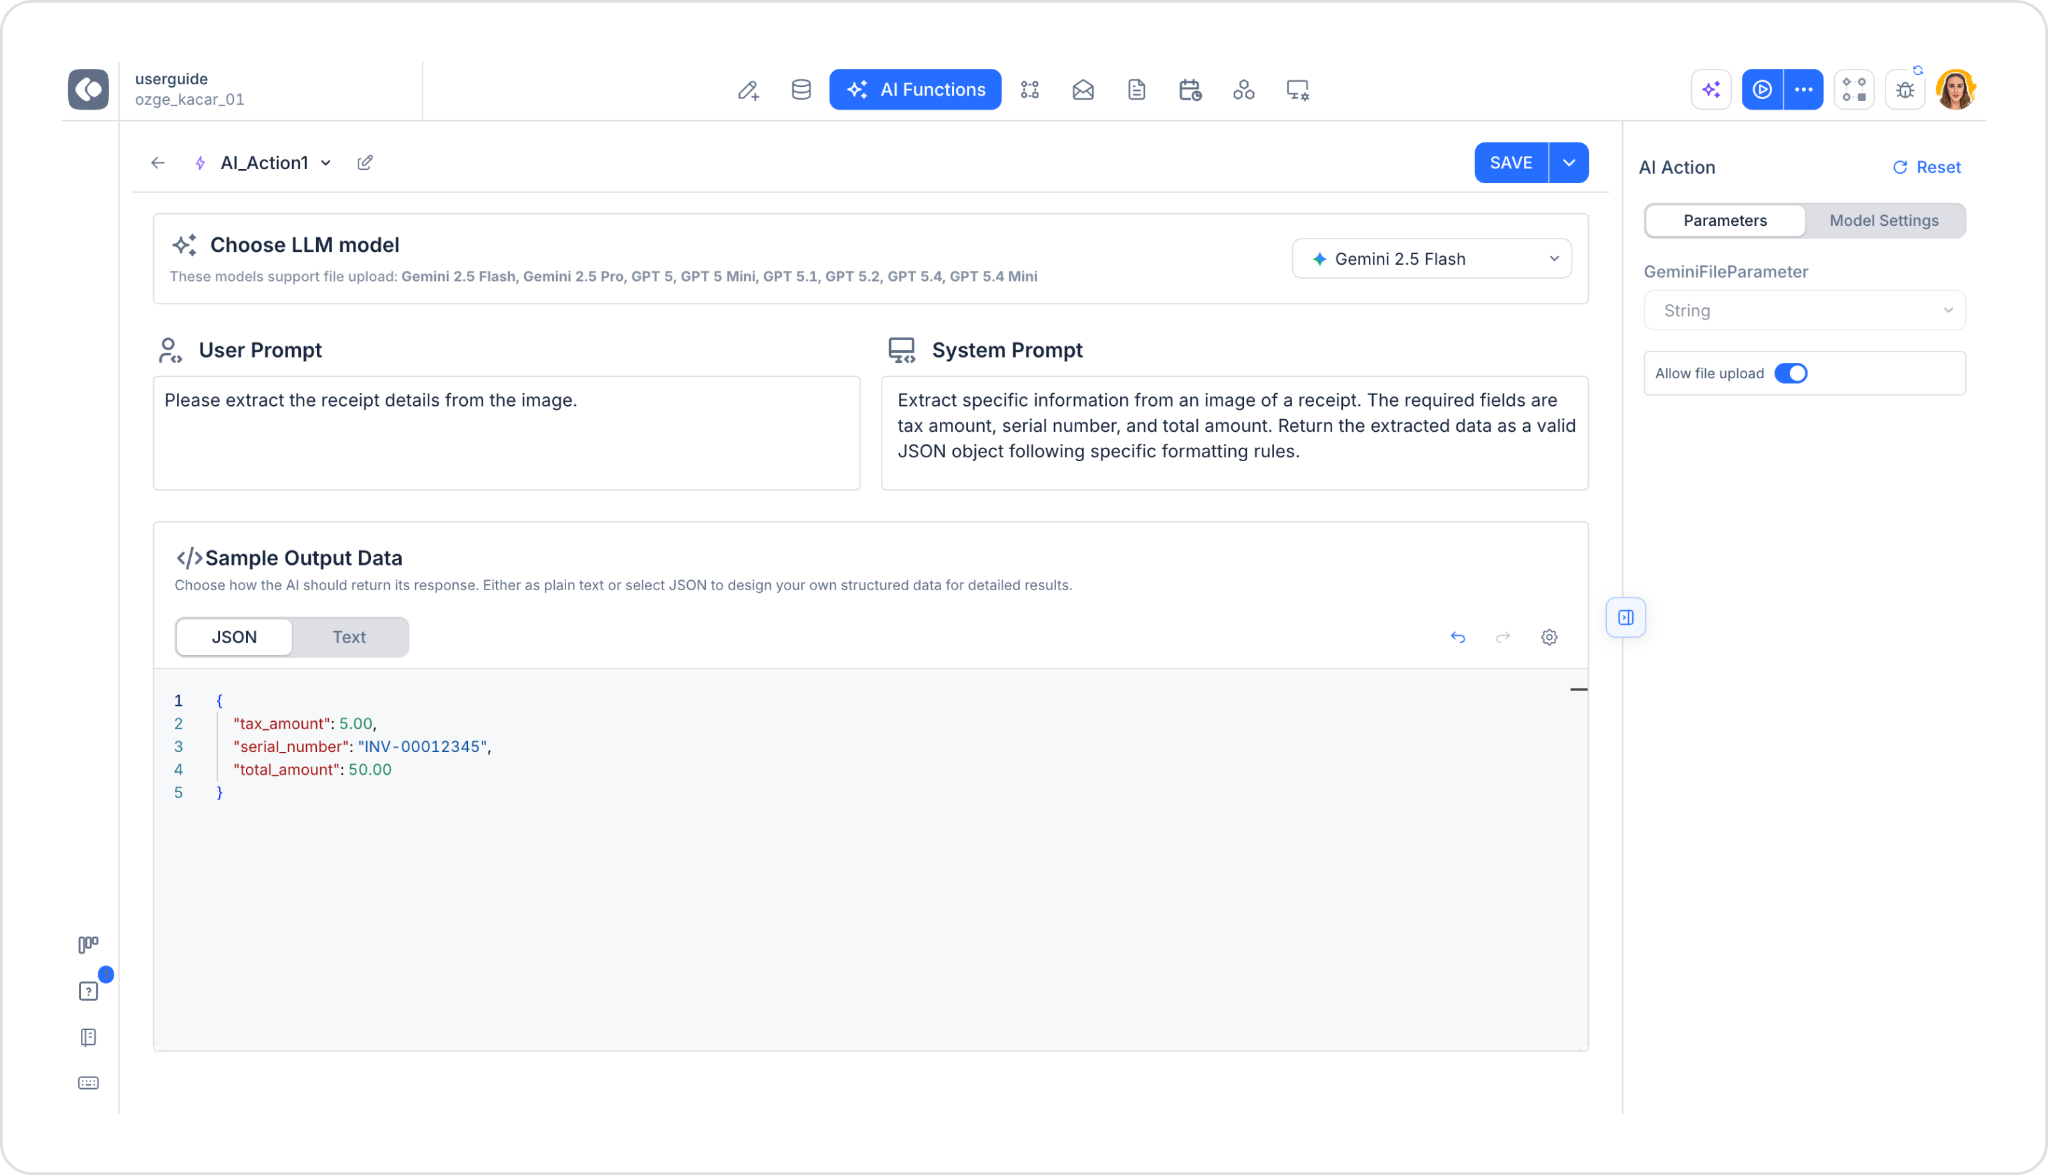
On the screen that opens after clicking “Start Building” (or when a template is opened via “EDIT”):
Choose LLM Model
Located at the very top of the screen. A note indicates which models support file upload: “These models support file upload: Gemini 2.5 Flash, Gemini 2.5 Pro, GPT 5, GPT 5 Mini, GPT 5.1, GPT 5.2, GPT 5.4, GPT 5.4 Mini.” On the right side is the model selection dropdown list (default: Gemini 2.5 Flash). The AI Actions data source includes GPT-5, GPT-5 Mini, GPT-5 Nano, GPT-5.1, GPT-5.2, GPT-5.4, GPT-5. 4 Mini, GPT-5.4 Nano, Gemini 2.5 Flash, Gemini 2.5 Flash Image, Gemini 2.5 Flash Lite, Gemini 2.5 Pro, GPT Image 1, and Veo 3.1.
User Prompt and System Prompt
These two fields are positioned side by side (User Prompt on the left, System Prompt on the right):
You are an AI Action assistant working in a low-code development environment (Kuika).Your task is to analyze the receipt/invoice image uploaded by the user, extract specific fields, and return them in a structured (JSON) format.Task Type: Information Extraction — Image-based structured data extractionInput:* {{receipt_image}} — The receipt/invoice image uploaded by the user (base64 or file reference)Fields to Extract:* tax_amount — The total tax/VAT amount specified on the receipt (numeric value only, without a currency symbol)* serial_number — The receipt’s serial number, invoice number, or financial document number on the receipt* total_amount — The final total amount paid (numeric value only, without a currency symbol)Rules:* Return only a valid JSON object; do not include any explanations, introductory text, or Markdown formatting (such as ```json).* If a field is not present on the receipt, set its value to null.* Return the `tax_amount` and `total_amount` fields as numbers (not strings), with a maximum of 2 decimal places.* Return the `serial_number` field as a string exactly as it appears on the receipt (including letters, hyphens, and leading zeros).* If the receipt contains multiple tax lines (e.g., different VAT rates), sum them into a single `tax_amount` value; however, if there is already a combined “Total Tax” line, use that value directly.* Do not make estimates or assumptions. Use `null` for unreadable or missing fields.Output Format:{“tax_amount”: <number or null>,‘serial_number’: “<string or null>”,“total_amount”: <number or null>}Sample Output:{“tax_amount”: 18.45,‘serial_number’: “FS-2026-004821”,“total_amount”: 205.00}Input/Output Format Description:* Input: A single image of a receipt or invoice (as a JPEG, PNG, or PDF page).* Output: A single-level JSON object containing three fields (tax_amount, serial_number, total_amount). It contains no additional fields, text, or descriptions; it is ready to be passed directly to the next AI Action step or data source.Sample Output Data
With the explanation “Choose how the AI should return its response. Either as plain text or select JSON to design your own structured data for detailed results,” the output format is selected from the JSON or Text tabs:
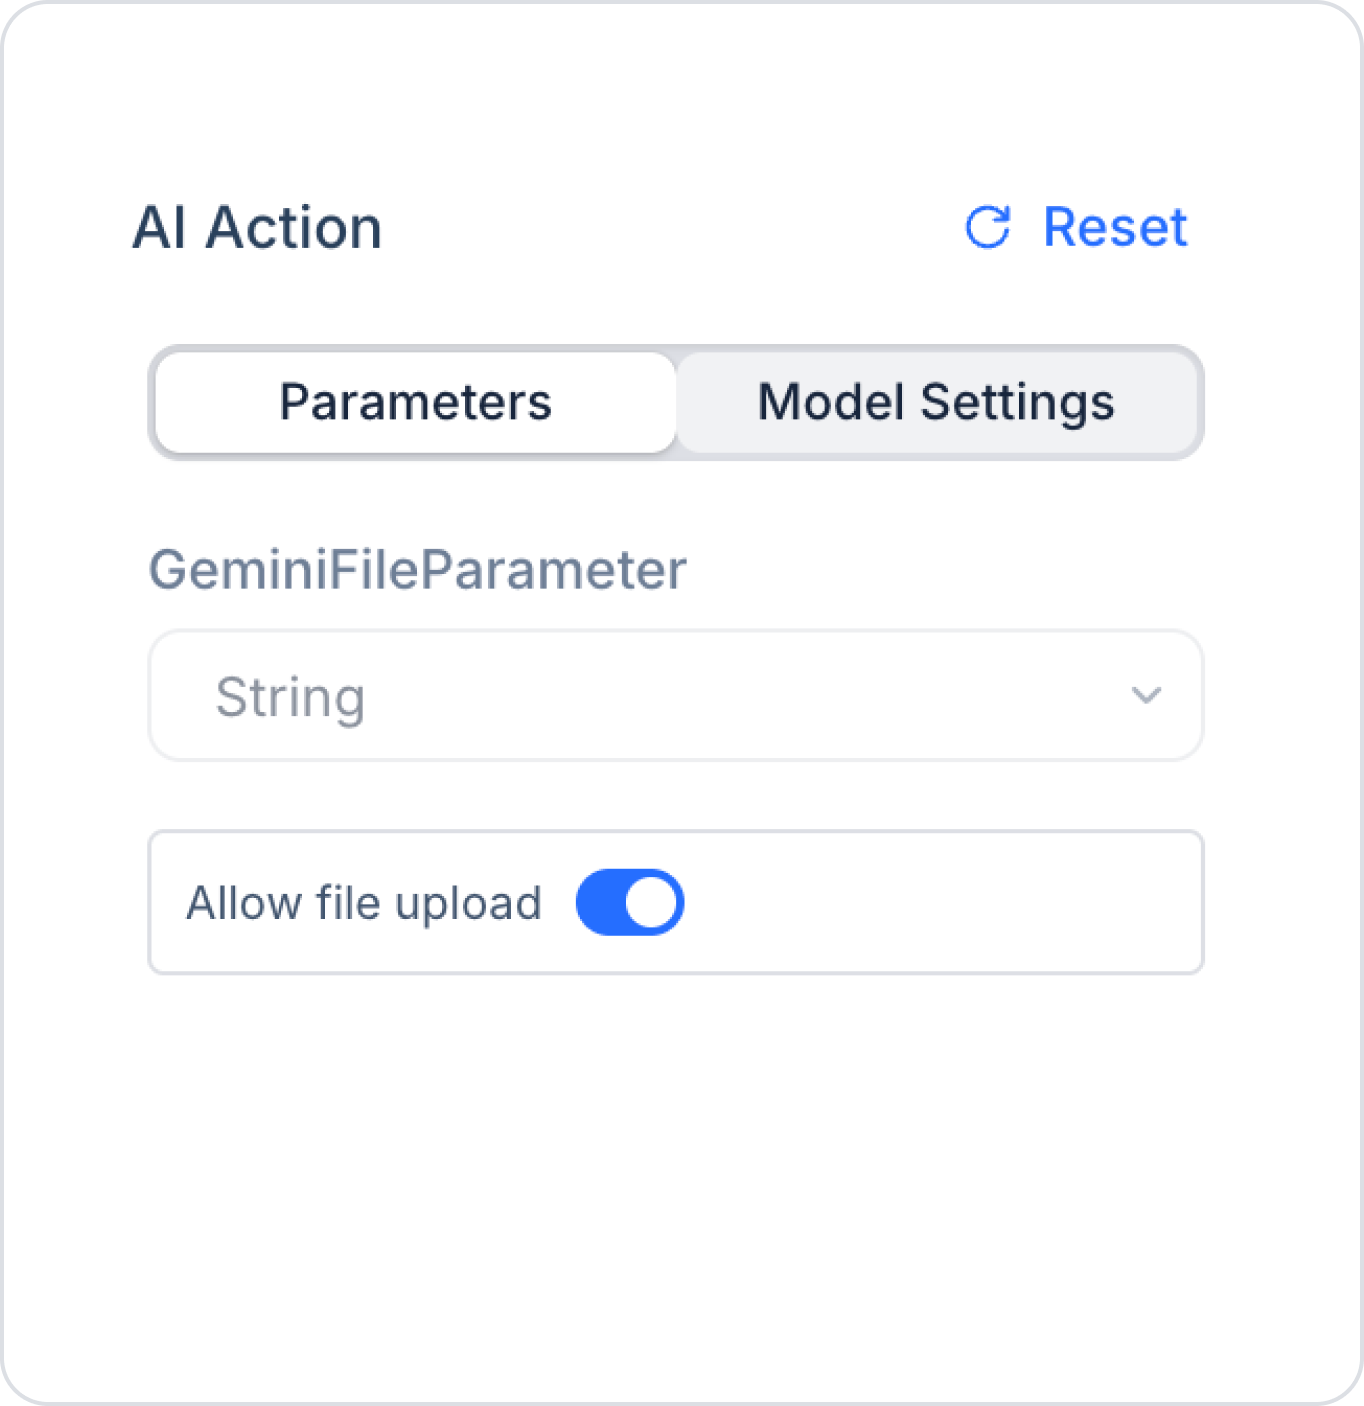
Right Panel — Parameters Tab
Parameters automatically provided based on the selected model are listed here:
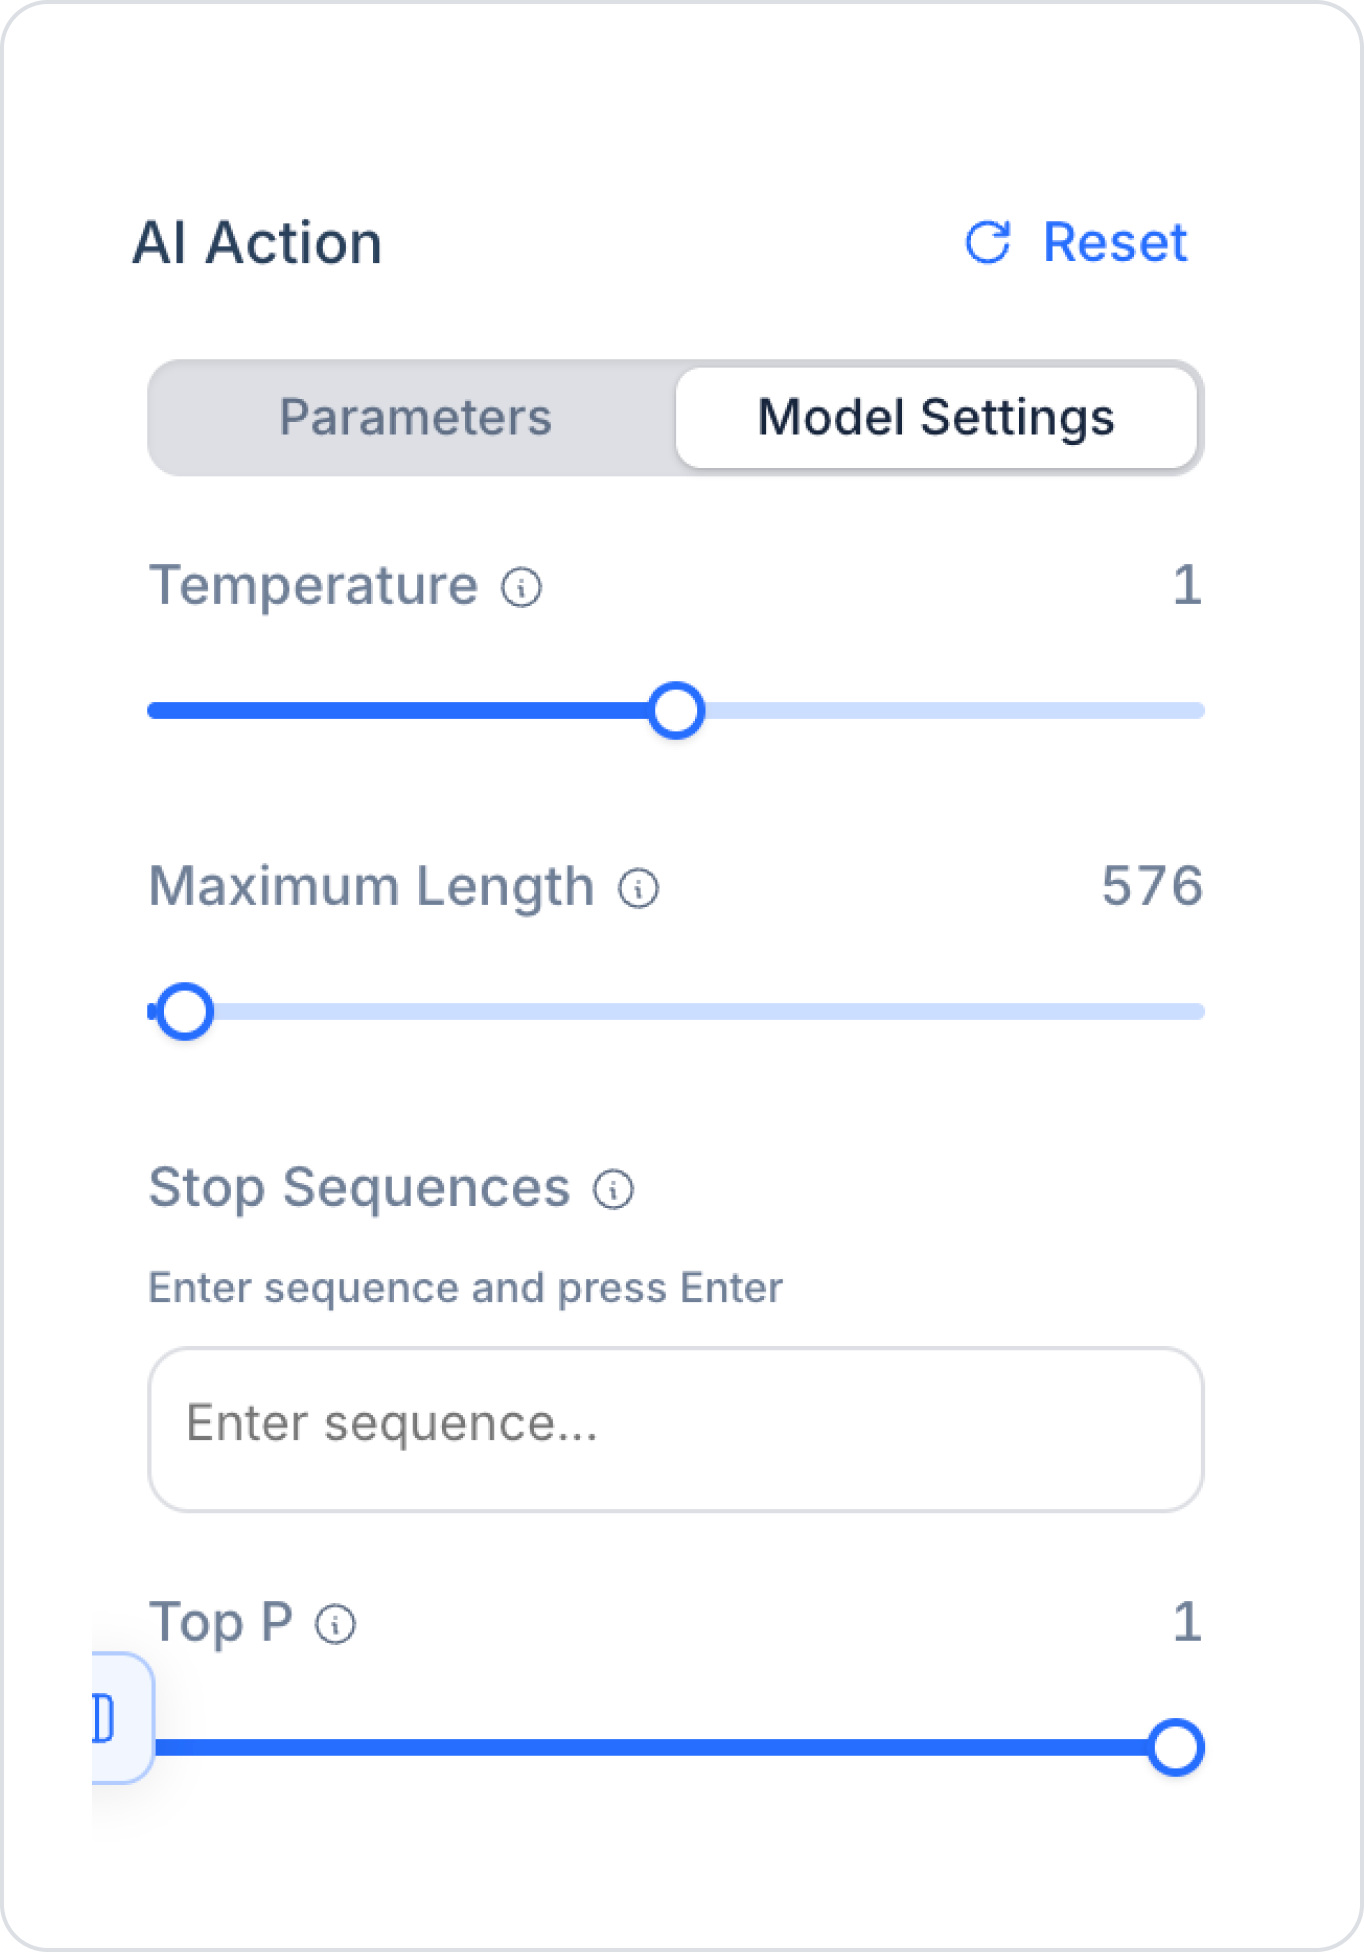
Right Panel — Model Settings Tab
Finally, click the SAVE button in the top-left corner to create your AI action.
After completing these steps, you can integrate AI-powered processes into your applications using Kuika AI Functions.
