
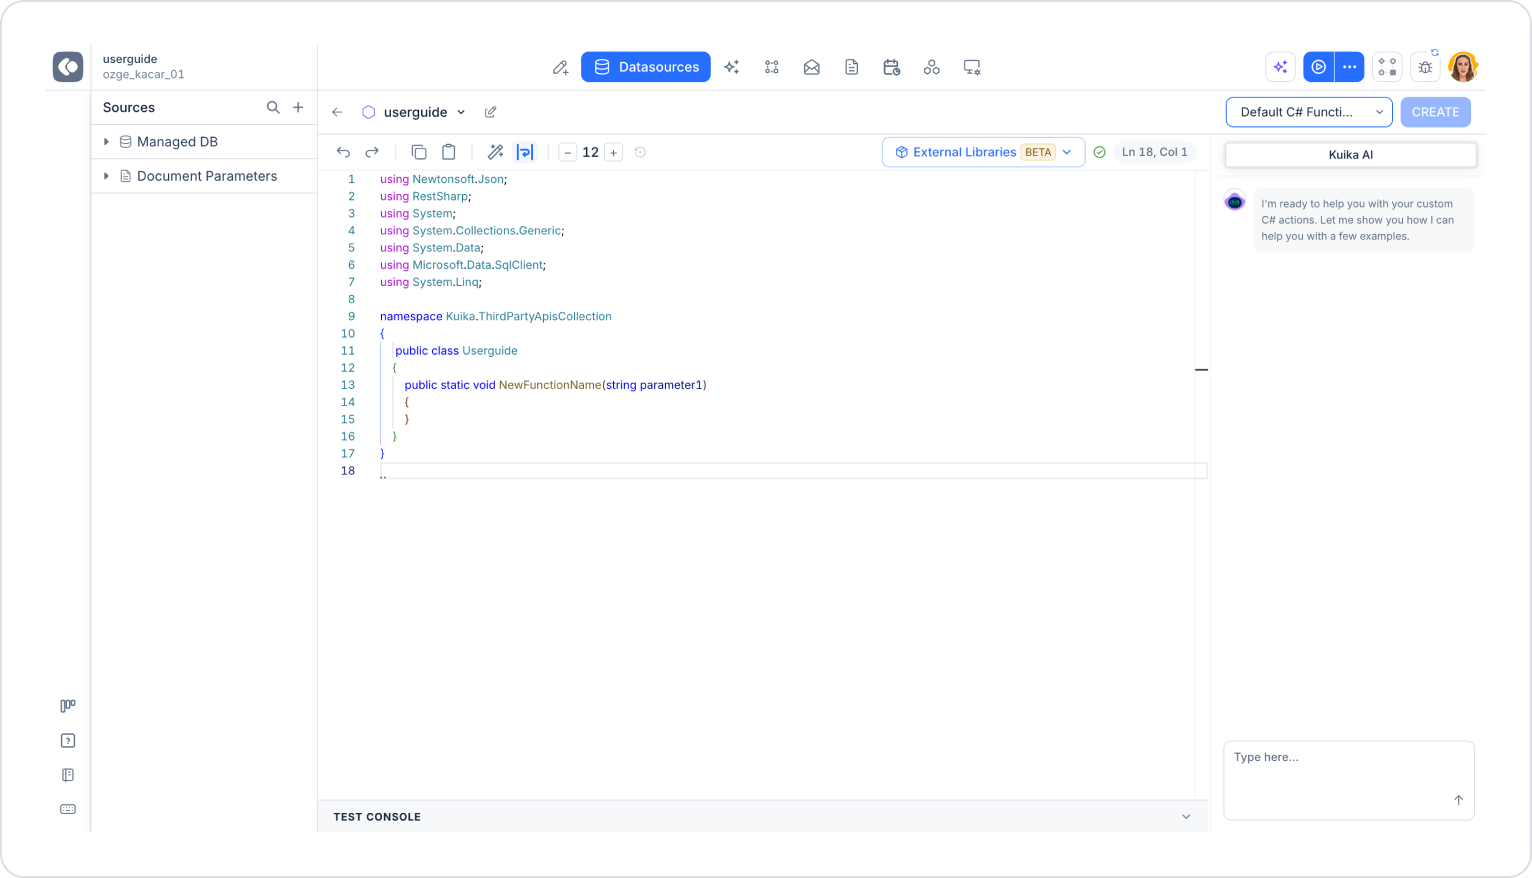
Action naming field: The name of the data source appears in the top-left corner. You can update the name using the pencil icon next to it. You can use English characters as well as the special characters “-” or “_” in the name.
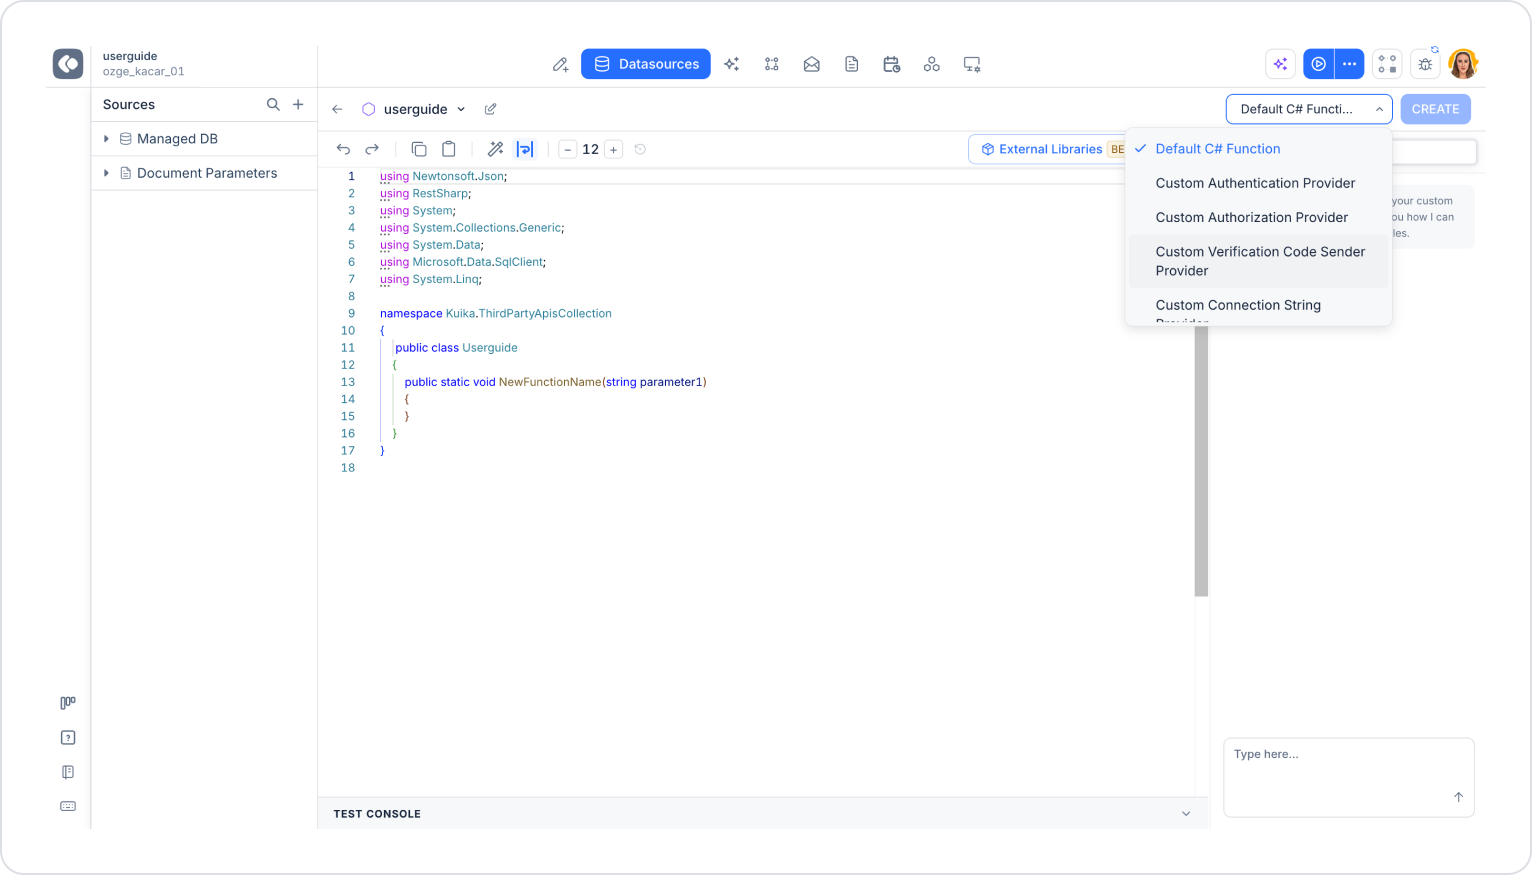
Template area: You can switch between predefined templates using the drop-down list in the top-right corner:
Editor toolbar: Includes options for undo/redo, copy/paste, code formatting (Tidy Up), line wrapping, and font size adjustment. On the right side, a checkmark indicating whether the code is valid and the cursor’s position (e.g., “Ln 18, Col 1”) are displayed.
Tidy Up: You can automatically align and format your code by clicking the formatting button on the toolbar. This improves the code’s readability.
External Libraries (BETA): You can add the NuGet packages you want to use in your action from this section. Clicking the button opens a two-tabbed panel:
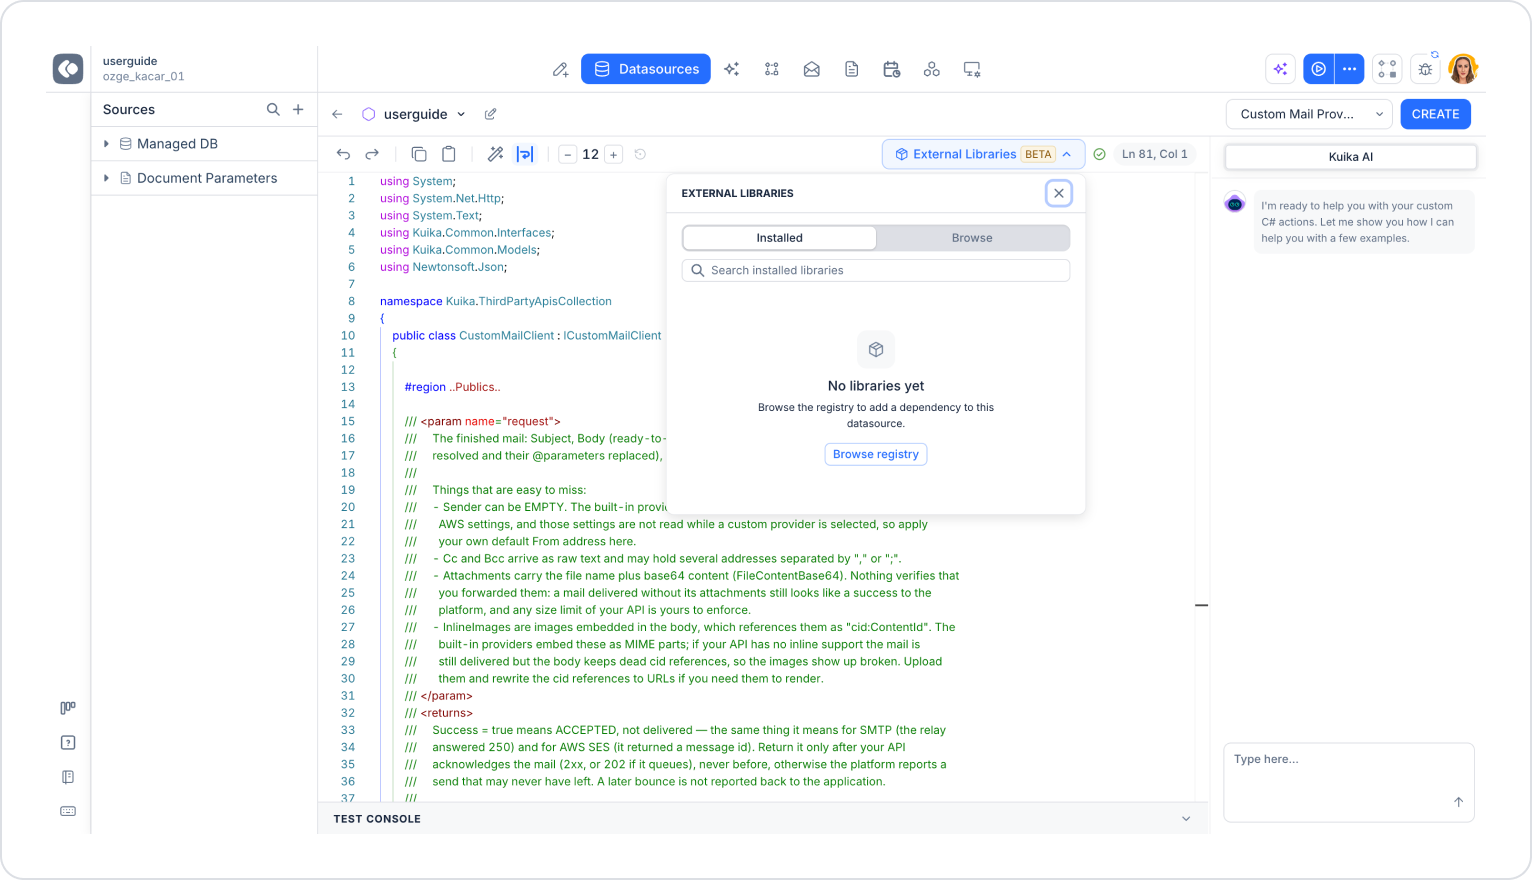
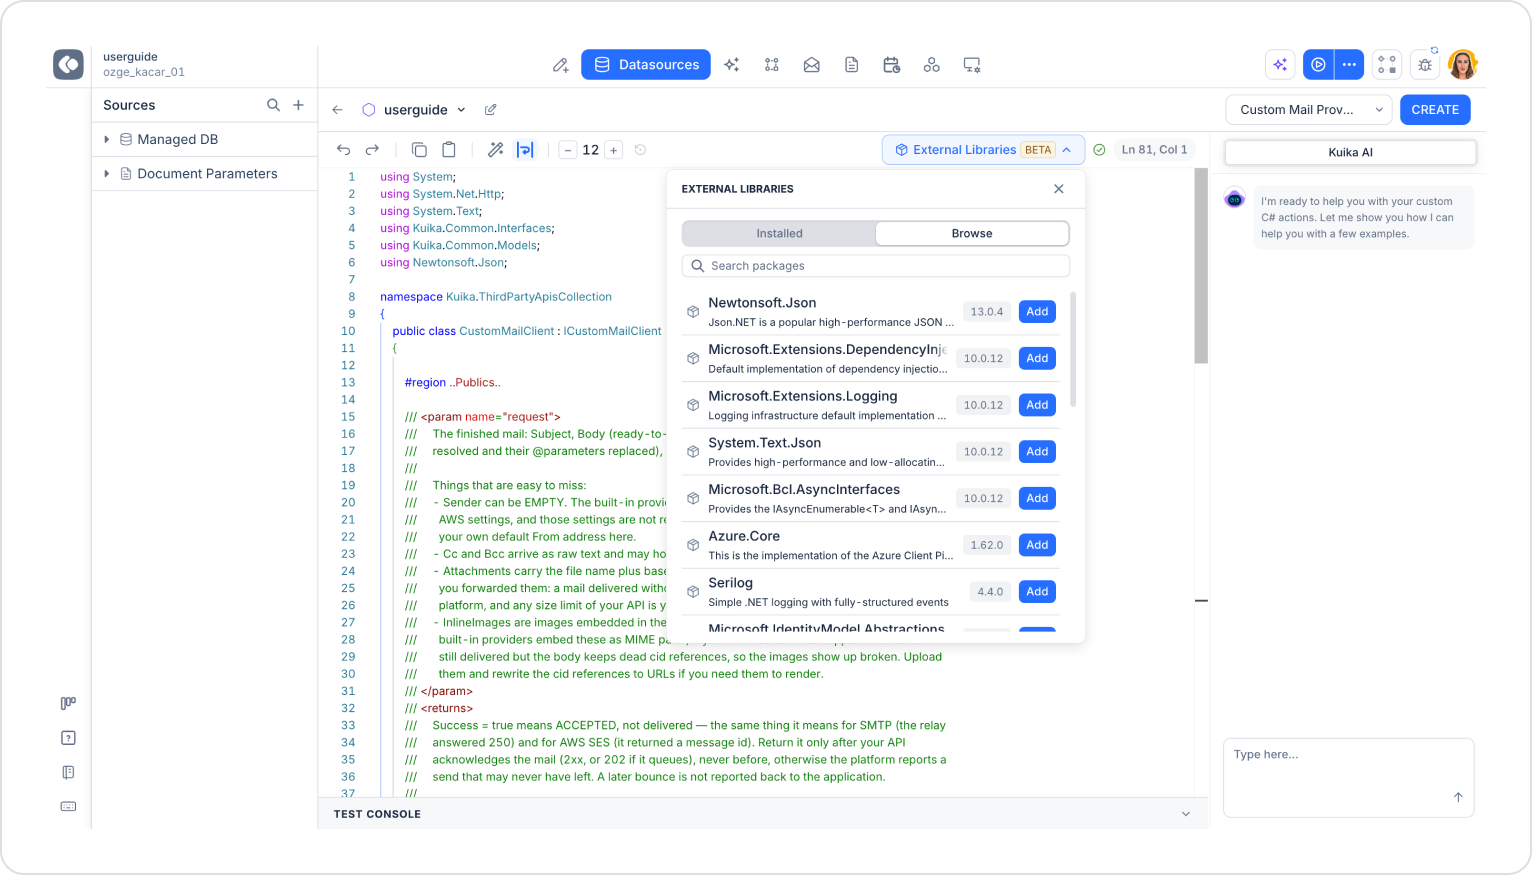
The libraries you add become available for use in your C# code. Paying attention to library versions is important for compatibility.
Kuika AI: You can create functions with AI support from the panel on the right side of the editor. (See Section 3)
Test Console: You can test your function by expanding the TEST CONSOLE area below the editor.
Saving Functions: After creating functions, you can save them by clicking the CREATE button in the top-right corner.
Creating C# Functions with Kuika AI
