Add a Data Source Connection to Your App with MQTT
Log in to the Kuika platform and open the project you’ll be working on from the Apps screen.
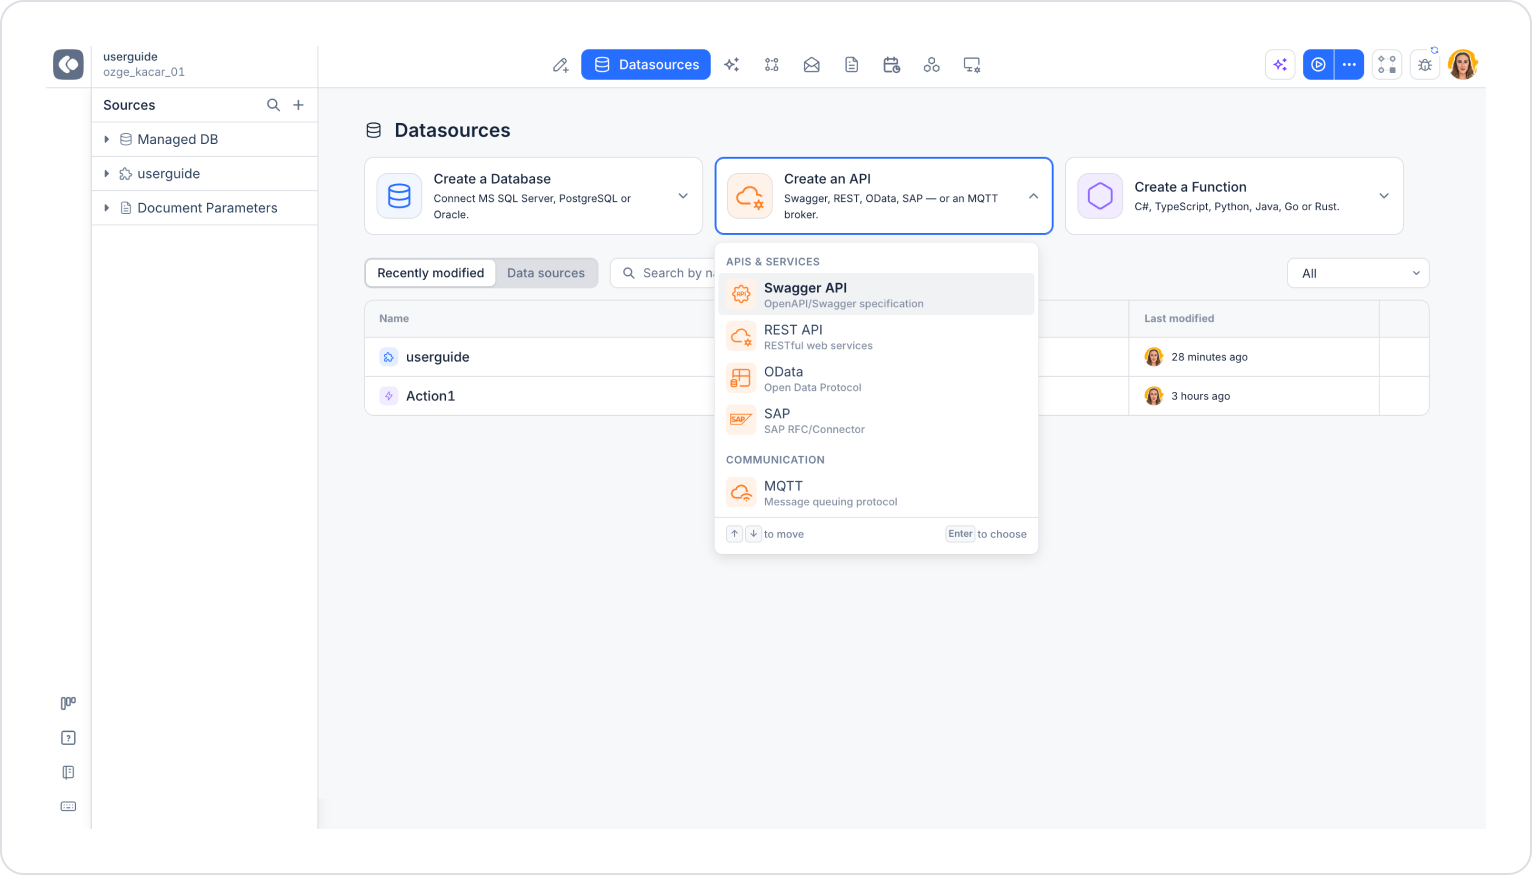
Open the Datasources module from the top menu. Here, you can view your existing data sources and actions under the Recently modified and Data sources tabs, search using the Search by name field, or add a new data source.
Click the Create an API card at the top of the screen. This card allows you to create Swagger, REST, OData, SAP, and MQTT broker connections.
In the list that opens, select the MQTT (Message Queuing Protocol) option under the Communication heading. You can use the ↑/↓ keys to navigate the list and the Enter key to make a selection.
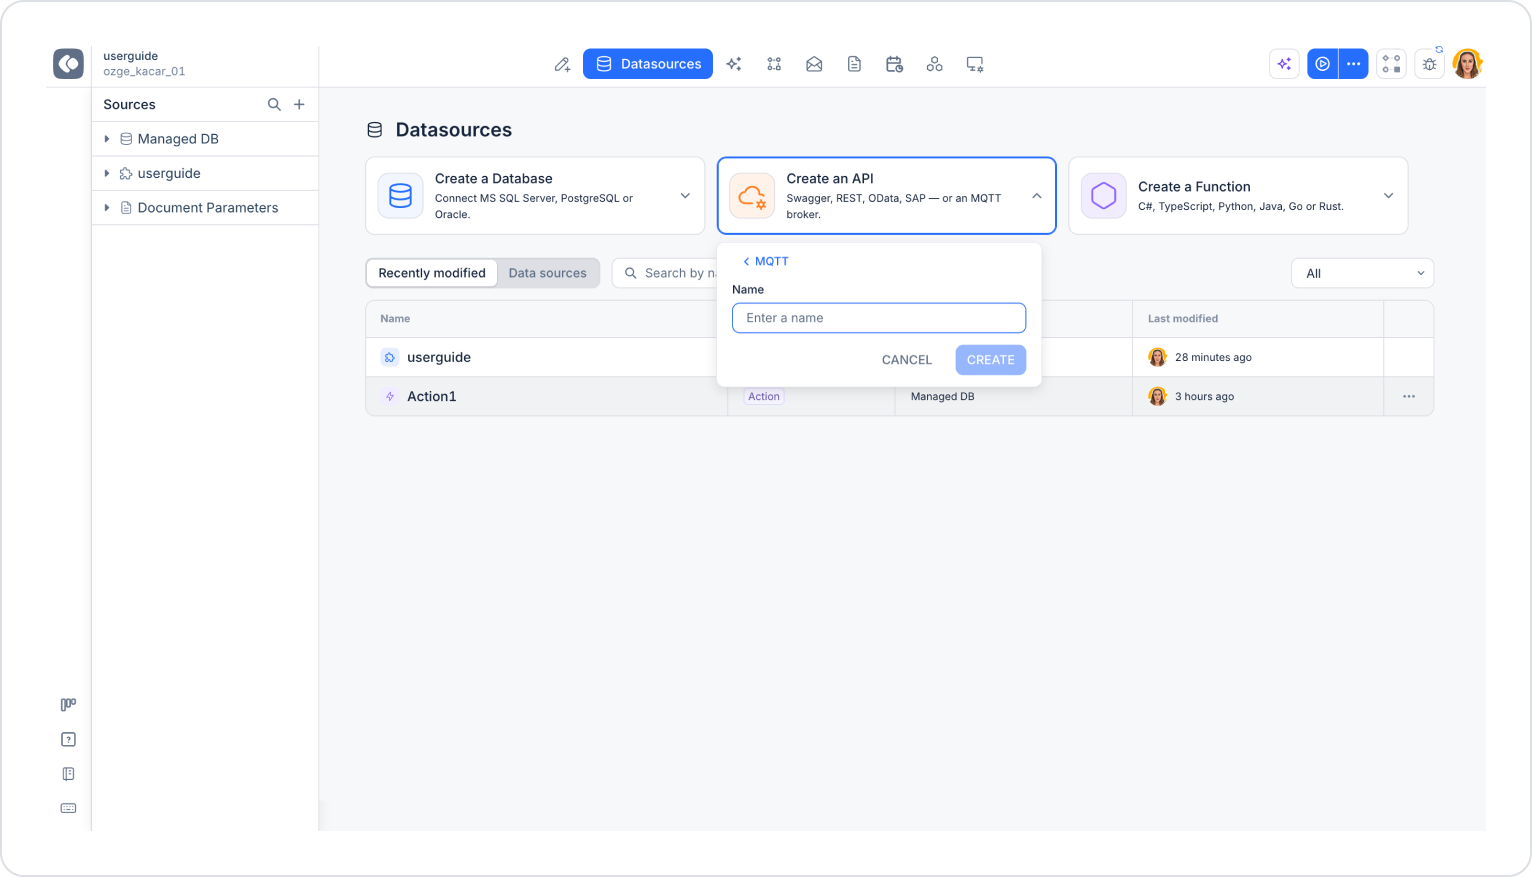
Enter a name for your data source in the Name field (e.g., userguidemqtt). The CREATE button remains disabled until a name is entered.
Click theCREATE button to complete the process. To cancel the operation, click the CANCEL button; to return to the connection type selection, use the < MQTT link.
Note: You can also start the process of adding a new data source by clicking the + icon next to the Sources heading in the left panel.
After these steps, the MQTT connection settings screen opens. If you do not have an MQTT broker yet, you can follow the HiveMQ Cloud steps below before entering your connection information.