Project Based User Management

Project Based User Management

Kuika's project-based user management allows you to organize the roles and access permissions of users in your projects in detail. By customizing users' permissions, you can make your project process more efficient. In this training content, you will learn how to manage users in your projects.
This training content consists of the following topics:

  • Add users in different roles to the project
  • Sharing the app with the workspace
  • Delete a user from the project
  • Handing over the project
Adding Users in Different Roles to a Project
  1. Log in to the Kuika platform and go to the Apps screen.
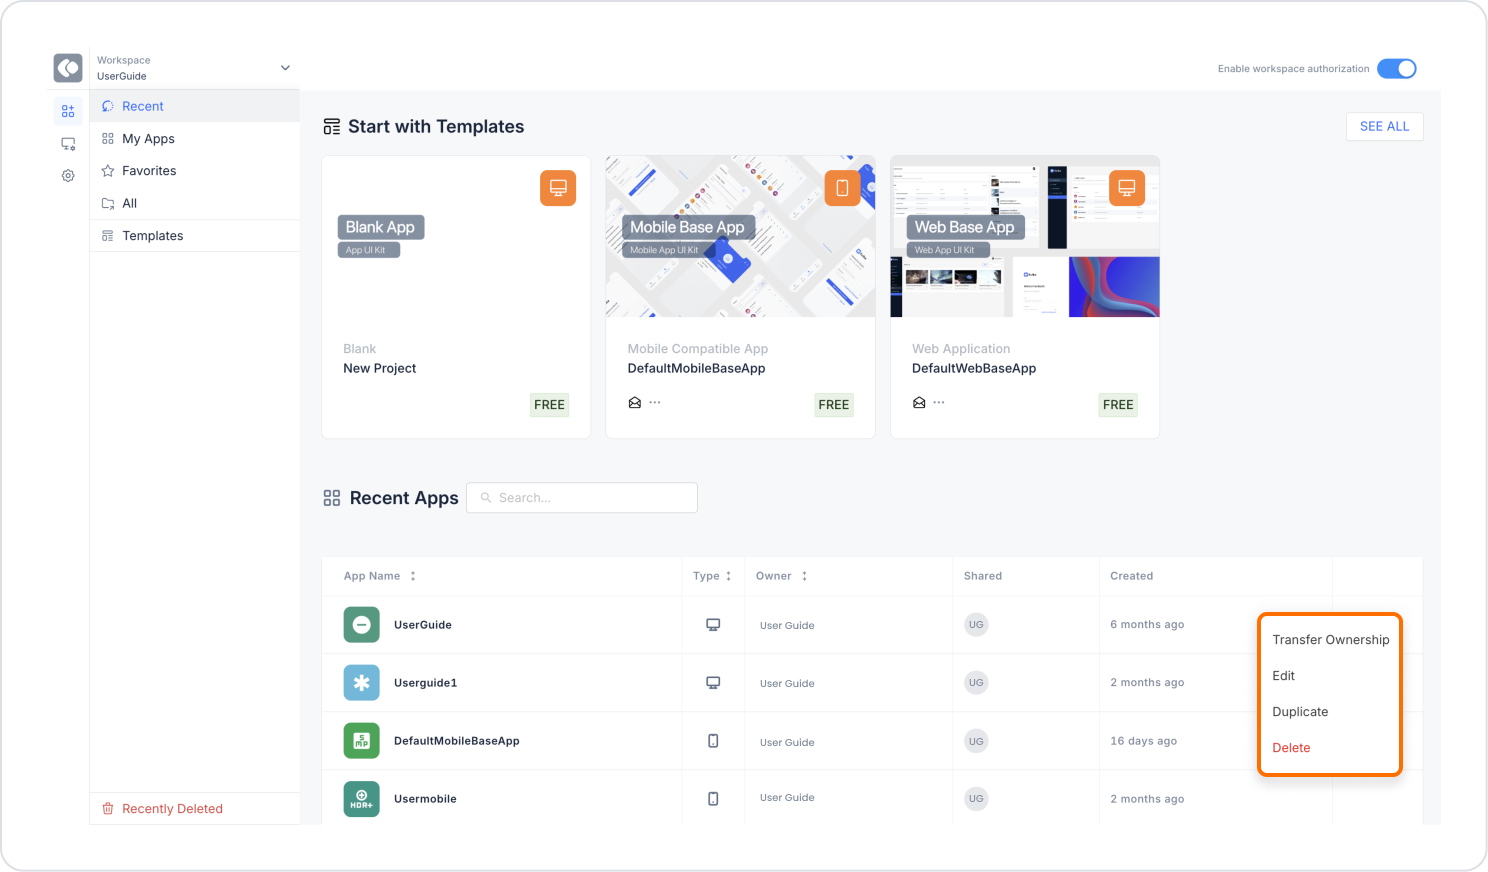
  2. Open the three-dot menu next to the project you want to add.
  1. Click on Edit.
  2. Go to the Share tab from the pop-up screen that opens.
  1. Select the user you want to add from the Add User drop-down list.
    • Each added user will have the Viewer role by default.
  2. Select the appropriate role from the drop-down menu next to the user name:
    • Viewer: Can only view the project.
    • Developer: Can use the Datasources, Workflow, Scheduled Jobs and Configuration Manager modules.
    • Designer: Only view these modules.
Sharing a Project with a Workspace
  1. Log in to the Kuika platform and go to the Apps screen.
  2. Open the three-dot menu next to the project you want to share.
  1. Click on Edit.
  2. Go to the Share tab from the pop-up screen that opens.
  1. Select Everyone in workspace from the Public Access drop-down menu.
    • In Restricted status, only designated users can access.
    • With Everyone in workspace, the project can be viewed by all users in the workspace.
Delete User From Your Project
  1. Log in to the Kuika platform and go to the Apps screen.
  2. Open the ellipsis menu next to the project with the user you want to delete.
  1. Click on Edit.
  2. Go to the Share tab from the pop-up screen that opens.
  1. Open the drop-down menu next to the user you want to delete and select Remove User.

Handover Project
  1. Login to the Kuika platform and go to the Apps screen.
  1. Activate the Enable workspace authorization option in the upper left corner.
  2. Open the three-dot menu next to the project you want to transfer.
  1. Click on the Transfer Ownership option.
  2. In the pop-up screen that opens, enter the name or e-mail address of the user to whom you will transfer the project.
  3. After specifying the new owner, complete the transfer by clicking the CONFIRM OWNERSHIP TRANSFER button.

By following these steps, you can transfer your projects to the users you want and provide effective management in your workspace.

Other Related Content

No items found.

Glossary

No items found.

Alt Başlıklar