User Manual

Photo Take

19/12/25
Photo Take

Kuika's Photo Take action allows you to take photos using your device's camera and use them within the application. Users can take instant photos through the application, save the captured images directly to the system, or share them.

Technical Features

  • Camera Usage: Ability to take photos using the front or rear camera of the device.
  • Photo Editing: Option to edit photos taken.
  • Photo Quality: Ability to adjust the quality of photos taken.
  • Web and Mobile App Support: Works on both web and mobile apps.

Photo Take Action Application Steps

  1. Open your project on the Kuika platform.
  2. Go to the UI Design module and select the screen where you want to integrate the photo taking feature.
  3. Create a button or other element that will trigger photo capture.
  1. Select the relevant element and add the Device > Photo Take action from the + ADD ACTION menu according to the desired trigger event (Initial Actions, OnClick, OnBlur, etc.).

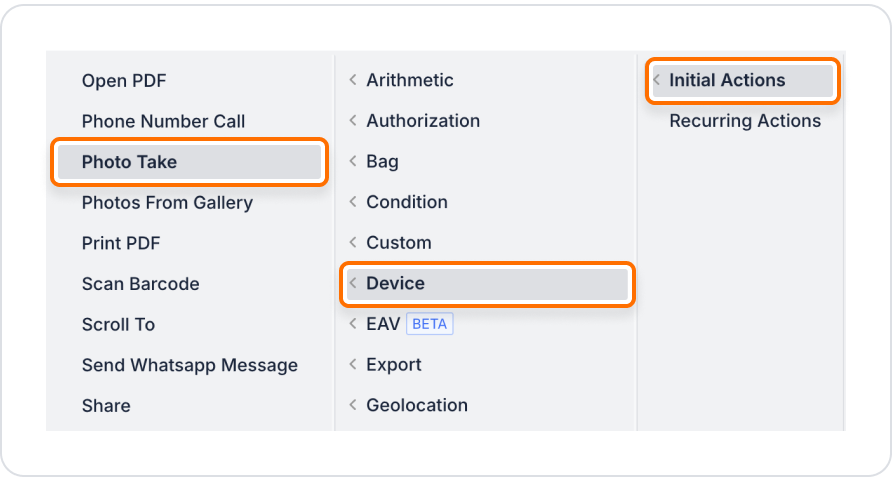
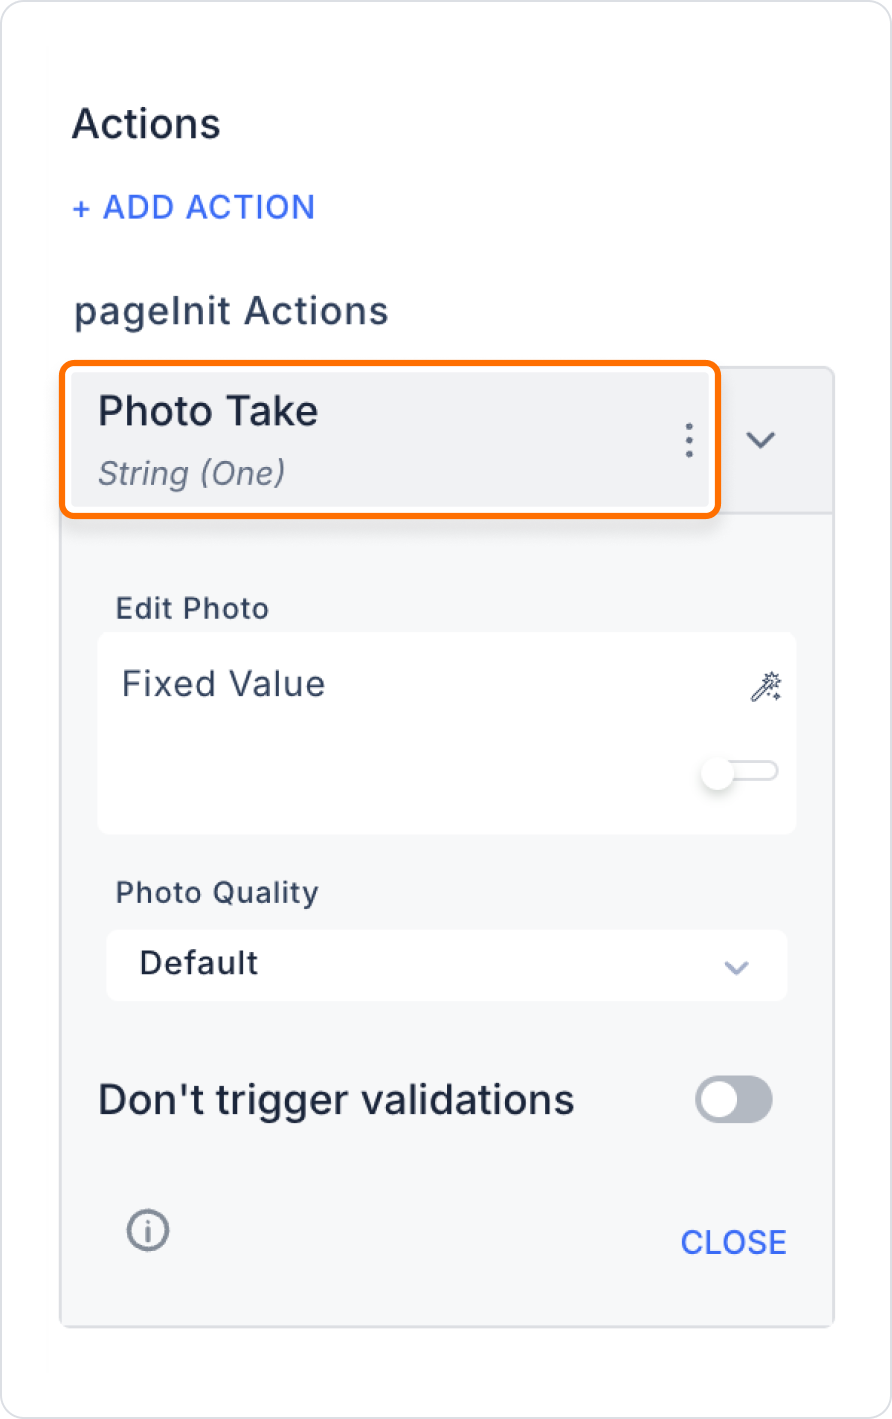
Configure Action Parameters

  • Edit Photo: Enables editing after the photo is taken (can be set to active or inactive).
  • Photo Quality: Specify the quality of the photo taken (e.g., low, medium, high).
  • These parameters can be defined as fixed or dynamically via the Symbol Picker.

Photo Take Action Advanced Customisations

  • Preview and Confirmation: After the photo is taken, you can add options to preview, retake, or confirm the photo.

Technical Risks

  • Camera Access Permissions: The action will not work if the user does not grant access to the device camera.
  • Performance and Compatibility: Photo capture and editing may be slow on low-end devices.
  • Browser Restrictions: Some browsers may restrict or not support camera usage in a web environment.

The Photo Take action is a powerful tool in the Kuika platform that allows users to easily take photos from within the app, enhancing engagement and user experience.

Other Related Content

No items found.

Glossary

No items found.

Alt Başlıklar