User Manual

How to Execute RPA Process Using Robotic Process Automation Action?

30/7/25
How to Execute RPA Process Using Robotic Process Automation Action?

Robotic Process Automation (RPA) is a technology used to automate repetitive and rule-based tasks in business processes. RPA performs certain tasks through “software robots” without the need for human intervention. It performs operations such as data entry, information collection, document processing and analysis quickly and efficiently.

In this training content, you will learn how to make your automation processes more functional by installing the UI.Vision RPA plugin in your browser and using C# integration in a Kuika project.

This training content consists of the following topics:

  • Key features of RPA
  • UI.Vision RPA plugin
  • Adding a C# data source to a project
  • Defining a C# function as an action in Kuika project

Key Features of RPA

Important features of how RPA works are as follows:

  • Rule-Based Structure: RPA performs systematic tasks that work within the framework of specific rules. For example, it can manage data entry in a specific format or send an e-mail in a specific situation.
  • Working with User Interface: Instead of directly integrating with software applications, RPA emulates a user's screen interactions. Thus, it performs operations with mouse and keyboard commands.
  • Speed and Efficiency: Software robots work 24/7, speeding up processes and increasing operational efficiency.
  • Flexibility and Scalability: RPA can be easily adapted to different business processes and scaled according to the needs of companies.

UI. Vision RPA Plugin

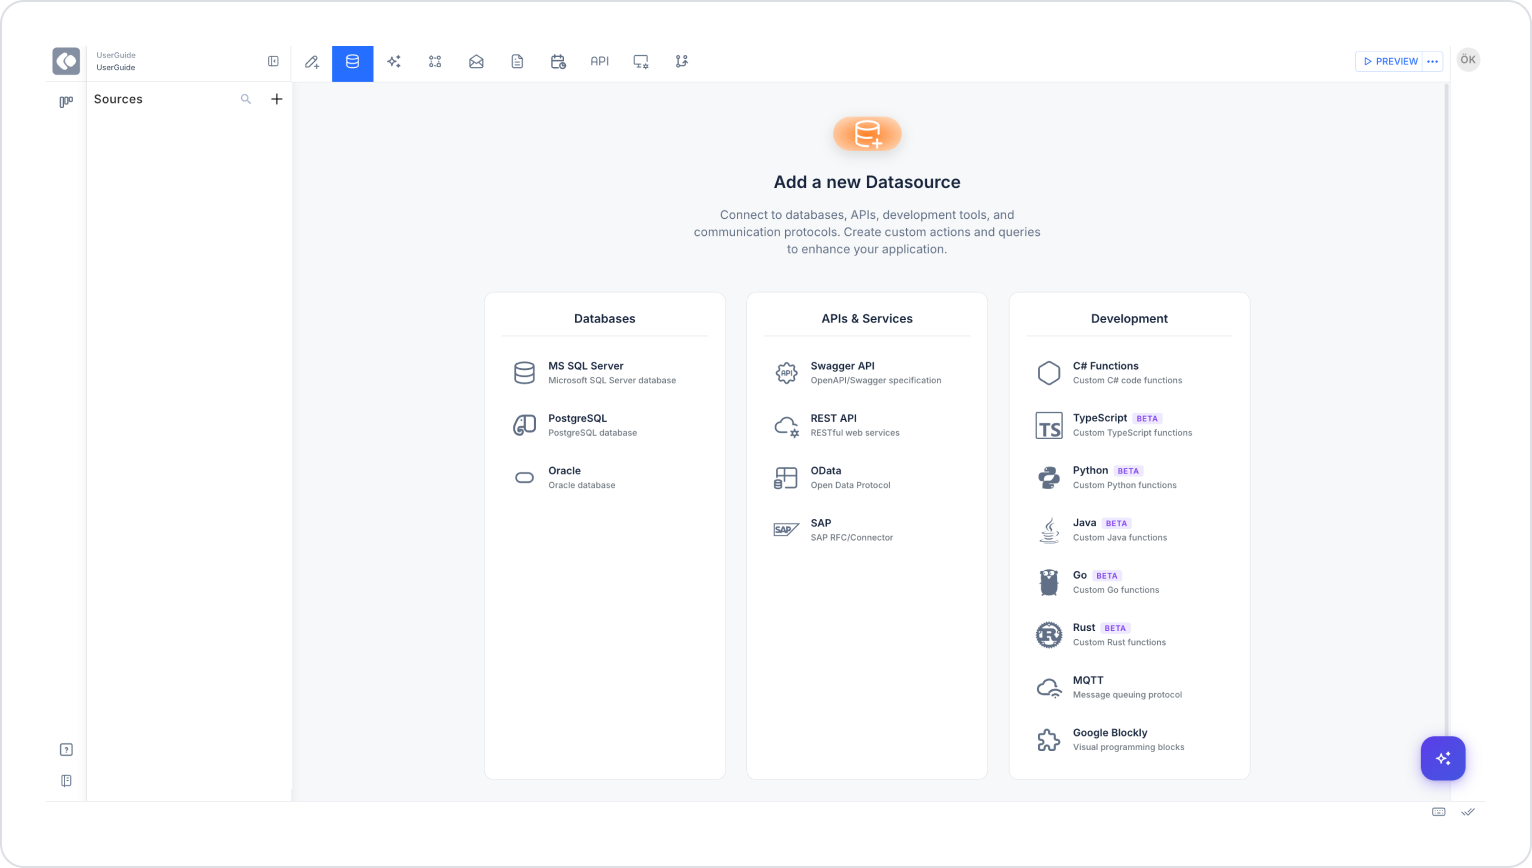
Install UI.Vision RPA Plugin

  1. Add the UI.Vision RPA plugin to your browser. This plugin allows you to save and rerun browser-based automation tasks.
  1. Open the website you want to automate on (for example, Google Forms).

Create a New Macro

  1. Open the UI.Vision RPA plugin.
  2. Create a new macro by clicking the +Macro button.
  3. Give the macro a meaningful name (for example, “FormsUserGuide”).

Record Operation

  1. Start recording transactions by pressing the Record button.
  2. On the website, perform actions that will be performed automatically (for example, form filling or clicks).
  3. Stop recording by pressing the Stop Record button.

Creating Data Source Connection and Custom Action with C#

  1. Log in to the Kuika platform and open the project you will work on from the Apps screen.
  2. Select the Data Sources module. Here you can view existing data sources, actions and tables or add a new data source.
  3. Click the + icon next to the Sources heading.
  1. Select the C# data source, give it a name and choose the method to use.
  2. Create the data source by clicking the CREATE button.

Define a C# Function as an Action in your Project

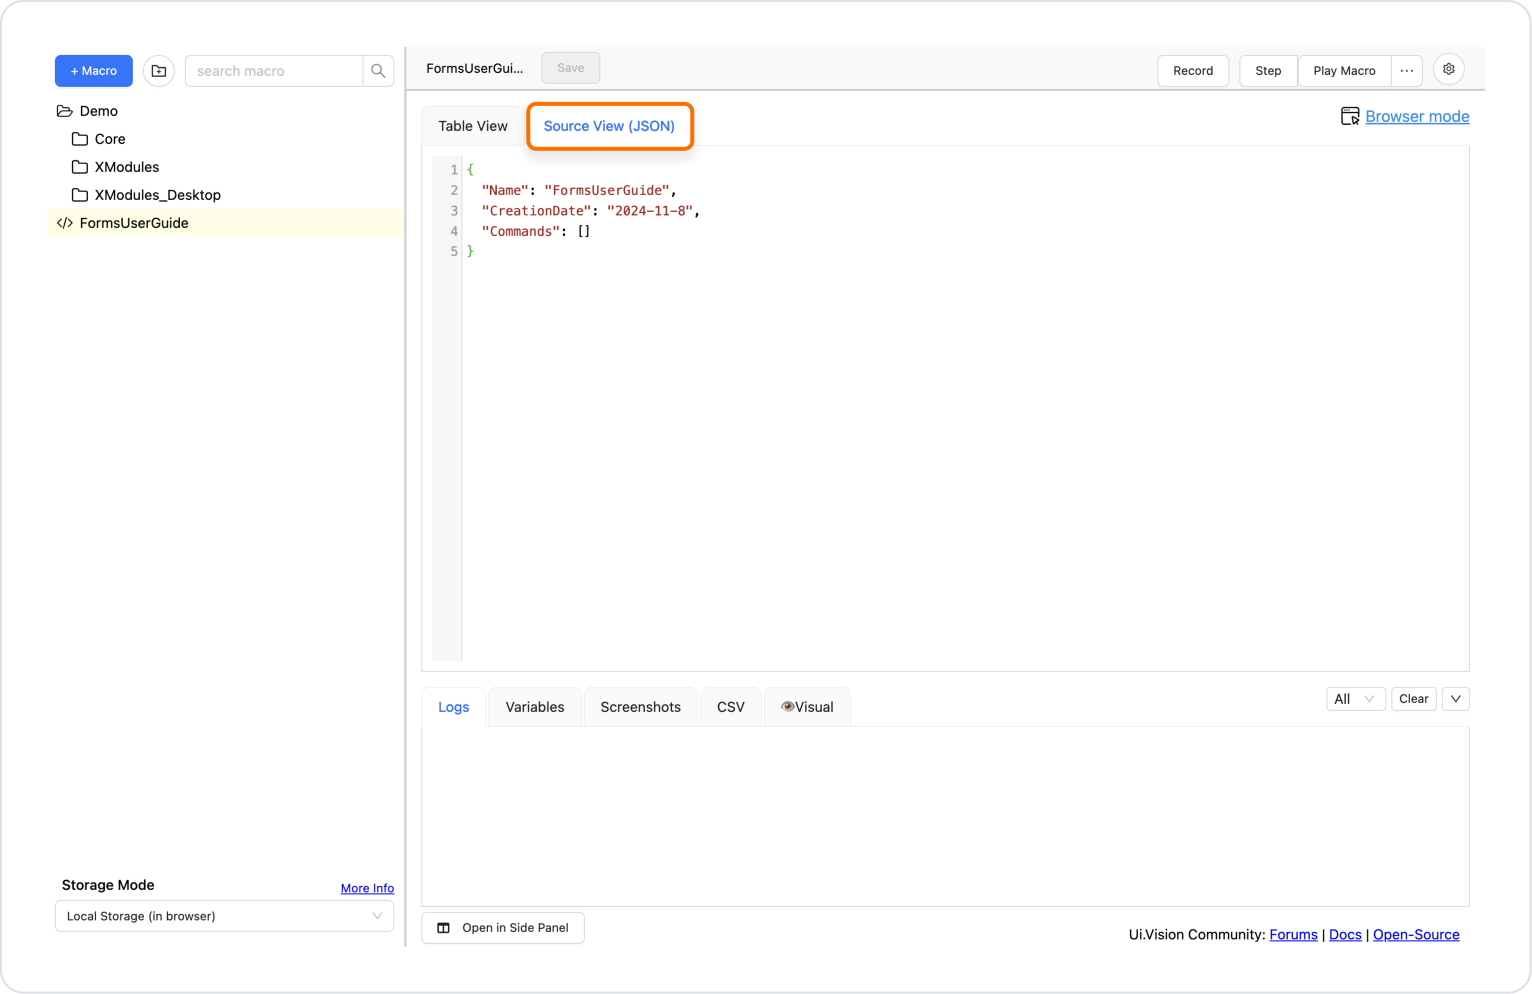
View Macro Recording in JSON Format

  1. Click the Source View JSON button in the UI.Vision plugin.
  2. Copy the resulting JSON format record.

Include Stringified JSON Data in a C# Function

  1. Assign stringified JSON data as a variable inside the C# function you created in your Kuika project:
string macroData = “stringified JSON data will go here”;
  1. You can organize the data according to your needs and manipulate the operations in it.

Define a C# Function as an Action

  1. Add a Button from the Elements panel in the UI Design module.
  2. Set the C# function you wrote as the onclick action of the button.
  3. Run the UI.Vision Macro: Call the Run UI Vision Macro function at the end of the function.
  4. Bind the Stringified Macro parameter to the Action Result of your C# function.

Once this is done, you can click a button in your Kuika project to trigger your UI.Vision macro and perform your automated actions. This structure provides a powerful automation solution, especially for easily managing repetitive browser operations.

Glossary

No items found.

Alt Başlıklar