
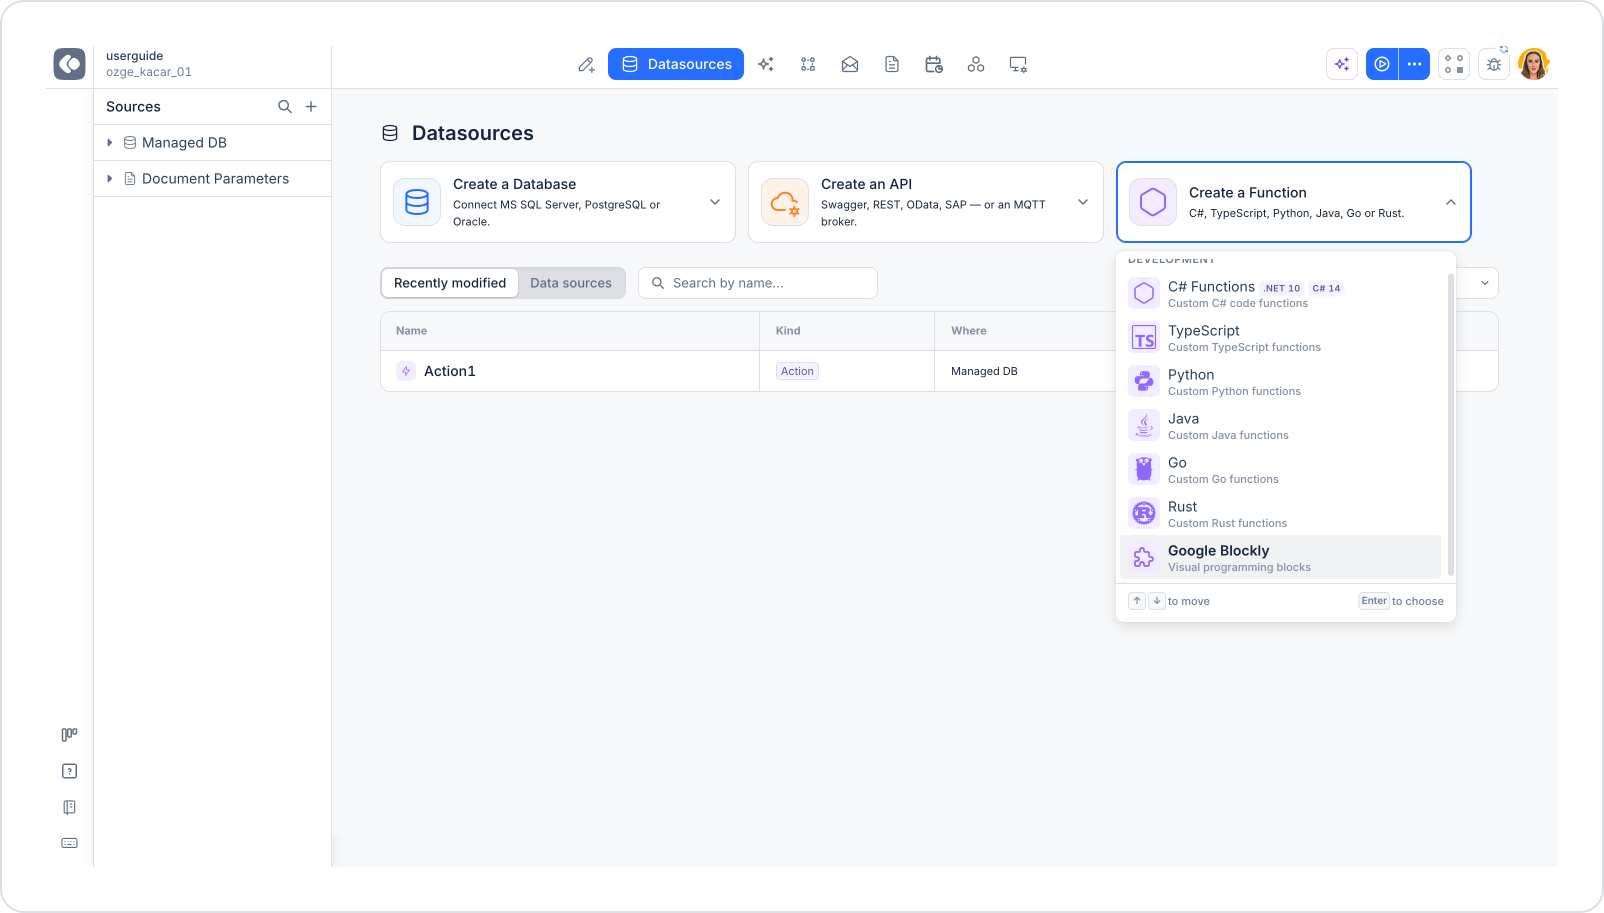
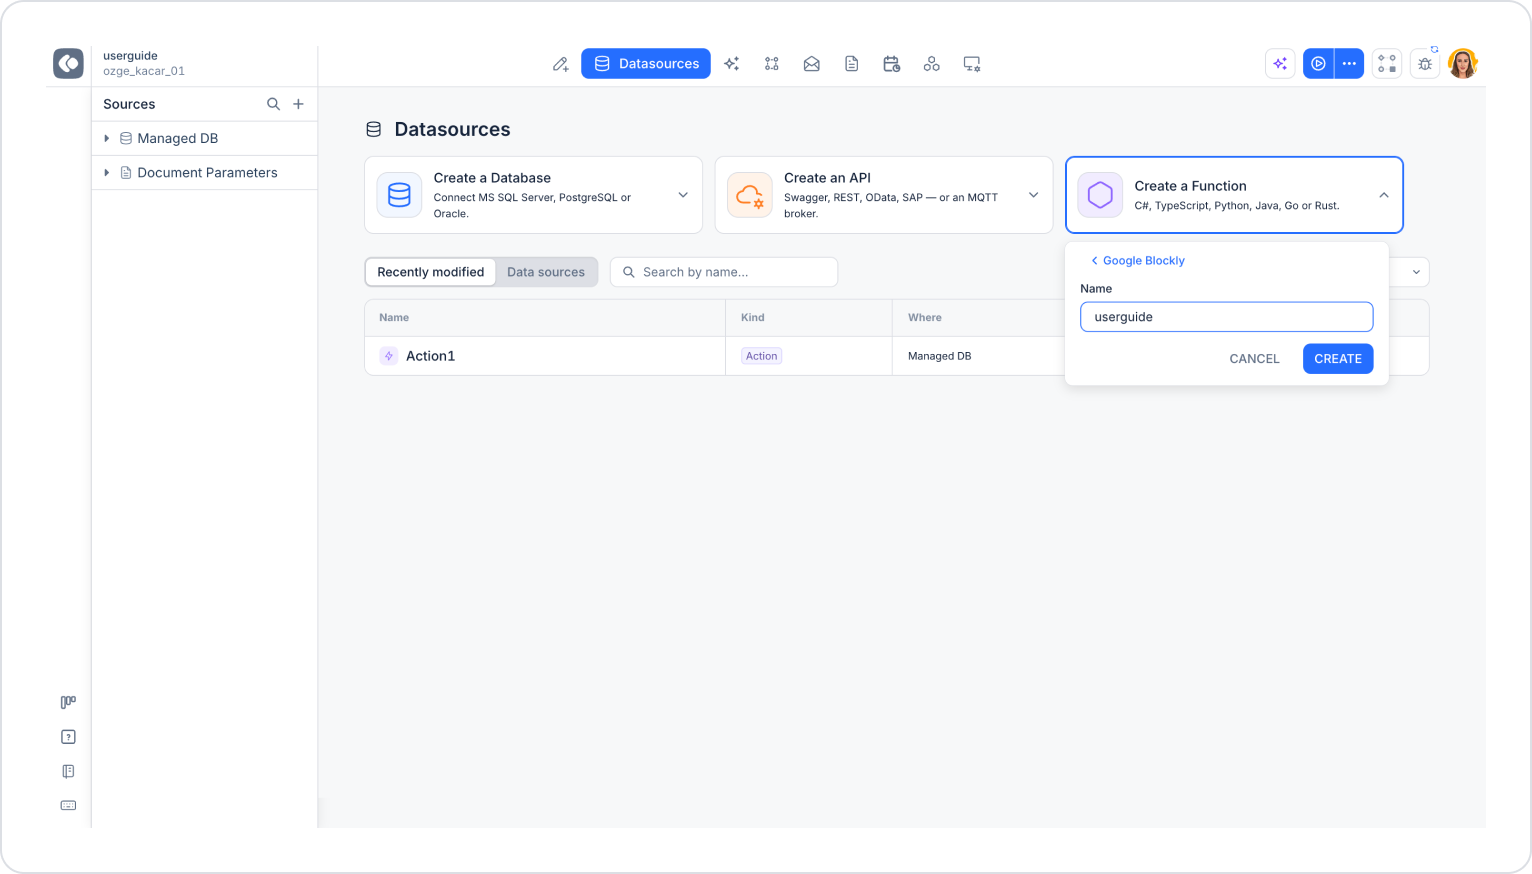
The data source you created is added to the Sources list in the left panel, and the Google Blockly editor opens.
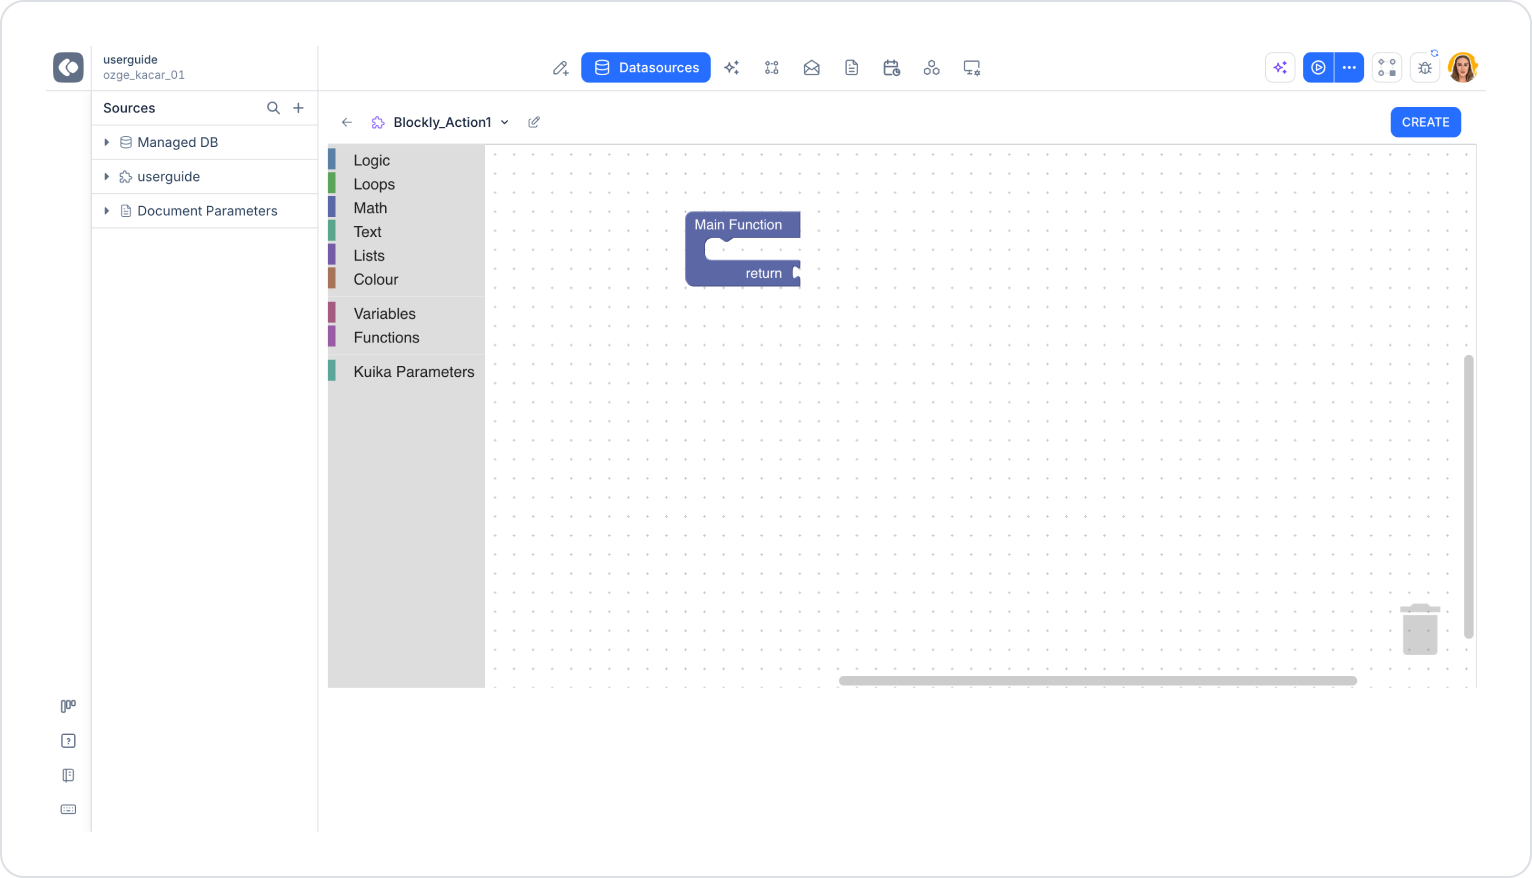
Top area: The name of the action (Blockly_Action1 by default) appears in the top-left corner. You can change the name using the pencil icon next to it, or return to the Datasources screen using the back button (←) on the left. The CREATE button in the top right saves the action.
Block categories: The categories into which blocks are grouped are listed on the left side of the editor: Logic, Loops, Math, Text, Lists, Color, Variables, Functions, and Kuika Parameters. When you click a category, the blocks in that category are displayed.
Workspace: This is the dotted area where you drag and drop blocks. By default, the Main Function block is located in the workspace. Place the blocks that the action will execute inside this block; connect the value that the action will return to the block’s return input.
Trash can: Blocks dragged into the trash can in the lower-right corner are deleted.
Steps for creating a function with blocks:
