User Manual

Year Picker Usage Scenario

Year Picker Usage Scenario

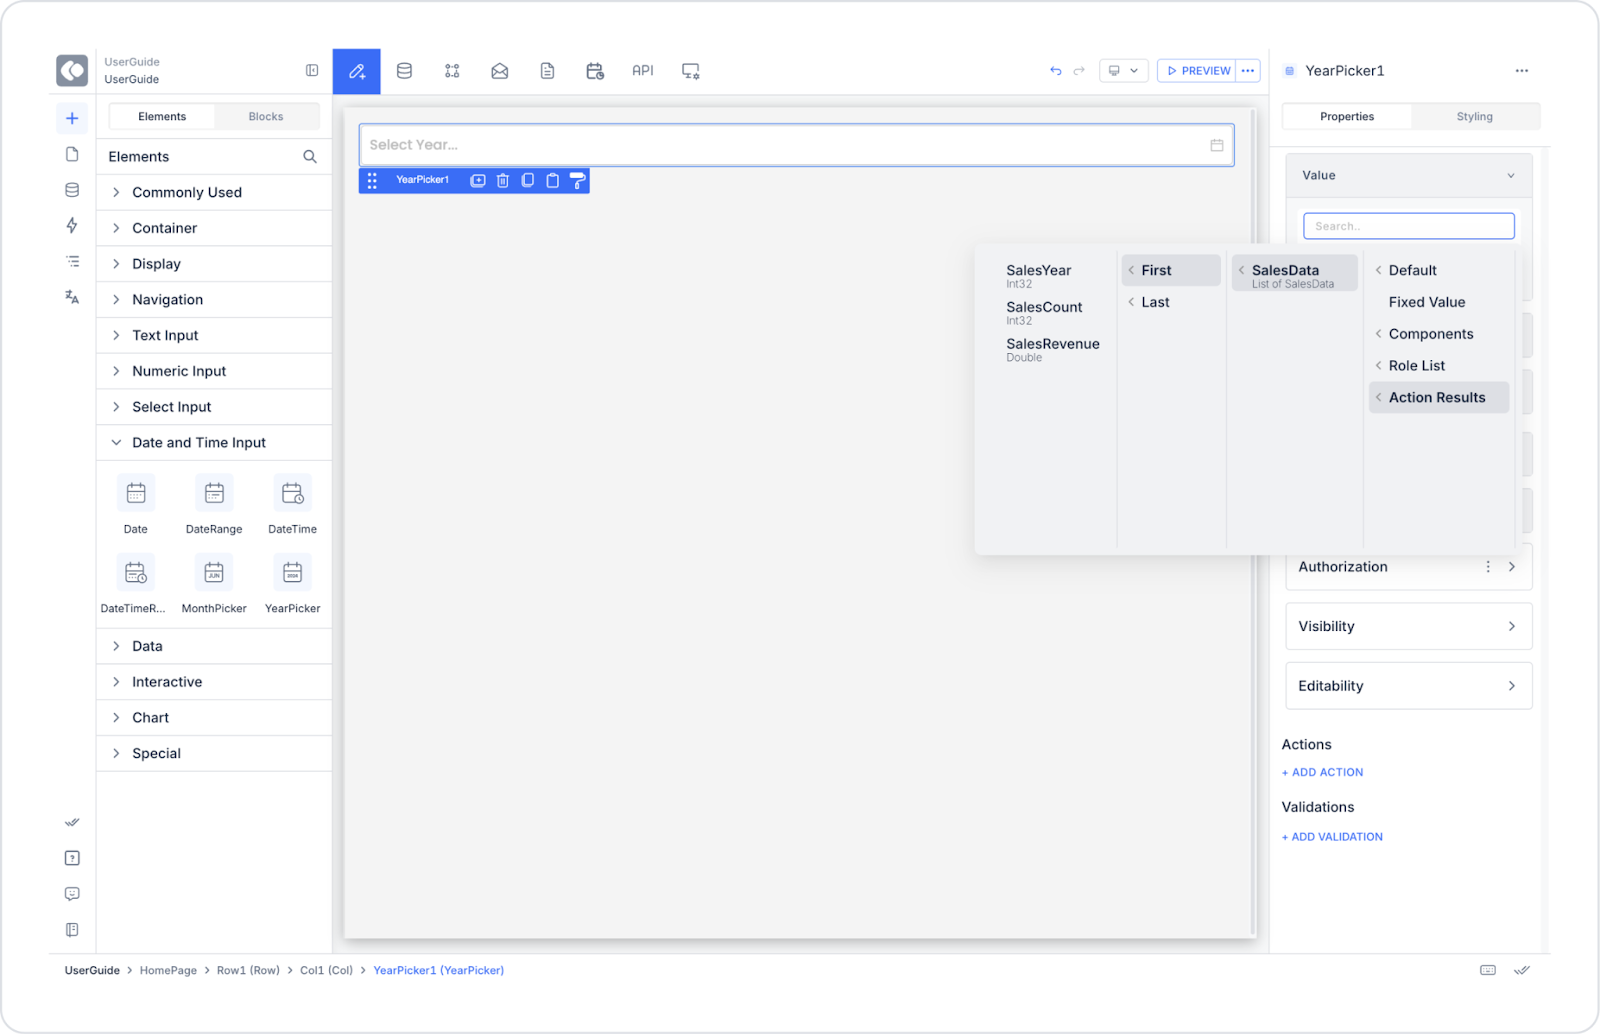
Kuika's Year Picker element allows users to select only the year. Users can enter the year manually or make a selection using the year picker. This element is ideal for year-based reporting, planning, and filtering scenarios.

The Year Picker element is supported in both web and mobile applications.

Use Cases

  • Filtering annual sales reports,
  • Selecting academic years,
  • Selecting subscription start/end years,
  • Tracking annual KPIs and performance metrics, etc.

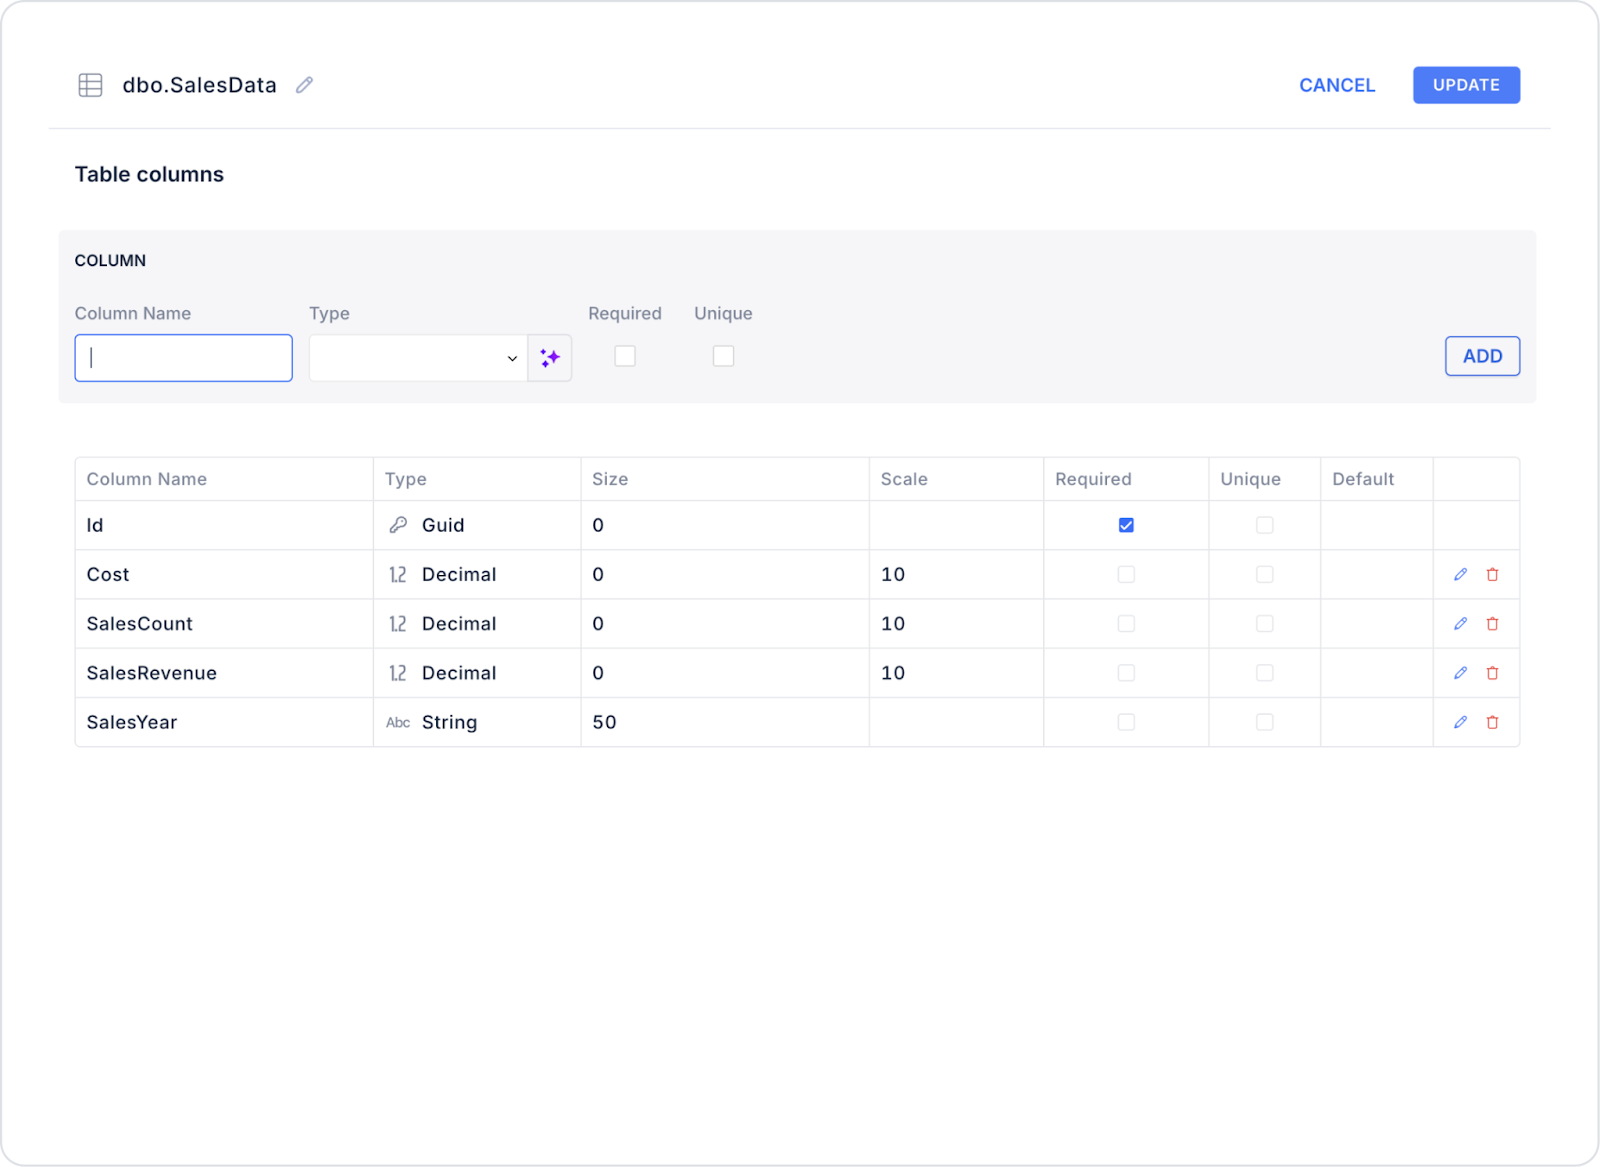
Annual Sales Report Filtering Use Case

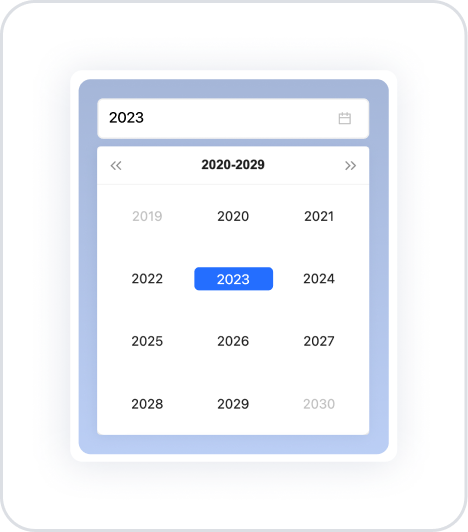
Static Use Case – Fixed Year Selection

A fixed year can be assigned to the user on a reporting screen. For example, the system can display 2023 as the default year.

Using the Features

  • Value → 2023
  • Placeholder → “Select Year”
  • Allow Clear → The user can clear the selection with the (X) icon if desired.
  • Min Year → 2020 (Years prior to 2020 cannot be selected)
  • Max Year → 2029 (years after 2029 cannot be selected)

When the Scenario Step is Complete

  • 2023 is assigned to the user by default.
  • The selected year appears on the screen in YYYY format (e.g., 2023).
  • If desired, the user can clear the year by clicking the (X) icon.
  • The user can only select years between 2020 and 2029.

Dynamic Usage Scenario – Filtering Annual Sales Reports

On a sales reporting screen, the user selects the year they want to analyze. This selection links to the annual sales information from the database.

Connecting the Data Source

  • Go to the Datasources module.
  • Then click the + icon next to the Tables heading and name the table “SalesData”.
  • Create the following table.
  • Then click SQL Actions and name the action “SalesData”. You can also create it with C#.
  • Enter the following SQL command.
SELECT 2023 AS SalesYear, 15000 AS SalesCount, 2500000.00 AS SalesRevenueUNION ALLSELECT 2024, 18000, 3000000.00UNION ALLSELECT 2025, 20000, 3500000.00

UI Design Module operations

  • Click the Add Action button on the right side of the application screen.
  • Then select Custom > SalesData.

Using Properties

  • Value → SalesData.SalesYear (connected from the Symbol Picker)
  • Placeholder → “Select Year”
  • Allow Clear → The user can clear the selection with the (X) icon if desired.
  • Min Year → 2000
  • Max Year → 2030

When the Scenario Step is Complete

  • The user selects the desired year from the pop-up window.
  • The selected year appears on the screen in YYYY format (e.g., 2025).
  • If desired, the user can clear the year by pressing the (X) icon.
  • The system records the selected year in the SalesData.SalesYear field and retrieves the relevant sales report.
  • The user can only select years between 2000 and 2030.

Limitations

  • On Android devices, a Null (empty) value may be returned if no year is selected.
  • The format is limited to year information only (month or day cannot be selected).

Tips and Best Practices

  • Set the default year to the current year in reporting scenarios.
  • Set the Min Year and Max Year limits to reasonable ranges (e.g., 2000–2030) to enhance the user experience.
  • Use a descriptive placeholder value (e.g., “Select Report Year”).
No items found.

Other Related Content

No items found.

Glossary

No items found.

Alt Başlıklar