Swagger UI is a tool used to visualize, test, and document your application’s APIs. Using the Swagger UI settings in Kuika’s Configuration Manager module, you can enable your APIs and configure access control.
Swagger UI Setup Steps
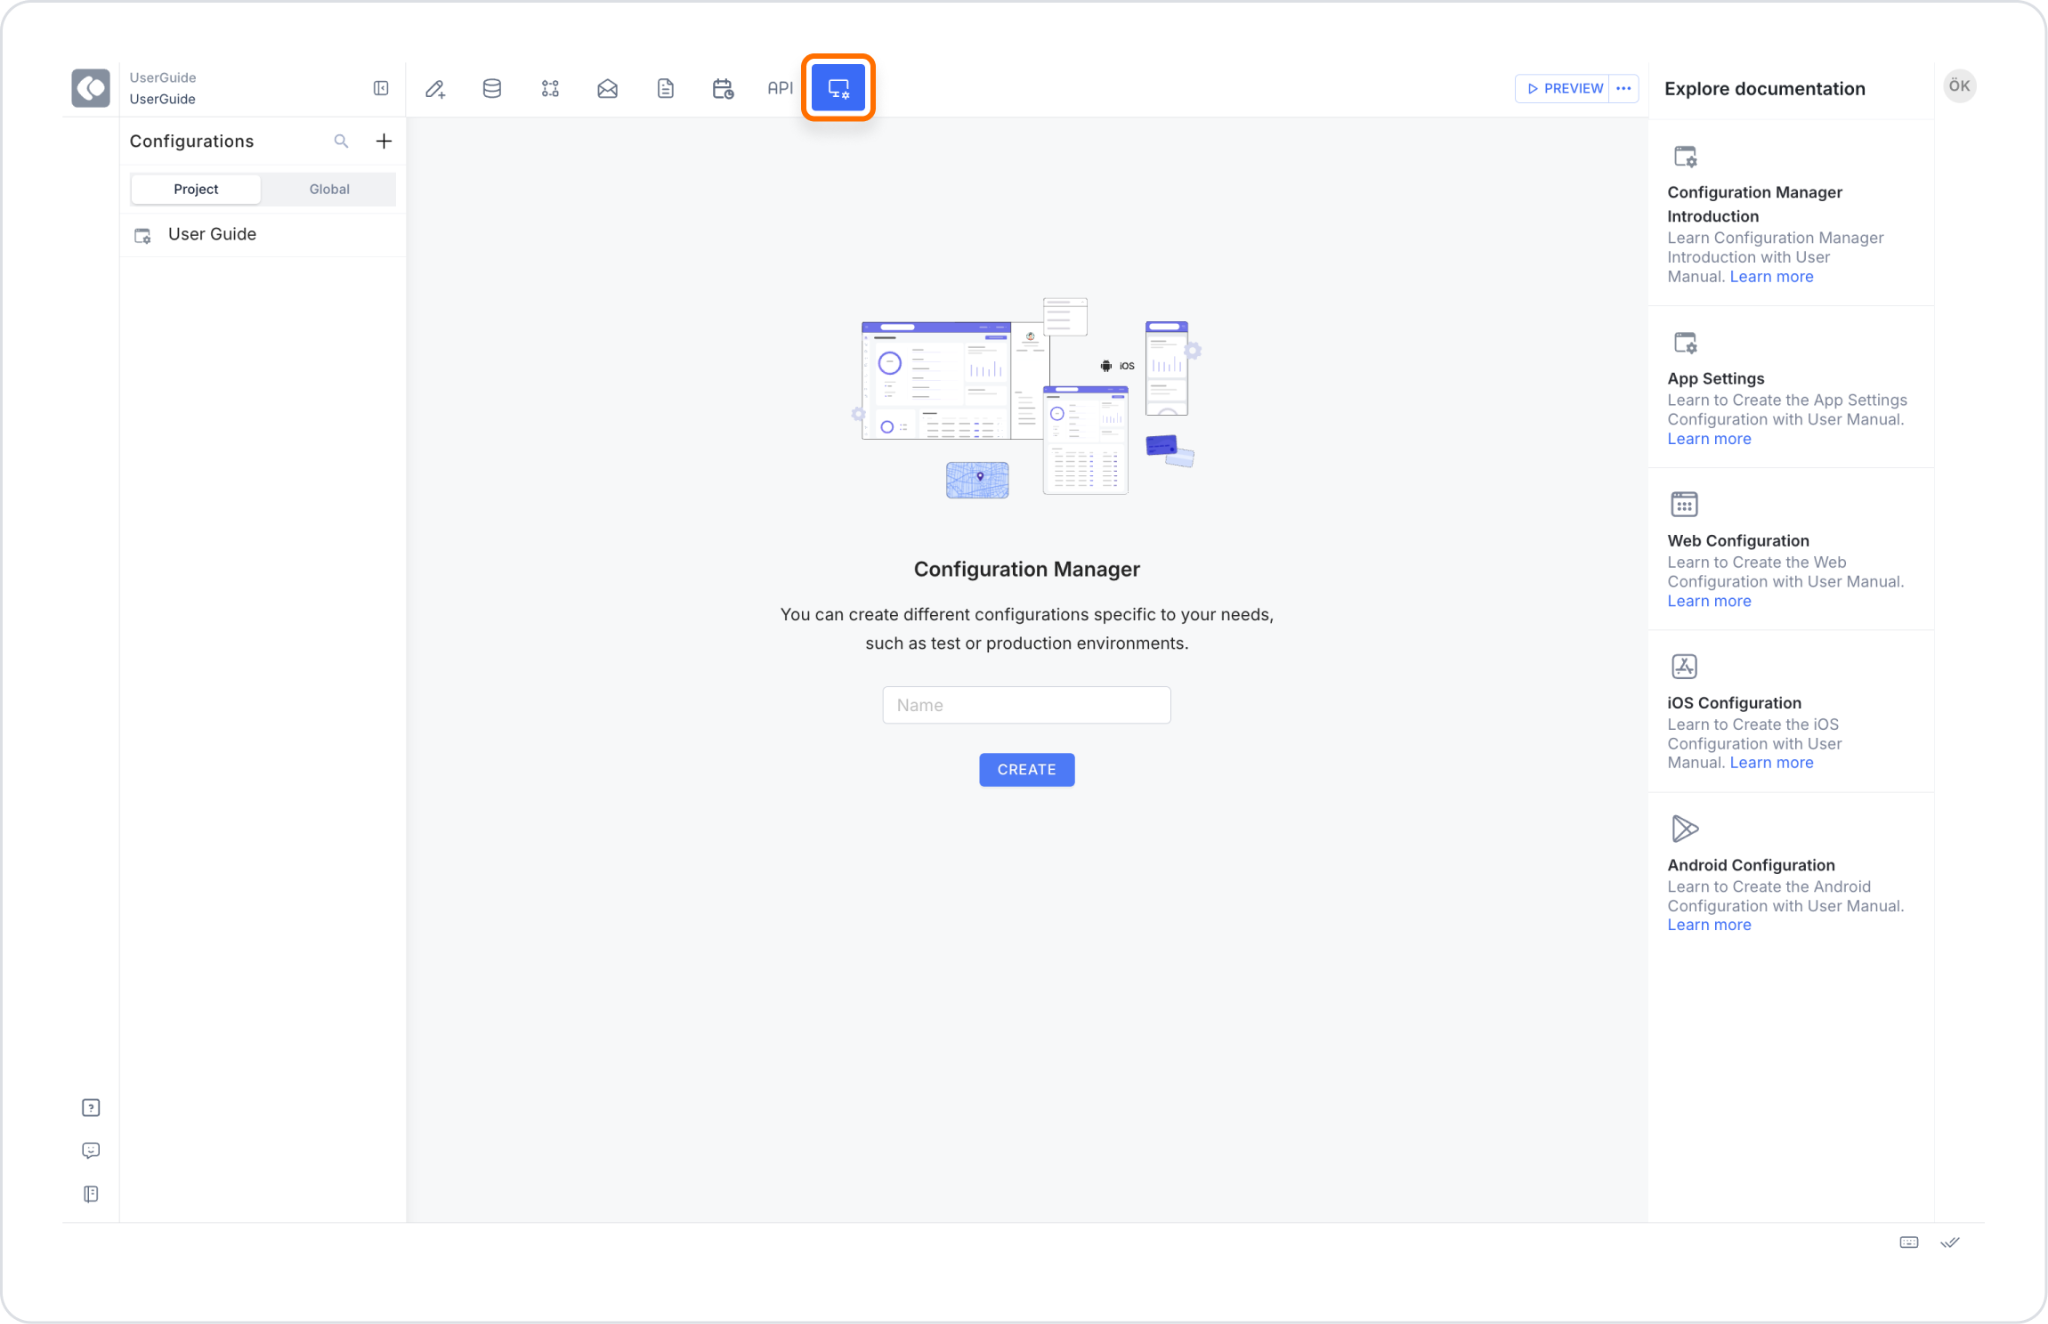
1. Add a Configuration to Your Application
Log in to the Kuika platform.
Open the project you’ll be working on from the Apps screen.
Click the Configuration Manager module.
On the screen that opens, give the configuration a name and click the CREATE button.
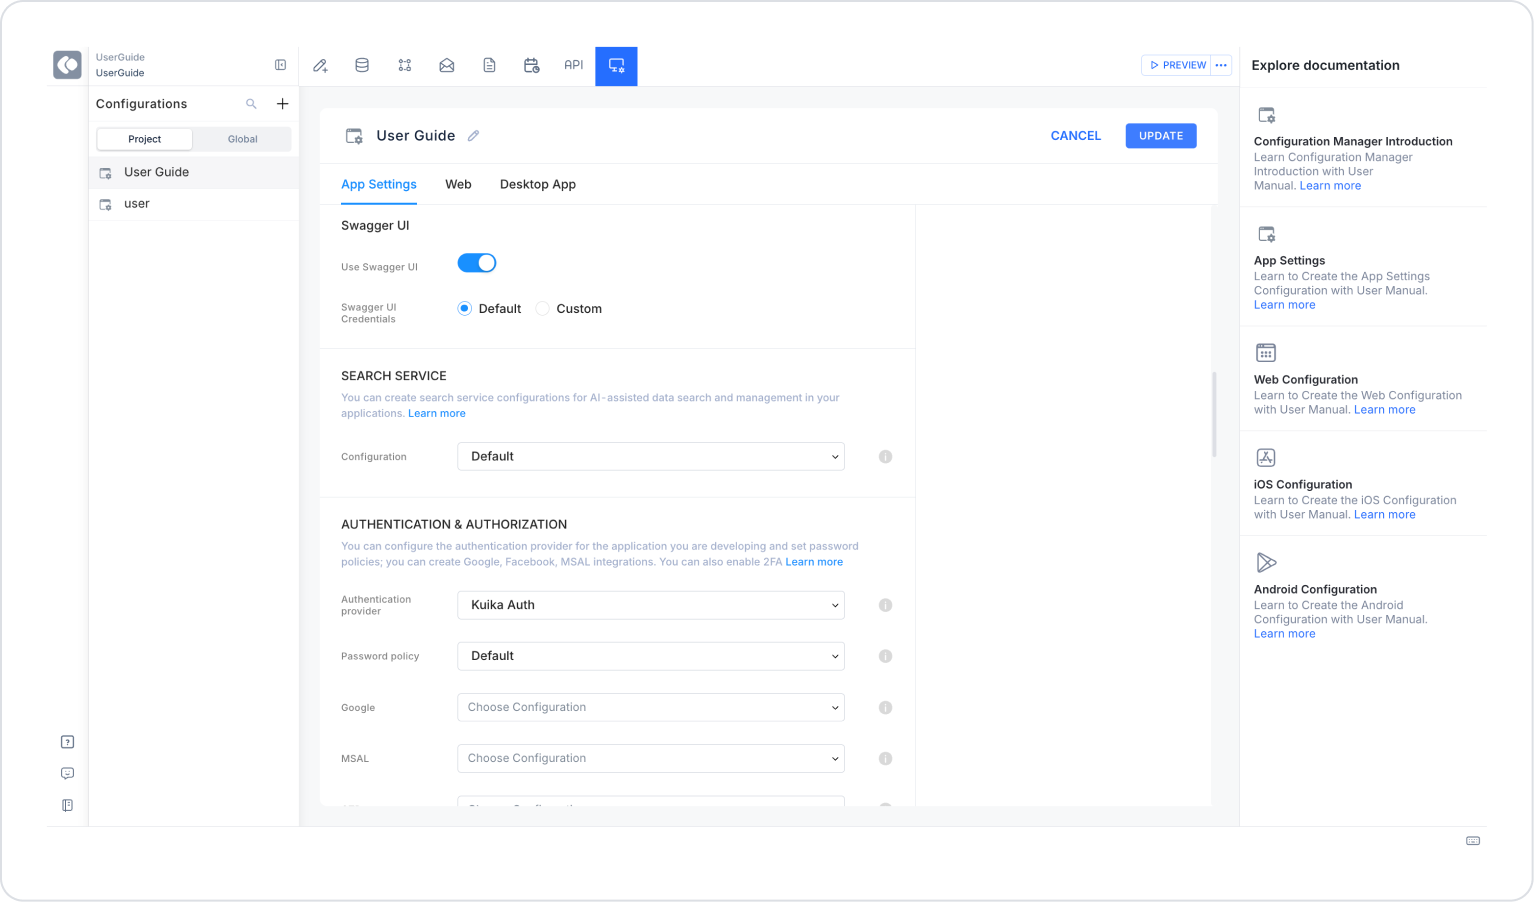
2. Configure Swagger UI Settings
After creating a new configuration, open the App Settings screen.
Go to the Swagger UI section.
In this section, you can configure the following settings:
Use Swagger UI: Determines whether Swagger UI is enabled or not.
Swagger UI Credentials: Specifies the authentication method for Swagger UI access.
Default: Uses the default credentials defined by the system.
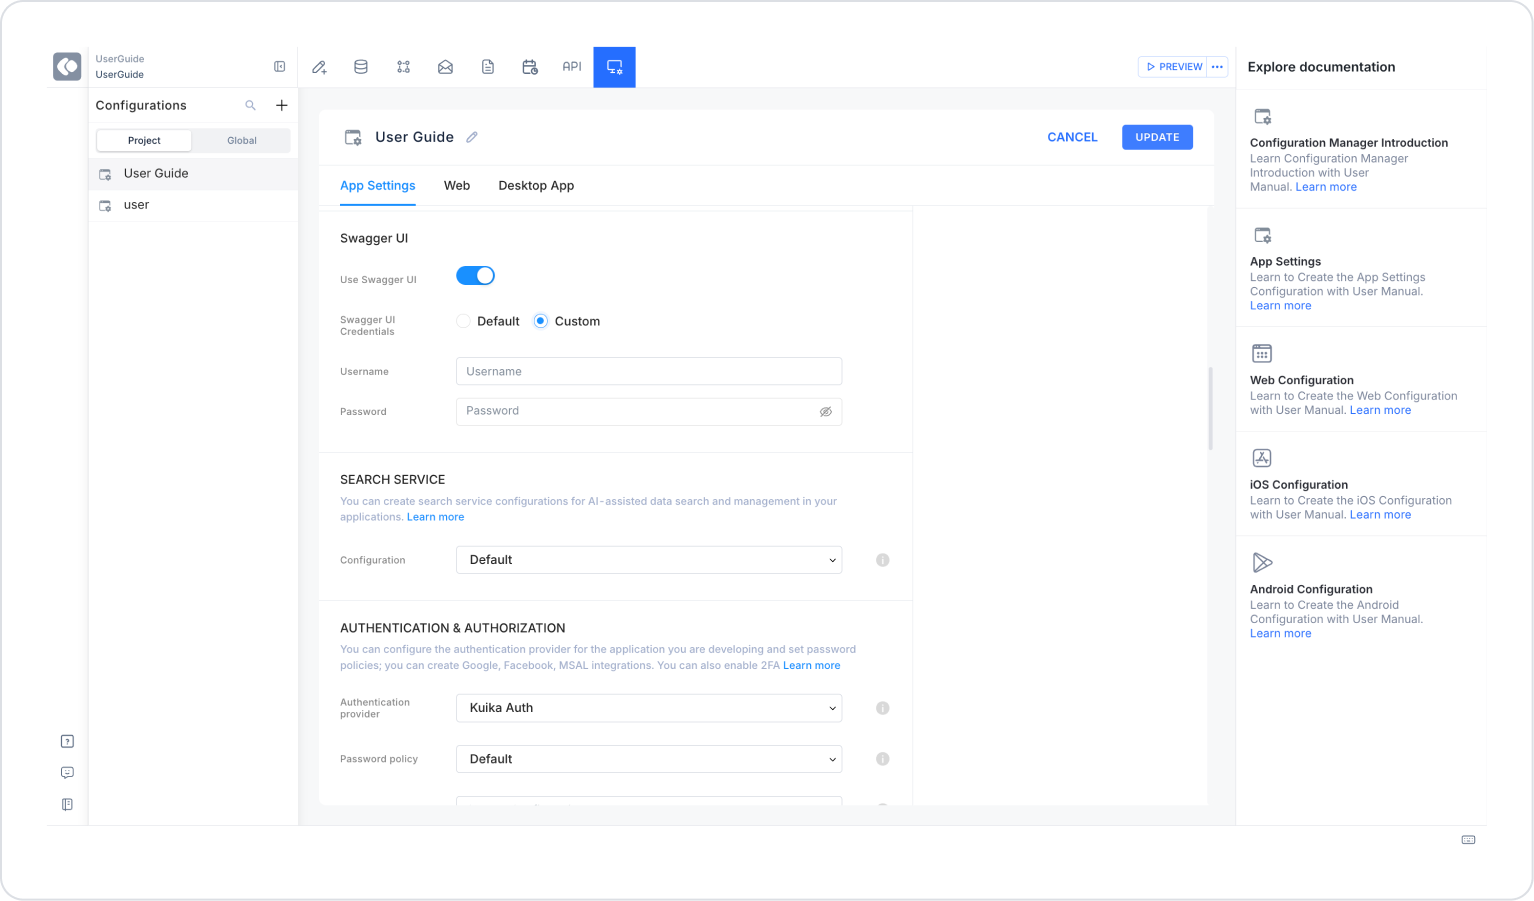
Custom: A custom username and password are defined.
When Custom is selected:
Username: The username to access Swagger UI
Password: The password to access Swagger UI
3. Testing the Settings
Click the three dots next to the Preview button at the top of the application.
Click the RUN button in the menu that opens.
If Swagger UI is active, endpoints can be viewed and tested through the API documentation interface when the application is running.
Important Notes
Swagger UI should generally be used in development and testing environments.
Access must be strictly restricted in production environments.
Using custom credentials is recommended.
By following these steps, you can easily configure Swagger UI settings and securely test your APIs.