Send Notifications to End Users with Push Notification
23/3/26
With Kuika's Push Notification feature, you can send notifications to your users in the mobile applications you develop. You can make settings for iOS and Android devices through the Push Notification section in the Configuration Manager module.
Push Notification Settings
Step 1: Add Configuration to the App
Log in to the Kuika platform.
Select the mobile project you will work on from the Apps screen.
Click the Configuration Manager module from the left menu.
Enter a name for the configuration and click the CREATE button.
Step 2: Configure Push Notification Settings for iOS Devices
After adding the new configuration, go to the iOS section in the App Settings tab.
Select the Settings drop-down menu in the Push Notification area.
Click on the ADD NEW button.
Enter the information in the Push Notification Setting pop-up screen:
Name: Give the Push Notification a name.
Team ID: Sign in to the Apple Developer Center. From the Account tab, enter the Team ID information in the Membership Details field.
Publish Type:
Development: Use this option if you will publish by sending the “.ipa” file to the simulator.
Production: Use this option if you are publishing the application via TestFlight.
Notification Certificate: Upload the certificate file with “.p8” extension. To download the certificate:
Go to Apple Account Manager.
Sign in with your Apple Developer account.
On the Users and Access page, click the Keys tab.
Click the + icon to create and download the “.p8” file.
Upload the file by clicking the Choose button in the Push Notification settings.
After entering all the information, click the CREATE button.
You can download the “.p8” file only once. Store the file securely.
Step 3: Configure Push Notification Settings for Android Devices
After adding a new configuration, go to the Android tab in the Settings modal.
Select the Settings drop-down menu in the Push Notification area.
Click on the ADD NEW button.
Enter the information in the Firebase Setting pop-up screen:
Name: Give the Firebase setting a name.
Sender ID:
Log in to the Firebase Console.
Select your project or create a new project.
Go to the Cloud Messaging tab.
Under Cloud Messaging API (Legacy), get the Sender ID information.
Server Key: Get the Server Key from the same field.
Service Account JSON:
In Firebase Console, go to the Service Accounts tab in your project's settings.
Download the JSON file.
Upload the file by clicking the Choose button in the Service Account JSON field.
Notification Certificate:
On the Project Overview page of your project in Firebase Console, click on the gear/settings icon.
On the General tab, download the google-services.json file.
Upload the file by clicking the Choose button in the Notification Certificate field.
After entering the information, click the CREATE button.
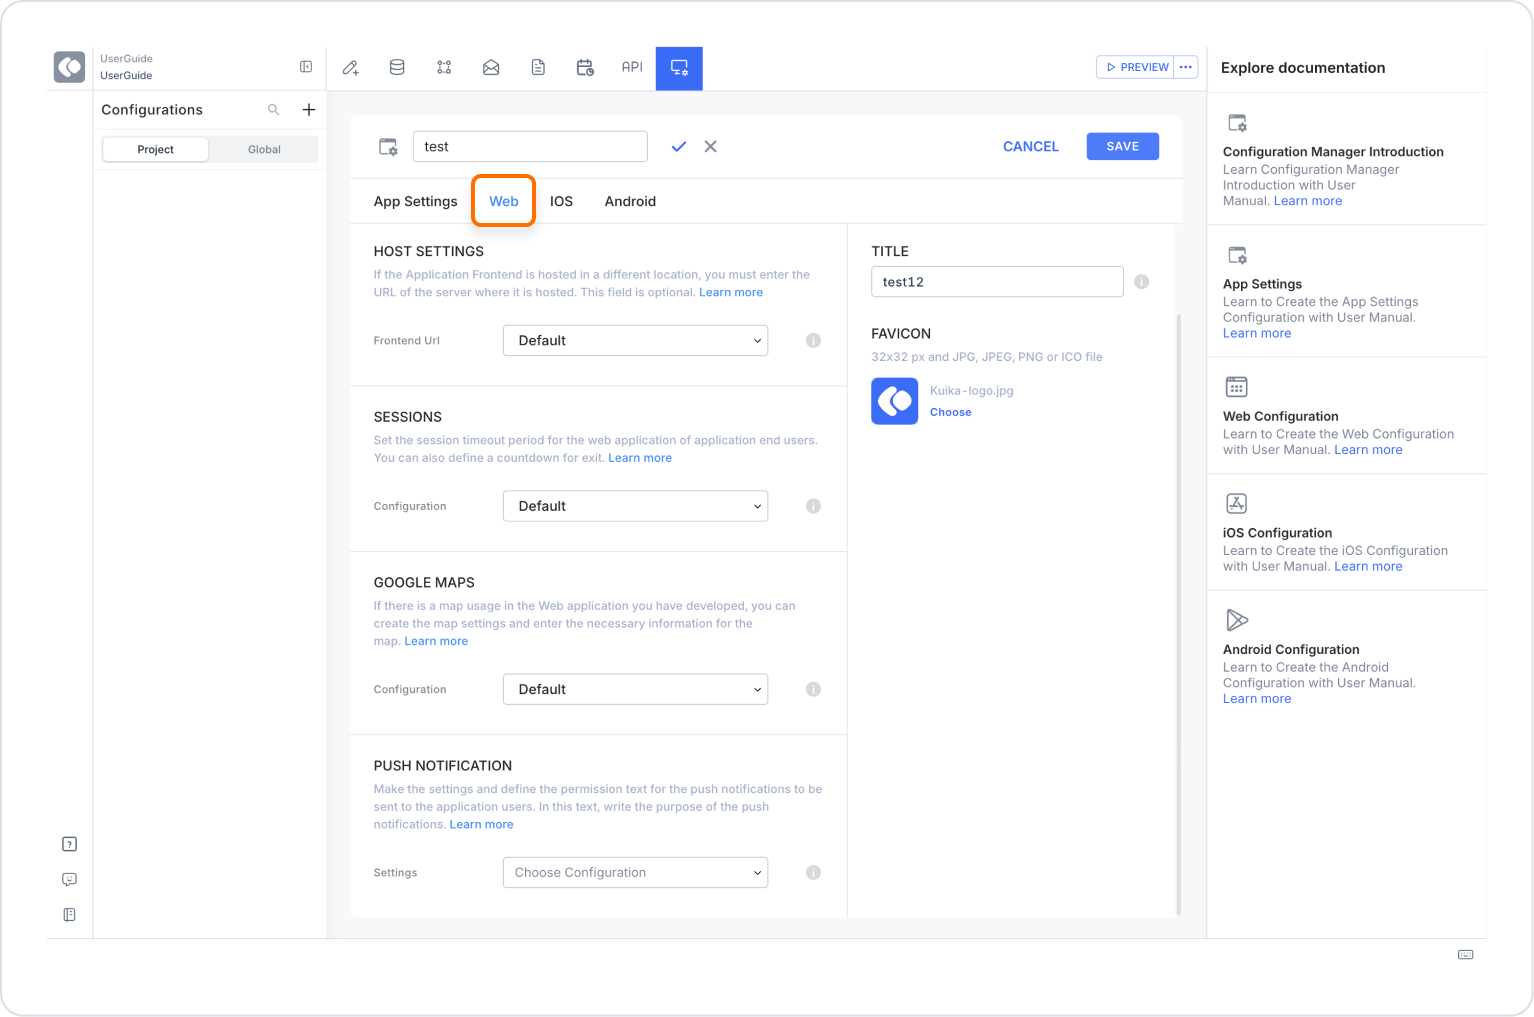
Step 4: Configure Push Notification Settings for Web Applications
After adding the new configuration, go to the Web tab from the Settings modal.
Select the Settings drop-down menu in the Push Notification area.
Click the ADD NEW button.
Enter the information in the Web Push Setting pop-up screen:
Name: Give a name to the Push Notification configuration.
Public Key: Enter the Public Key information for your web push service.
Private Key: Enter the Private Key information for your web push service.
After entering the information, click the CREATE button.
After completing these steps, the Push Notification settings will be configured for iOS, Android, and Web platforms, and you can start sending notifications to your users.