
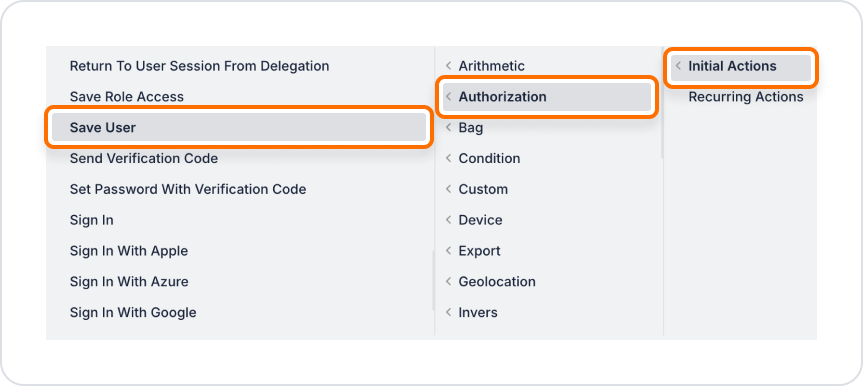
The Save User action is an idempotent operation used to create a user in the system or update an existing user; that is, when the same user information is sent again, the system does not create duplicate records, but updates the existing record. This action securely stores the user's basic information (name, email, username, password, etc.), their relationships with assigned roles, and application-specific settings such as the main screen they will be directed to upon first login. Technically, this process usually involves creating a record in the main table named Users or updating an existing record, while relational information such as roles is managed in related tables such as UserRoles or similar; application settings can be stored in separate tables such as UserSettings or Preferences, depending on the system design. The difference from the Create User action is that, unlike Create User, which focuses only on creating a new record, Save User has both creation and update capabilities, making it a more flexible and secure option for user management in repetitive scenarios.
Technical Features
Parameter Definitions
Required Parameters
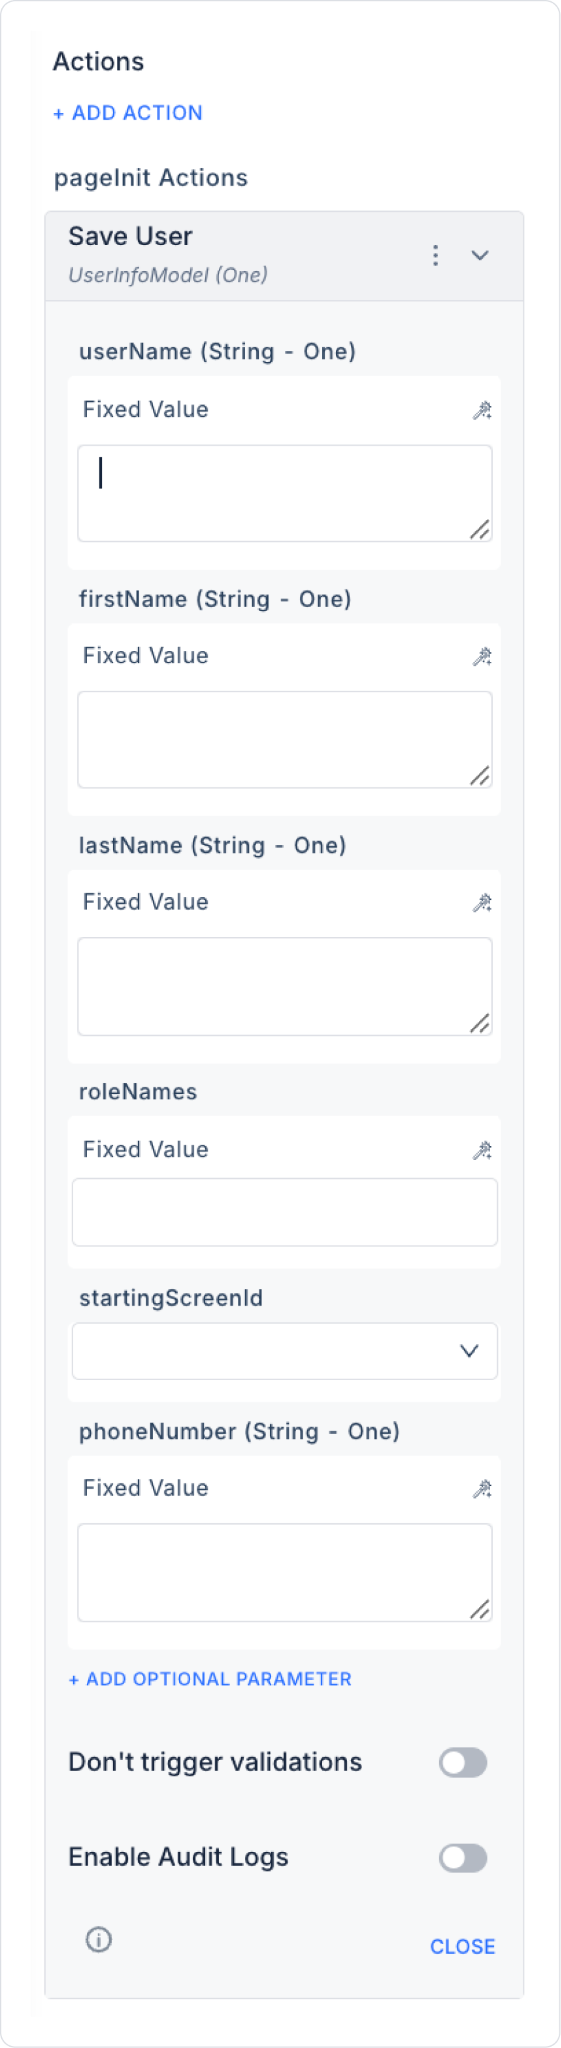
Optional Parameters
An administrator wants to add a new user in the system administration screen. The user's basic information is entered via a form and the ‘Admin’ role is assigned to the user. When this user logs in to the system, they should be directed to the defined ‘Control Panel’ screen.
Application Flow

Technical Risks and Precautions
The Save User action simplifies user management and allows you to effectively configure access controls within the application. New user registrations, role assignments, and screen redirects can be integrated into a single configuration. It offers a flexible and secure user management infrastructure with customisable security and notification options.

