Vertical Panel is a layout element used to create a vertical fixed area within a report design. It creates a panel extending from top to bottom on the page, allowing specific content to be grouped along a single vertical line.
Vertical Panel is particularly used to display information, explanations, or highlighting content on the edges of reports.
When Should Vertical Panel Be Used?
The Vertical Panel is preferred in the following situations:
To create a fixed area on the left or right edge of the report
To display explanations, notes, or category information in a vertical block
To add side information areas or label-like content
To create visual separation within the report
Basic Features of the Vertical Panel Element
Creates a vertical fixed panel on the page.
Can be positioned by dragging on the canvas.
Multiple Vertical Panels can be used within the same report.
The background color and border can be adjusted.
Different elements can be added to it.
Vertical Panel Visual Settings
The following settings can be made for the Vertical Panel:
Background Color
Border (border color and thickness)
The panel height can automatically expand according to the content.
Elements That Can Be Added to the Vertical Panel
The following elements can be added to the Vertical Panel:
Label
Icon
Image
Divider
Box
Other simple UI elements
When the content does not fit in the panel area, the Vertical Panel automatically increases its height.
Vertical Panel Usage Scenario
In a report, it is desired to present additional explanations or fixed information to the user independently of the main content. This information should be located on the side of the page without interrupting the reading of the report.
In this scenario, the Vertical Panel is positioned on the left side of the report, creating a fixed area for additional information.
In the scenario:
The Vertical Panel is located on the left side of the report.
It is visually separated from the main report content.
It contains only short, text-based information.
It creates a vertical reference area across the page.
1. Adding the Vertical Panel Element
Open the Report Designer module.
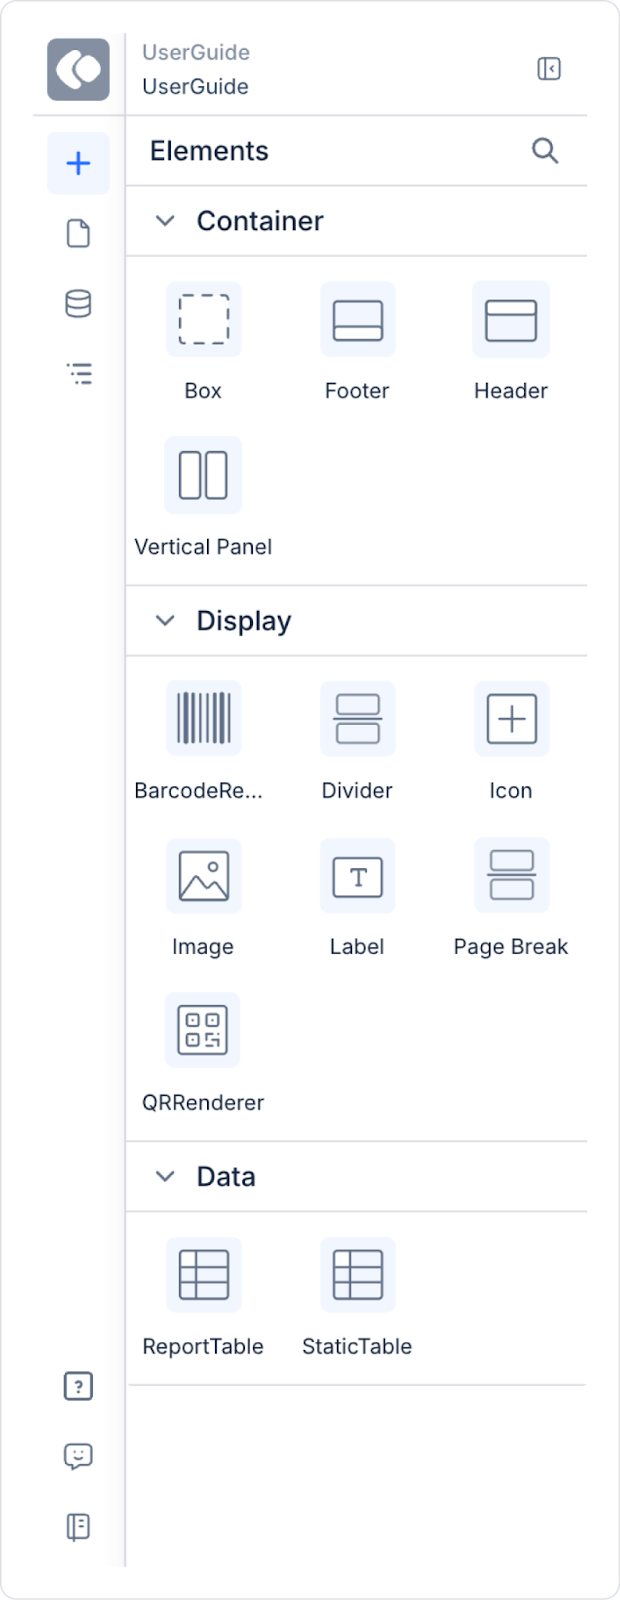
Select the Vertical Panel element from the Elements panel.
Drag the panel onto the Canvas and place it on the left or right edge of the page.
2. Configuring Panel Style Settings
Select the background color from the Styling > Fill field.
Add a thin border from the Styling > Border field.
Adjust the panel width as needed.
3. Adding Content
Inside the Vertical Panel:
One Label (title):
Text: Report Notes
Label elements placed one below the other:
Data is updated monthly
Amounts exclude VAT
The report is a draft
Adjust the Label alignment and font settings via the Properties panel.
At the end of this scenario:
A fixed sidebar information area is created on the side of the report.
Additional explanations are provided without disrupting the main report content.
The report becomes more organized and readable thanks to the Vertical Panel.