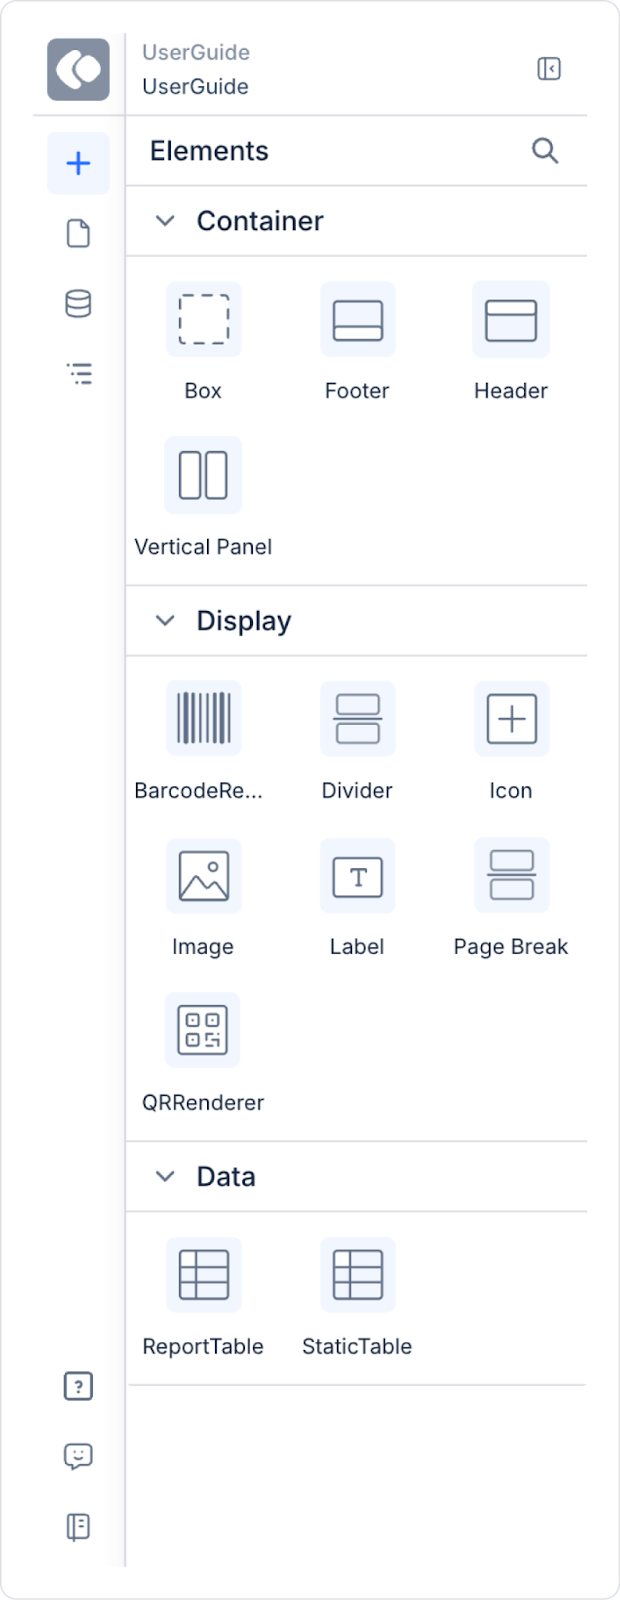
Static Table is an element used in Report Designer to create fixed-structure (non-dynamic data) tables. It offers an Excel-like structure and allows manually defined content in the report to be displayed in a regular table format.
Static Tables are suitable for scenarios such as contract outputs, summary tables, description fields, header-value matches, and design-controlled tables.
When Should You Use a Static Table?
Static Table is preferred in the following situations:
If the table content will be fixed
If there is no need for a dynamic data source
If cell-based alignment and merging are required
If exact control over the print output is desired
If form-like or template-based reports are being prepared
Report Table can be used for dynamic data lists, and Static Table can be used for fixed and design-controlled tables.
Adding a Static Table
Select the Static Table element from the Elements Panel.
Drag the element and drop it onto the Canvas.
The default table structure is displayed on the Canvas.
To add content to the table, drag Label elements into the cells.
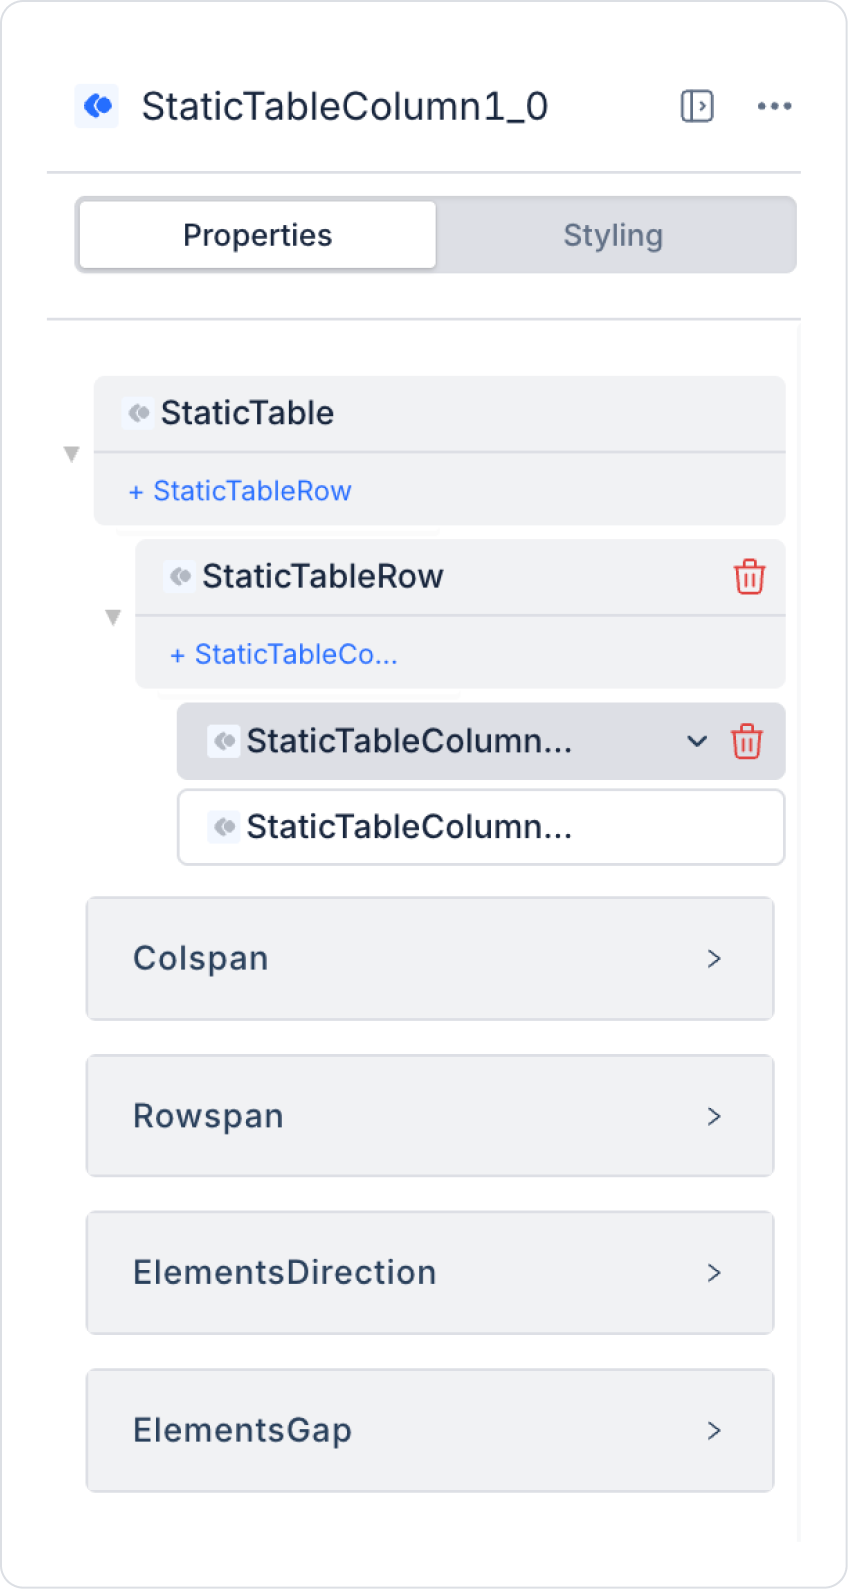
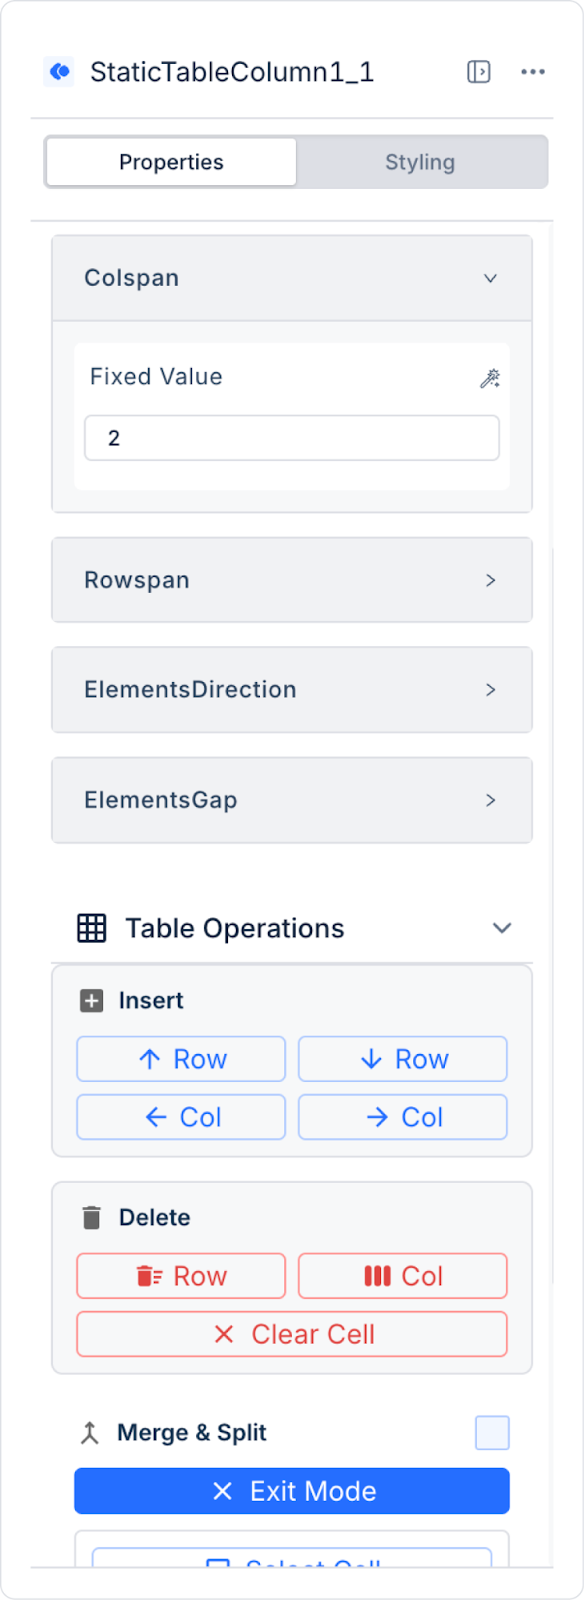
Static Table Column Properties Panel
When a column is selected in the Static Table, its settings are managed via the Properties Panel. Both the structural and visual behavior of the column can be controlled.
Colspan: Determines how many columns the selected column will span horizontally.
The default Colspan value is 1.
When the value is increased, the column is merged with the columns to its right.
Colspan is used for horizontal cell merging within the table.
When multiple cells are selected and the Merge operation is performed:
The number of selected columns is automatically reflected in the Colspan field.
The user does not need to perform manual calculations.
Rowspan: Determines how many rows the selected column will span vertically.
The default Rowspan value is 1.
When the value is increased, the column is merged with the rows below it.
Rowspan is used for vertical cell merging operations.
Elements Direction: Determines the placement direction of elements added to a column. It can be used if a column contains more than one Label or icon, if header-subheader structures are to be created, or if different information is to be displayed in an orderly manner within the same cell. The supported directions are as follows:
Horizontal: Elements are placed side by side (from left to right).
Vertical: Elements are placed one below the other (from top to bottom).
Elements Gap: Controls the space between elements within the column. The value determines the distance between elements. Depending on the Elements Direction setting:
If Horizontal, horizontal spacing is applied.
If Vertical, vertical spacing is applied.
Cell Content and Positioning
Label Usage
One or more Labels can be added to each cell.
Added Labels can be positioned within the cell using x–y coordinates.
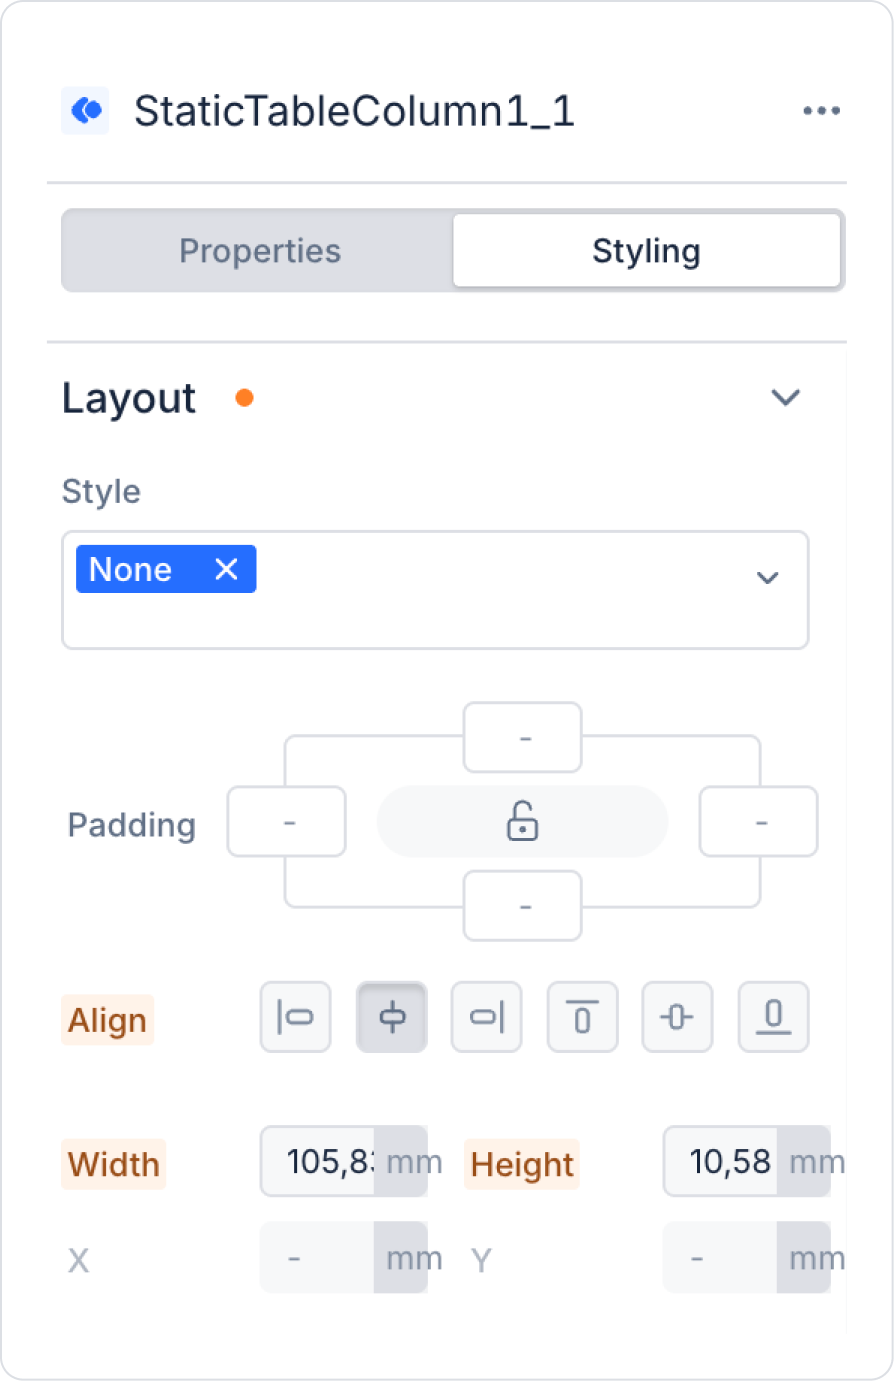
Text alignment and font settings are configured via the Properties Panel.
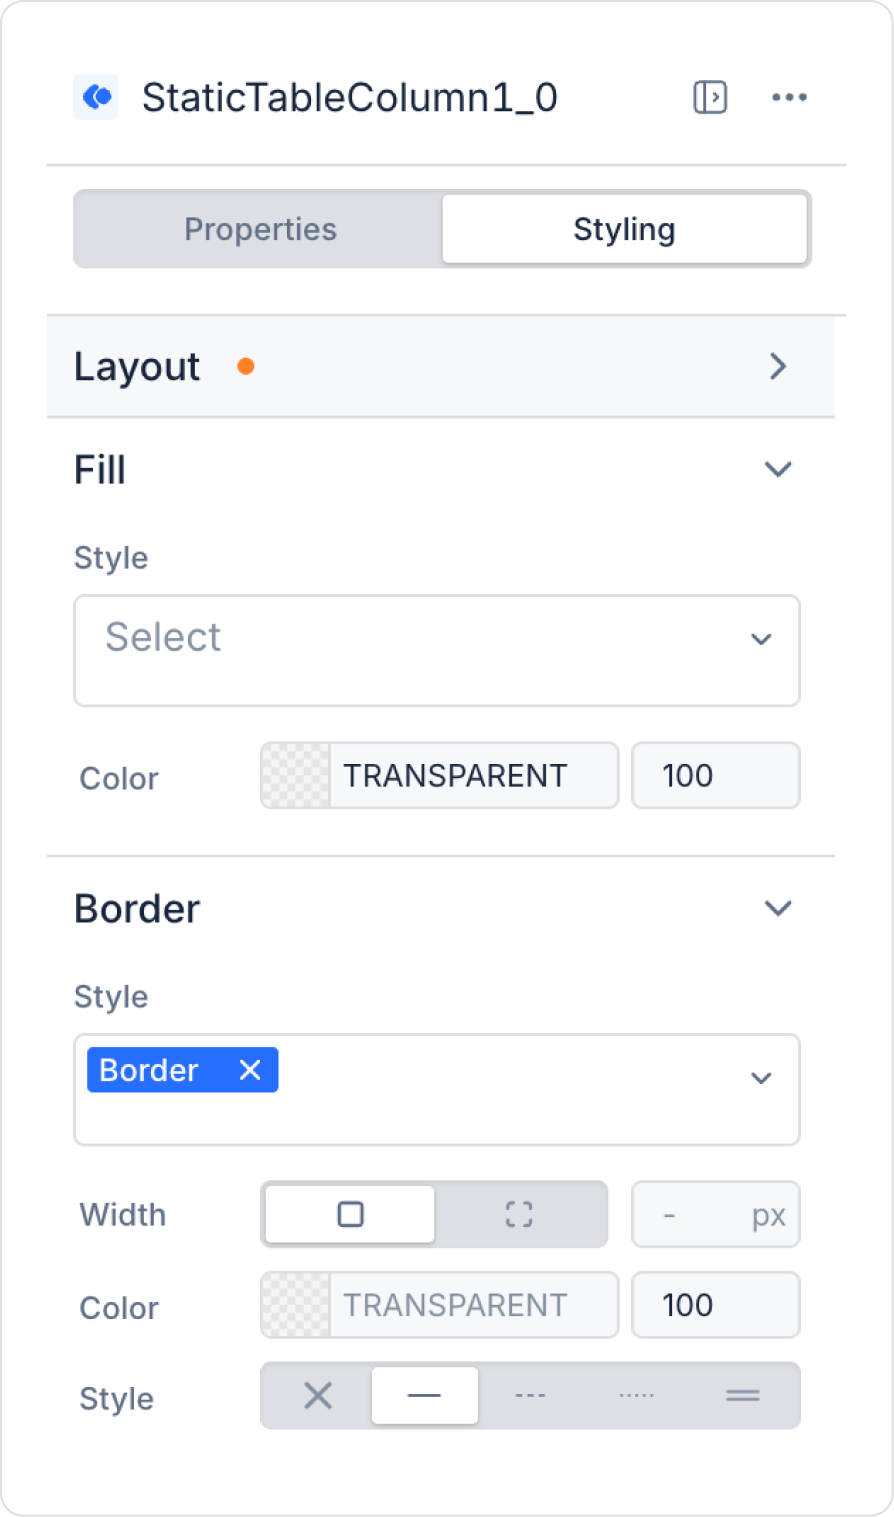
Using Border, Colspan, and Rowspan
Border Settings
Border settings can be configured for Static Tables.
Border color and thickness are adjusted via the Styling Panel.
Colspan and Rowspan
Column-based:
Colspan (merging multiple columns)
Rowspan (merging multiple rows) features are supported.
These features are used to create header rows or description areas.
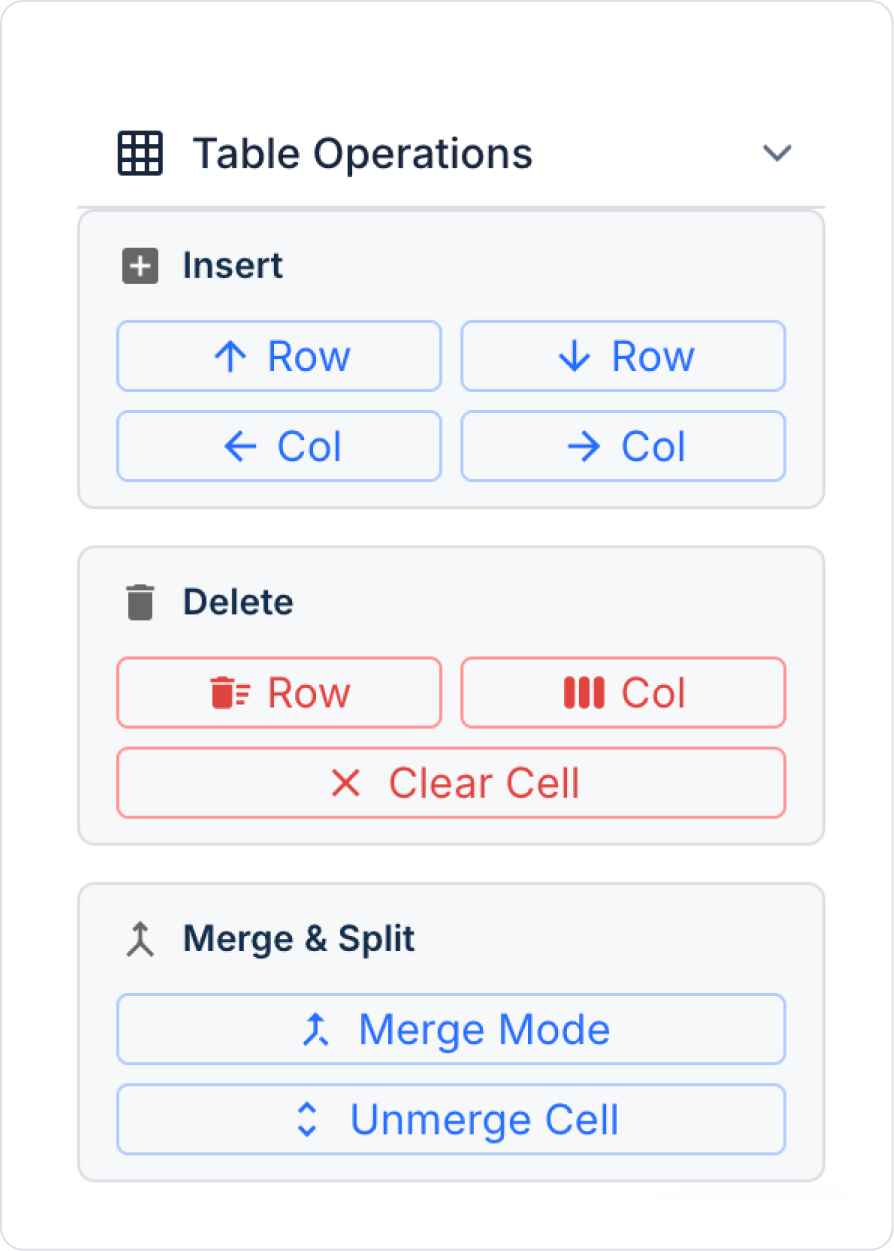
Table Operations Area
The Table Operations area at the bottom of the Static Table is used to edit the table structure.
From this area:
A row can be added above or below,
A column can be added to the right or left,
The content of the selected column can be cleared,
Cells can be merged.
Merge Operation
Multiple cells can be selected and the Merge operation can be applied.
During merging:
The Colspan and Rowspan fields are automatically activated.
The number of selected columns is automatically reflected in the Colspan value.
This allows you to merge cells without having to perform manual calculations.
Static Table Usage Scenario
Create a customer information summary area on the first page of a report that is print-ready and fully controllable.
In this scenario, the table content:
Will not pull dynamic data,
Will be in a template structure,
Will include cell merging (colspan/rowspan),
Will provide an exact view in the print output.
Scenario Steps
1. Adding a Static Table
Open the Report Designer module.
Select the Static Table element from the Elements Panel.
Add the Static Table by dragging it onto the Canvas.
Position the table at the top of the page with the Grid (dotted) mode active.
2. Creating the Table Structure
Using the Table Operations area:
Arrange the table structure to have
3 rows and 2 columns.
Enable Table Border settings via the Styling Panel.
Activate the Table Border settings via the Styling Panel.
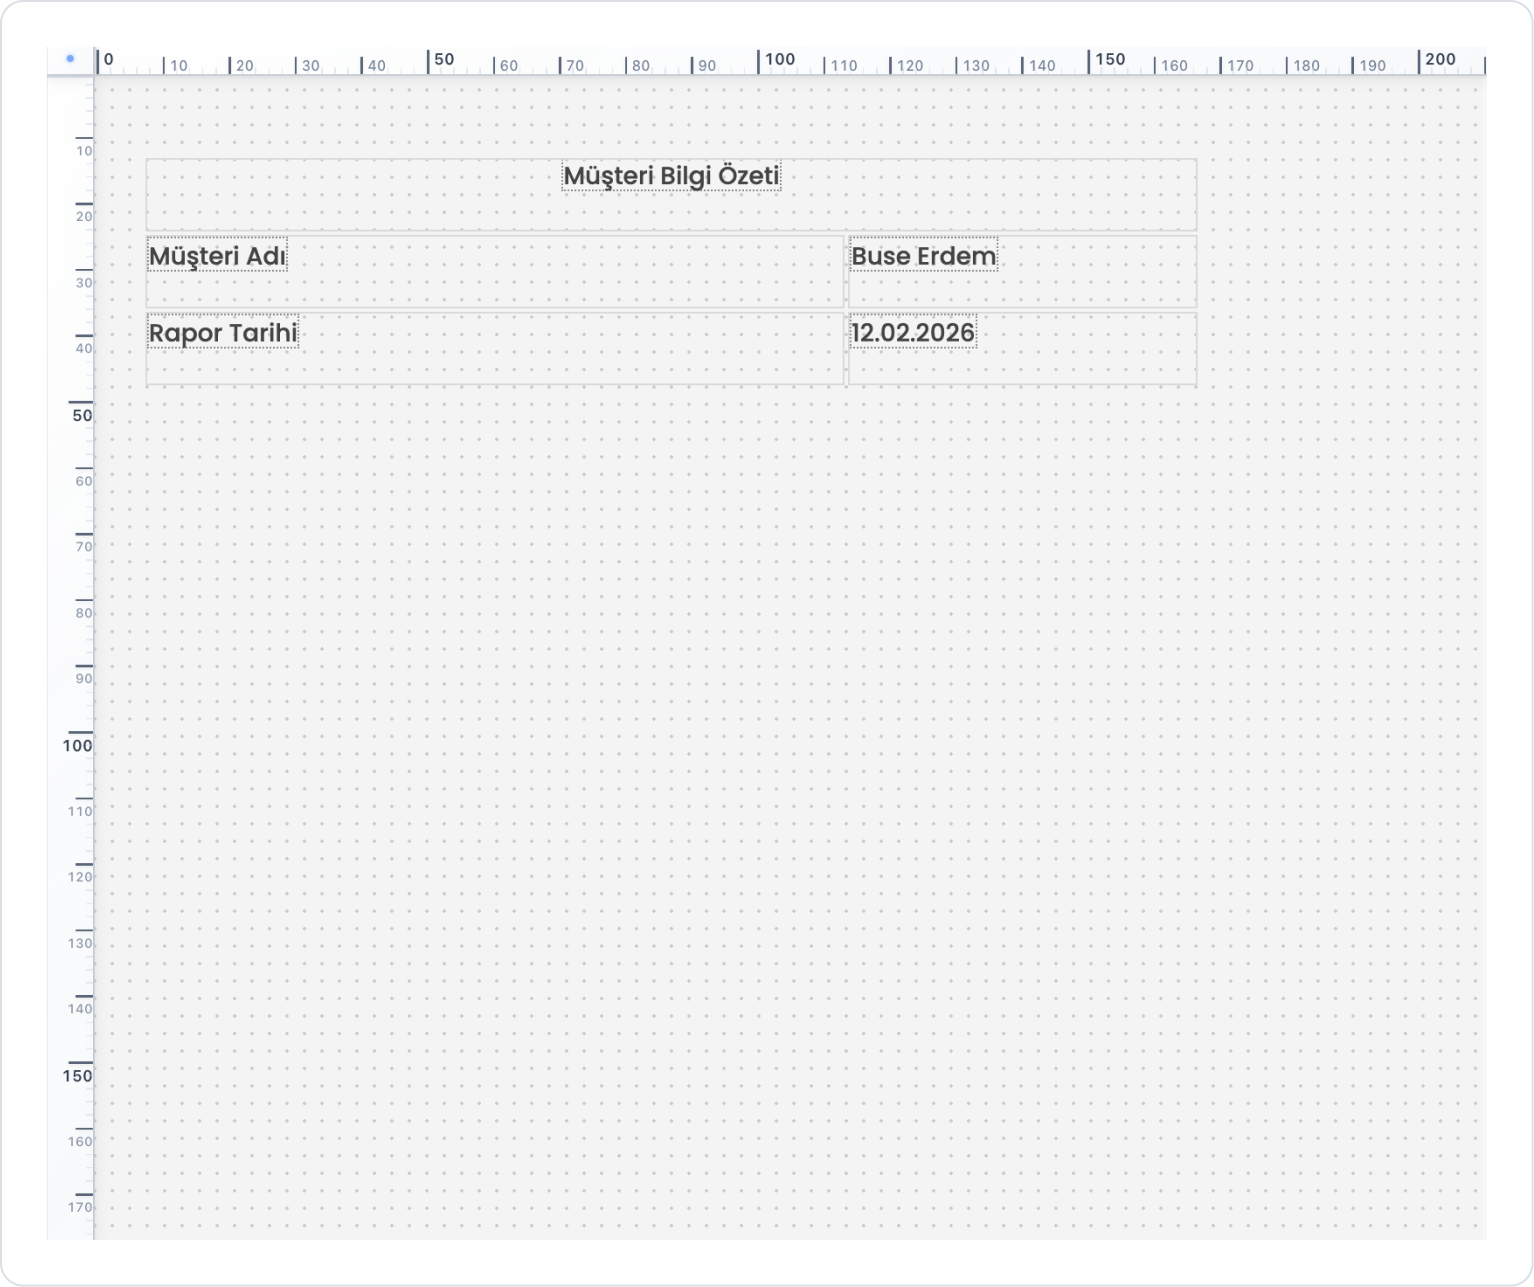
3. Creating the Header Row (Using Colspan)
Select the two cells in the first row.
Apply the Merge operation.
After merging:
The Colspan value automatically becomes 2.
Add a Label inside the cell and enter the text: “Customer Information Summary”
Center the Label using the Layout > Align area.
Then set the page size to A4.
4. Editing Content Rows
Add a Label to the left cell of the second row:
“Customer Name”
Add a Label to the right cell of the second row:
“Buse Erdem”
Using the same structure in the third row:
Add the information “Report Date” – “02/12/2026”.
Adjust the alignment and font settings of the Labels via the Properties Panel.
5. Using ElementsDirection and ElementsGap
With the right column selected:
ElementsDirection: Vertical
ElementsGap: Set to 8 px.
In the same cell:
Add a Label (value)
Add a Label (description or sub-information).
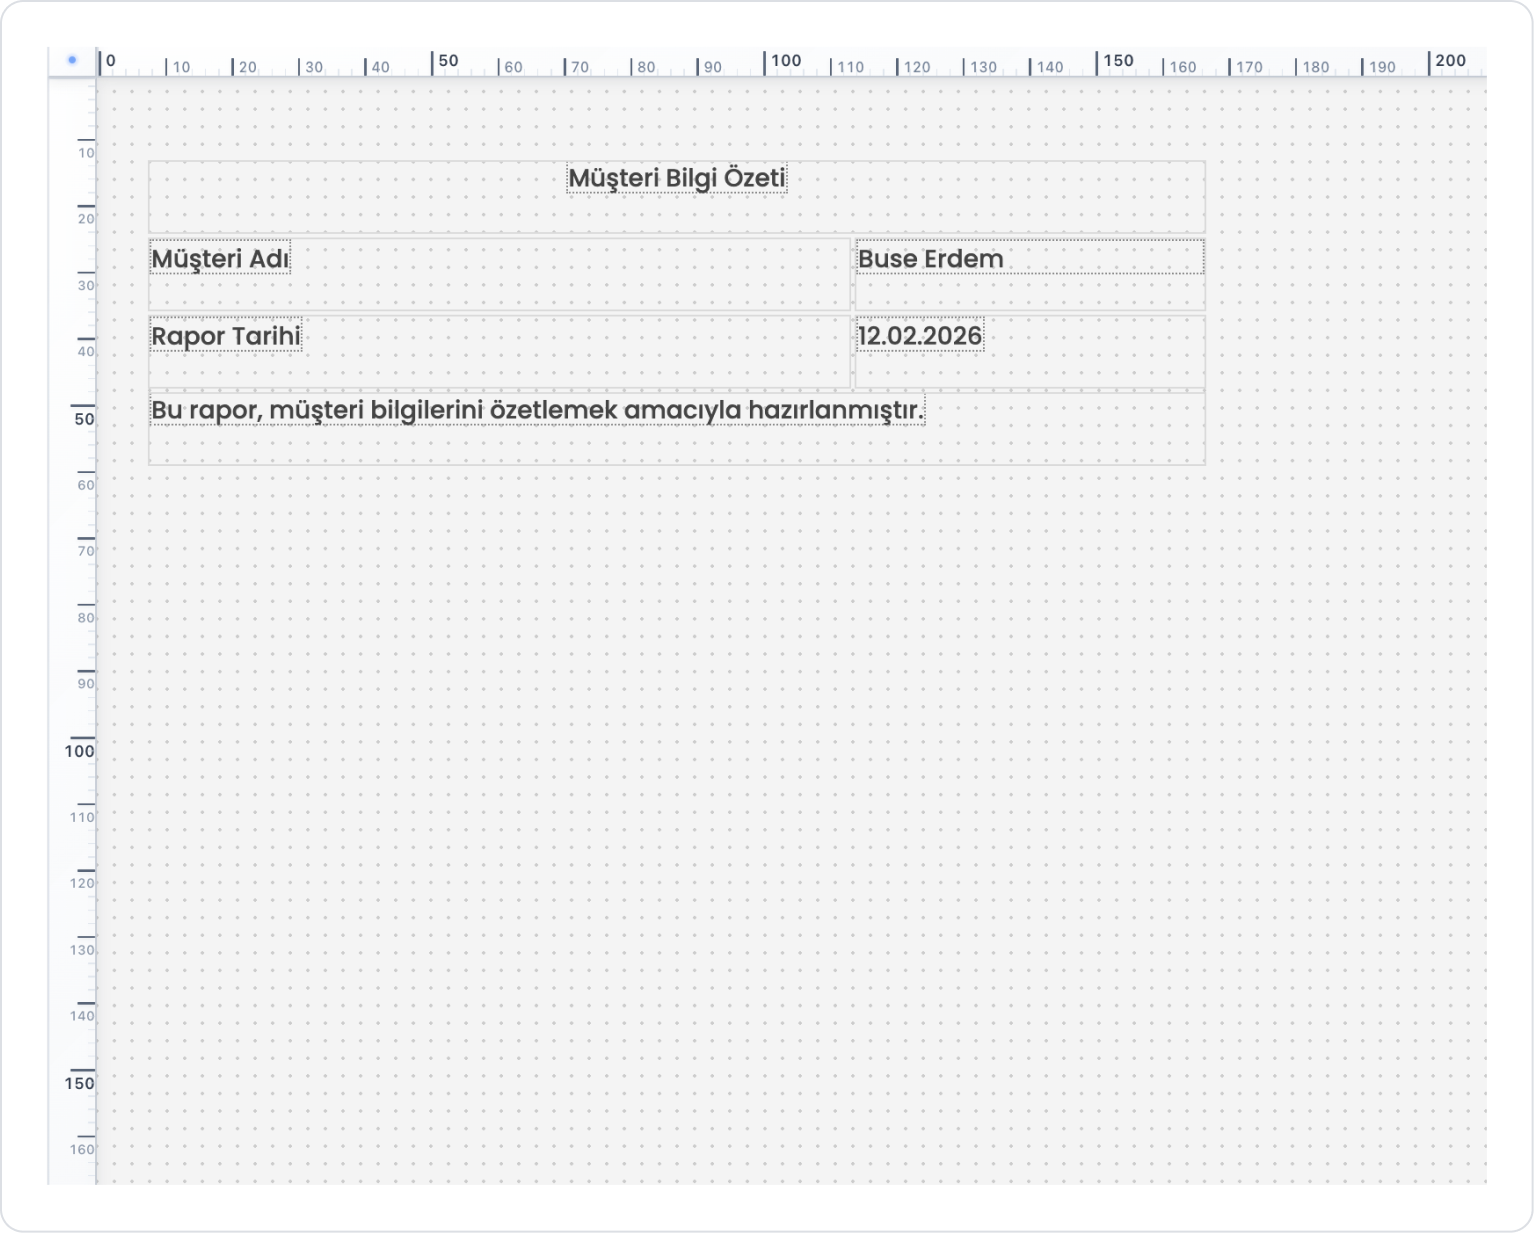
6. Adding a Description Area with Rowspan
Add a new row below the table.
Merge the cells in this row.
If necessary:
Expand the area by increasing the Rowspan.
Add a long description text to the cell.
Sample text: “This report has been prepared to summarize customer information.”