Page Break is a structural element used in Report Designer to divide report content by page. It is used especially in PDF and print outputs to ensure that content starts on a new page in a controlled manner.
Page Break prevents content overflow during report design and ensures a consistent output in multi-page reports.
When Should Page Break Be Used?
Page Break is preferred in the following scenarios:
When you want content to start on a new page after a specific point
When you want to manually control the page layout in PDF or print outputs
When you want to clarify page breaks for long tables or text blocks
When each section needs to be on a separate page in custom report templates
Basic Behavior of the Page Break Element
Page Break moves the report content to a new page starting from the specified point.
It is only effective during output (PDF / Print).
It appears as a visual separator on the canvas.
No elements can be added to it.
It has no visual or style settings; it is purely a functional element.
Page Break and Page Size Relationship
The use of Page Break is directly related to the report's Paper Size settings.
For example:
If the report page size is set to A4,
the height of an A4 page is 297 mm.
In this case, Page Break should be positioned with reference to the page height.
Page Break Positioning Methods
Method 1 – Positioning Using the Ruler
Set the report's Paper Size setting to A4.
Using the ruler on the canvas:
Go to the Y = 297 mm point.
Add a Page Break at this point.
This action divides the report into two separate pages, each with the exact A4 height.
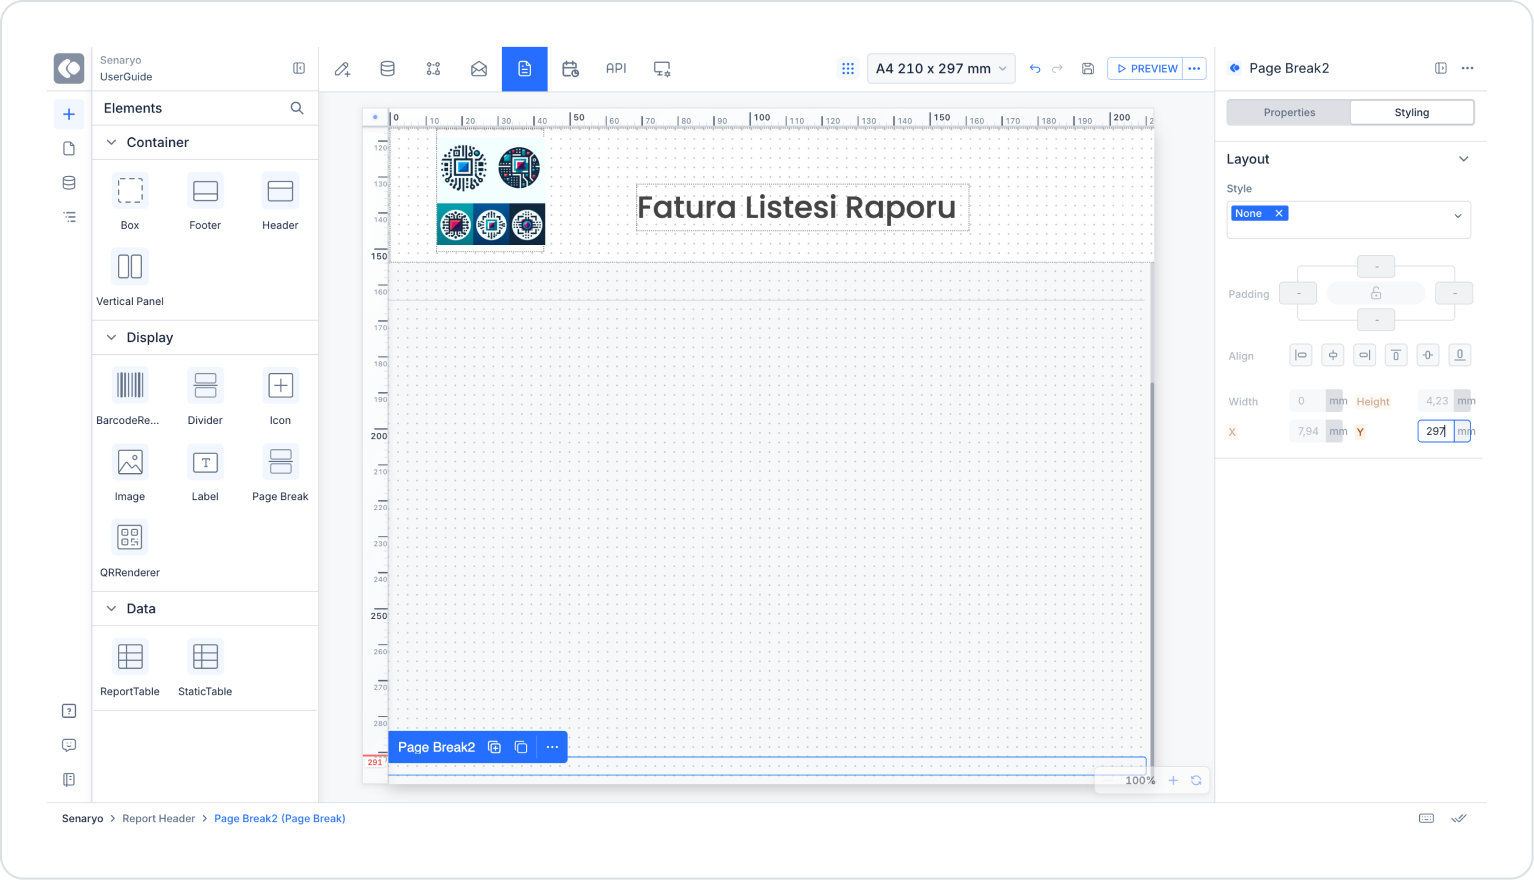
Method 2 – Manually Entering Values in the Layout Area
Select the Page Break element.
Go to the Styling > Layout area.
Manually enter 297 for the Y value.
This method is suitable for users who want to place elements based on measurements directly, without using a ruler.
Using Page Break with Custom Page Size
If the report page size is set to Custom:
The Page Break position is set according to the specified height value.
For example:
Custom height: 1300 px
A new page can be created by placing the Page Break at the Y = 1300 point.
On custom pages:
The measurement unit used (px / mm / inch)
is directly compatible with the ruler and Layout > X / Y values.
Page Break Usage Scenario
In a report, you want to display summary information and the header area on the first page and detailed table content on the second page. In this case, Page Break is used to split the content into two separate A4 pages.
In the scenario:
The report page size is set to A4.
The first page contains the header and summary content.
The second page starts with the detailed table.
The page transition is manually controlled with Page Break.
Step 1 – Setting the Page Size
In Report Designer, select A4 in the Paper Size field.
Display the ruler unit as mm.
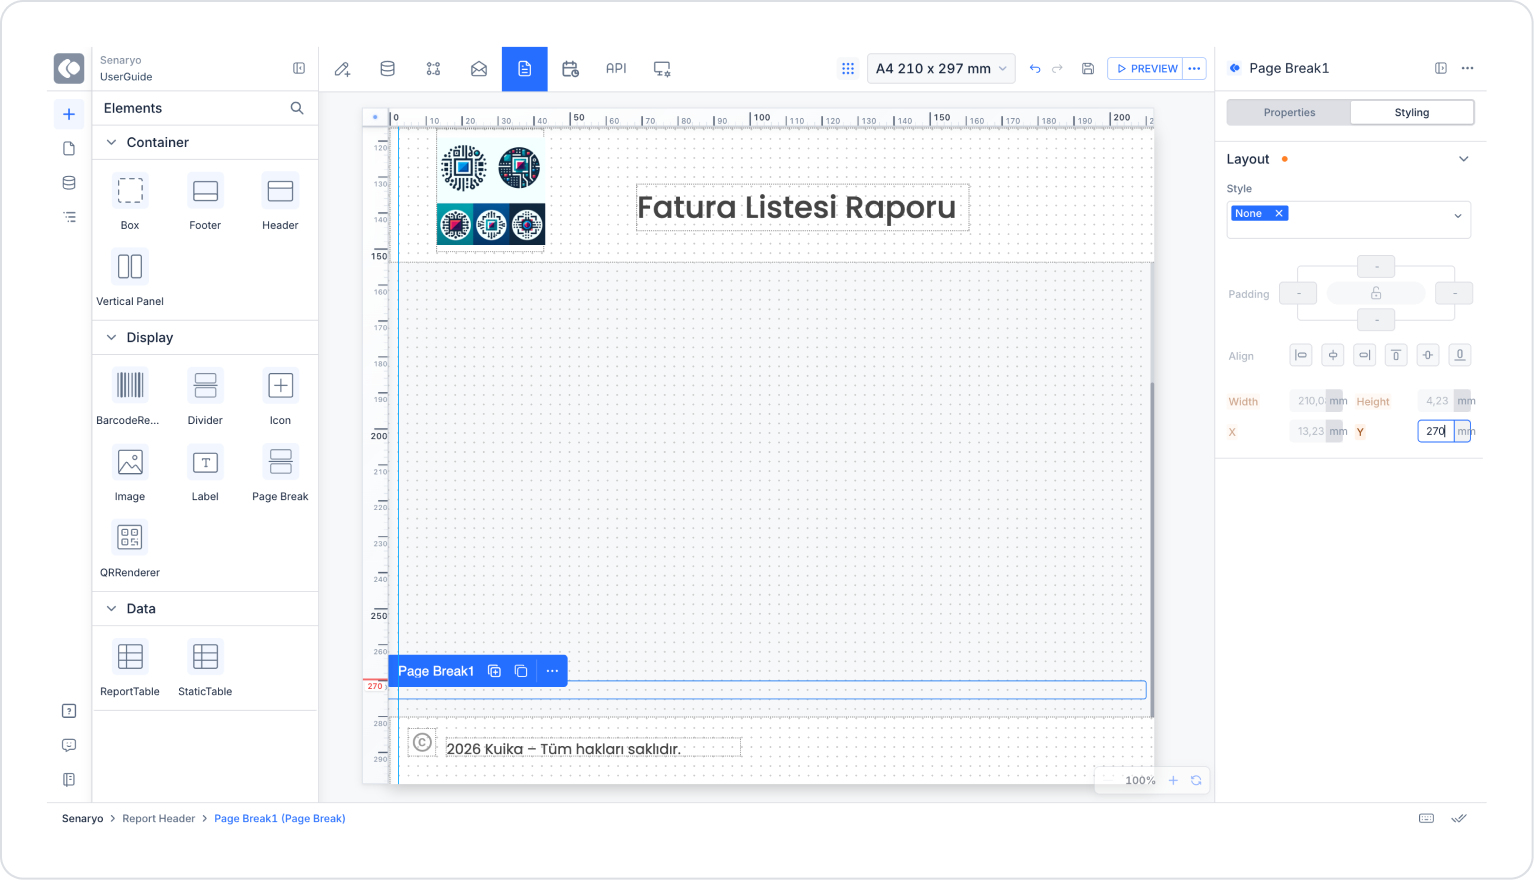
Step 2 – Adding Page Break
Select the Page Break element from the Elements panel.
Drag the element onto the Canvas.
Place it on the ruler at the Y = 270 mm point.
Alternatively:
With Page Break selected
Enter the value 270 in the Layout > Y field.
Step 3 – Dividing the Content
Add the content you want to appear on the first page above the Page Break.
Place the content you want to start on the second page below the Page Break.
With this structure, the report is created as two separate A4 pages.
At the end of this scenario:
The report content is split into two separate A4 pages.
Page transitions are controlled.
A consistent appearance is achieved in PDF and print outputs.
Content overflows and unwanted page breaks are prevented.