Footer is a structural element located at the bottom of the report in Report Designer and is used to provide supplementary information about the report. The footer is positioned at the very bottom of the report output and is typically used to display the report's closing information, legal text, or fixed descriptions.
Unlike the Footer in UI Design, the Report Designer Footer does not serve the purpose of interaction and navigation; it offers a print- and output-oriented structure. It completes the overall layout of the report and ensures that the report has a professional closing section.
When Should You Use a Footer?
A footer is preferred in the following scenarios:
To display copyright or legal disclaimer text
To indicate the institution or unit that prepared the report
To add the report creation date or version information
To create an end note or short note area in long reports
To standardize the report footer in PDF and print outputs
Basic Behavior of the Footer Element
The Footer is positioned at the bottom of the report.
The footer is a container element. Different elements can be added to it.
The footer does not have its own action or data binding mechanism.
The footer content is static and does not change throughout the report.
Auto Resize
The footer, header, and box elements share a common behavior:
When an element is dragged into the Footer,
If the added content does not fit into the existing space,
The height (size) of the Footer automatically expands.
This ensures that:
Content overflow is prevented,
The need for manual height adjustment is eliminated,
The layout is not disrupted in print and PDF outputs.
Elements That Can Be Added to the Footer
The following elements can be added to the footer:
Label (text)
Image
Icon
Divider
Box
Static Table
Since the footer is used as the ending area of the report, it is recommended that the content be fixed and informative.
Restrictions for the Footer
QR Renderer and Barcode Renderer
QR Renderer and Barcode Renderer elements:
Cannot be dragged into the footer.
These elements can only be used in the body area of the report.
This restriction is applied because elements such as QR and Barcode are typically data-dependent or row-based.
Footer and Multi-Page Report Behavior
The footer exhibits special behavior in multi-page reports:
The footer is displayed only on the last page of the report.
For example:
Suppose the report contains a dynamic Report Table,
and this table is split into 3 pages due to the amount of data.
In this case:
The Footer appears only on the 3rd (last) page,
and is not repeated on the previous pages.
This structure ensures that the report's closing information is consolidated in a single location.
The Concept of Report Footer
In Report Designer, the Footer element is considered by the system as a Report Footer.
Report Footer:
Does not contain interaction,
Does not serve a navigation purpose,
Is a structural part of the report output.
Report Footer:
Can have a height setting,
A border can be added,
Is shaped by the layout of the elements placed within it.
Styling and Visual Settings
Visual adjustments to the Footer are made not directly on the Footer itself, but on the elements added to it.
The background color can be created using Box or Label.
If a border is needed, it can be added to the Footer.
Alignment and spacing are controlled by the layout settings of the elements within the Footer.
Footer Usage Scenario
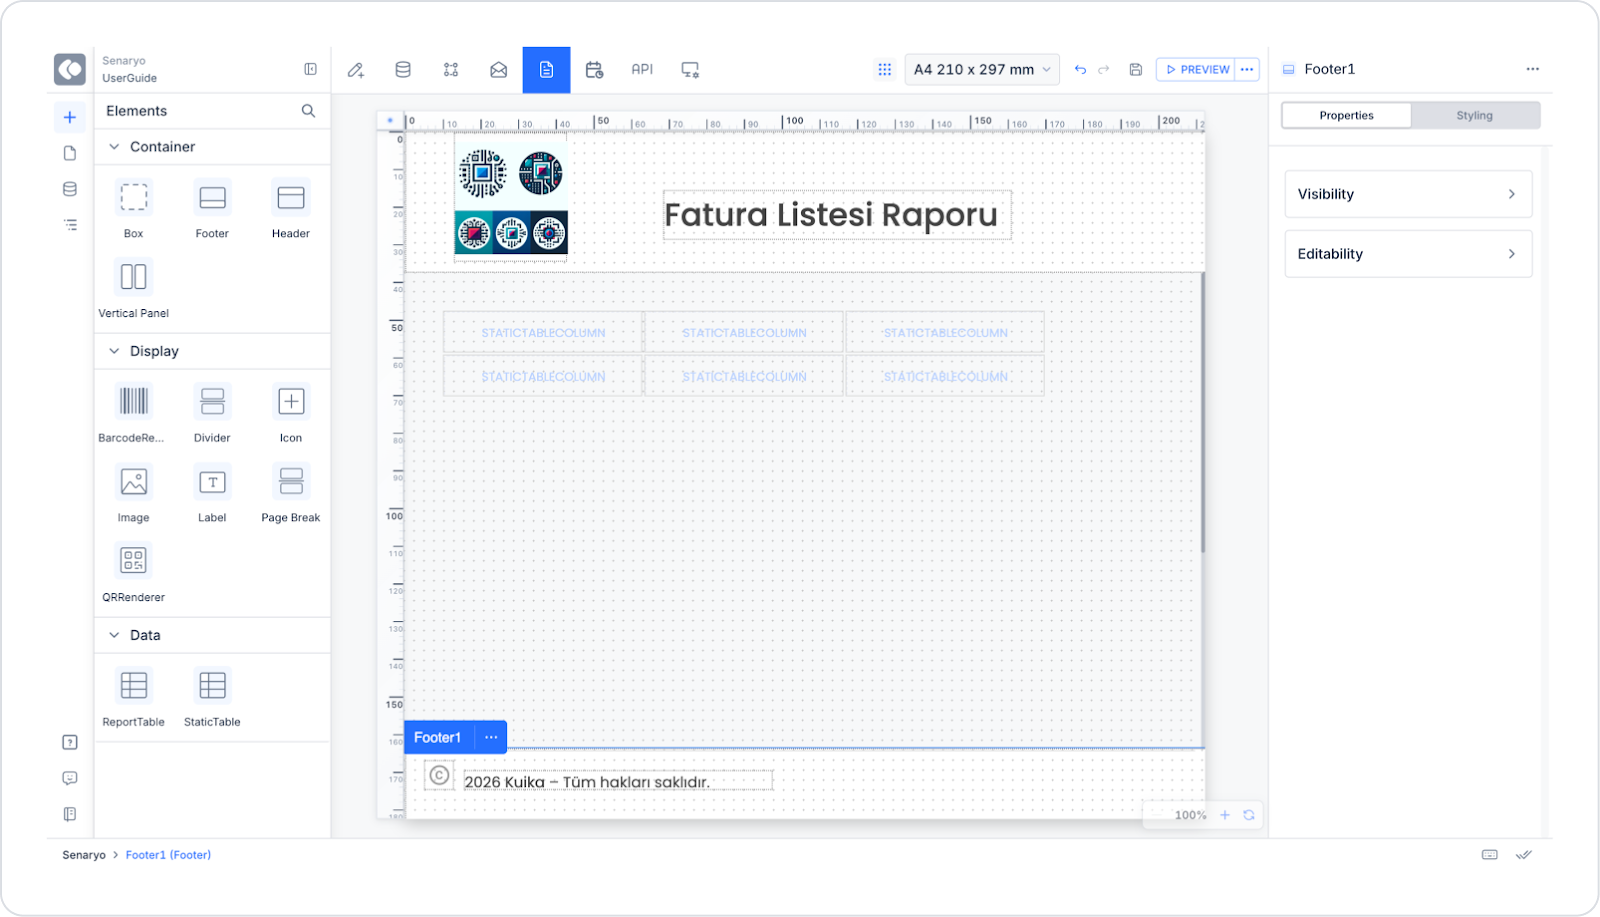
In a reporting application, the Footer area is used to present copyright and disclaimer information in an organized manner at the end of the report.
In this scenario, the Footer is used to display the institution preparing the report, the copyright text, and a brief informational note. The Footer content is independent of the dynamic data in the body of the report and represents the end of the report.
In the scenario:
The Footer is located at the bottom of the report.
The content is static and does not change throughout the report.
Even if the report is split into multiple pages, the Footer is only displayed on the last page.
The Footer ensures that the report has a professional closing area.
Step 1 – Adding the Footer Element
Open the Report Designer module.
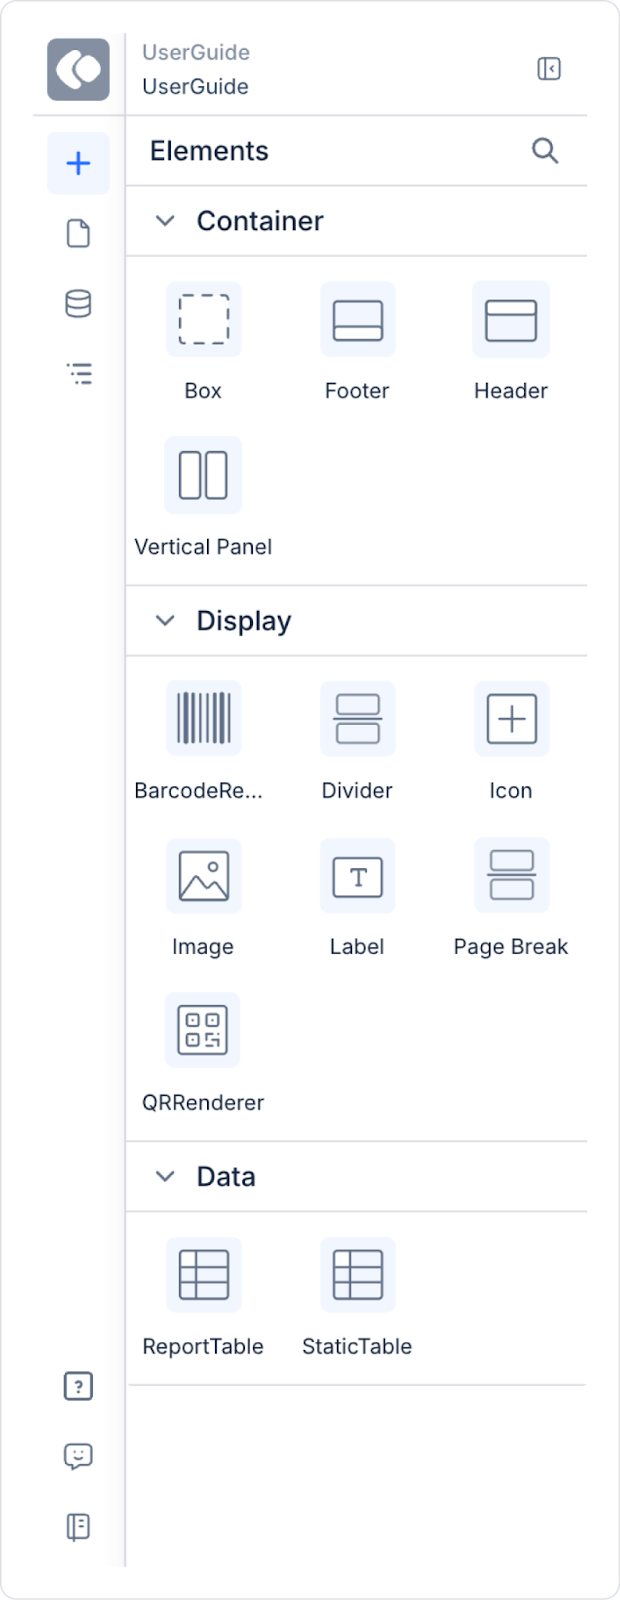
Go to the Elements area in the left panel.
Drag the Footer element and drop it onto the Canvas.
The footer is automatically placed at the bottom of the report and is considered a Report Footer.