Divider is an auxiliary element used in Report Designer to visually separate report content. Divider is used to improve the readability of the report and create a visual distinction between content sections.
Unlike Page Break, Divider does not create a new page; it only visually separates content within the same page.
When Should Divider Be Used?
The Divider is preferred in the following situations:
To separate different content blocks within the same page
To place a visual boundary between the header and content
To separate the summary area from the detail area
To make long text or table groups more readable
Basic Behavior of the Divider Element
The Divider functions as a single line.
It does not move content to a new page.
It is purely for visual purposes in the report output.
No elements can be added to it.
It is positioned within the same page.
Divider Properties
When Divider is selected, the following settings can be configured:
Y Position
The vertical position (Y) of the Divider on the page can be adjusted.
It can be moved to the desired point using the ruler.
Alternatively, a manual value can be entered in the Layout > Y field.
This allows the Divider to be placed precisely between content blocks.
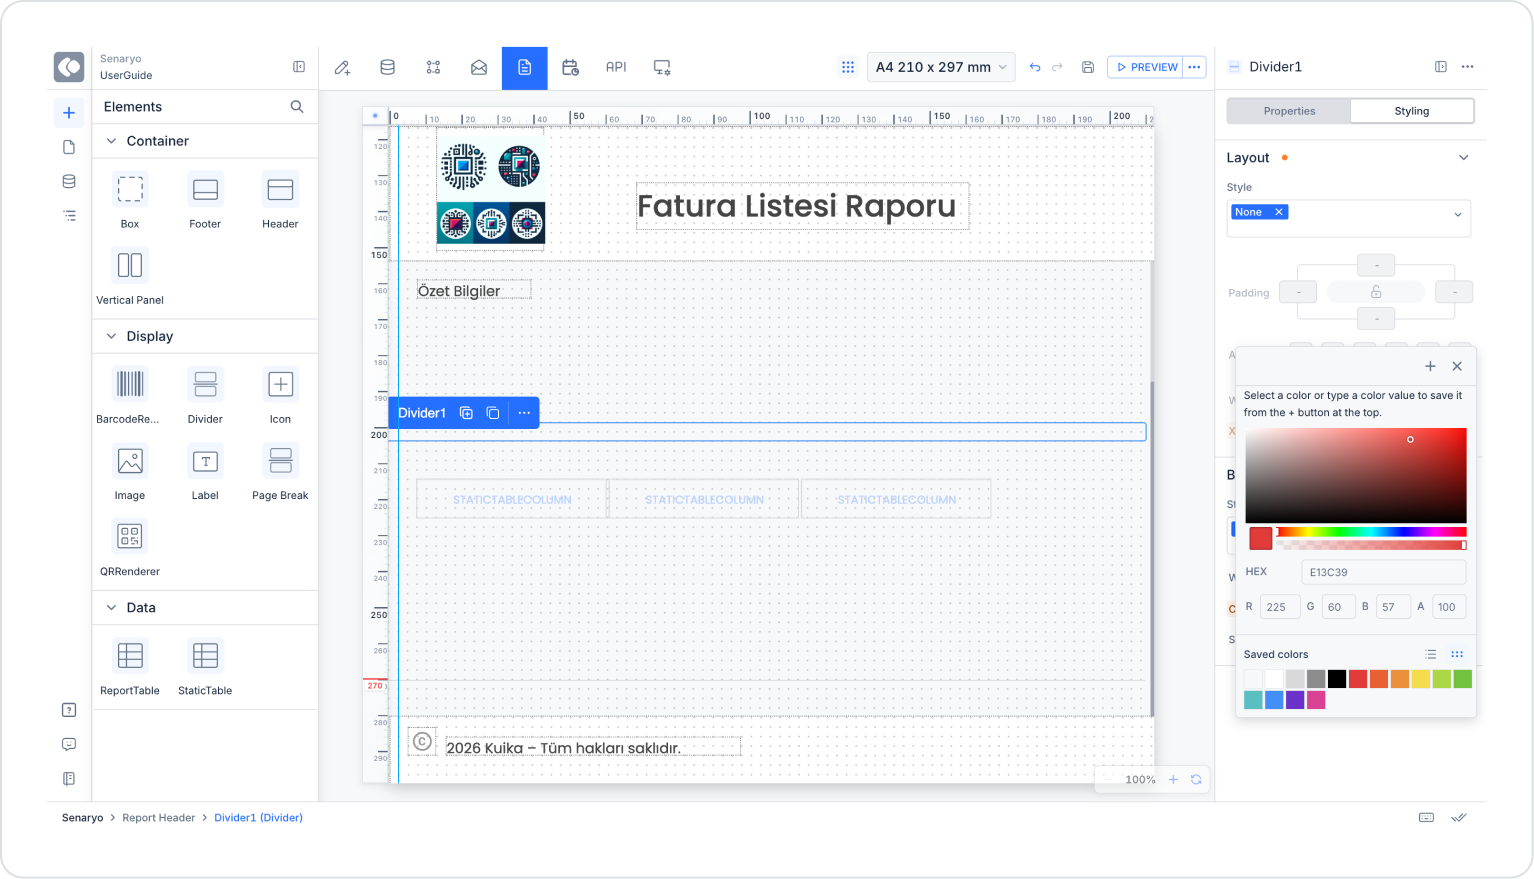
Color Setting
The line color of the Divider can be adjusted.
Color selection ensures consistency with the overall design of the report.
Light or dark tones can be used for emphasis.
Border Settings
Border settings can be configured for the Divider:
Line thickness
Line type (solid or dashed)
With these settings, the Divider can be used as a thin separator or a distinct section divider.
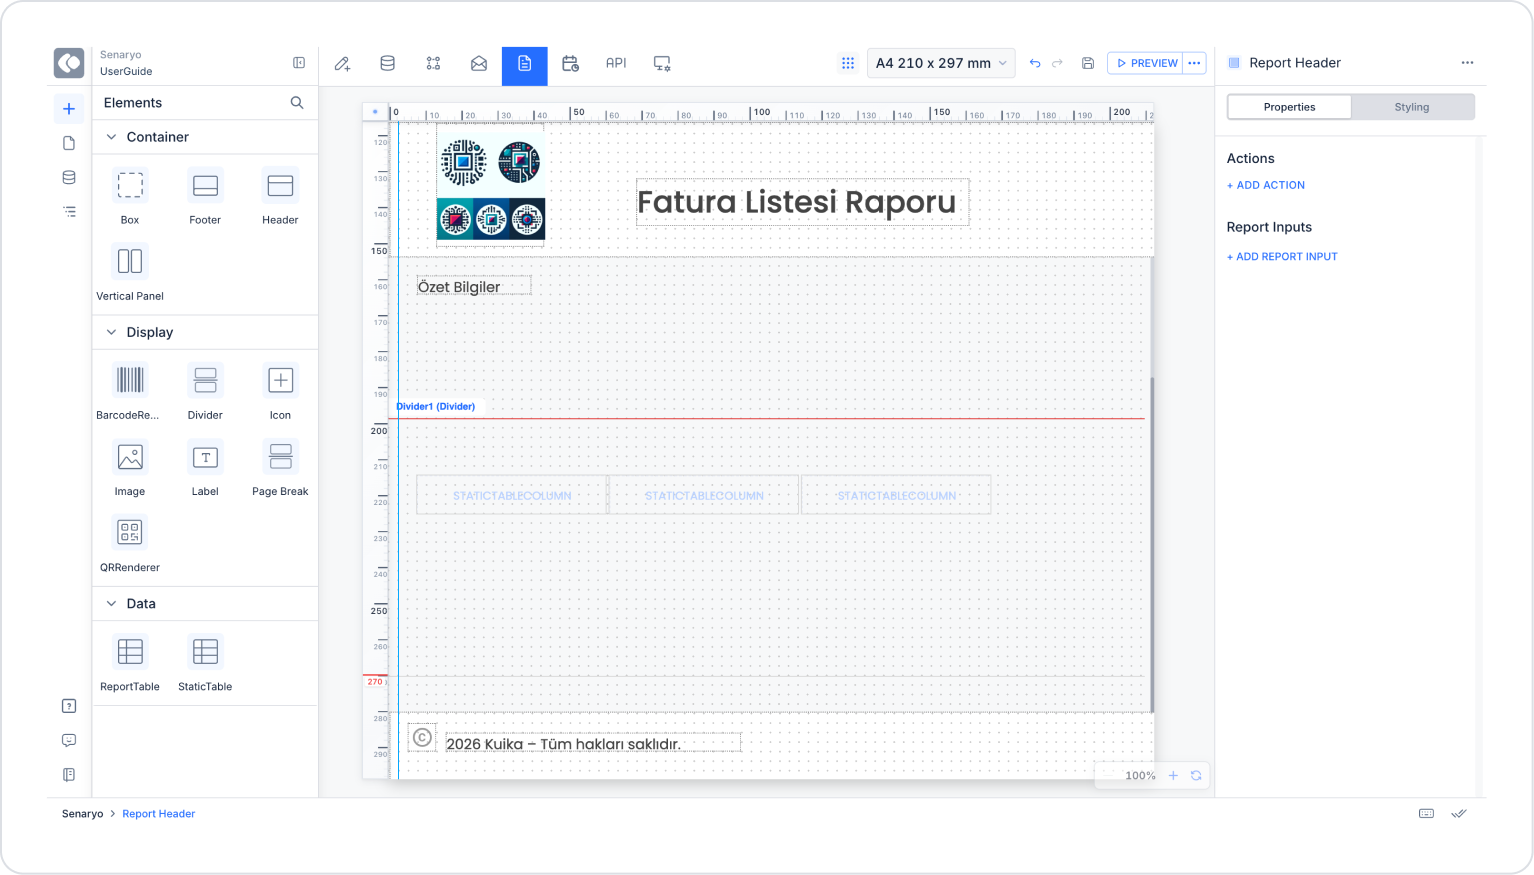
Divider Usage Scenario
A report contains summary information at the top and a detailed table at the bottom. The Divider is used to visually separate these two areas.
In the scenario:
A Divider is added below the summary section.
The Divider does not start a new page.
The detailed table begins immediately below the Divider.
All content remains on the same page.
Scenario Steps
Select the Divider element from the Elements panel.
Drag the Divider onto the Canvas.
Use the ruler or Layout > Y field to position the Divider below the summary area.
Adjust the Divider color and border thickness in the Styling > Border field to match the report design.