Kuika's ReCaptcha element is used to protect applications from automated processes and bots. It provides a user-friendly verification process, ensuring only real users have access. It is ideal for enhancing security, especially on forms and login screens.
Areas of Use
Login Screens → To prevent bot logins.
Registration Forms → Prevent spam accounts from being created.
Comment/Contact Forms → Provide protection against automated messages.
Payment Steps → Provide real user verification as an additional security layer.
Usage Scenario – Registration Form Protection
On a registration form, after filling in their information, the user performs a ReCaptcha verification before submitting the form.
If the verification is successful → The form is submitted.
If the verification fails → An error message is displayed to the user.
UI Design Module Operations
Go to the UI Design module.
Select the ReCaptcha element from the Elements > Interactive category on the left side.
Drag and drop it onto the screen.
Required Settings for Using ReCaptcha
To use the ReCaptcha element, a separate Site Key and Secret Key must be obtained for each platform (Web, Android, iOS). These keys are generated via the Google ReCaptcha Console and added to the Configuration Manager module in Kuika.
Obtaining Google Console ReCaptcha Keys
For Web
Go to the Google ReCaptcha page → Select “Create Key”.
Platform Type: Website.
Add Domain → Create Site Key and Secret Key.
For Android
Platform Type: Android app.
Enter Bundle ID.
Create and save Site Key.
For iOS
Platform Type: iOS app.
Enter Bundle ID.
Log in to your Apple Developer account and create a .p8 Private Key file.
Obtain Key ID and Team ID information.
Create a ReCaptcha key.
Kuika ReCaptcha Integration
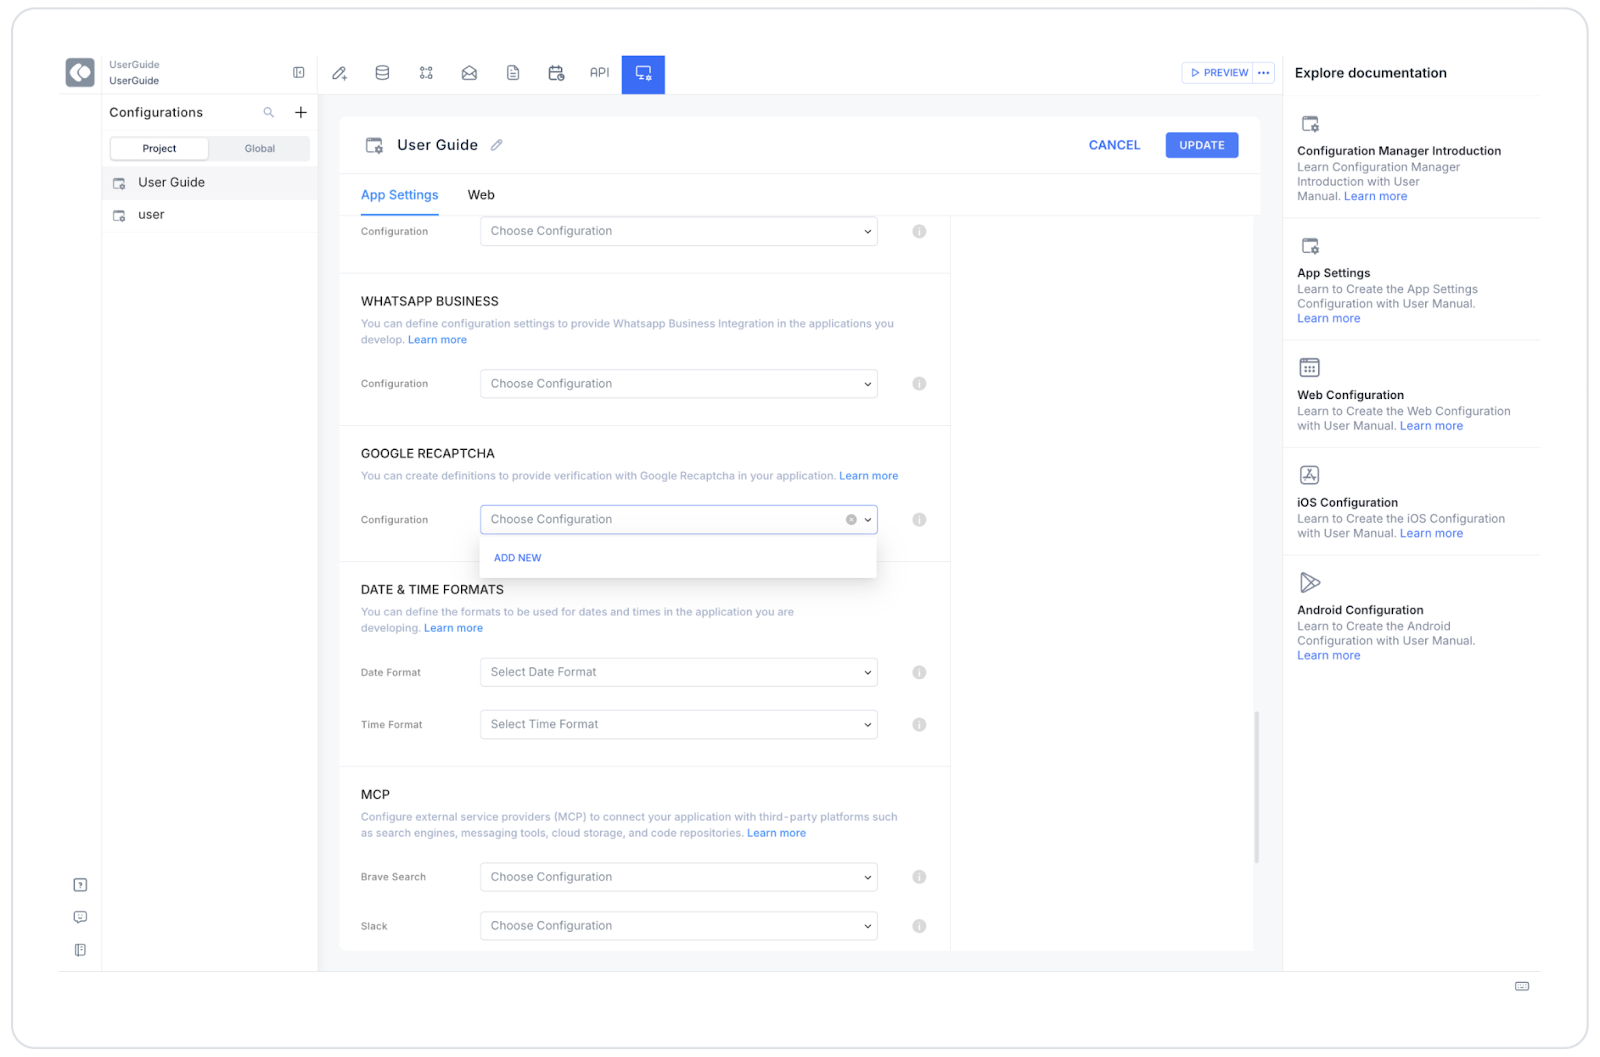
Go to the Configuration Manager module.
Select the relevant platform (Web / Android / iOS).
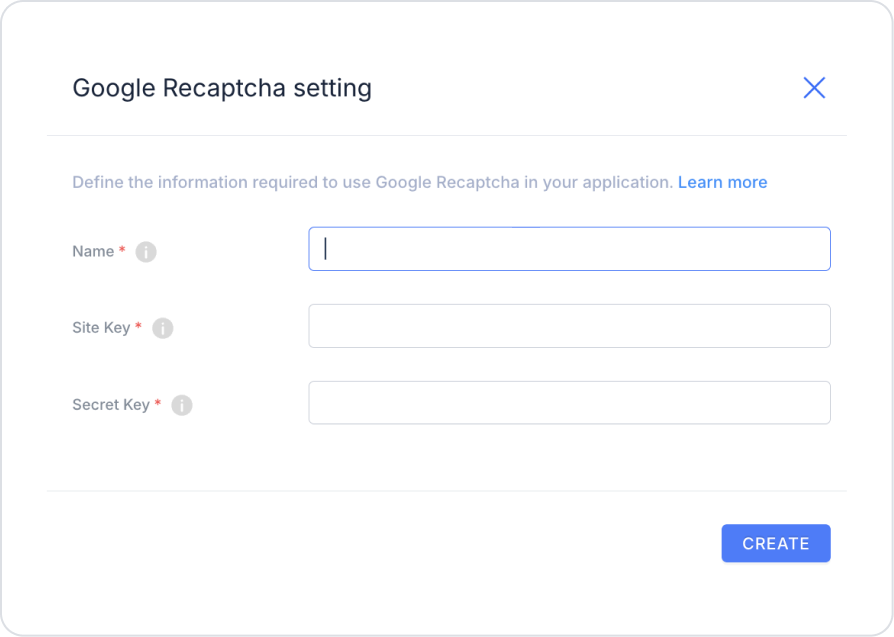
In the Google Recaptcha field → click Add New.
Name → Fill in as desired.
Site Key → Site Key from Google Console.
Secret Key → Secret Key from Google Console.
Save.
ReCaptcha Verification Actions
Select the ReCaptcha element in the UI Design module.
Add verification using the ADD VALIDATION button on the right side.