Kuika's Month Picker element allows users to select only the month. Users can either enter the month manually or select it using the month picker. This element is ideal for month-based planning, reporting, and filtering operations.
The Month Picker element is only supported in web applications.
Usage Areas
Filtering monthly sales reports,
Calendar-based task planning,
Selecting subscription start and end months,
Monthly KPI or performance tracking, etc.
Monthly Sales Report Selection
Static Usage Scenario – Fixed Month Selection
A fixed month is assigned to the user on a sales reporting screen. For example, the system may display September 2023 by default.
Using the Features
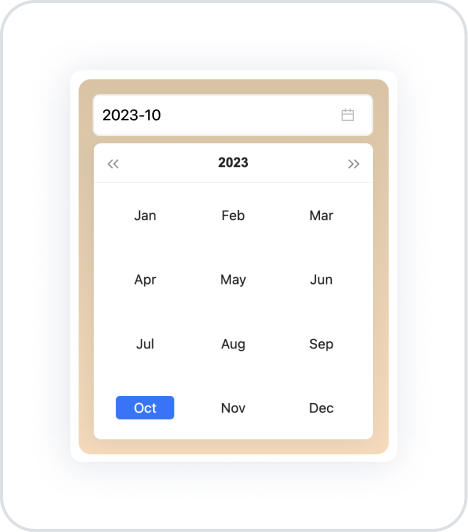
Value → 2023-10 (October 2023)
Placeholder → “Select Month”
Allow Clear → The user can clear the selection with the (X) icon if desired.
Disable Before Date → If, for example, 2023-01 is entered, months prior to January 2023 cannot be selected.
When the Scenario Step is Complete
The user is assigned September 2023 by default.
The selected month appears on the screen in YYYY-MM format (e.g., 2023-10).
If desired, the user can clear the selection by clicking the (X) icon.
Since past months are disabled, the user can only see months from 2023 onwards.
Dynamic Usage Scenario – Monthly Sales Report
On a sales reporting screen, the user selects the month for which they want to receive a report. This information links to monthly sales data from the database or API.
Connecting the Data Source
Go to the Datasources module.
Then click the + icon next to the Tables heading and name the table “SalesData”.
Create the following table.
Then click SQL Actions and name the action “SalesData”. You can also create it with C#.