User Manual

FloatButton Usage Scenario

FloatButton Usage Scenario

FloatButton is a quick action button that appears in fixed corners of the screen in applications. It is used to direct the user to additional action panels or to quickly initiate an action.

Areas of Use:

  • Adding a new record
  • Opening a quick help/support panel
  • Calling up a feedback or comment form
  • Opening additional settings or actions

FloatButton is only supported in web applications.

Add New Customer Scenario

In a CRM application, users use FloatButton to add new customers.

  • The FloatButton is fixed in the lower right corner of the screen with a “+” icon.
  • When the user clicks the button, a FloatPanel opens.
  • The NewCustomerPage is located within the opened FloatPanel.
  • On this page, the user creates a new record by entering the customer name and email information.

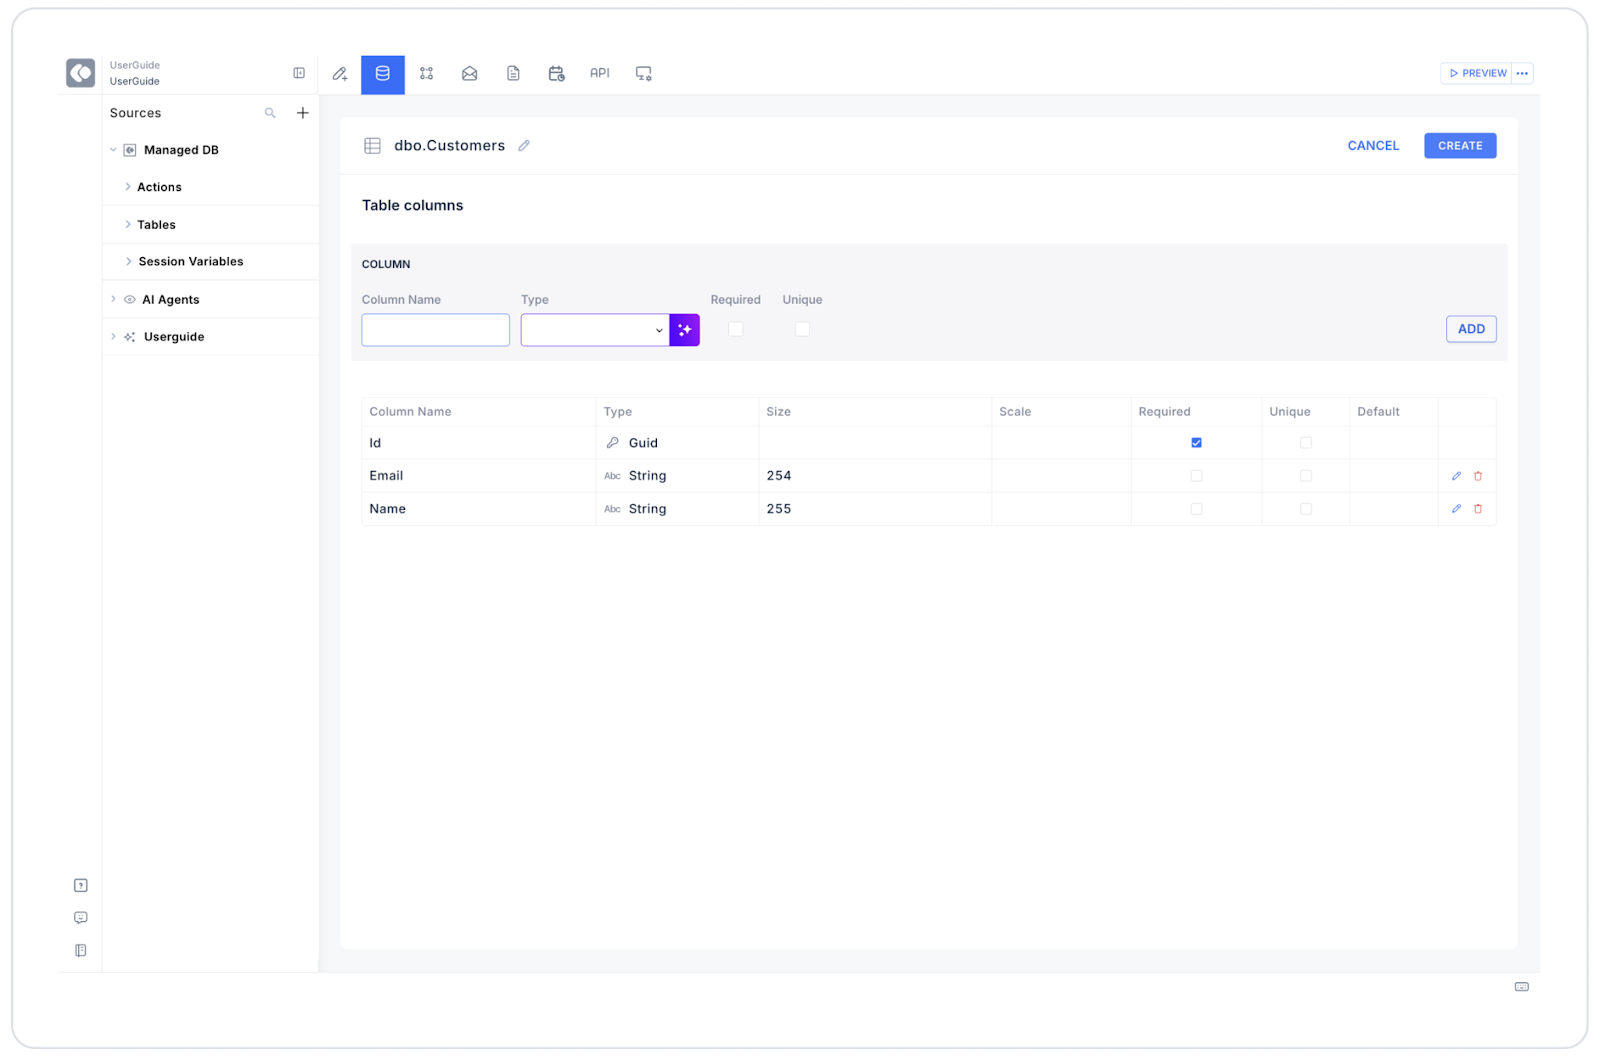
Connecting the Data Source

  1. Go to the Datasources module.
  2. Click the + icon next to the Tables heading and name the table Customers.
  3. Create the following table:
  1. Go to the SQL Actions tab.
  2. Create a new Action and name it InsertCustomer.

SQL command:

INSERT INTO Customers (Name, Email)VALUES (@Name, @Email)

UI Design Module Operations

  1. Add a FloatButton to the screen.
    • Label → “+”
    • Tooltip → “Add New Customer”
    • Position → bottom right
    • offsetX = 20, offsetY = 20
  2. With FloatButton selected:
    • +ADD ACTION → onClick → Navigate
    • Target Panel Type → FloatPanel
    • Target Page → “NewCustomerPage”
  3. Add a Form element inside NewCustomerPage.
    • Inside the Form:
      • TextInput → Name field
      • TextInput → Email field
      • Button → “Save”
  4. For the Button:
    • +ADD ACTION → onClick → Managed DB → InsertCustomer
    • Parameter mappings:
      • @Name = Name TextInput Value
      • @Email = Email TextInput Value

Using Properties in the Scenario Context

FloatButton

  • Label: The “+” sign appears on the button.
  • Tooltip: The description “Add New Customer” is displayed.
  • Position: bottom right → fixed to the bottom right corner of the screen.
  • offsetX / offsetY: The distance of the button from the edge is set.

FloatPanel (opens with Navigate)

  • NewCustomerPage is loaded inside.
  • This page contains the customer addition form.

Form (inside NewCustomerPage)

  • TextInput fields allow customer information to be entered.
  • Button → Runs the InsertCustomer SQL Action.

When the Scenario is Complete

  • The user clicks on the FloatButton.
  • The FloatPanel opens and the customer addition form is displayed.
  • When the form is filled out and the “Save” button is pressed, SQL Action runs and a new record is added to the Customers table.
  • After the record is successfully saved, the list can be refreshed or FloatPanel can be closed.

Restrictions

  • FloatButton is only supported in web applications.
  • The FloatPanel is not an element on its own; it is opened with the Navigate action.
  • The SQL connection is made to the elements on the page opened within the FloatPanel, not to the FloatButton.

Tips and Best Practices

  • Choose FloatButton icons with clear symbols (e.g., “+”, settings icon, message icon).
  • Use tooltips to explain to the user what the button does.
  • Test the appearance of the button on different screen sizes using the offsetX and offsetY values.
  • Use simple forms or small tables within the FloatPanel; for complex screens, use other pages. 
No items found.

Other Related Content

No items found.

Glossary

No items found.

Alt Başlıklar